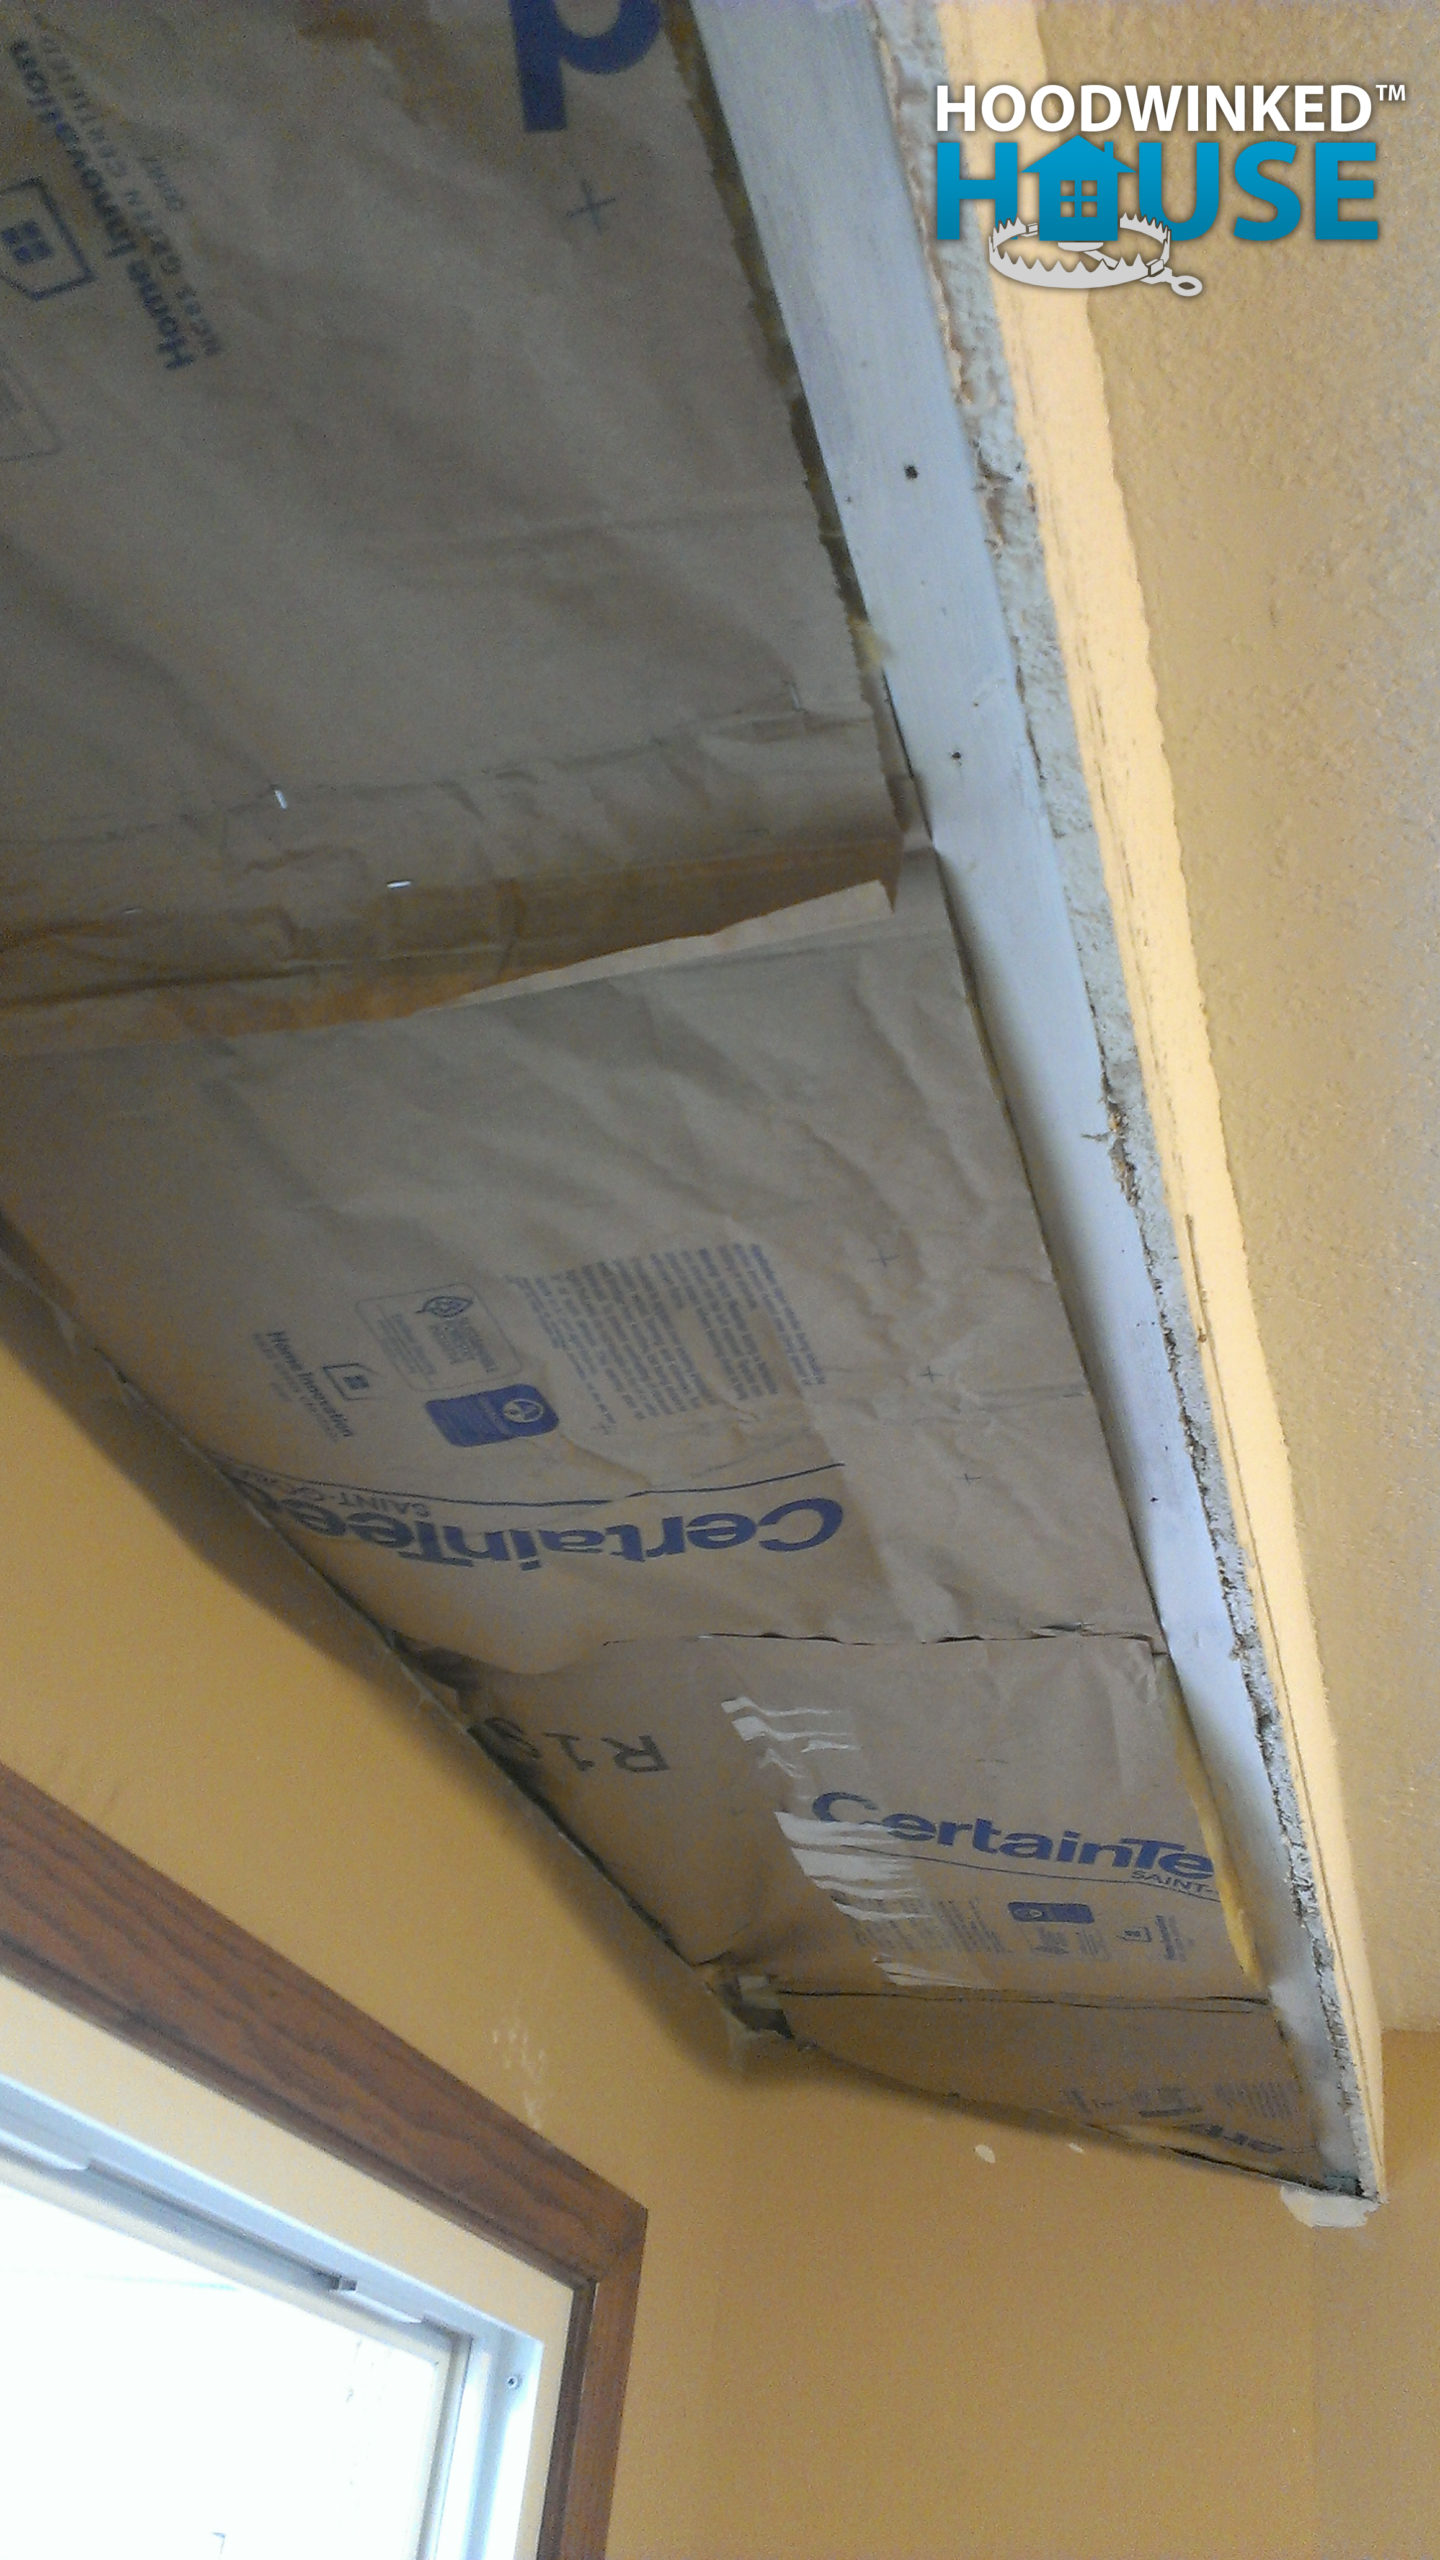
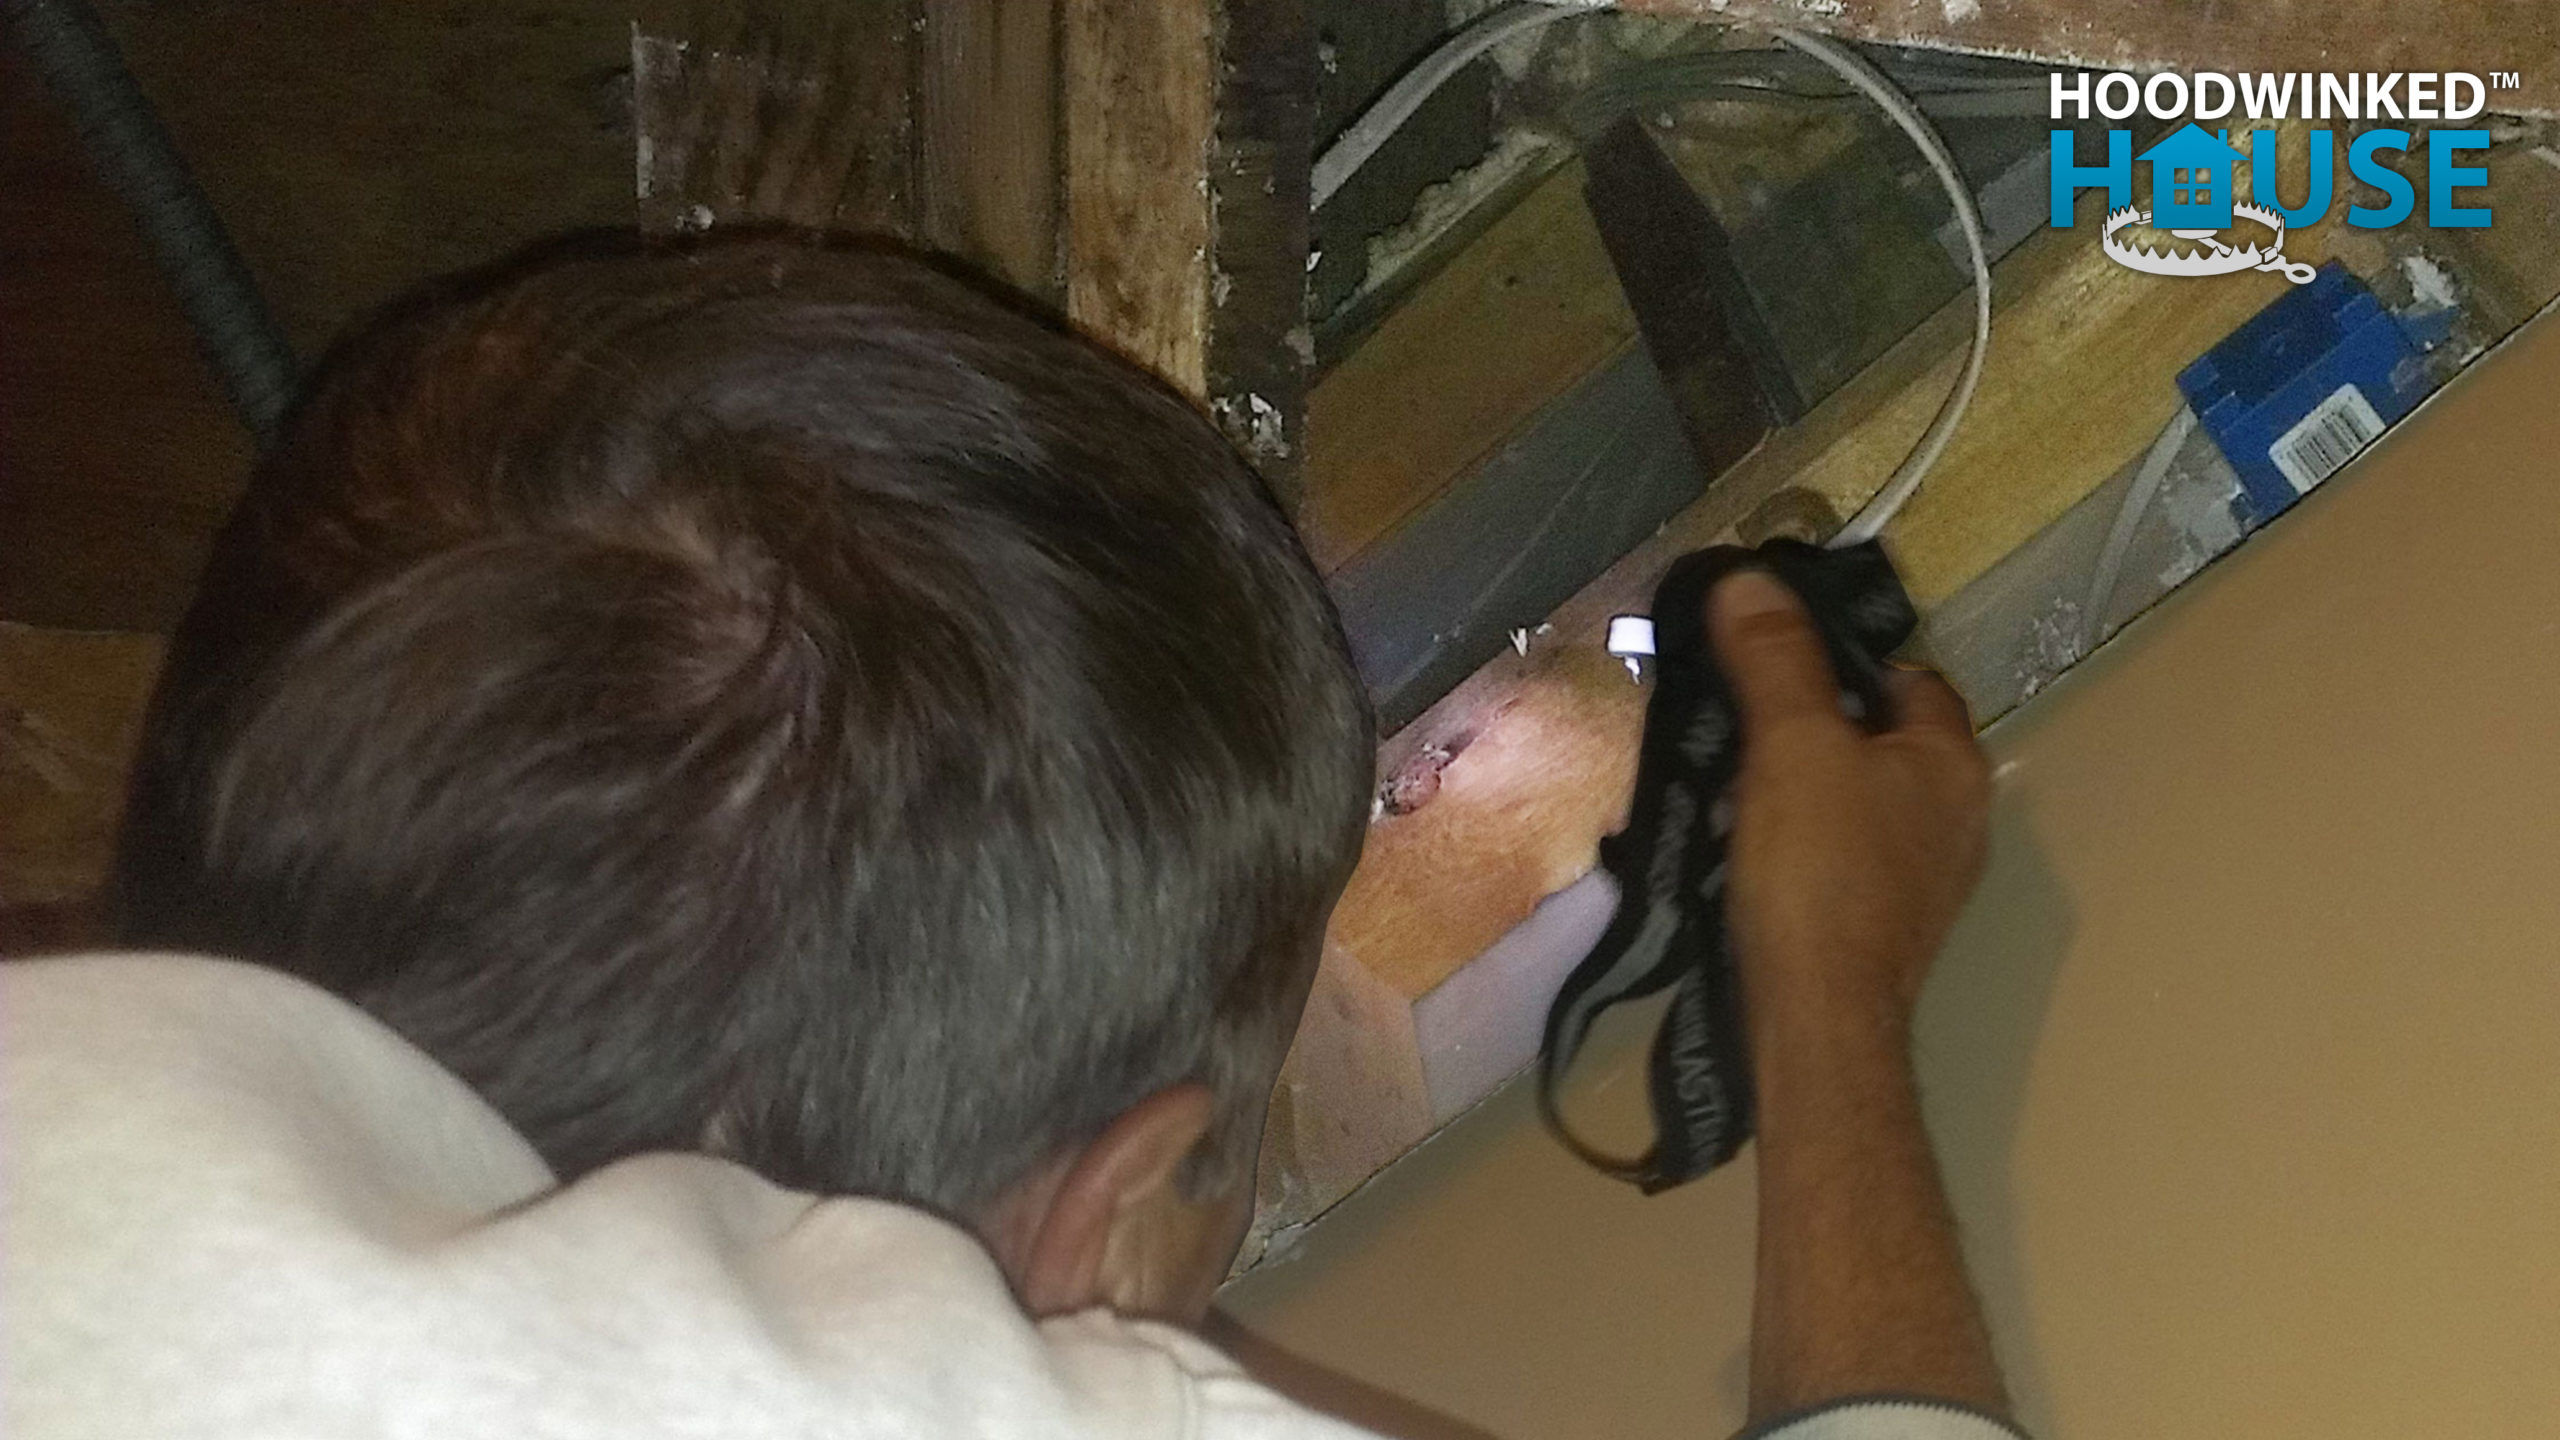
I begin demolishing the bedroom soffit, as the water-damaged drywall needs to be replaced. The soffit is stuffed with insulation, plugging up the eves. The lack of cold air flow is promoting the ice dams.
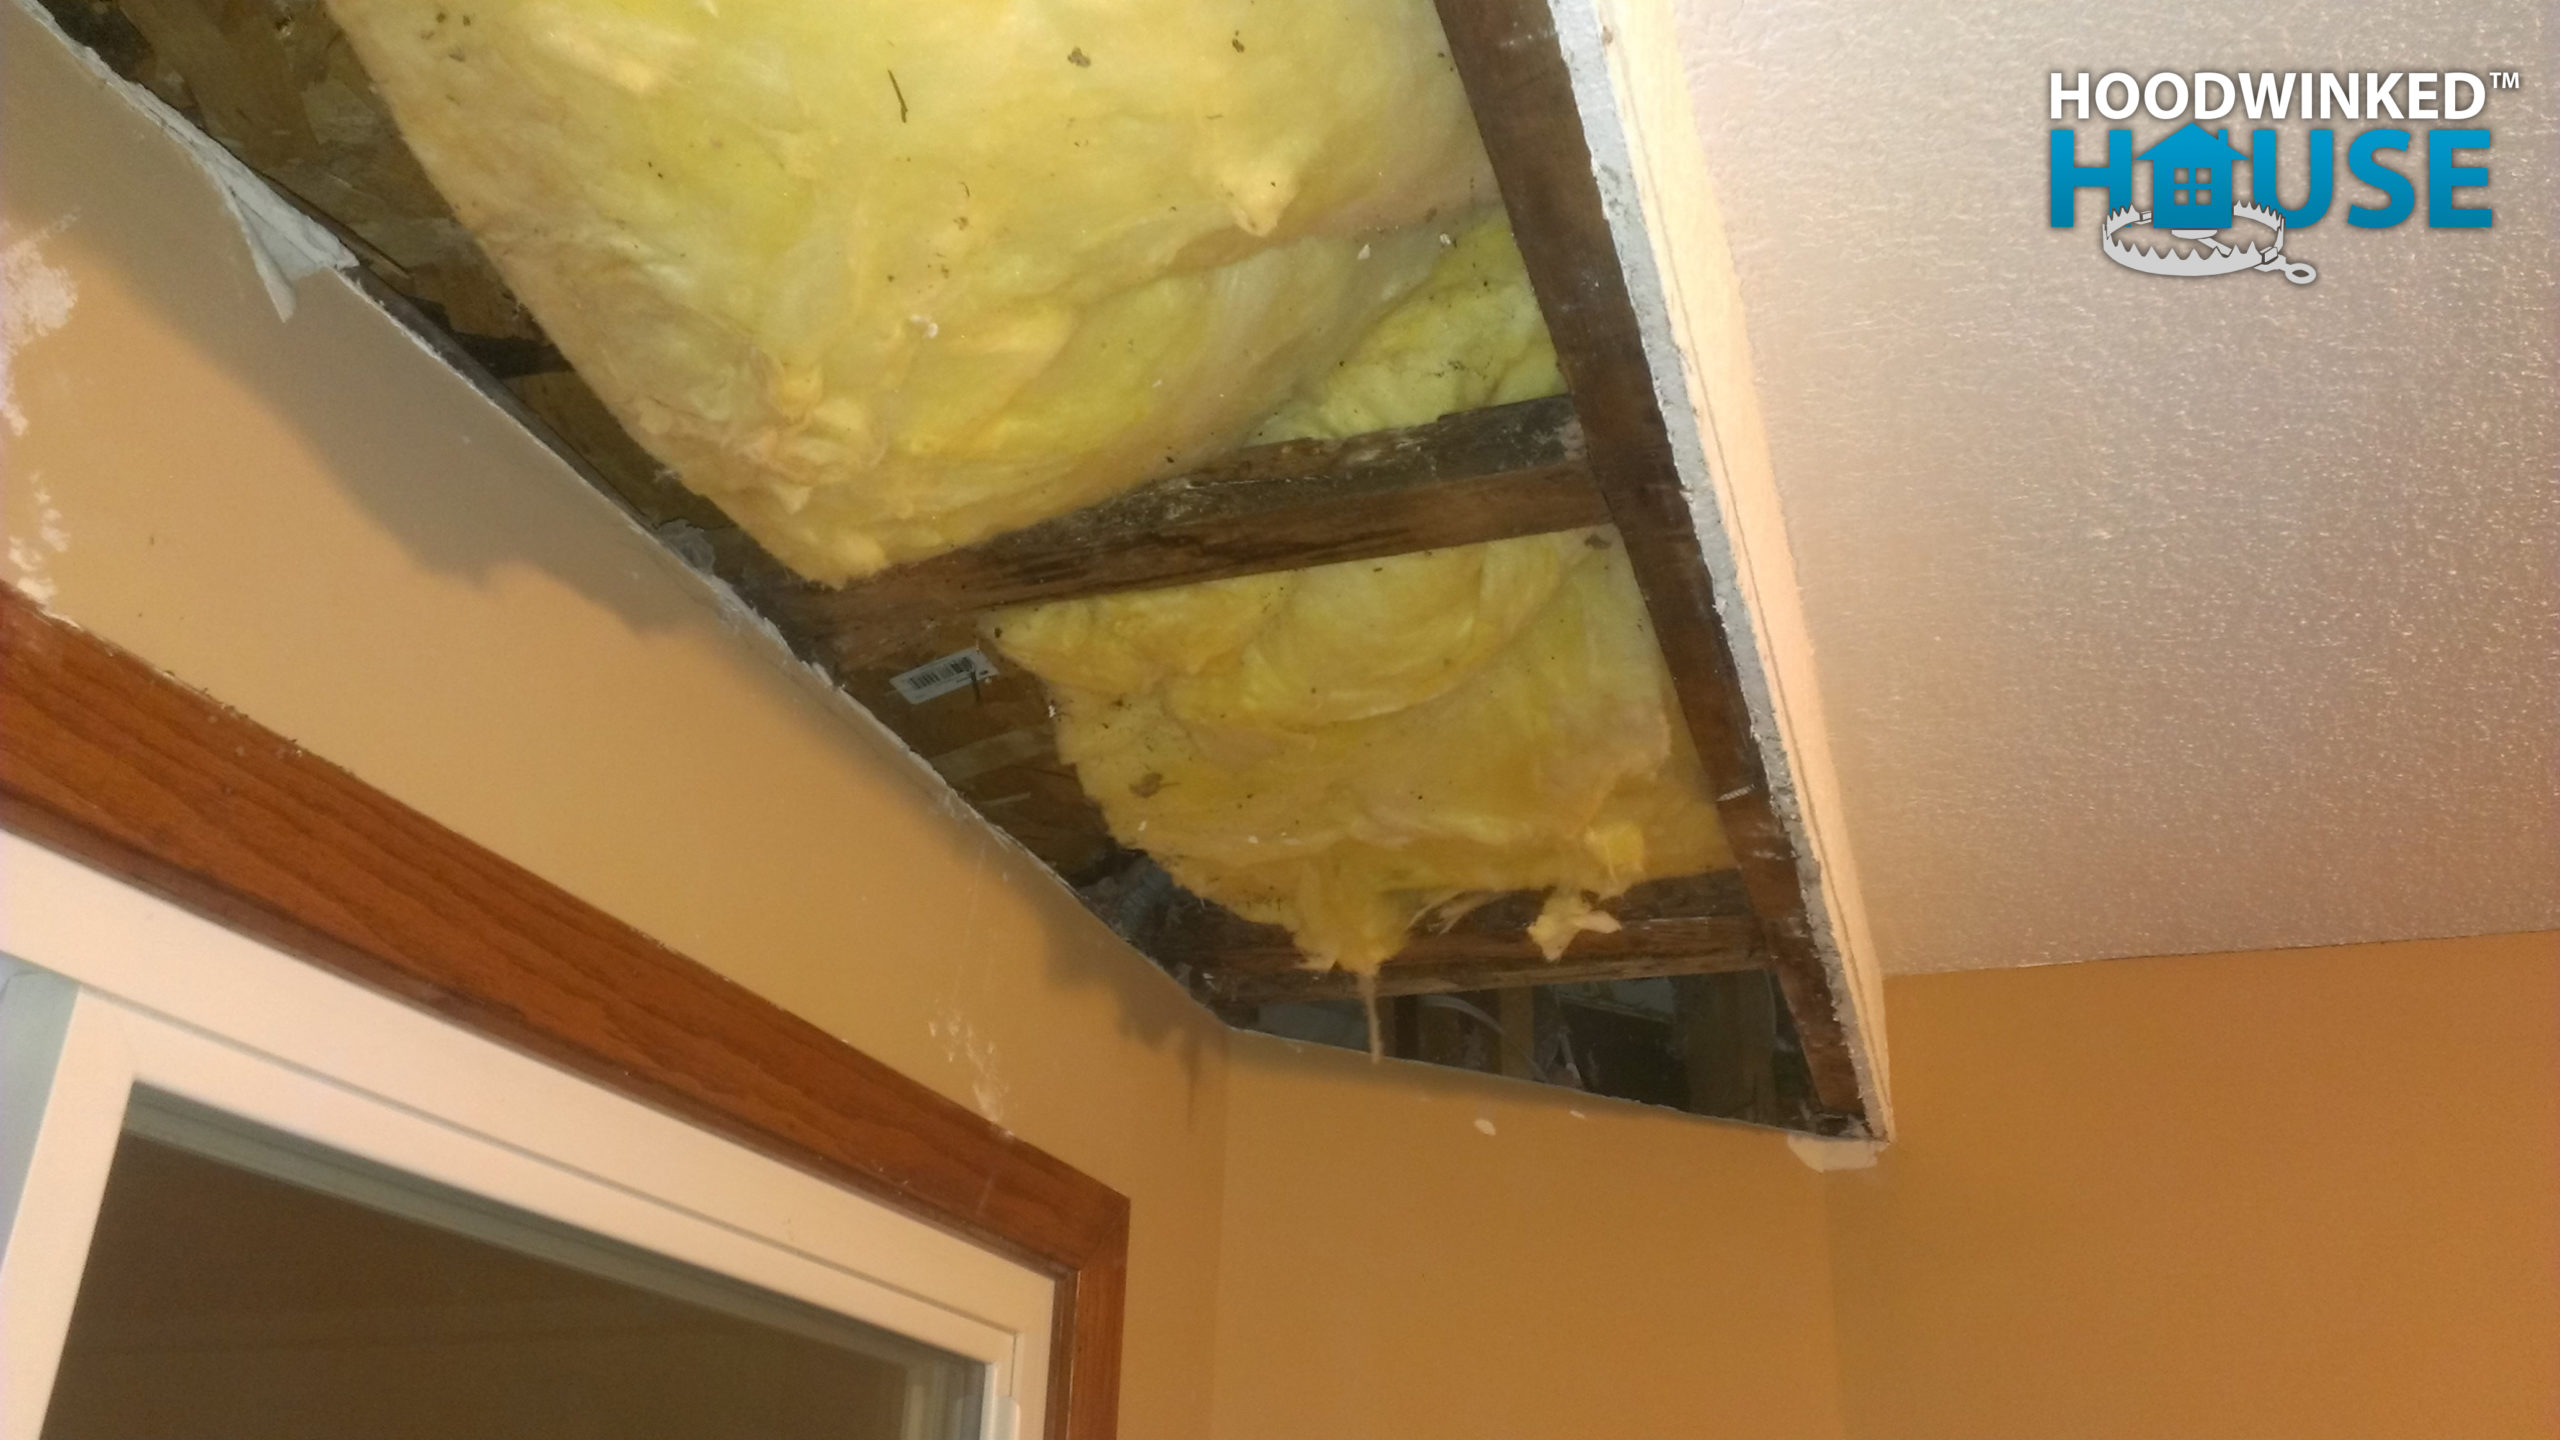
How predatory remodeling ruined my house in a matter of days after closing
I begin demolishing the bedroom soffit, as the water-damaged drywall needs to be replaced. The soffit is stuffed with insulation, plugging up the eves. The lack of cold air flow is promoting the ice dams.
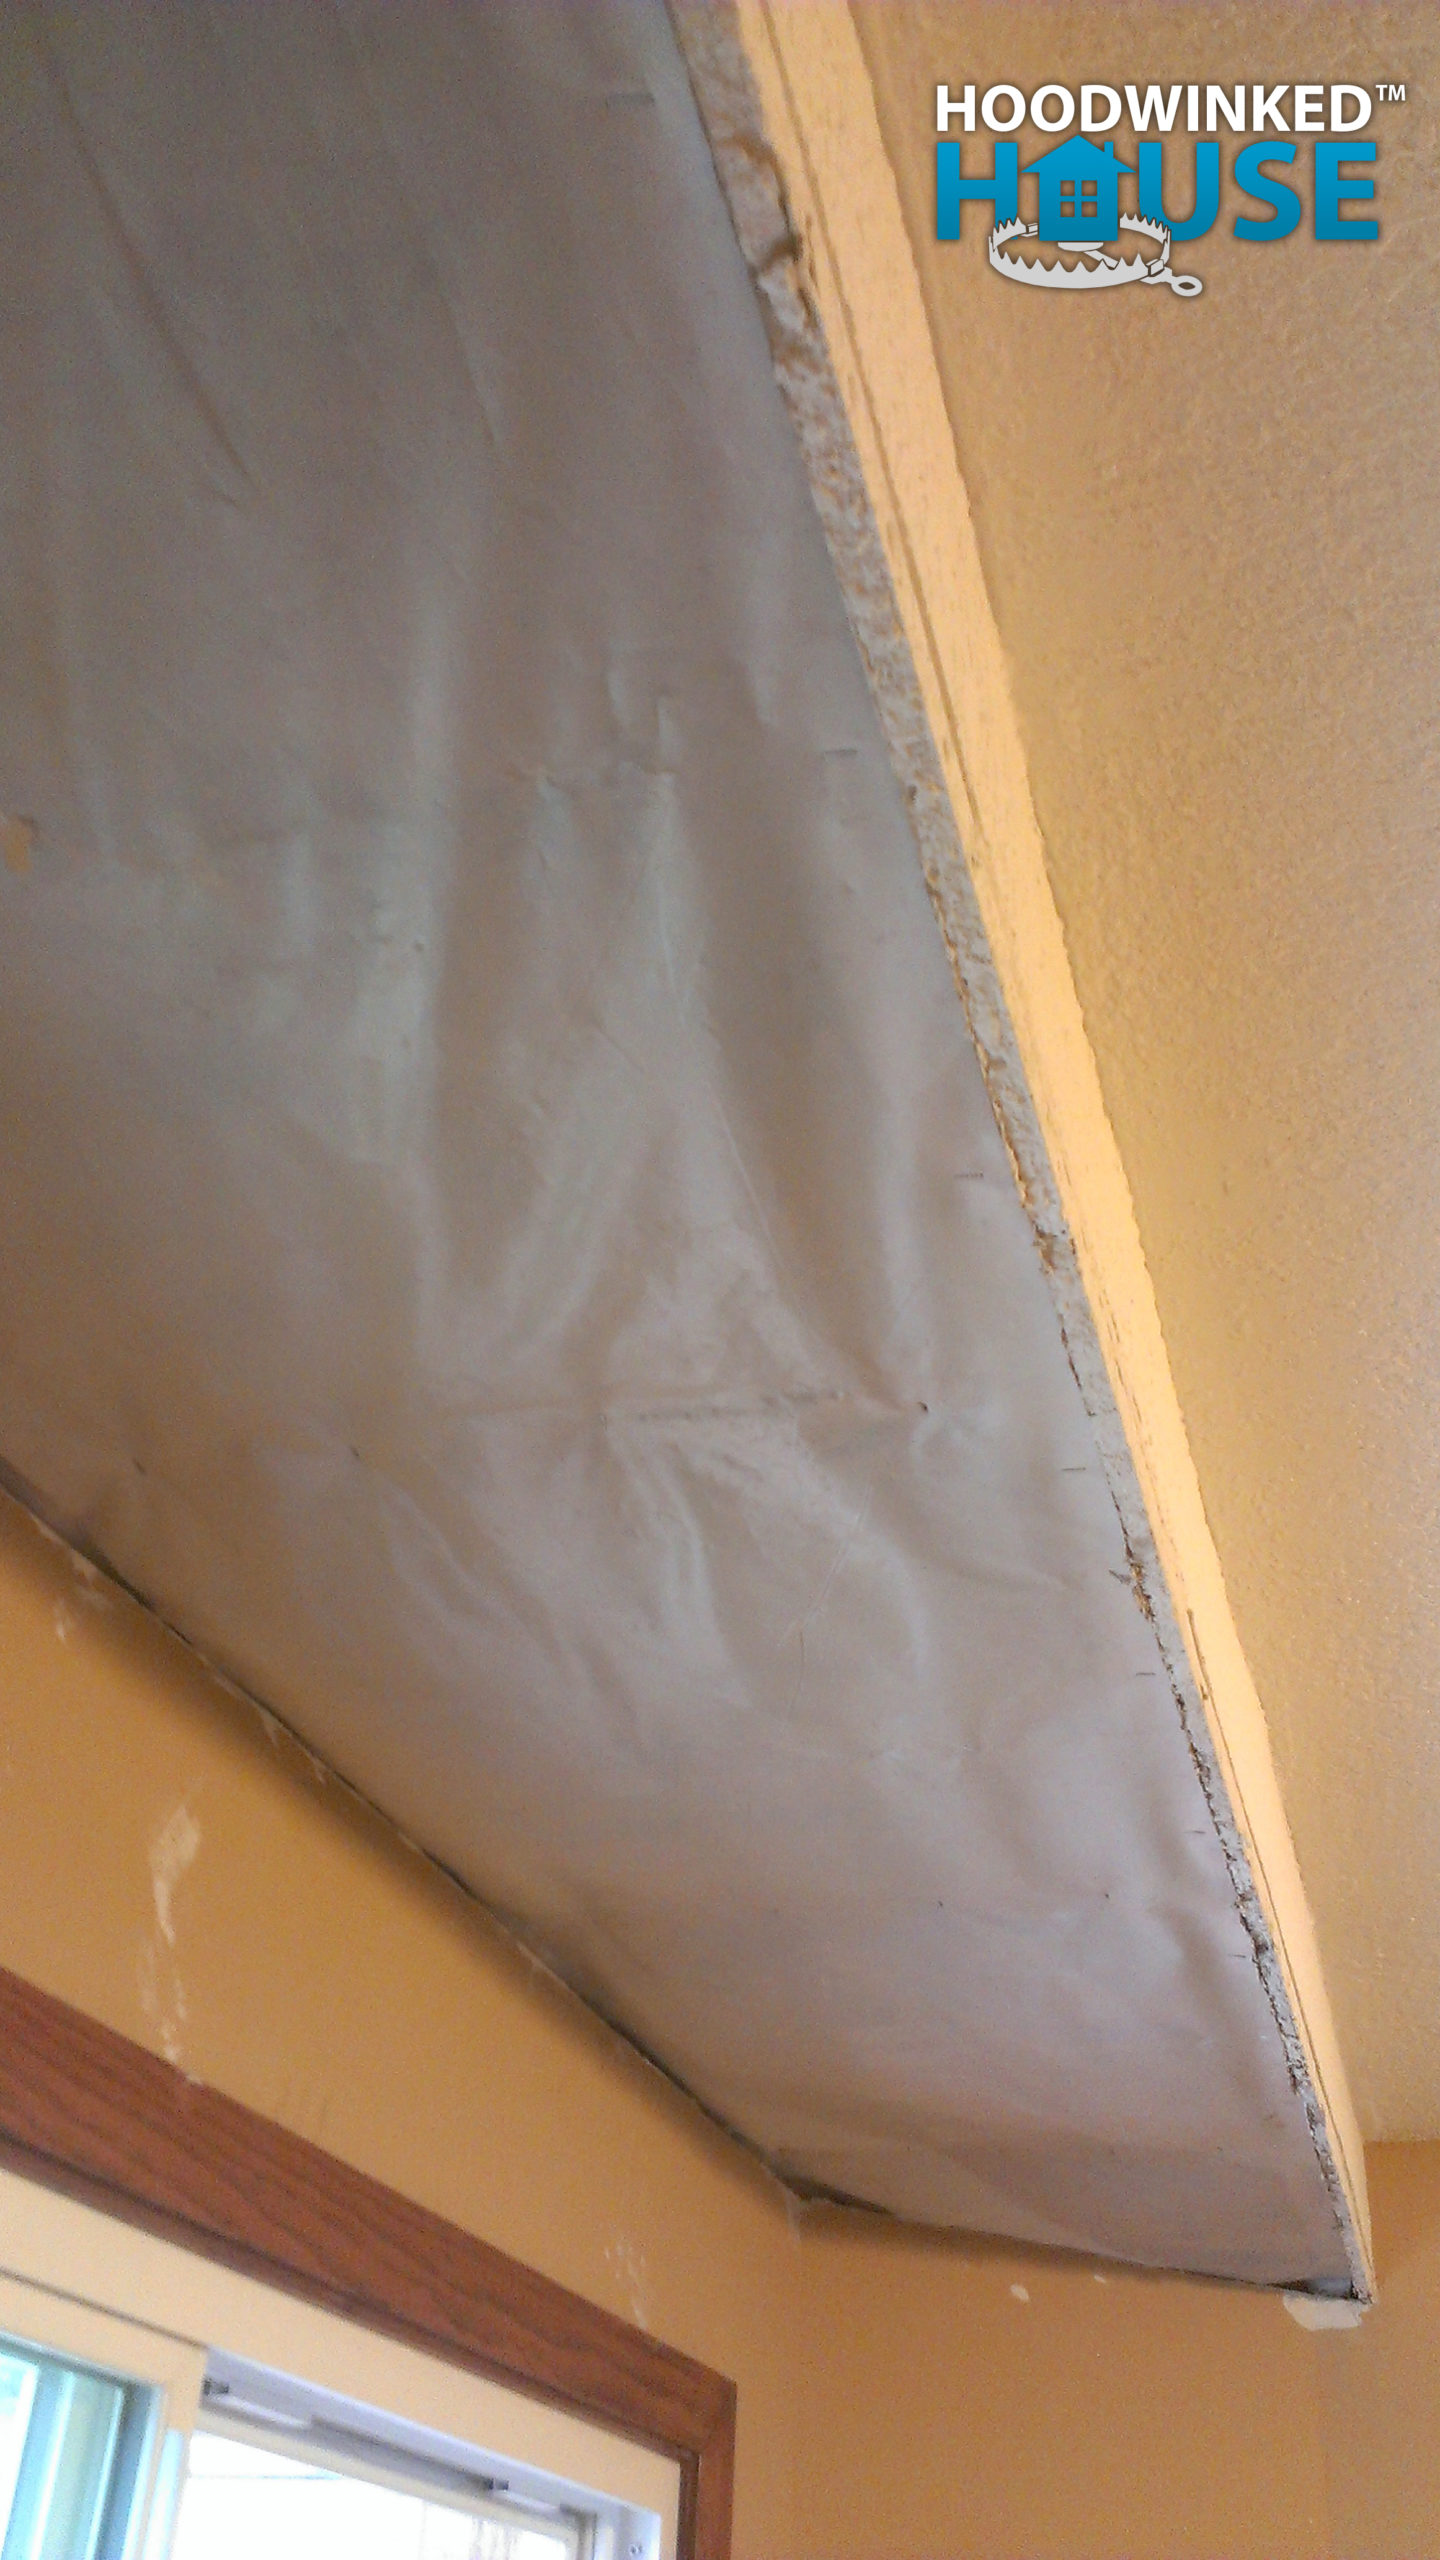
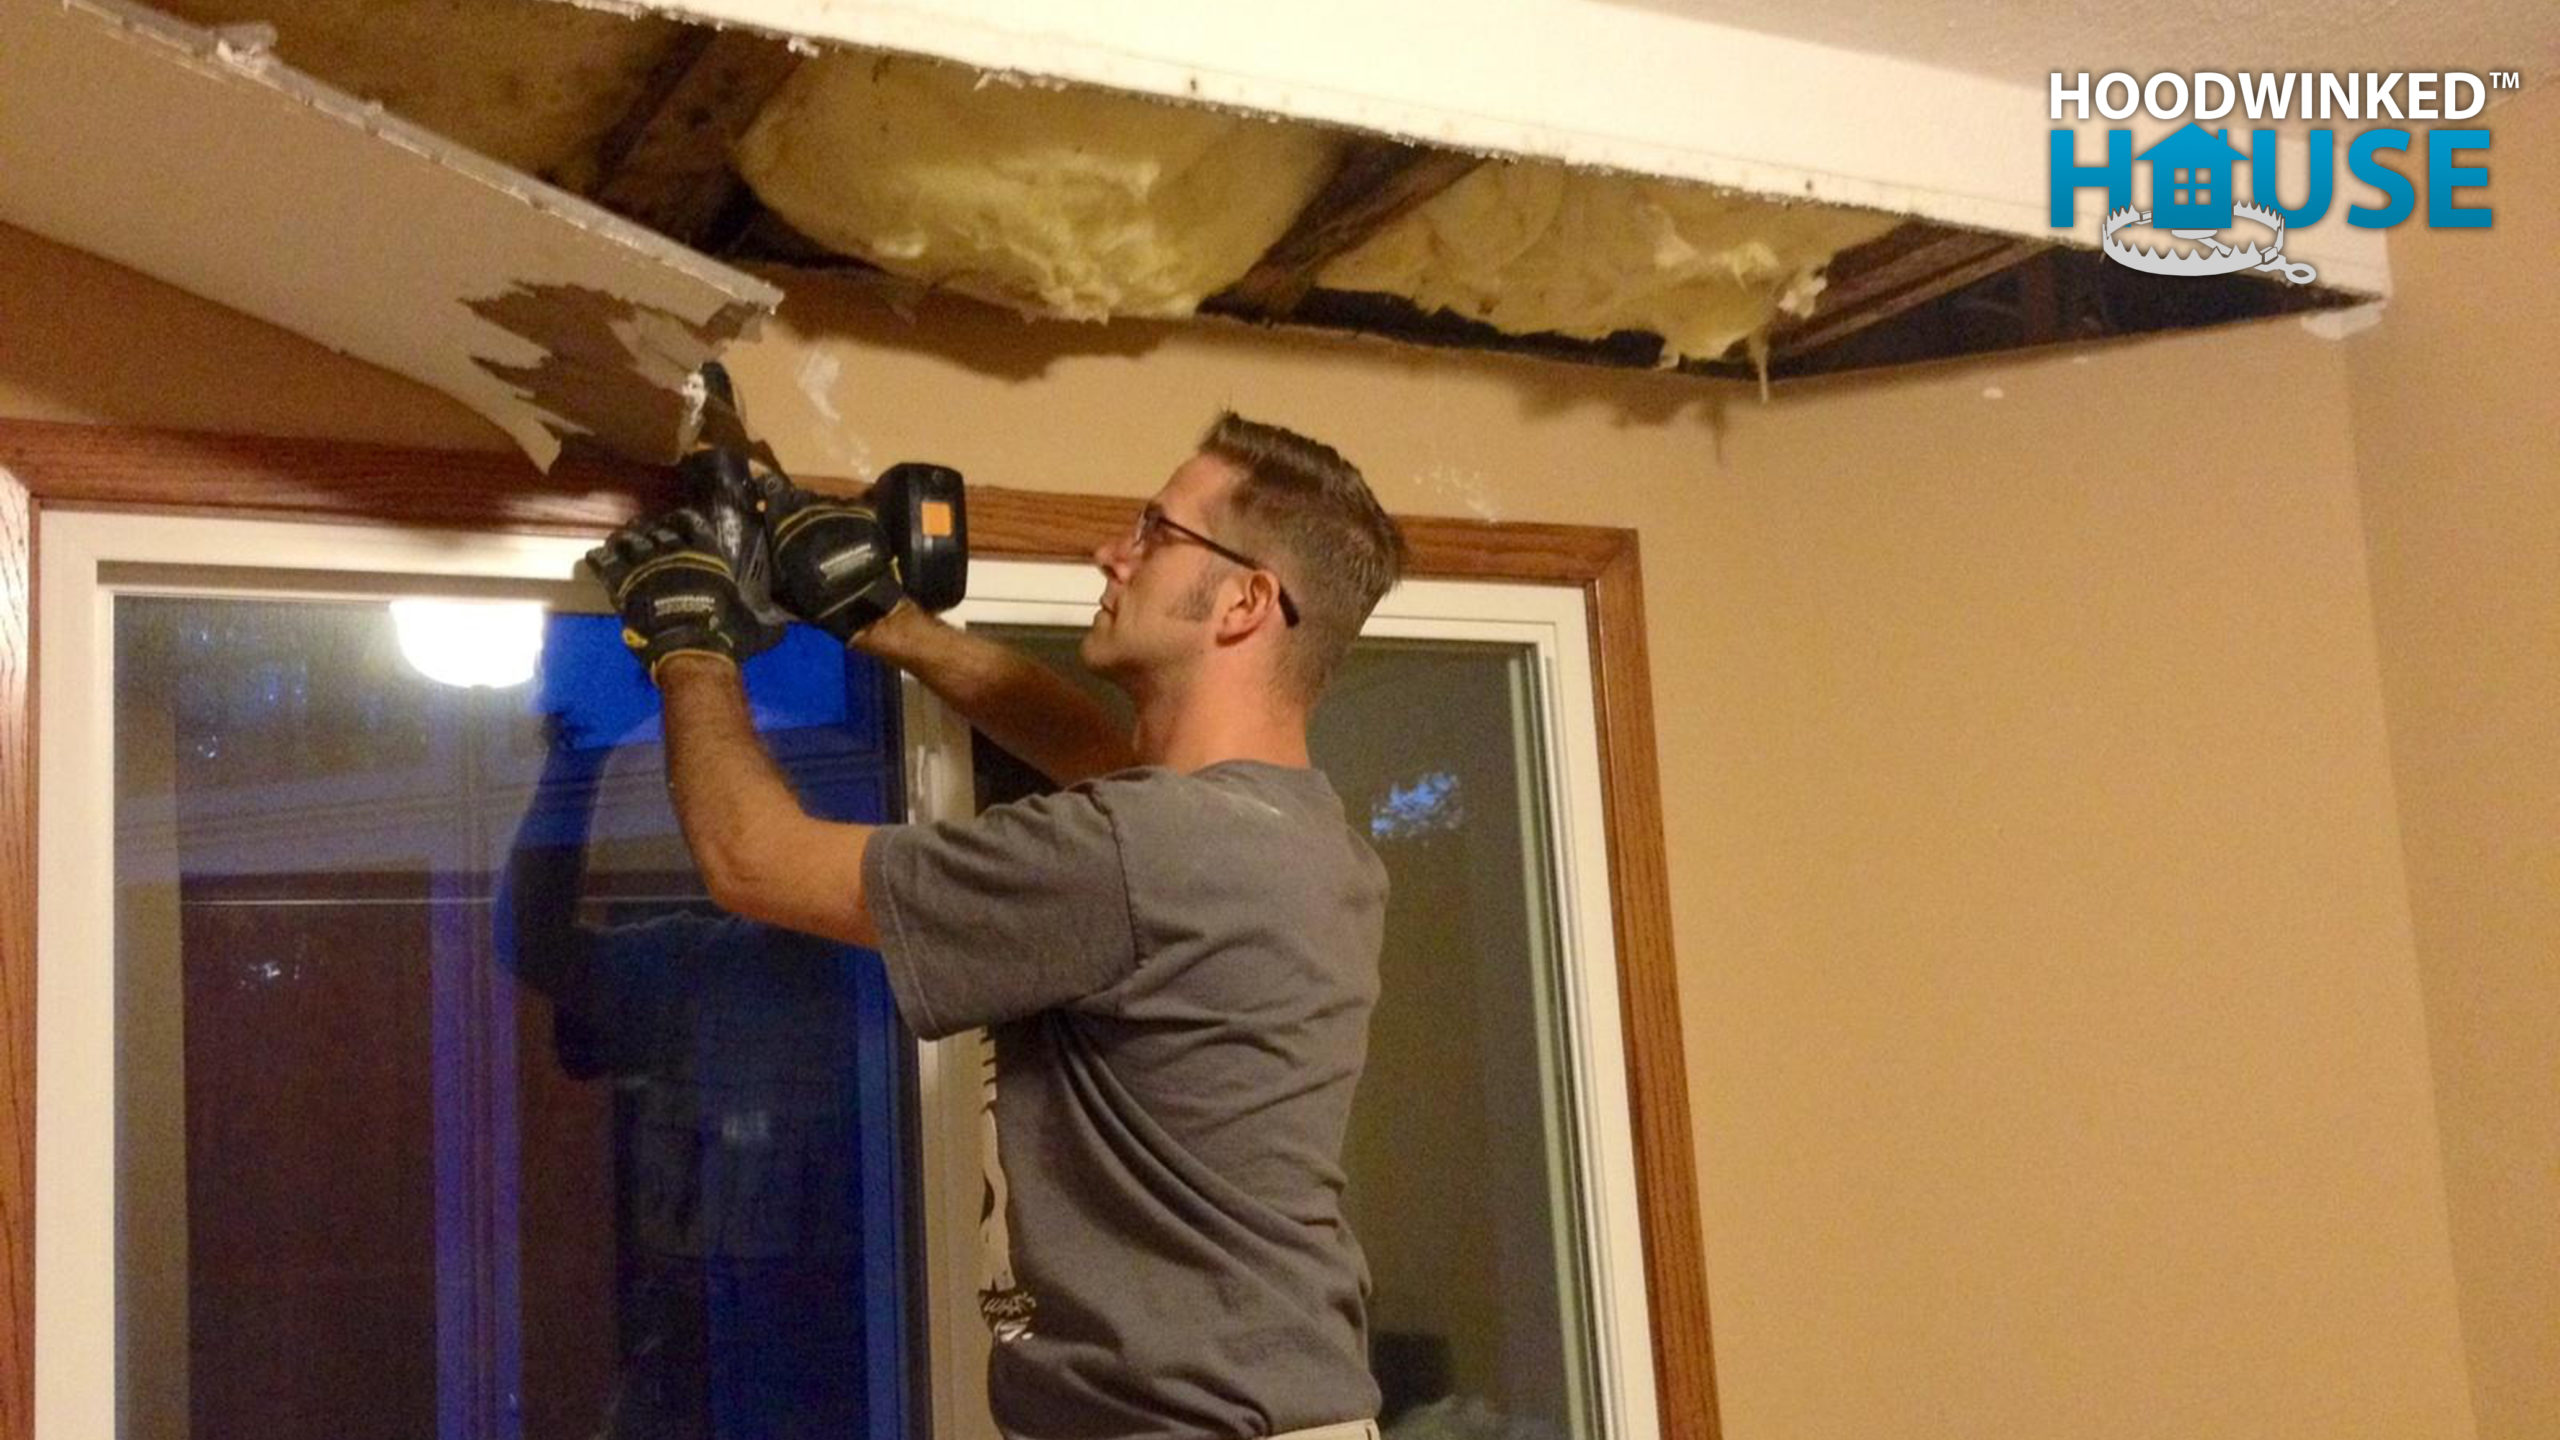
I continue demolishing the damaged bedroom soffit.
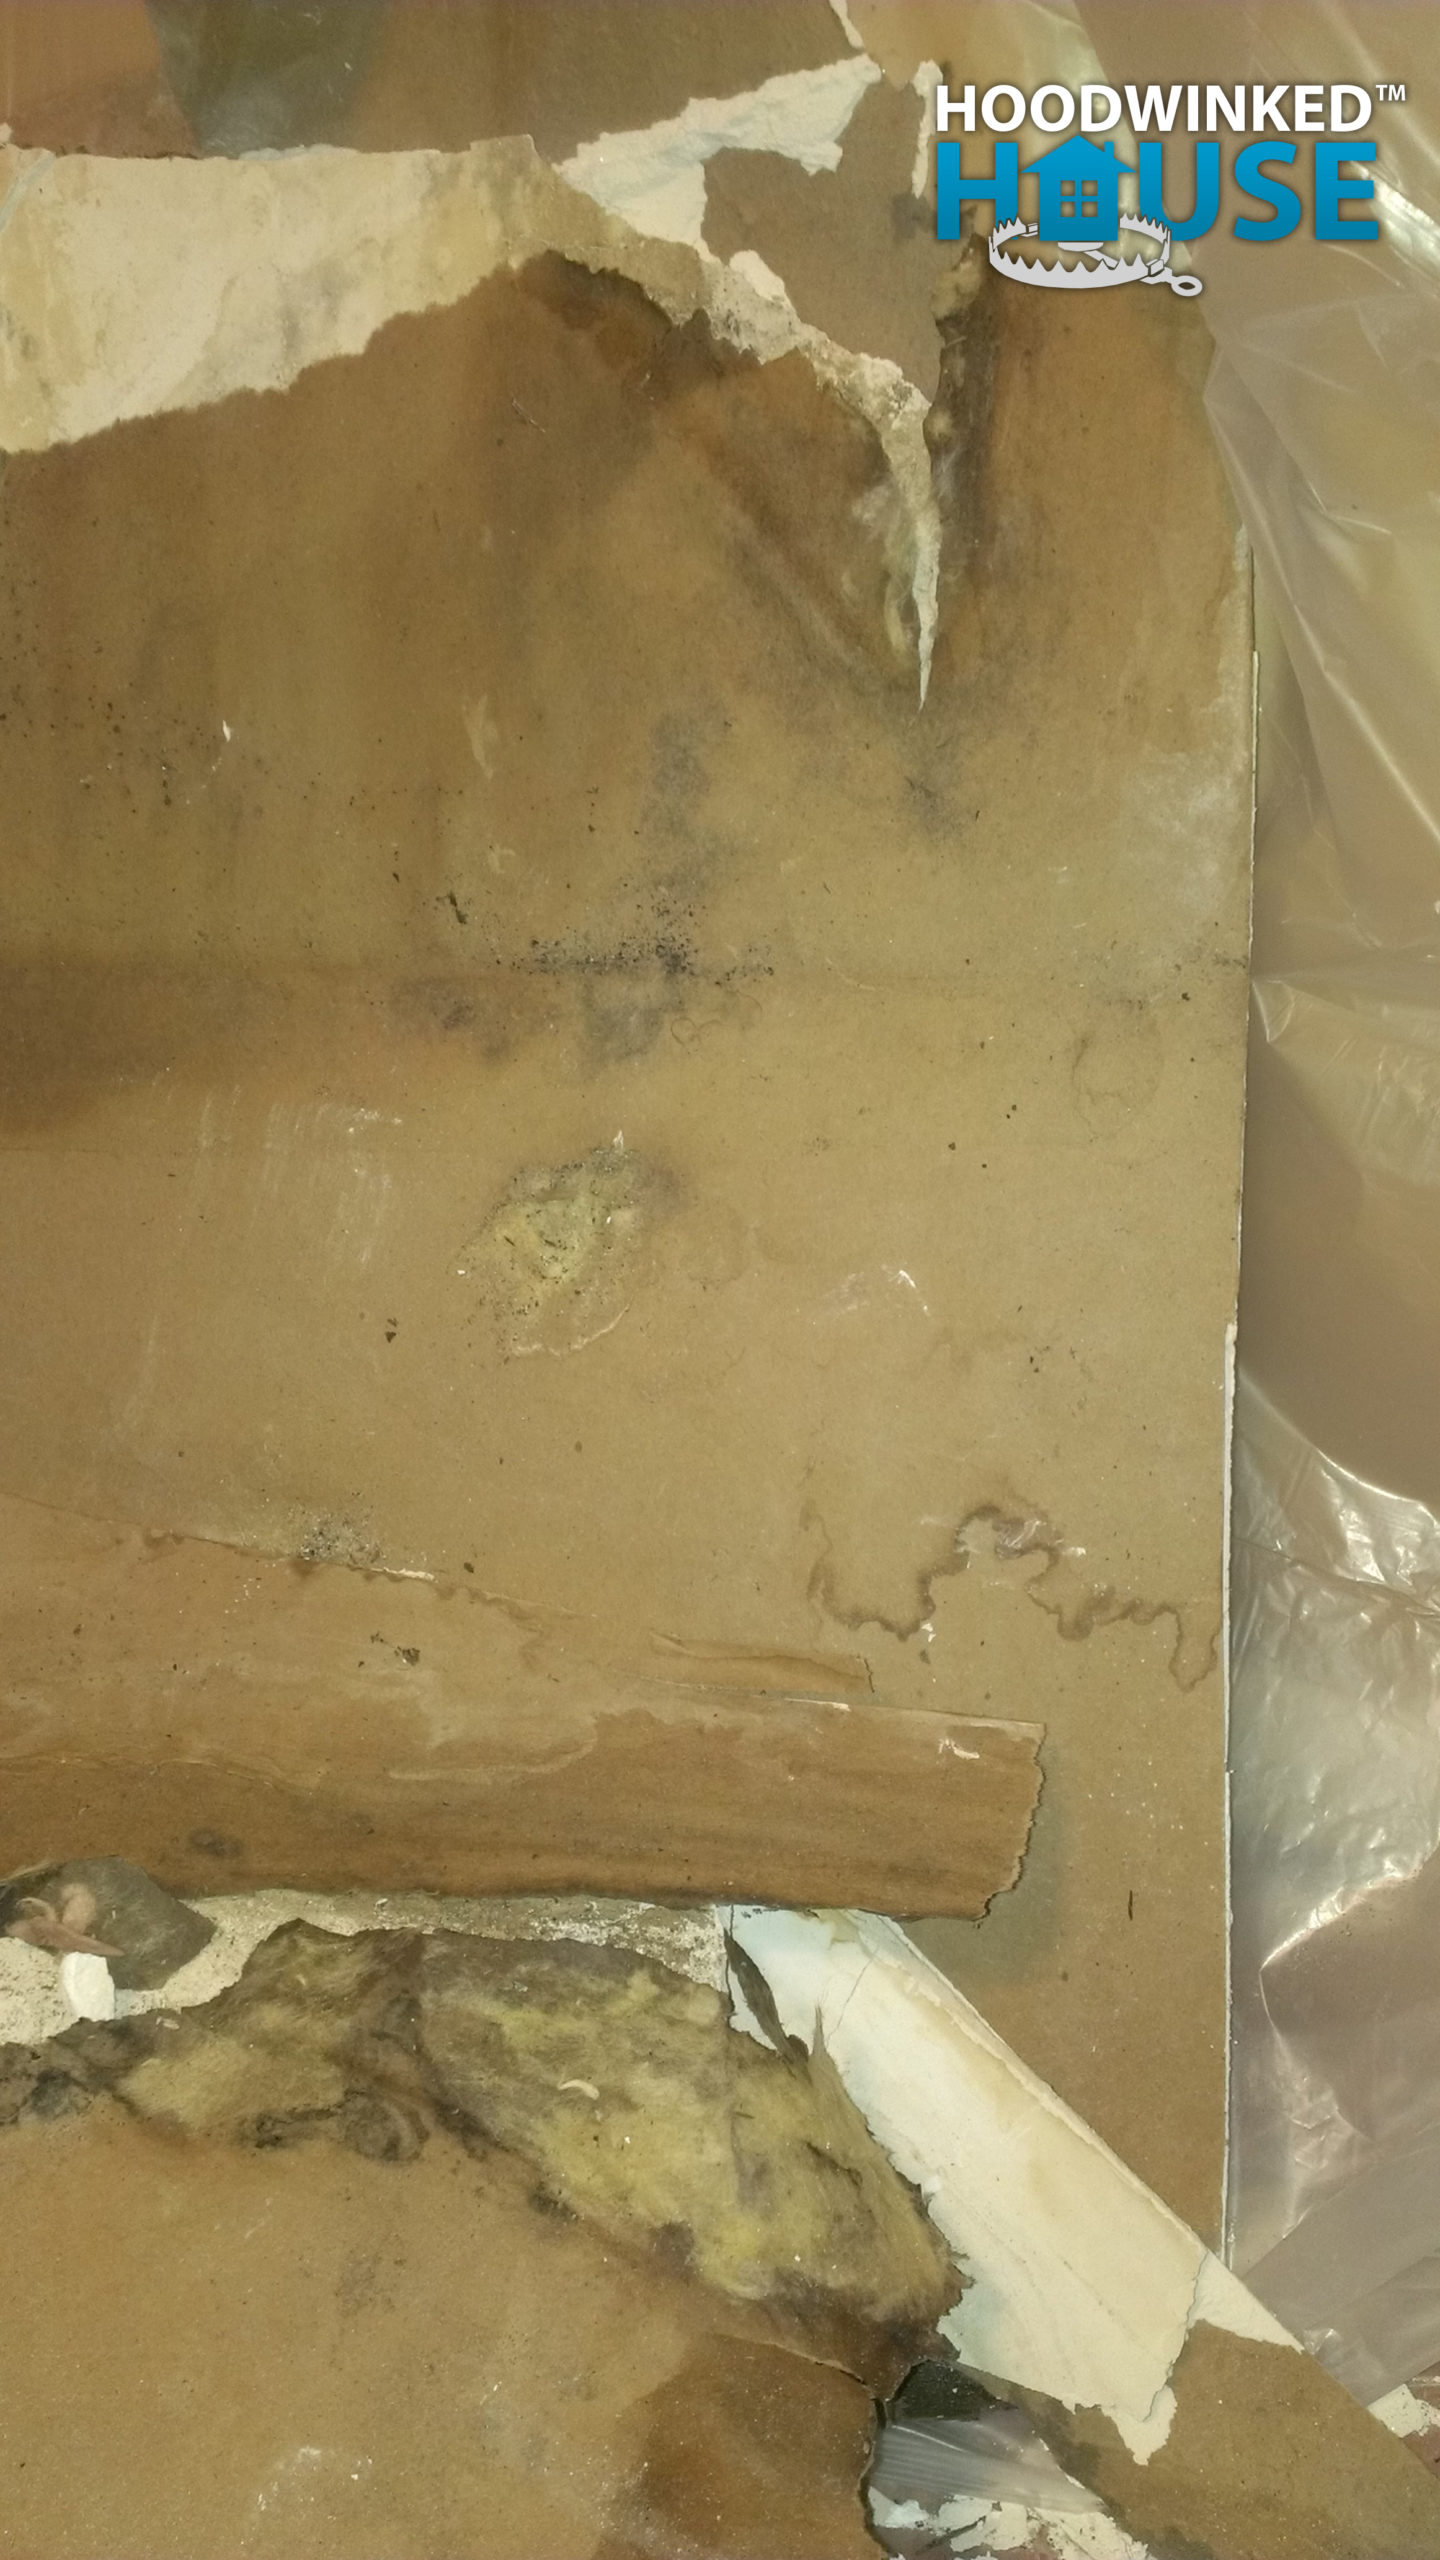
There are two drywall sheets which have been installed with different fasteners, indicating that one of them was installed as part of a separate project. In this photo, the older drywall and insulation is on the left, and the newer drywall is on the right.

The larger pieces of newer drywall show evidence of this past year’s water damage.
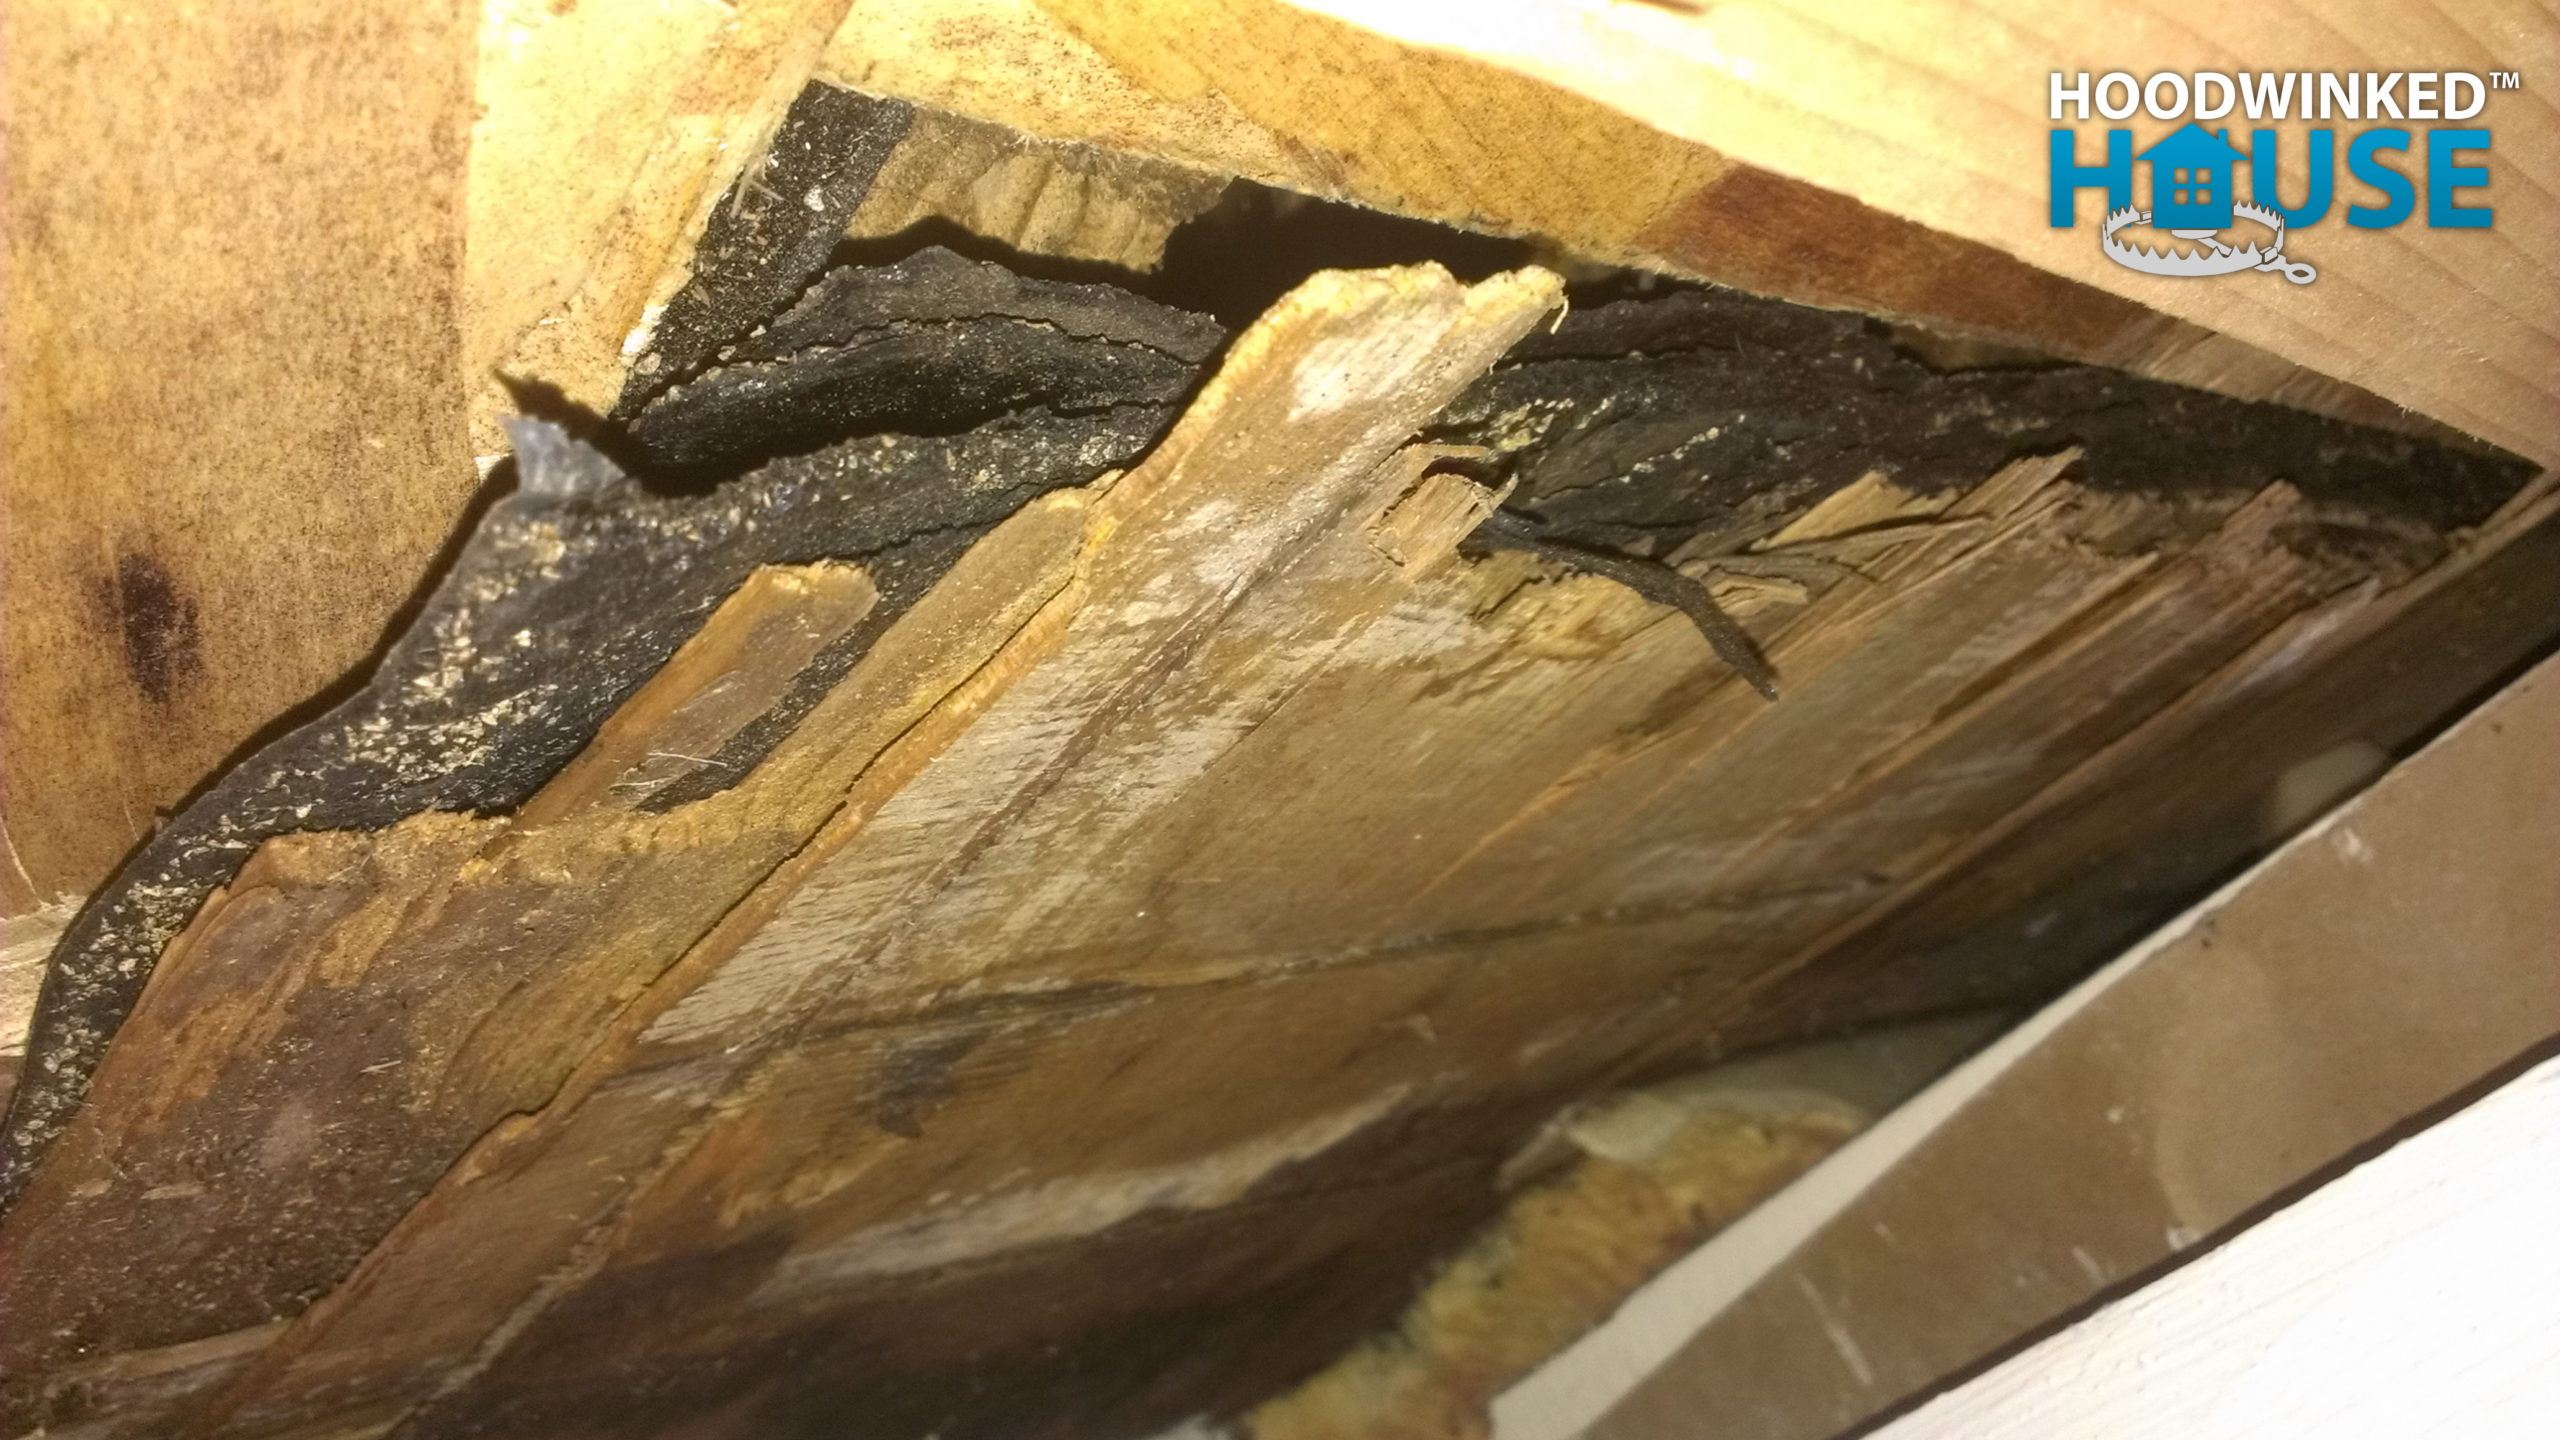
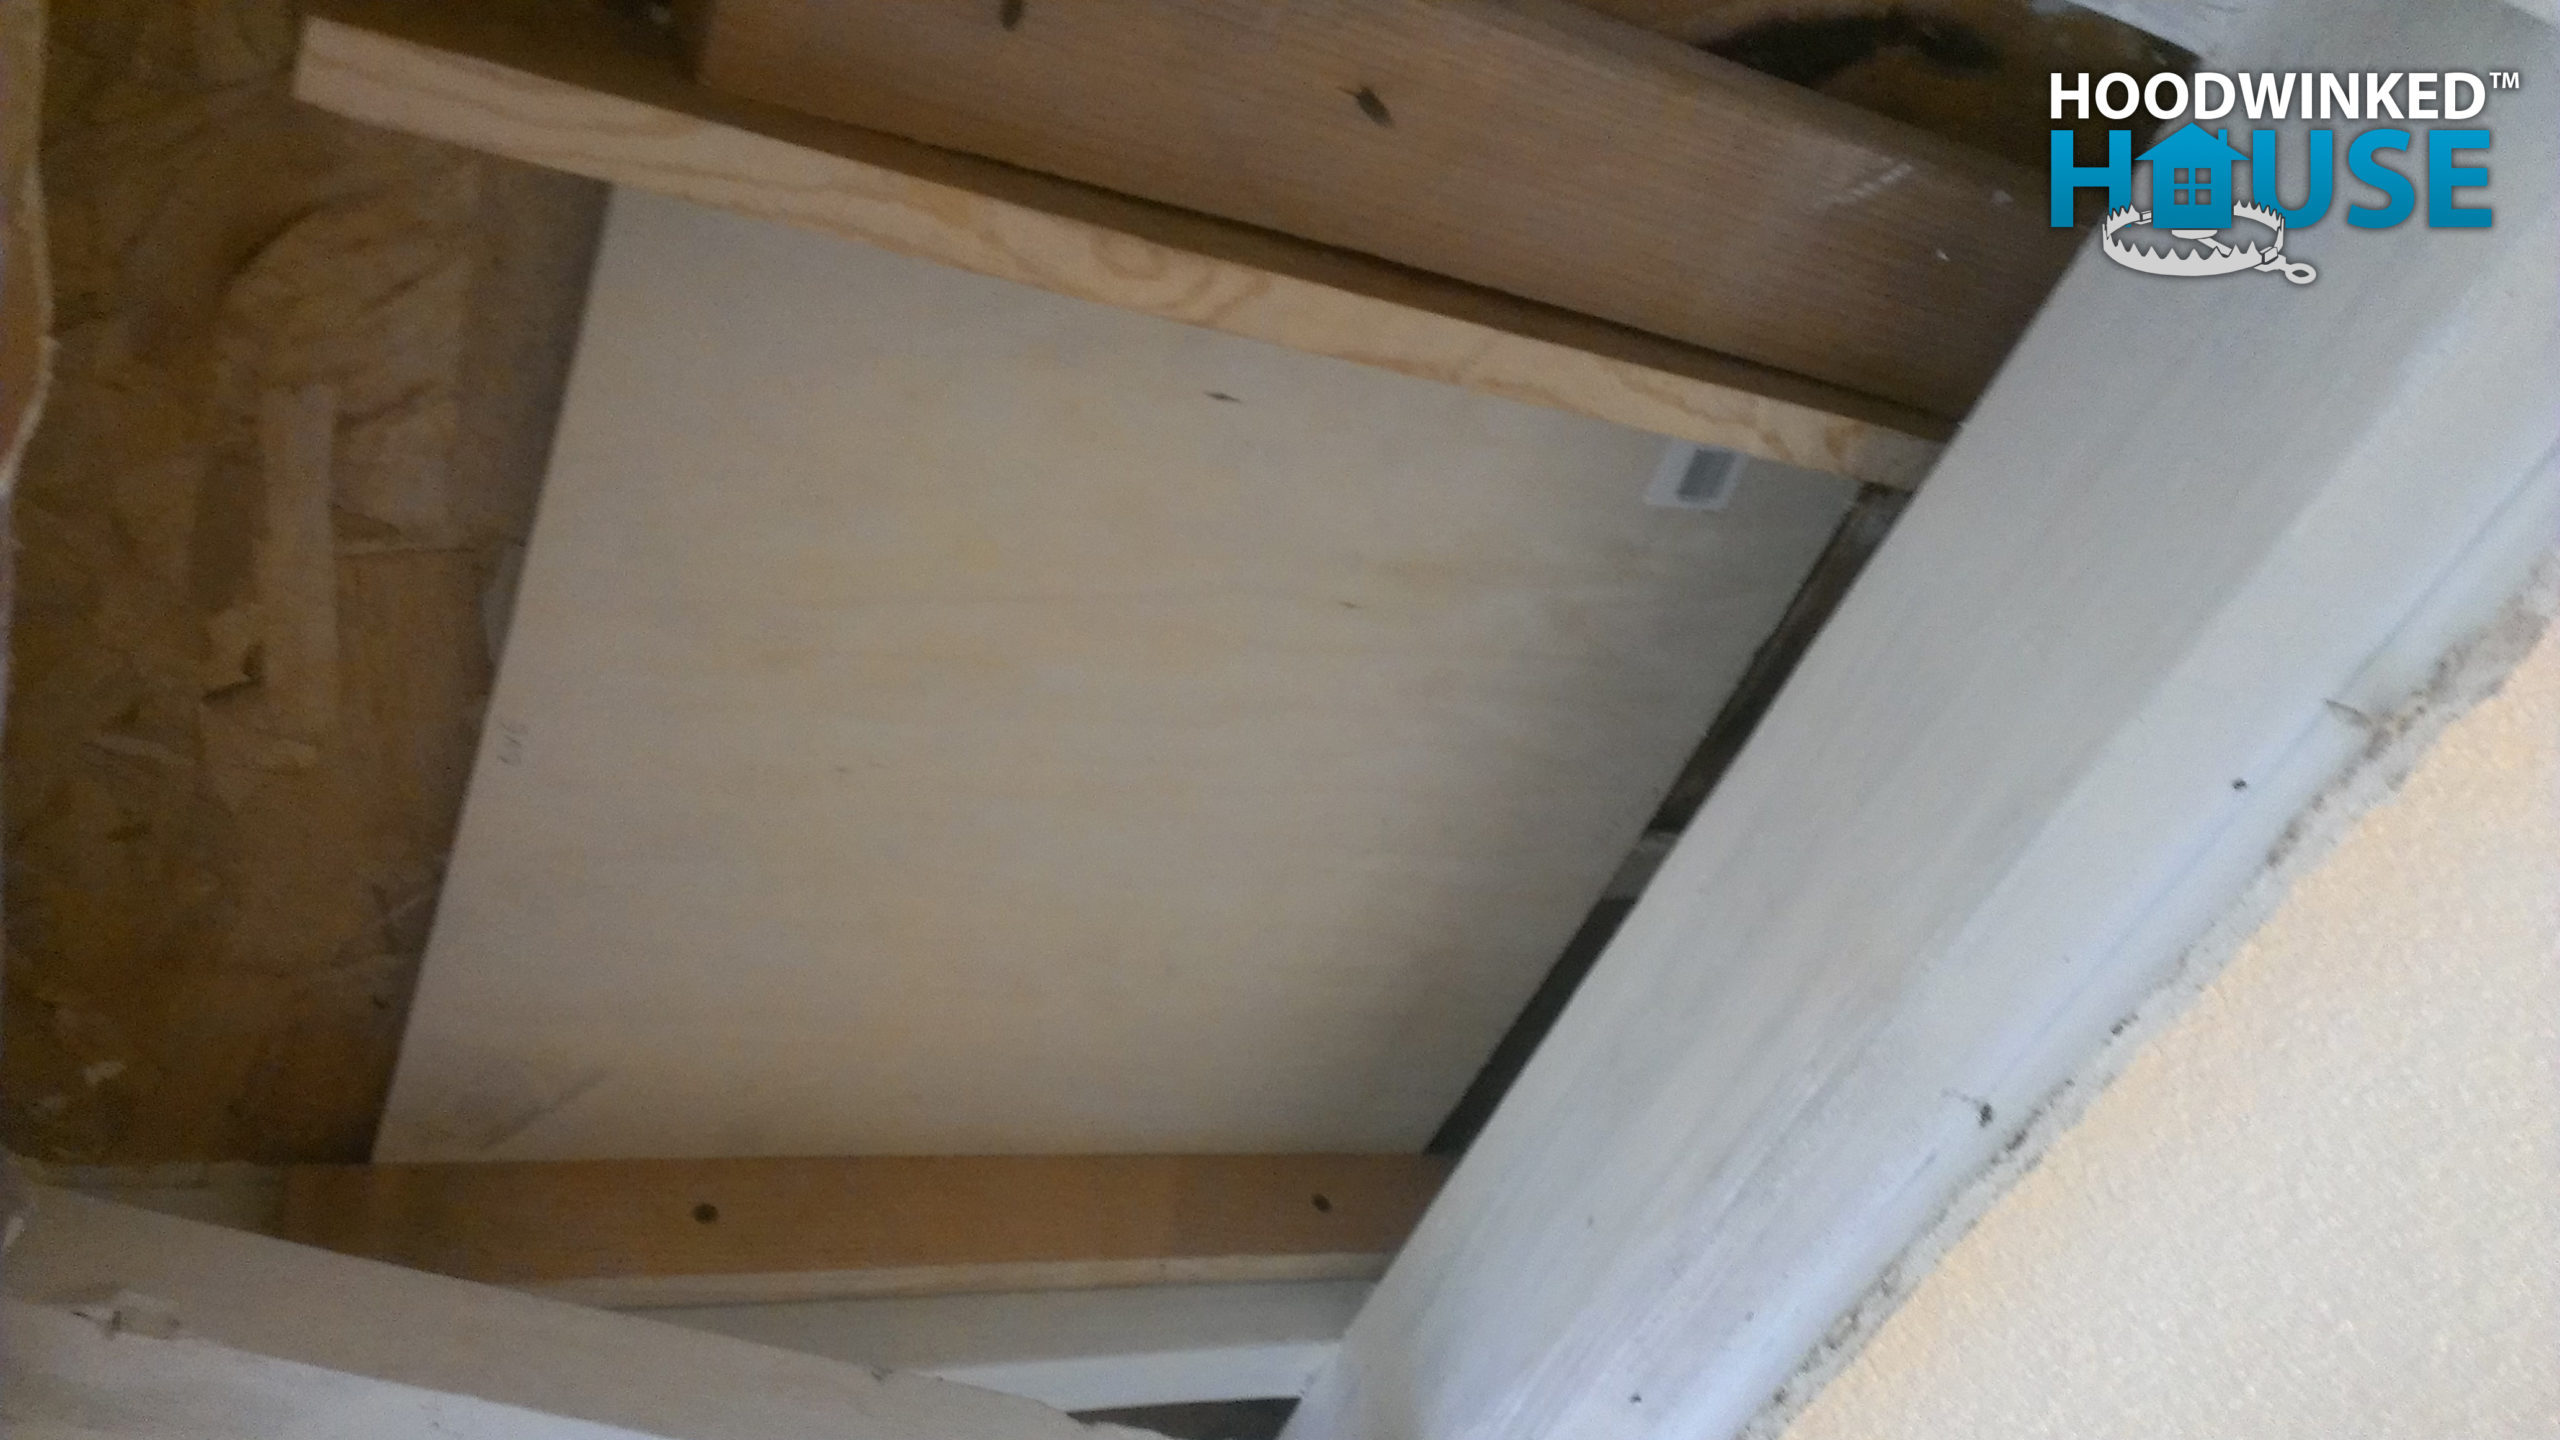
When I remove the insulation, I discover that a large portion of the roof sheathing has been replaced with overlapping older, damaged sheathing from previous ice dams. Portions of the original sheathing are rotted and caved-in, with its original shingles still visible from the underside.
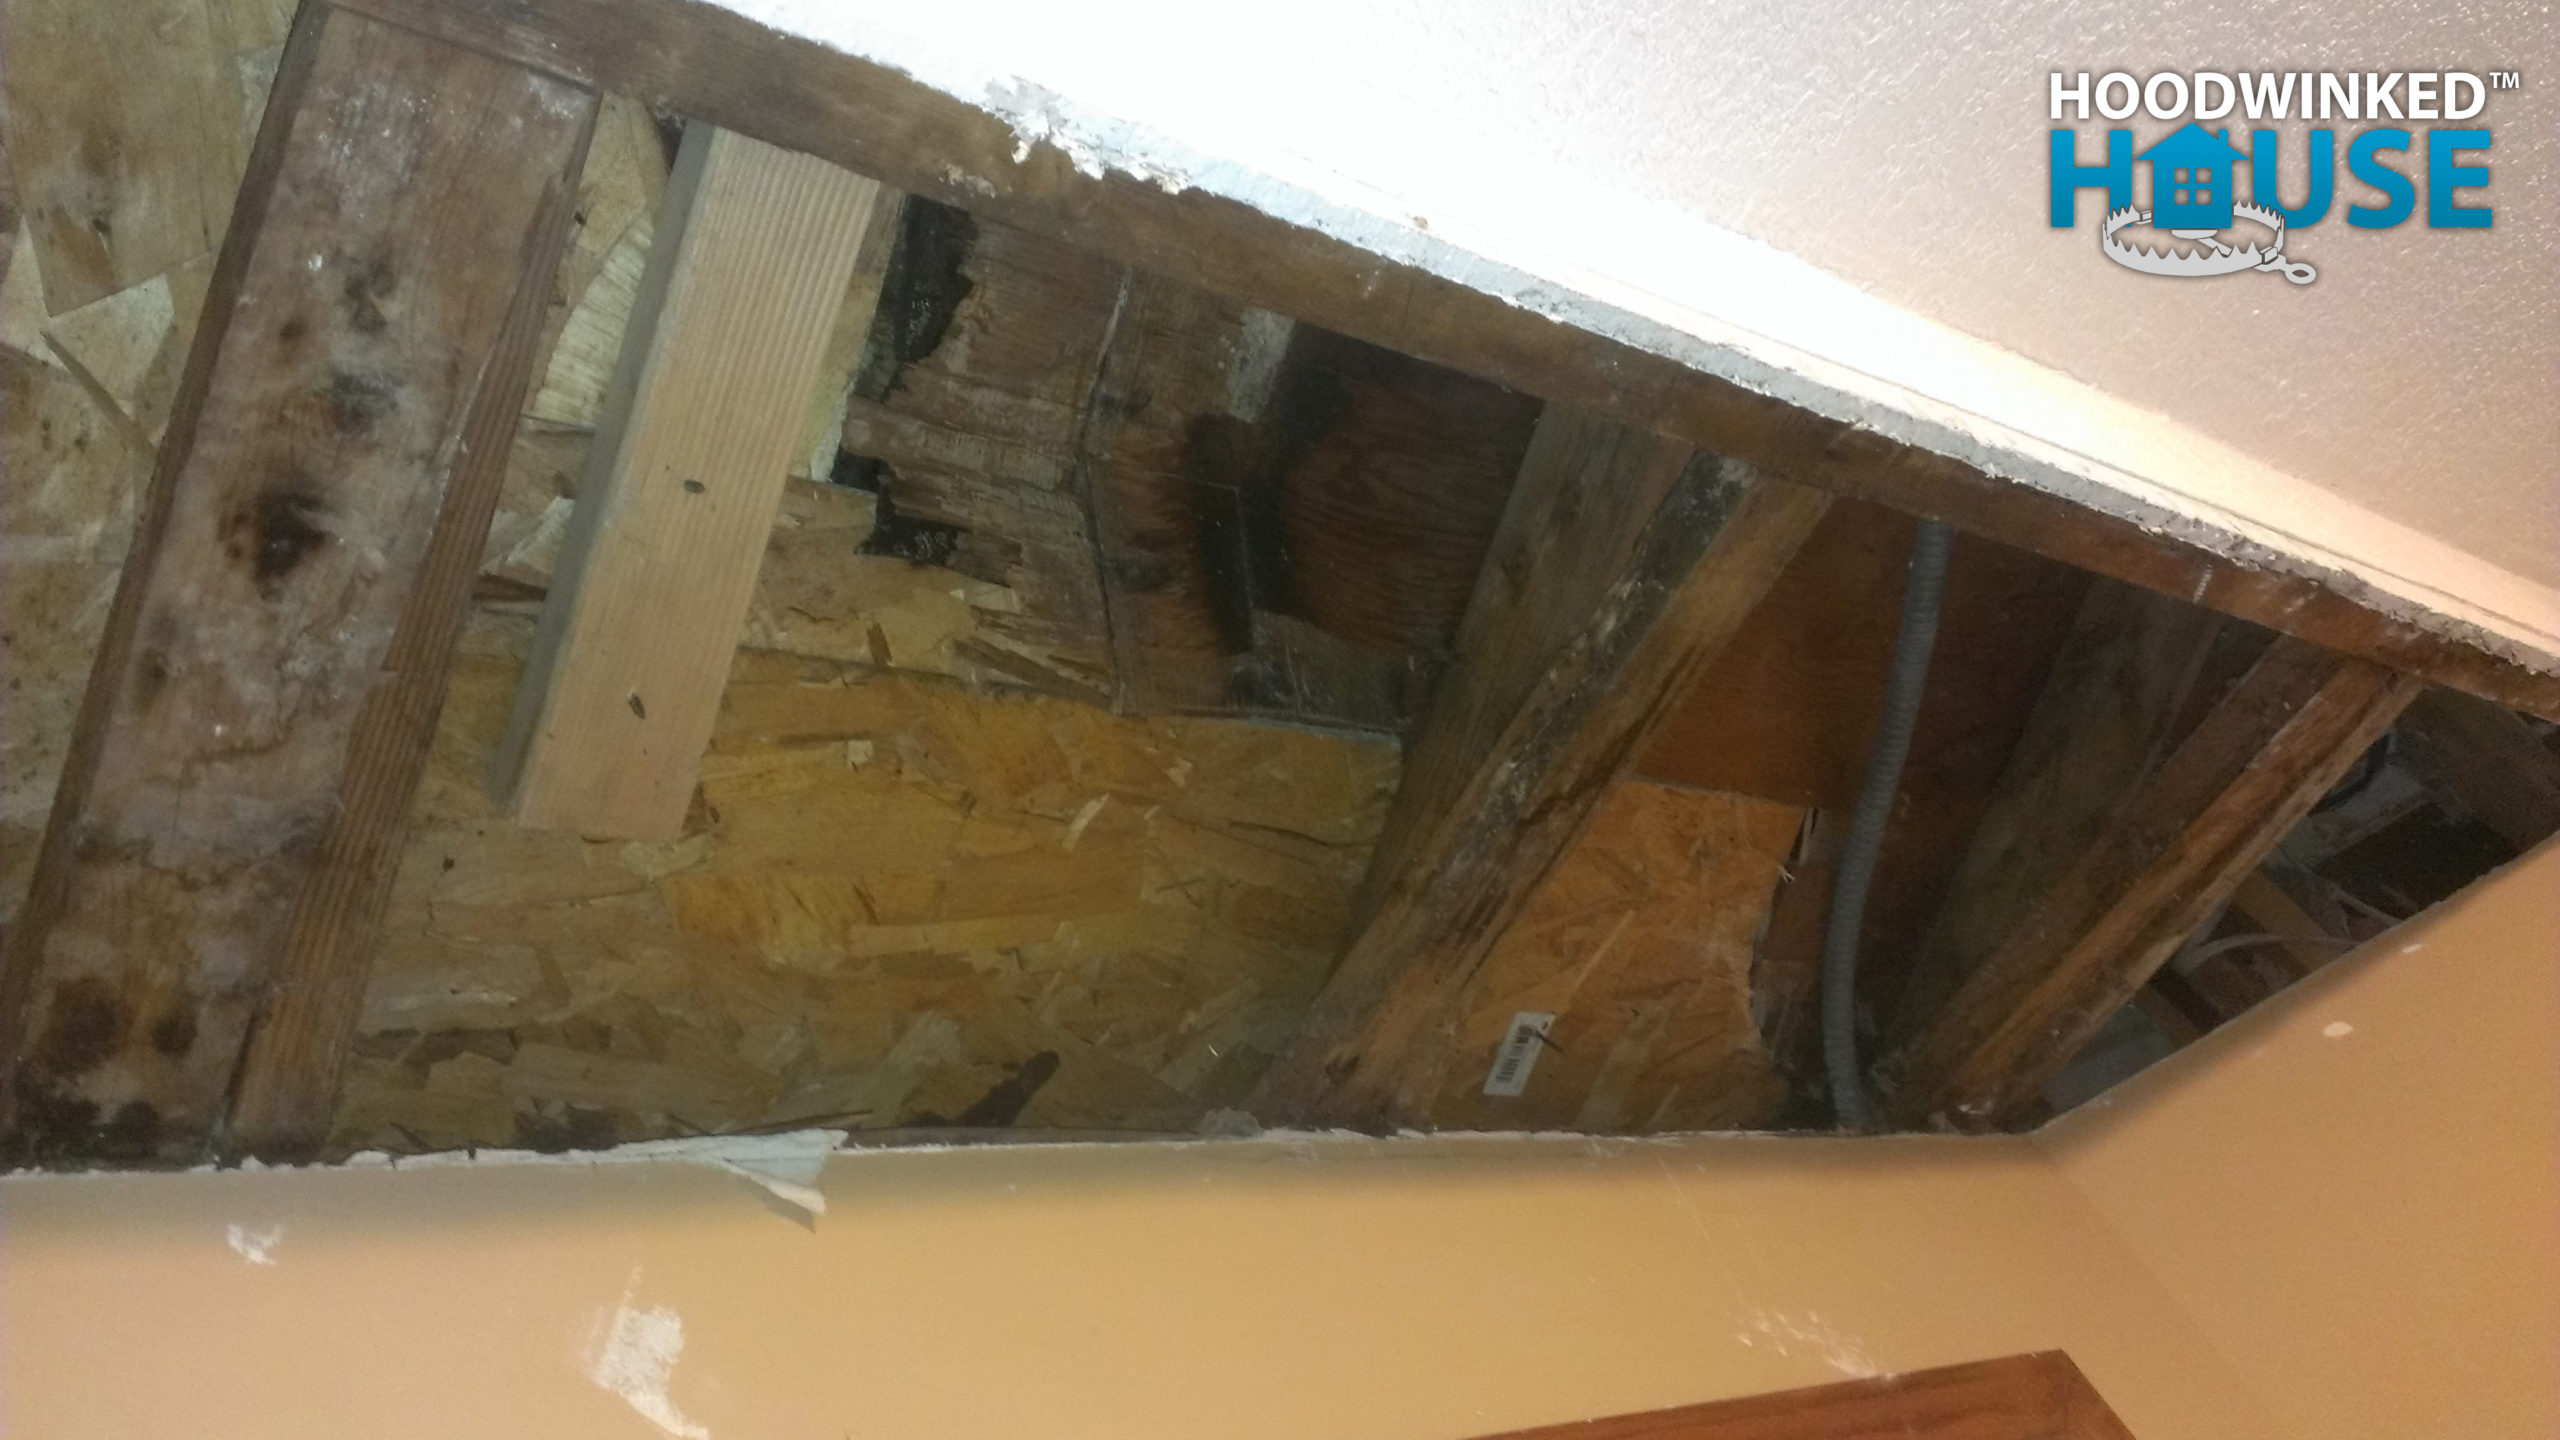
This date stamp on the new sheathing proves that this was recent work, completed shortly before the home went on the market in late 2012, and only a few months before I bought it. No permit was ever pulled for this work. This shoddy roofing project is likely the source of the shingles we’ve found buried throughout the back yard.

Frequent trips to the attic have raised the chances for an accident. I decide to build some simple “rat runs” to make navigating the attic safer and faster.
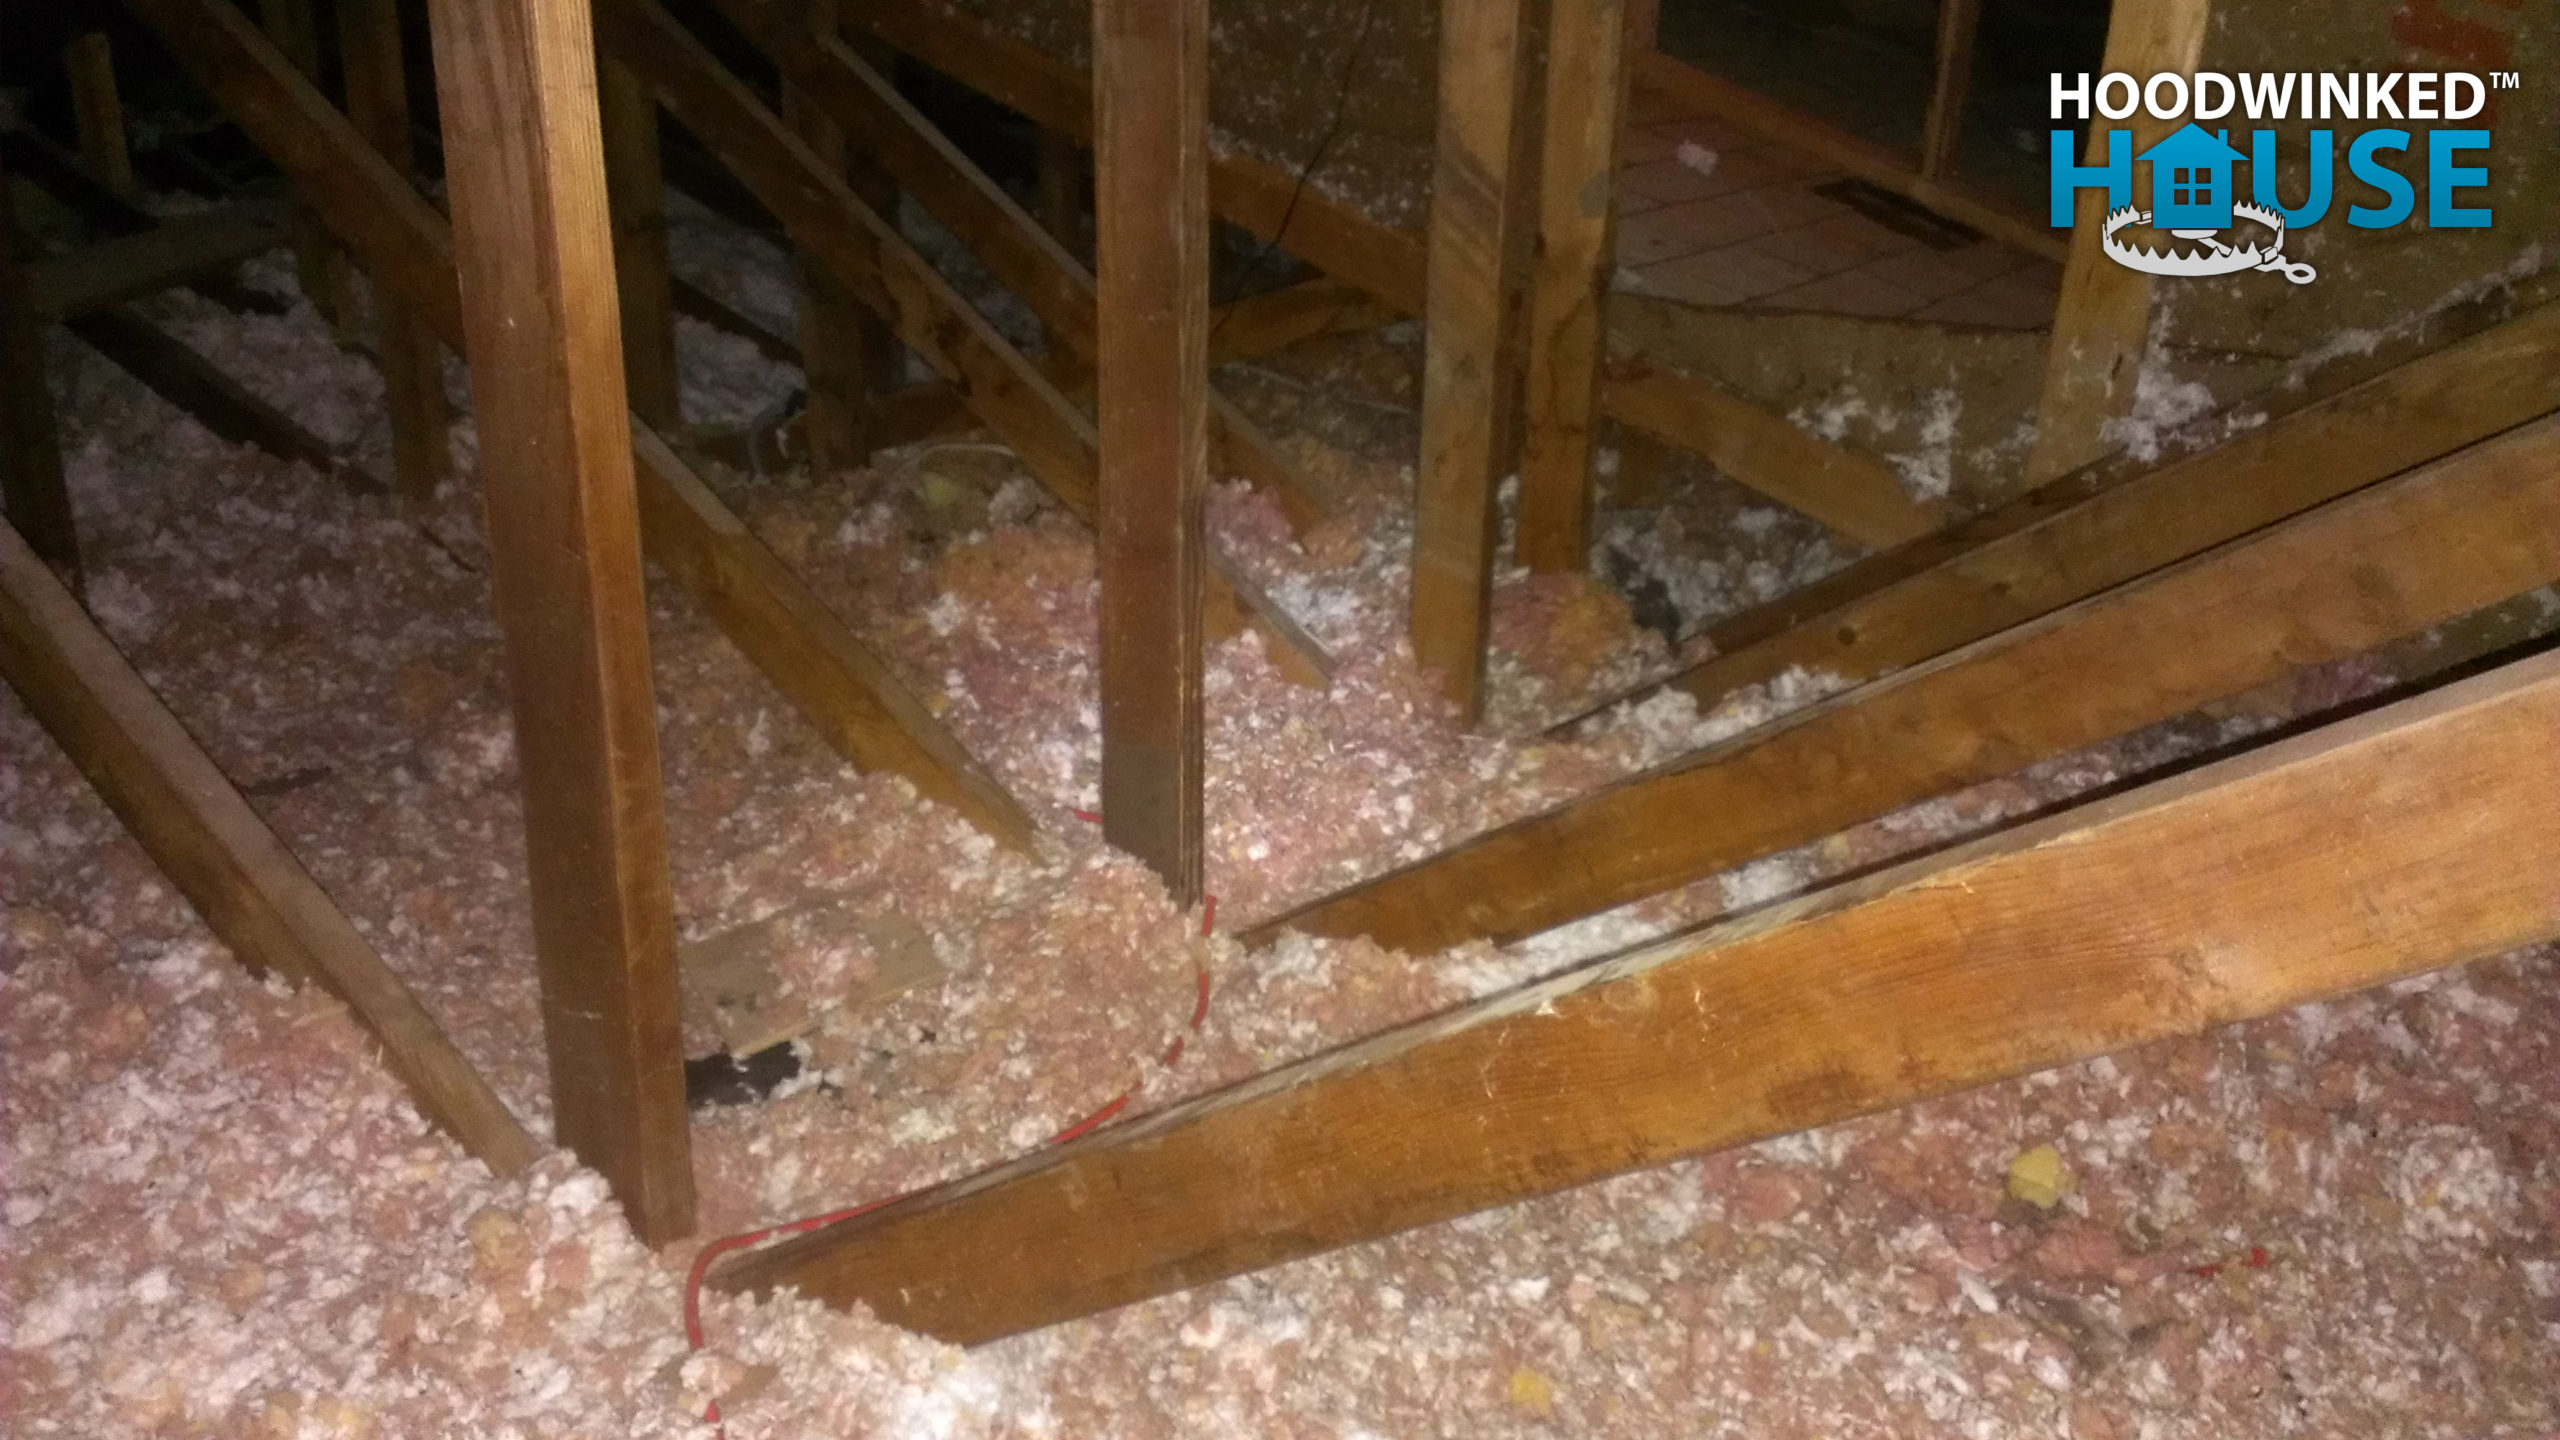
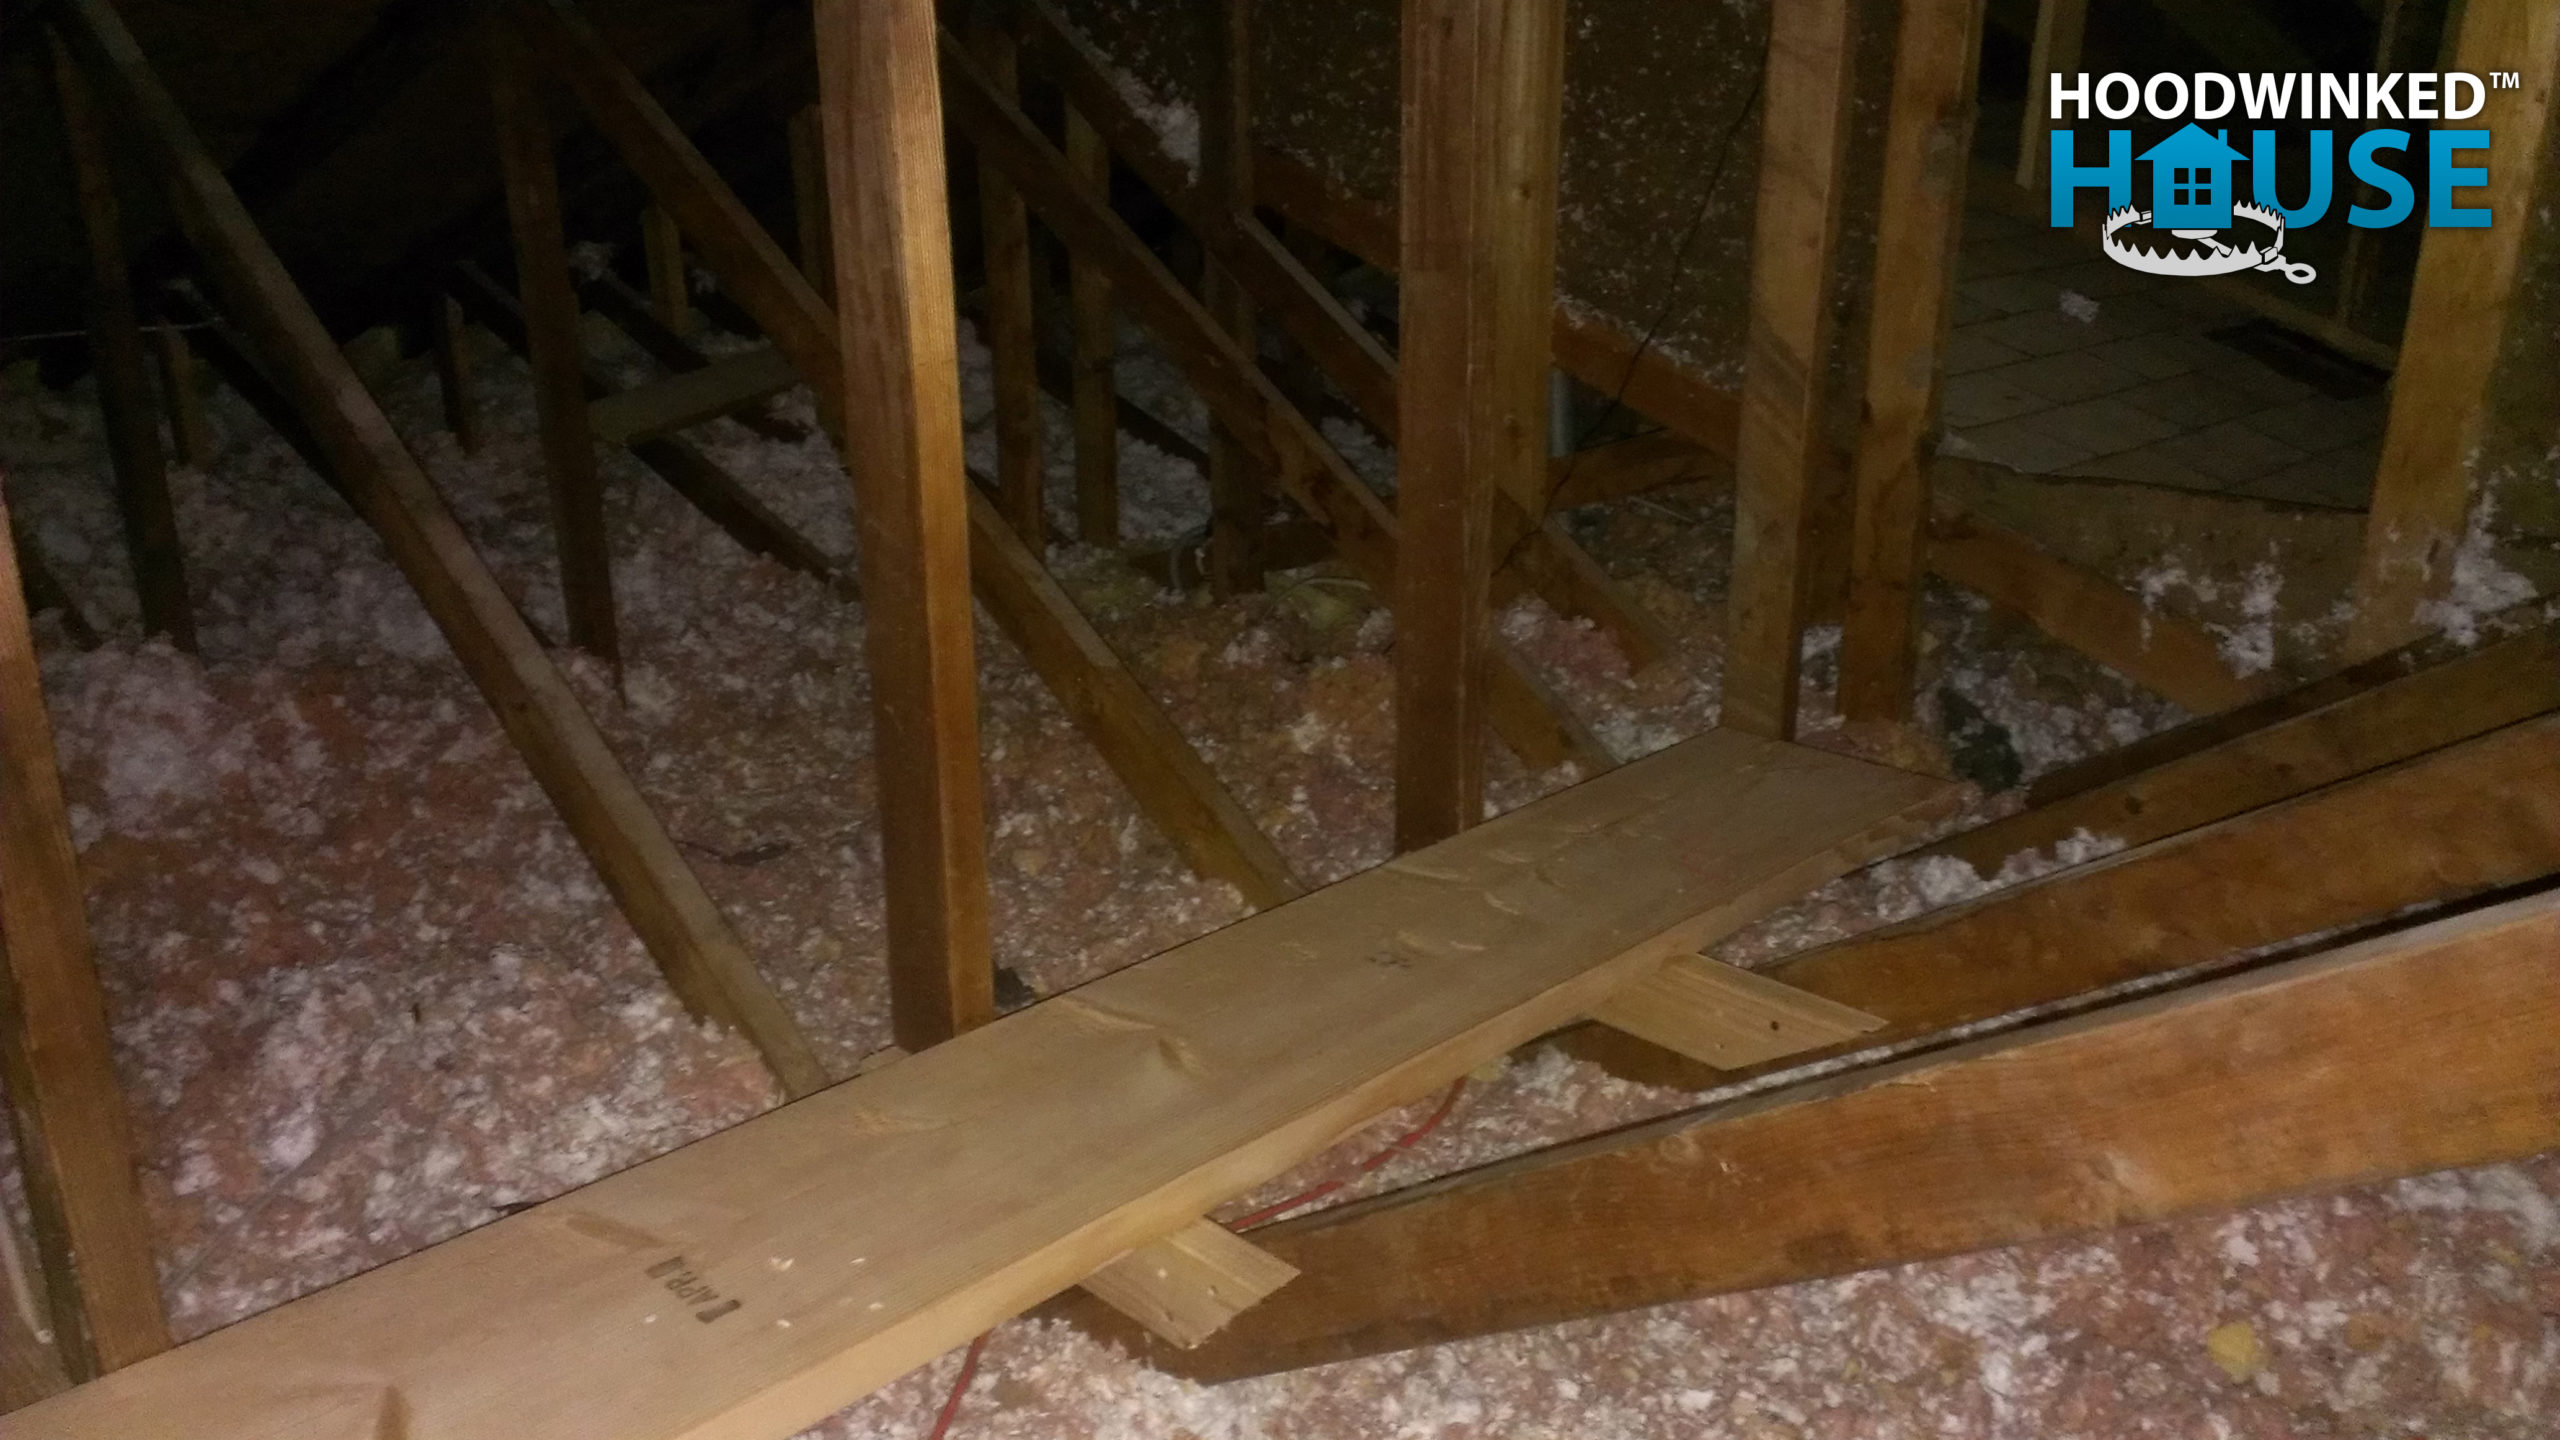
I continue work on the attic rat runs. Despite the cooler weather, the attic is still sweltering hot when wearing long sleeves, a dust mask, and other protective gear.
I complete work on the attic rat runs ($89.45). I will feel much safer working on the insulation above the ceiling.

I contact the same roofer who repaired damage from the ice dams for advice on the shoddy sheathing. While the flipper’s work is certainly not done properly, the roofer is convinced that the new flashing, tarpaper, and ice shield have made the roof watertight. Recent rains have proved him correct, and the bedroom is staying dry.
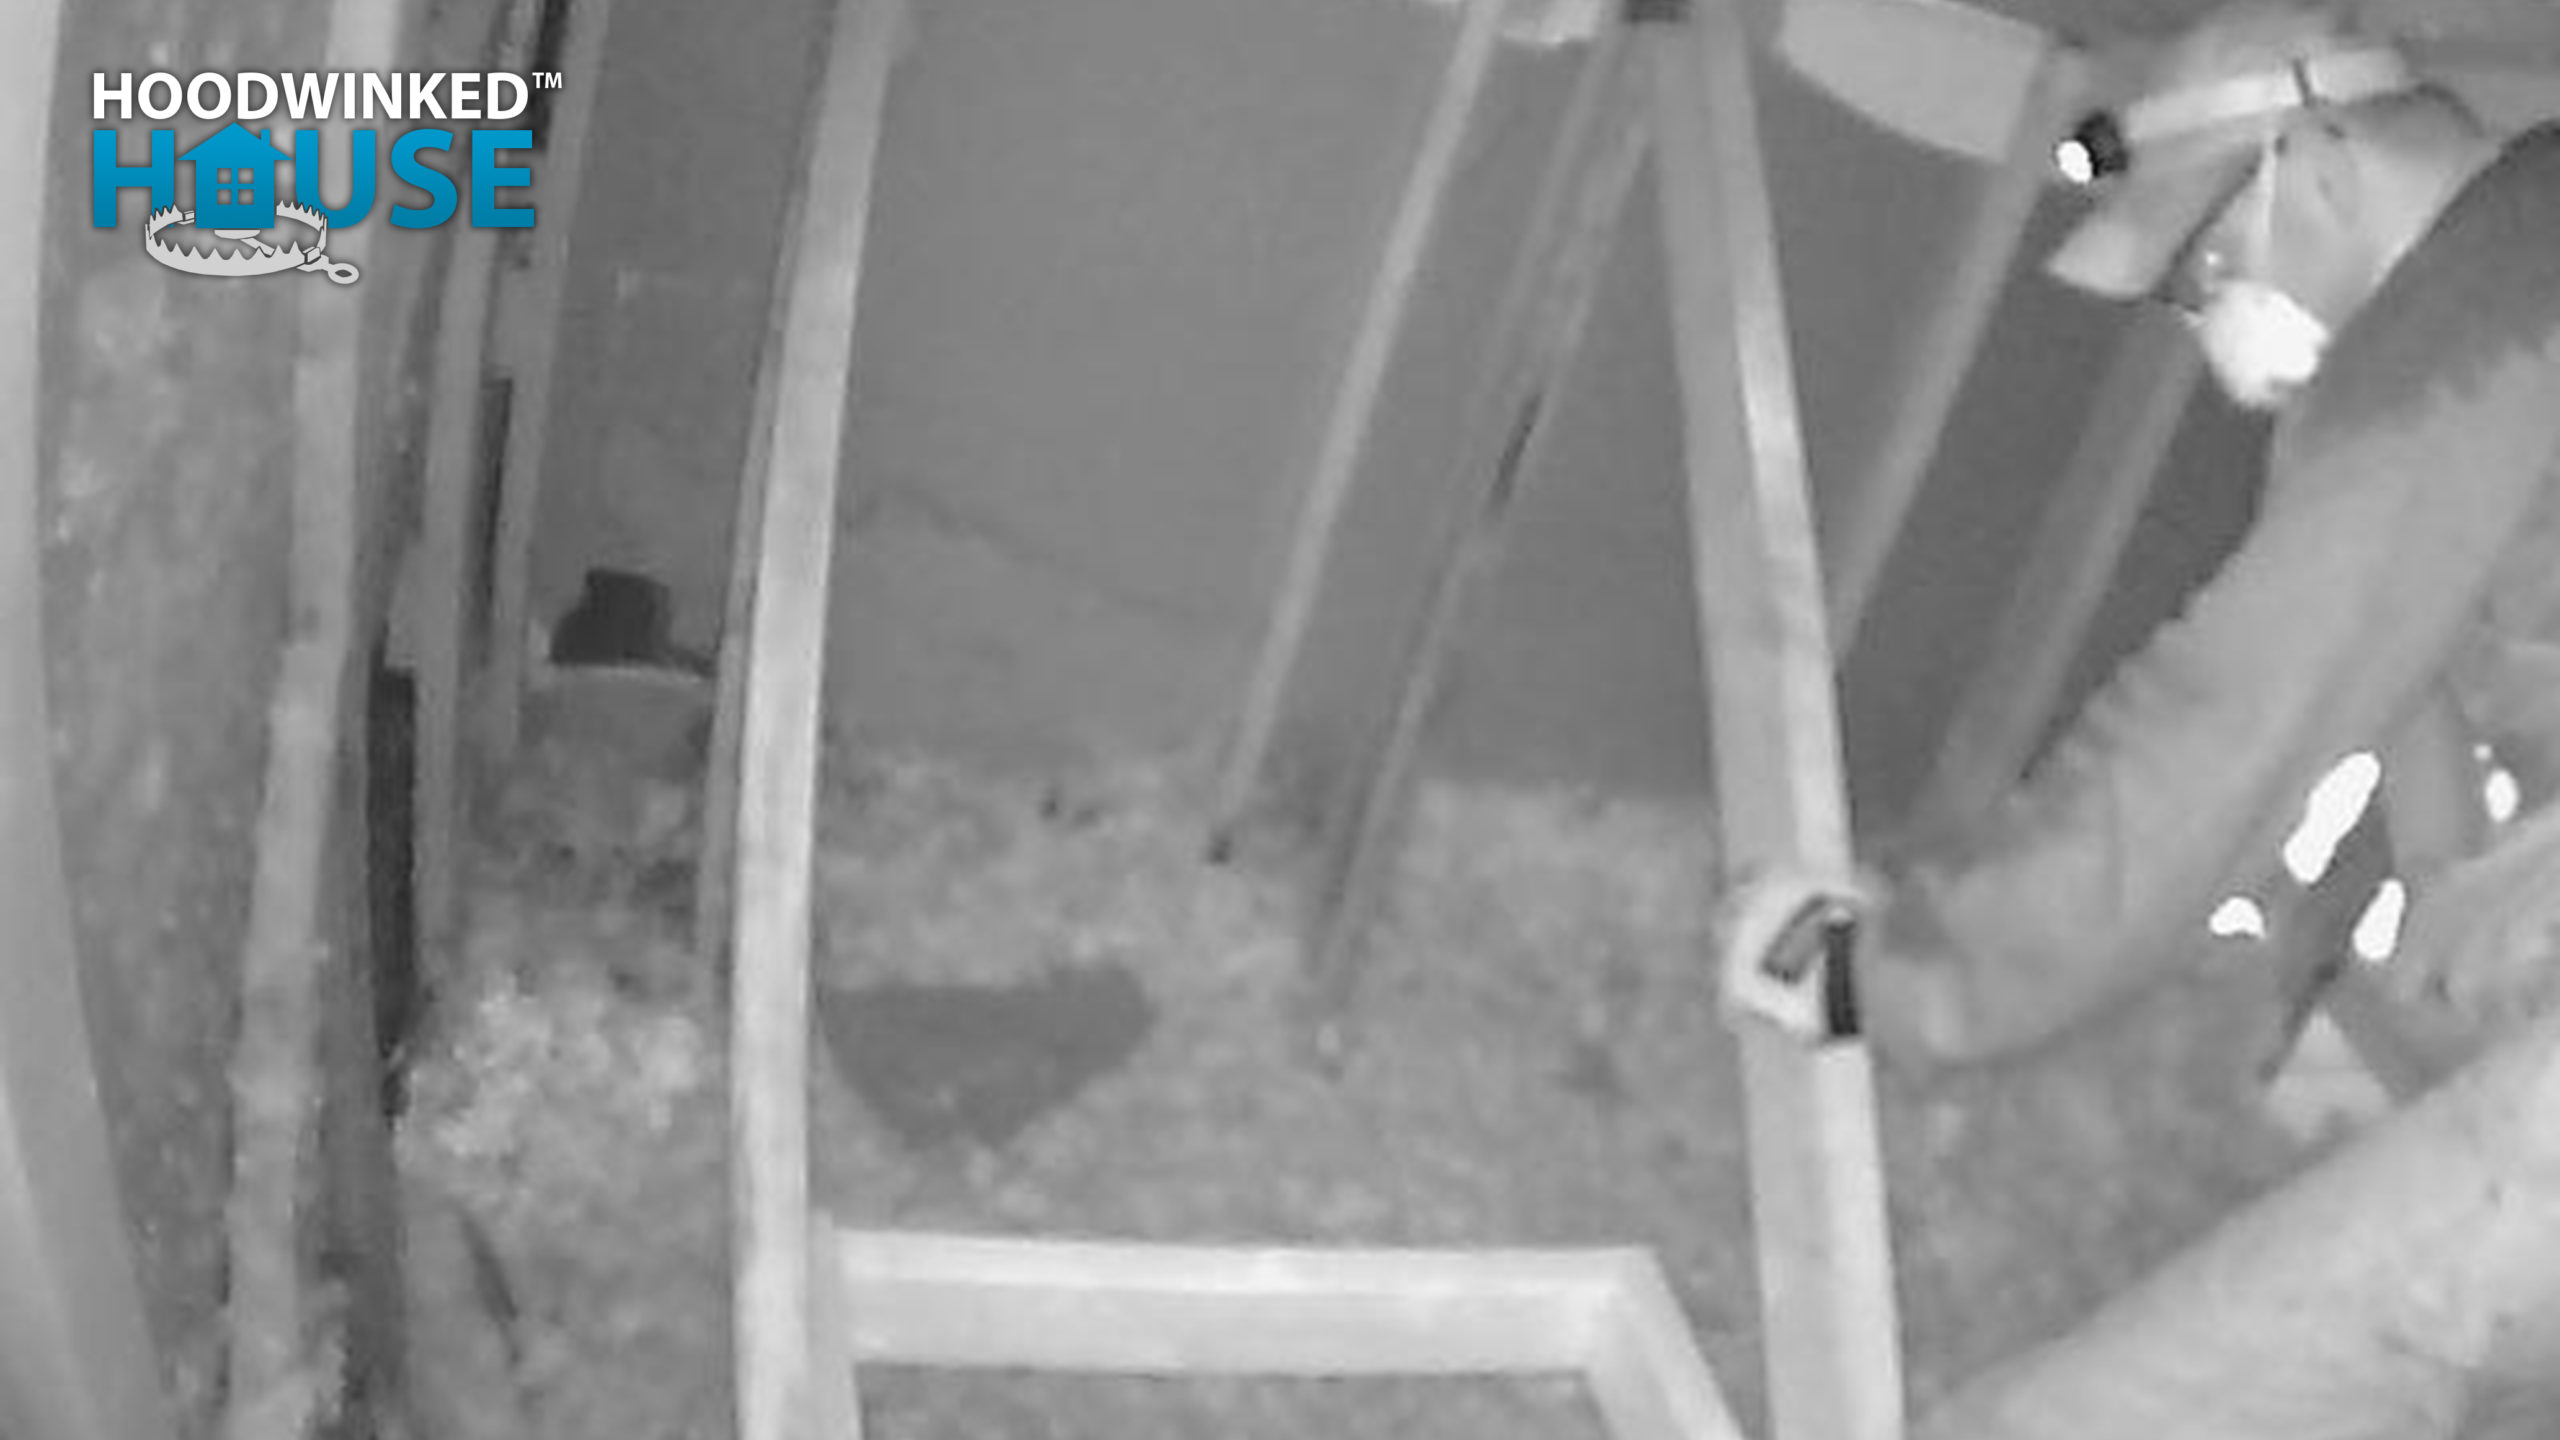
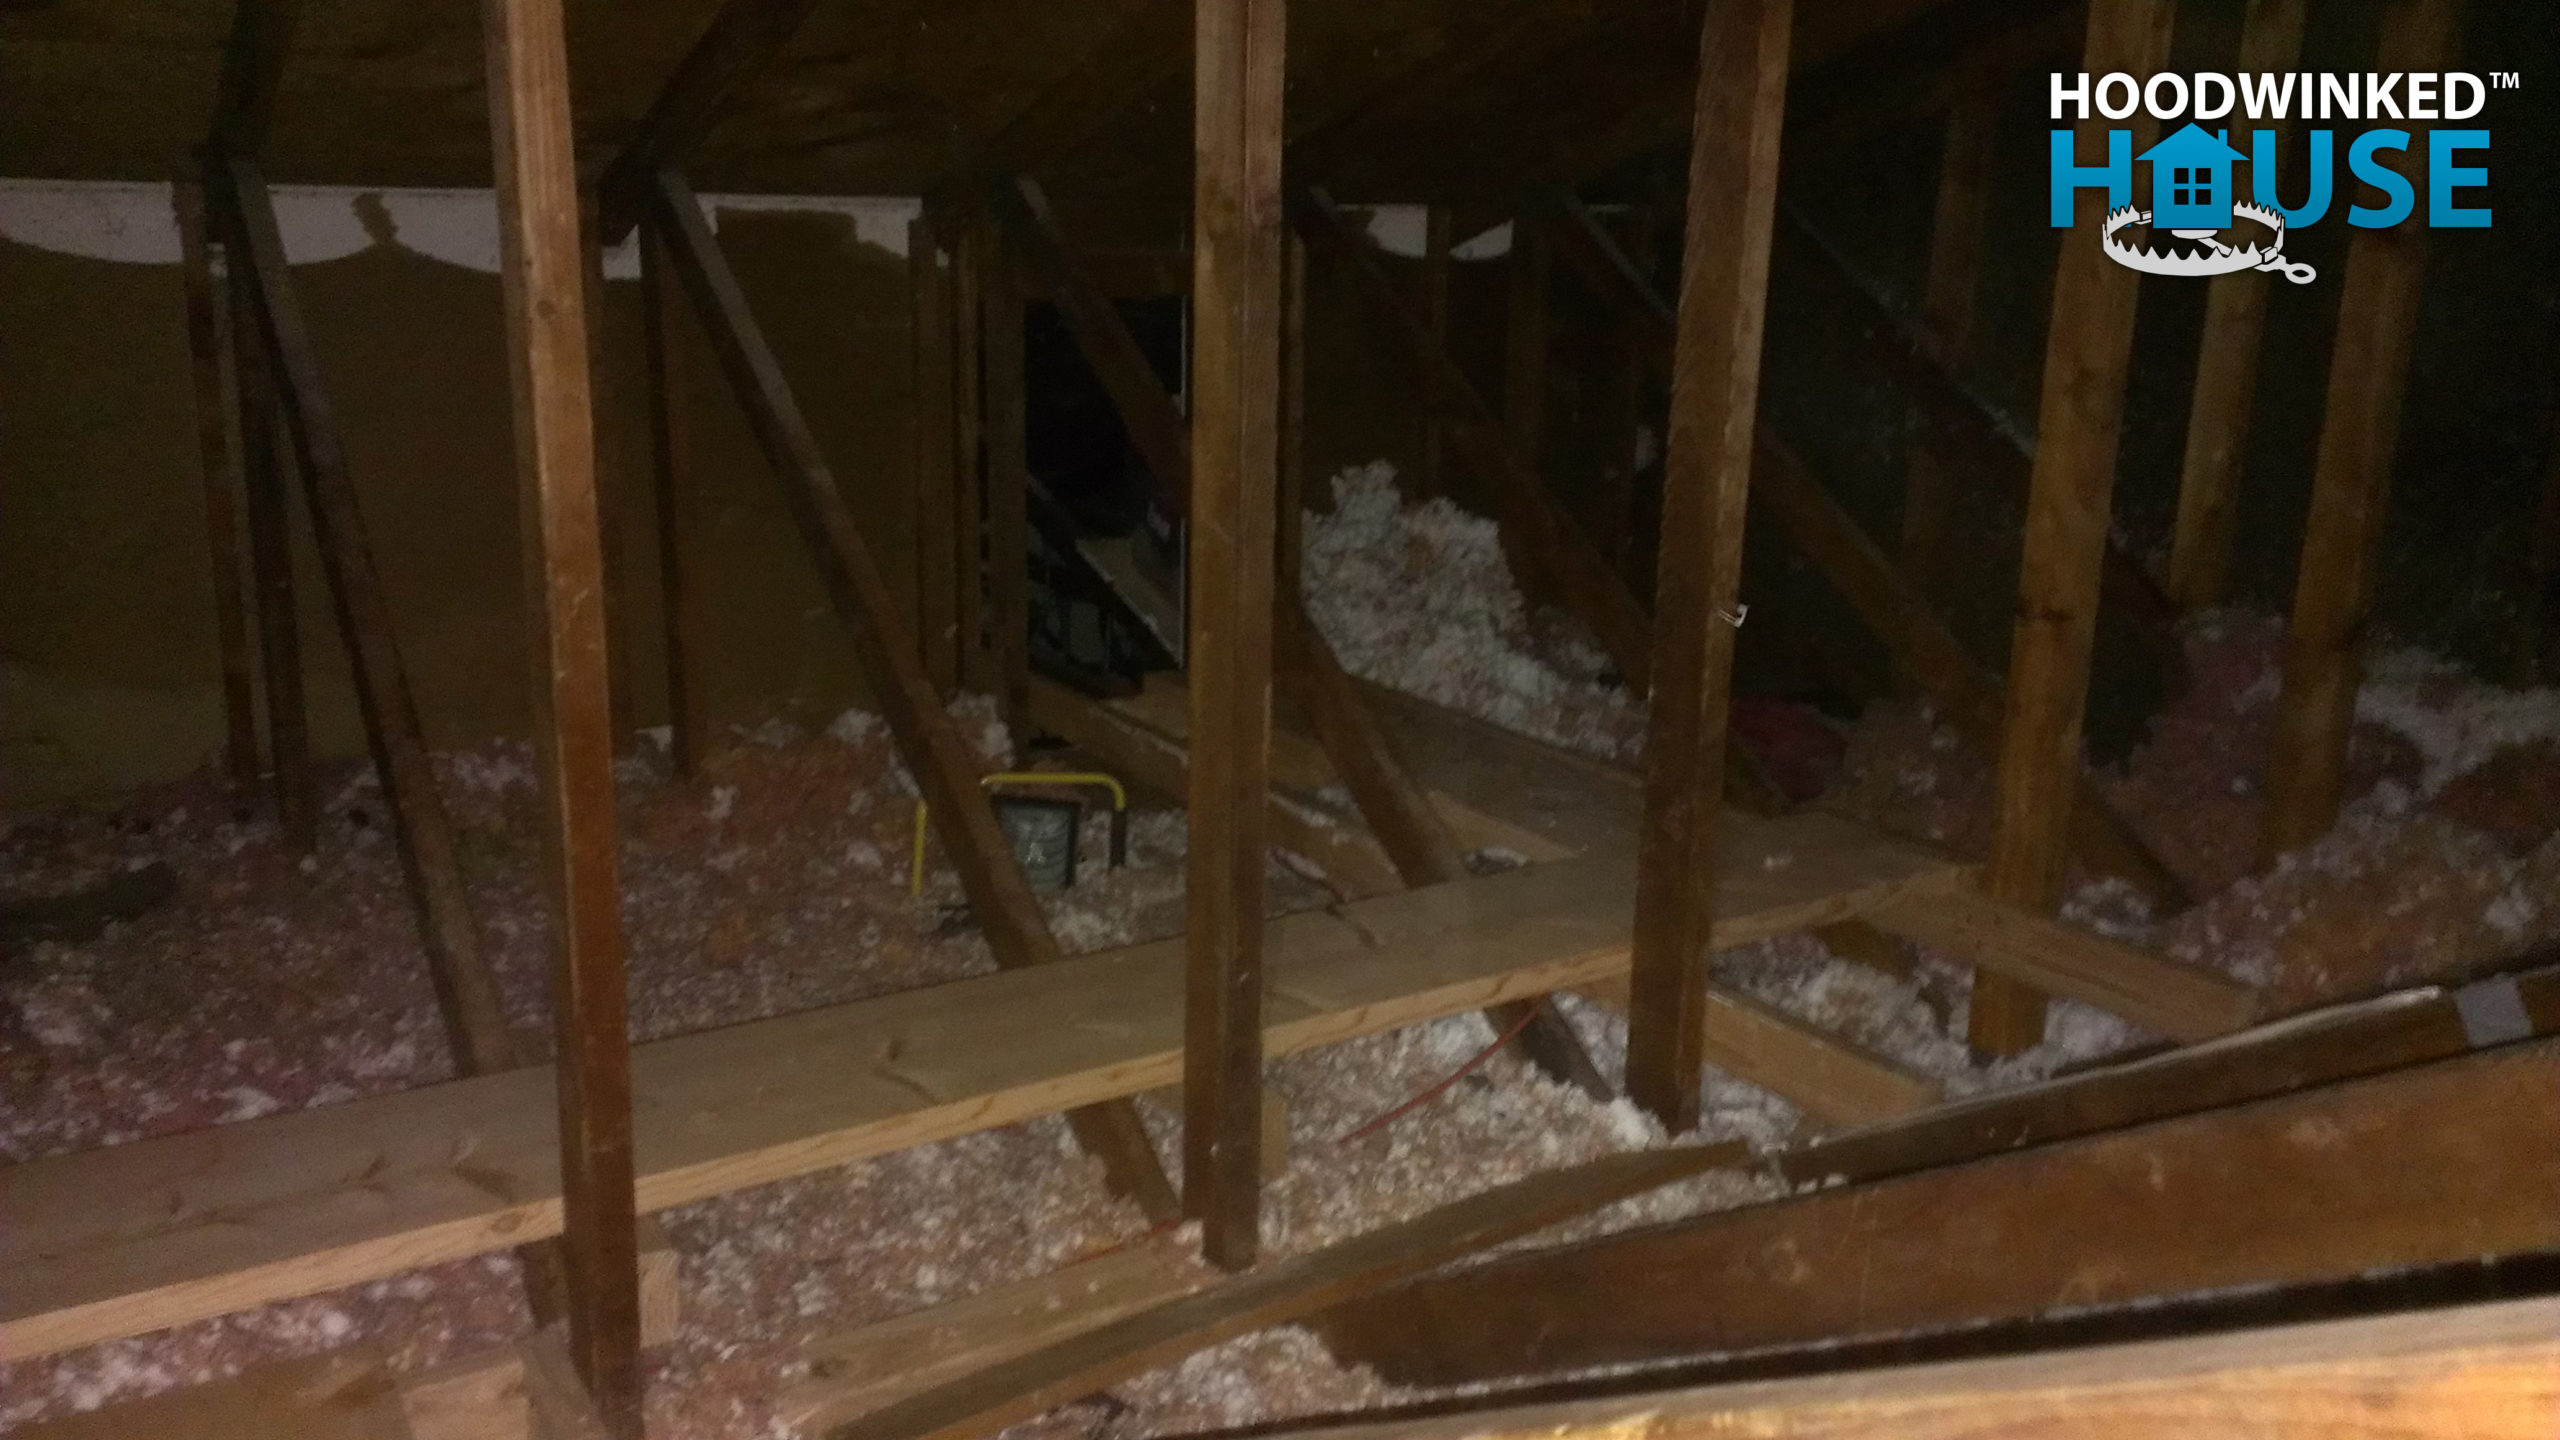
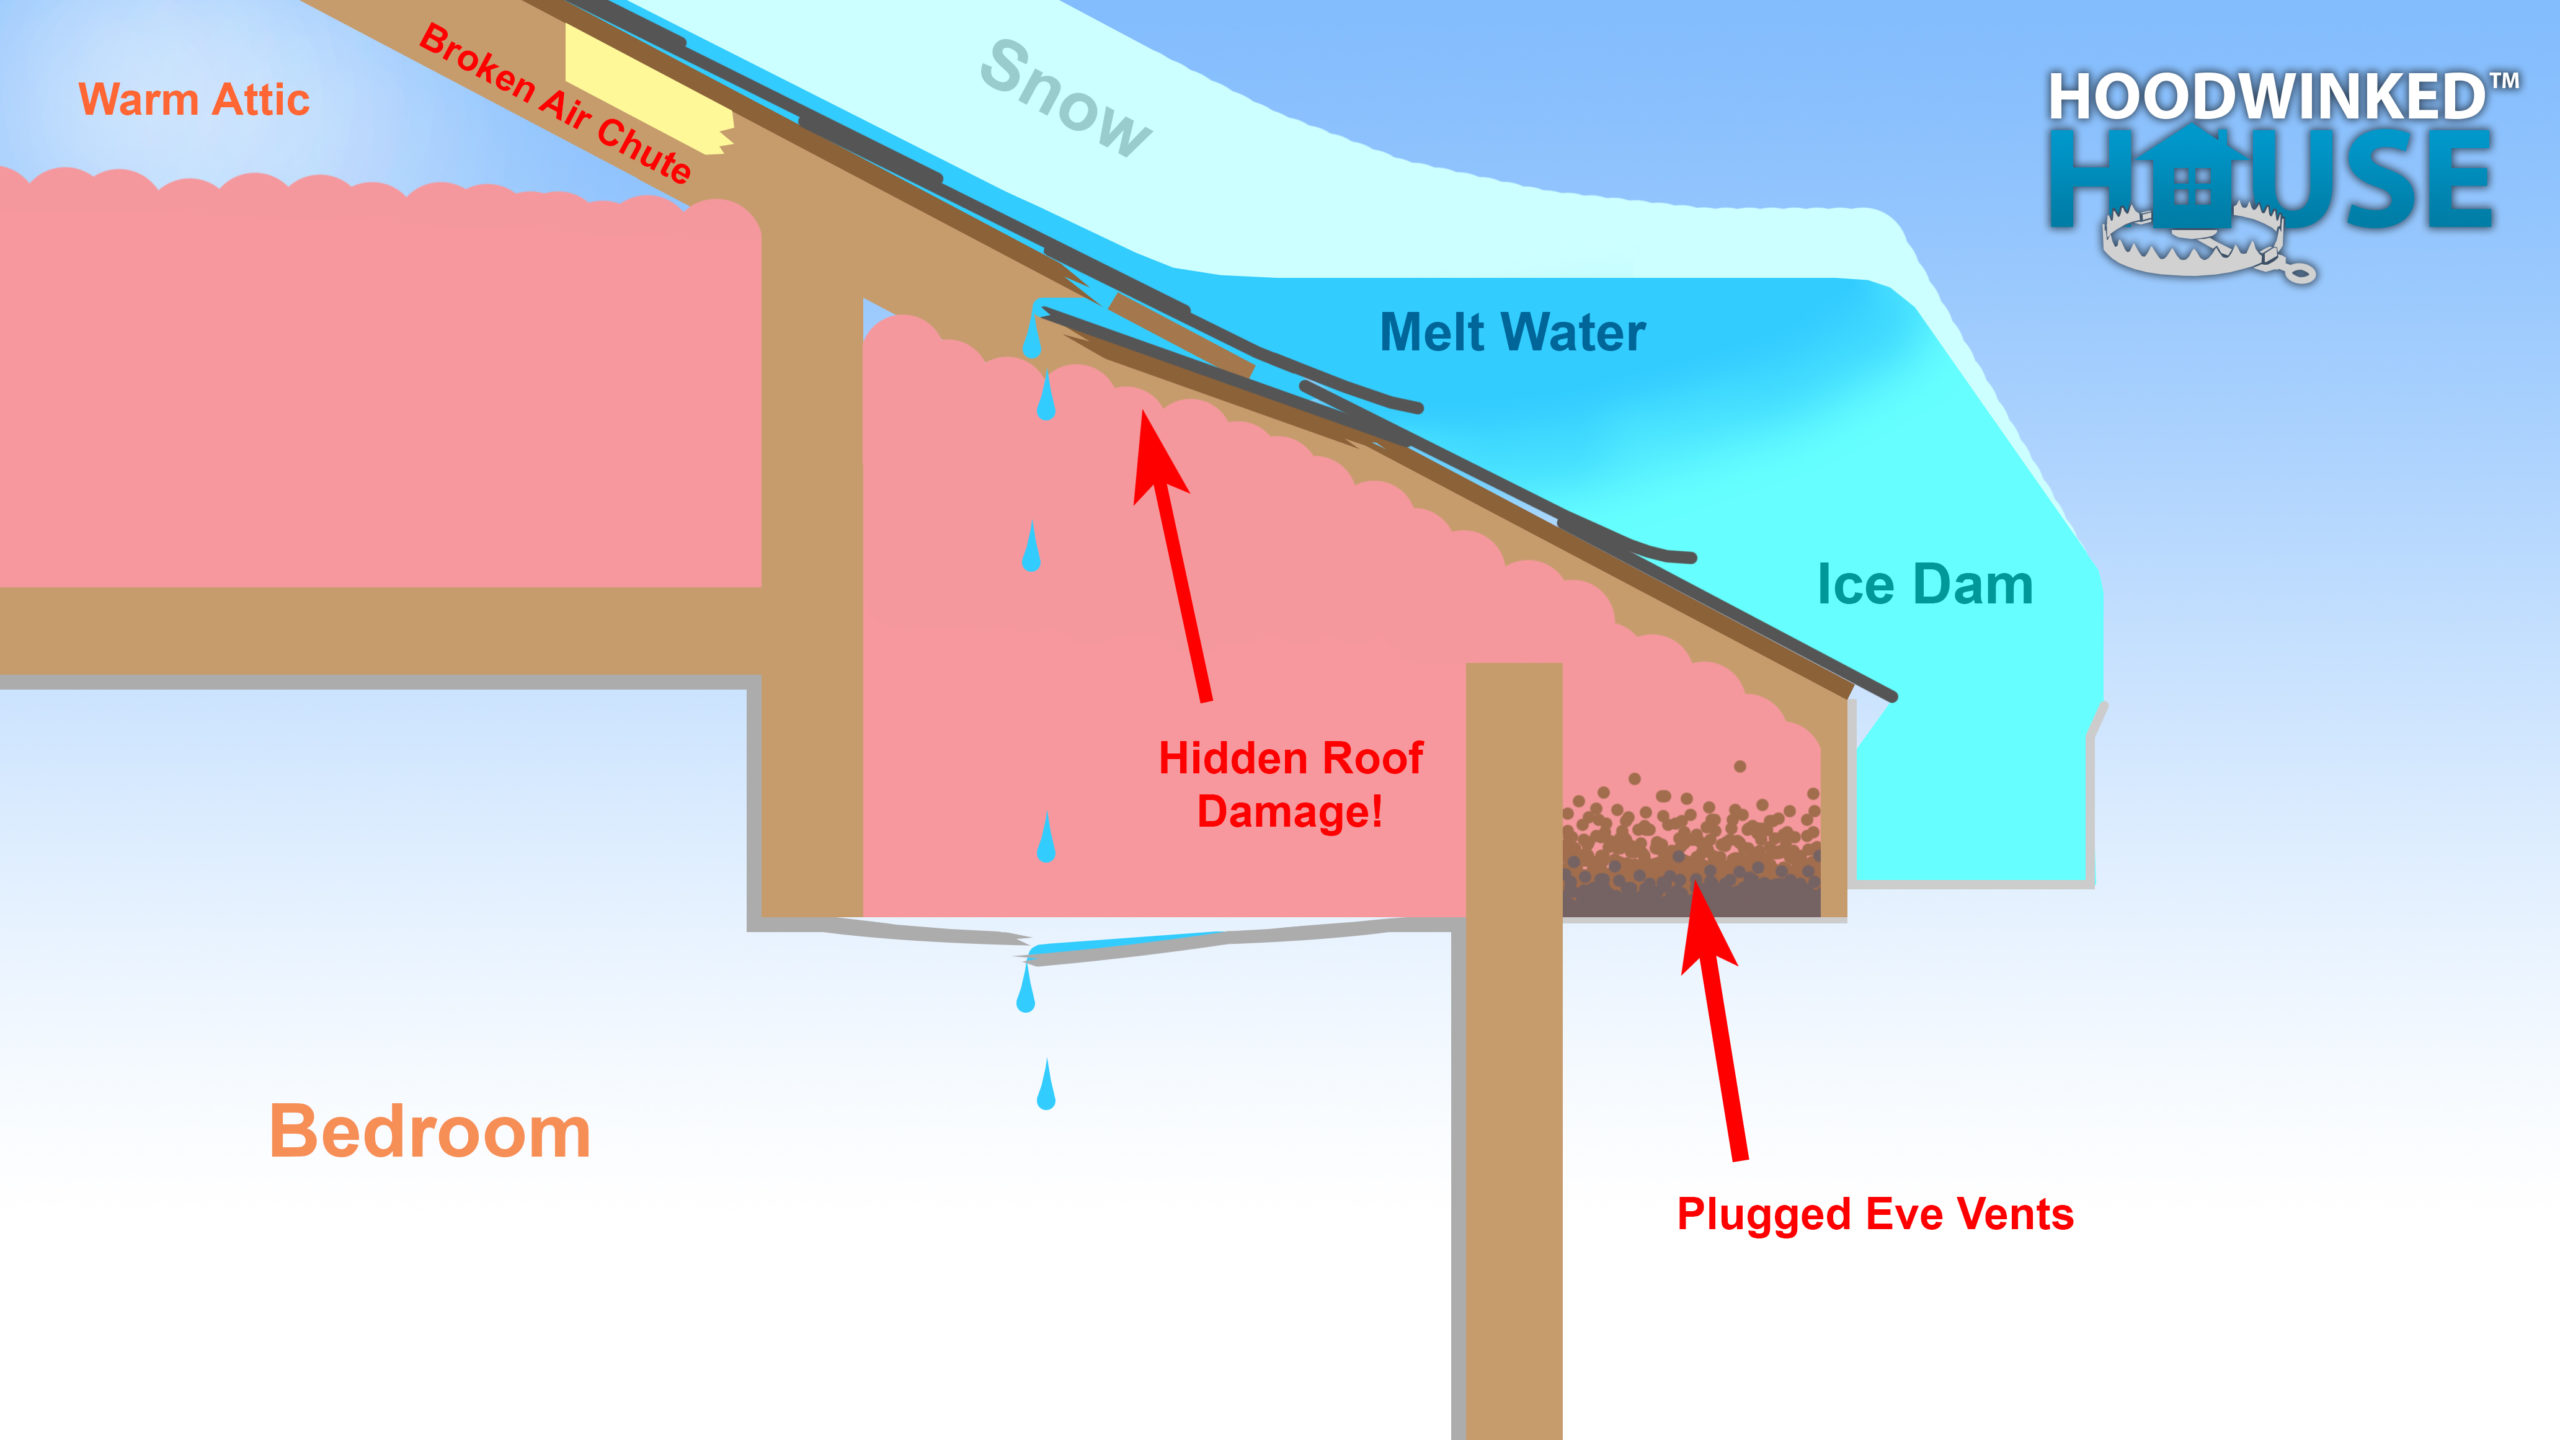
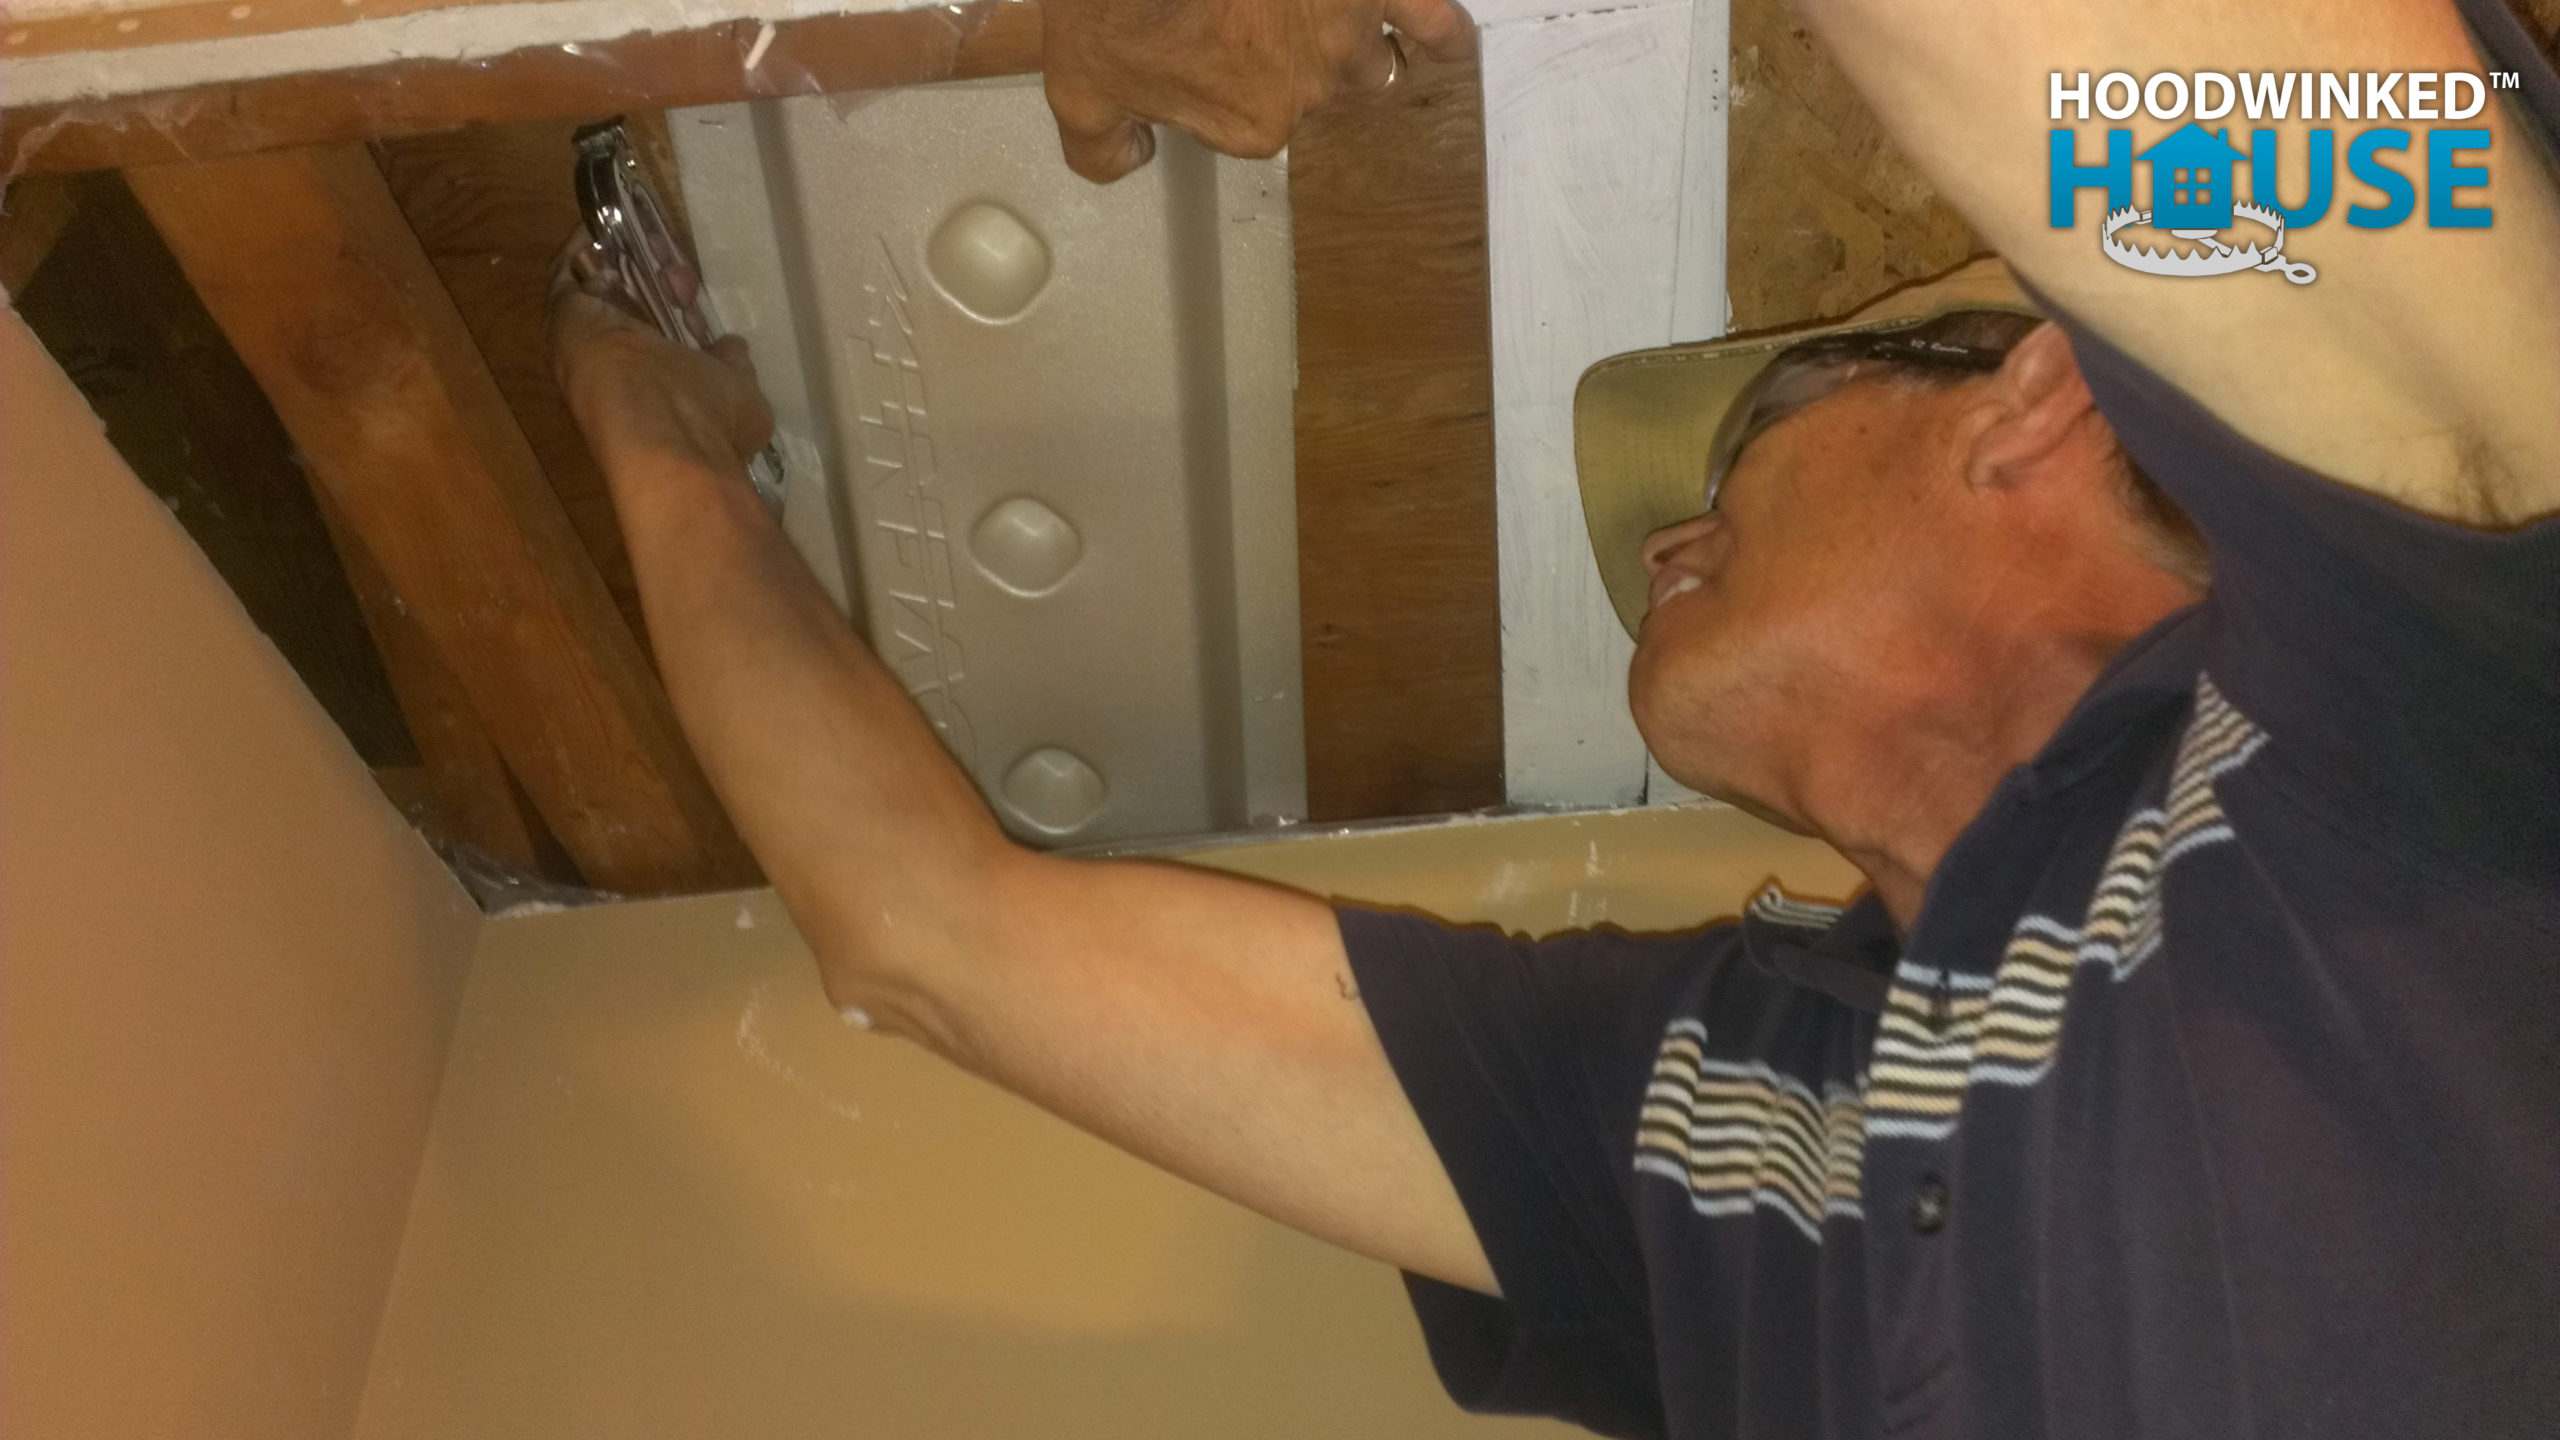
My dad and I discover an external wall without insulation, leaking heat into the attic. It’s clear that this was one of the major contributors to the ice dams.
It’s clear that before I bought the house, there was a hole in the roof, probably caused by someone stepping on rotten sheathing. The flipper simply overlaid the damaged area with new tar paper and shingles without actually repairing anything.
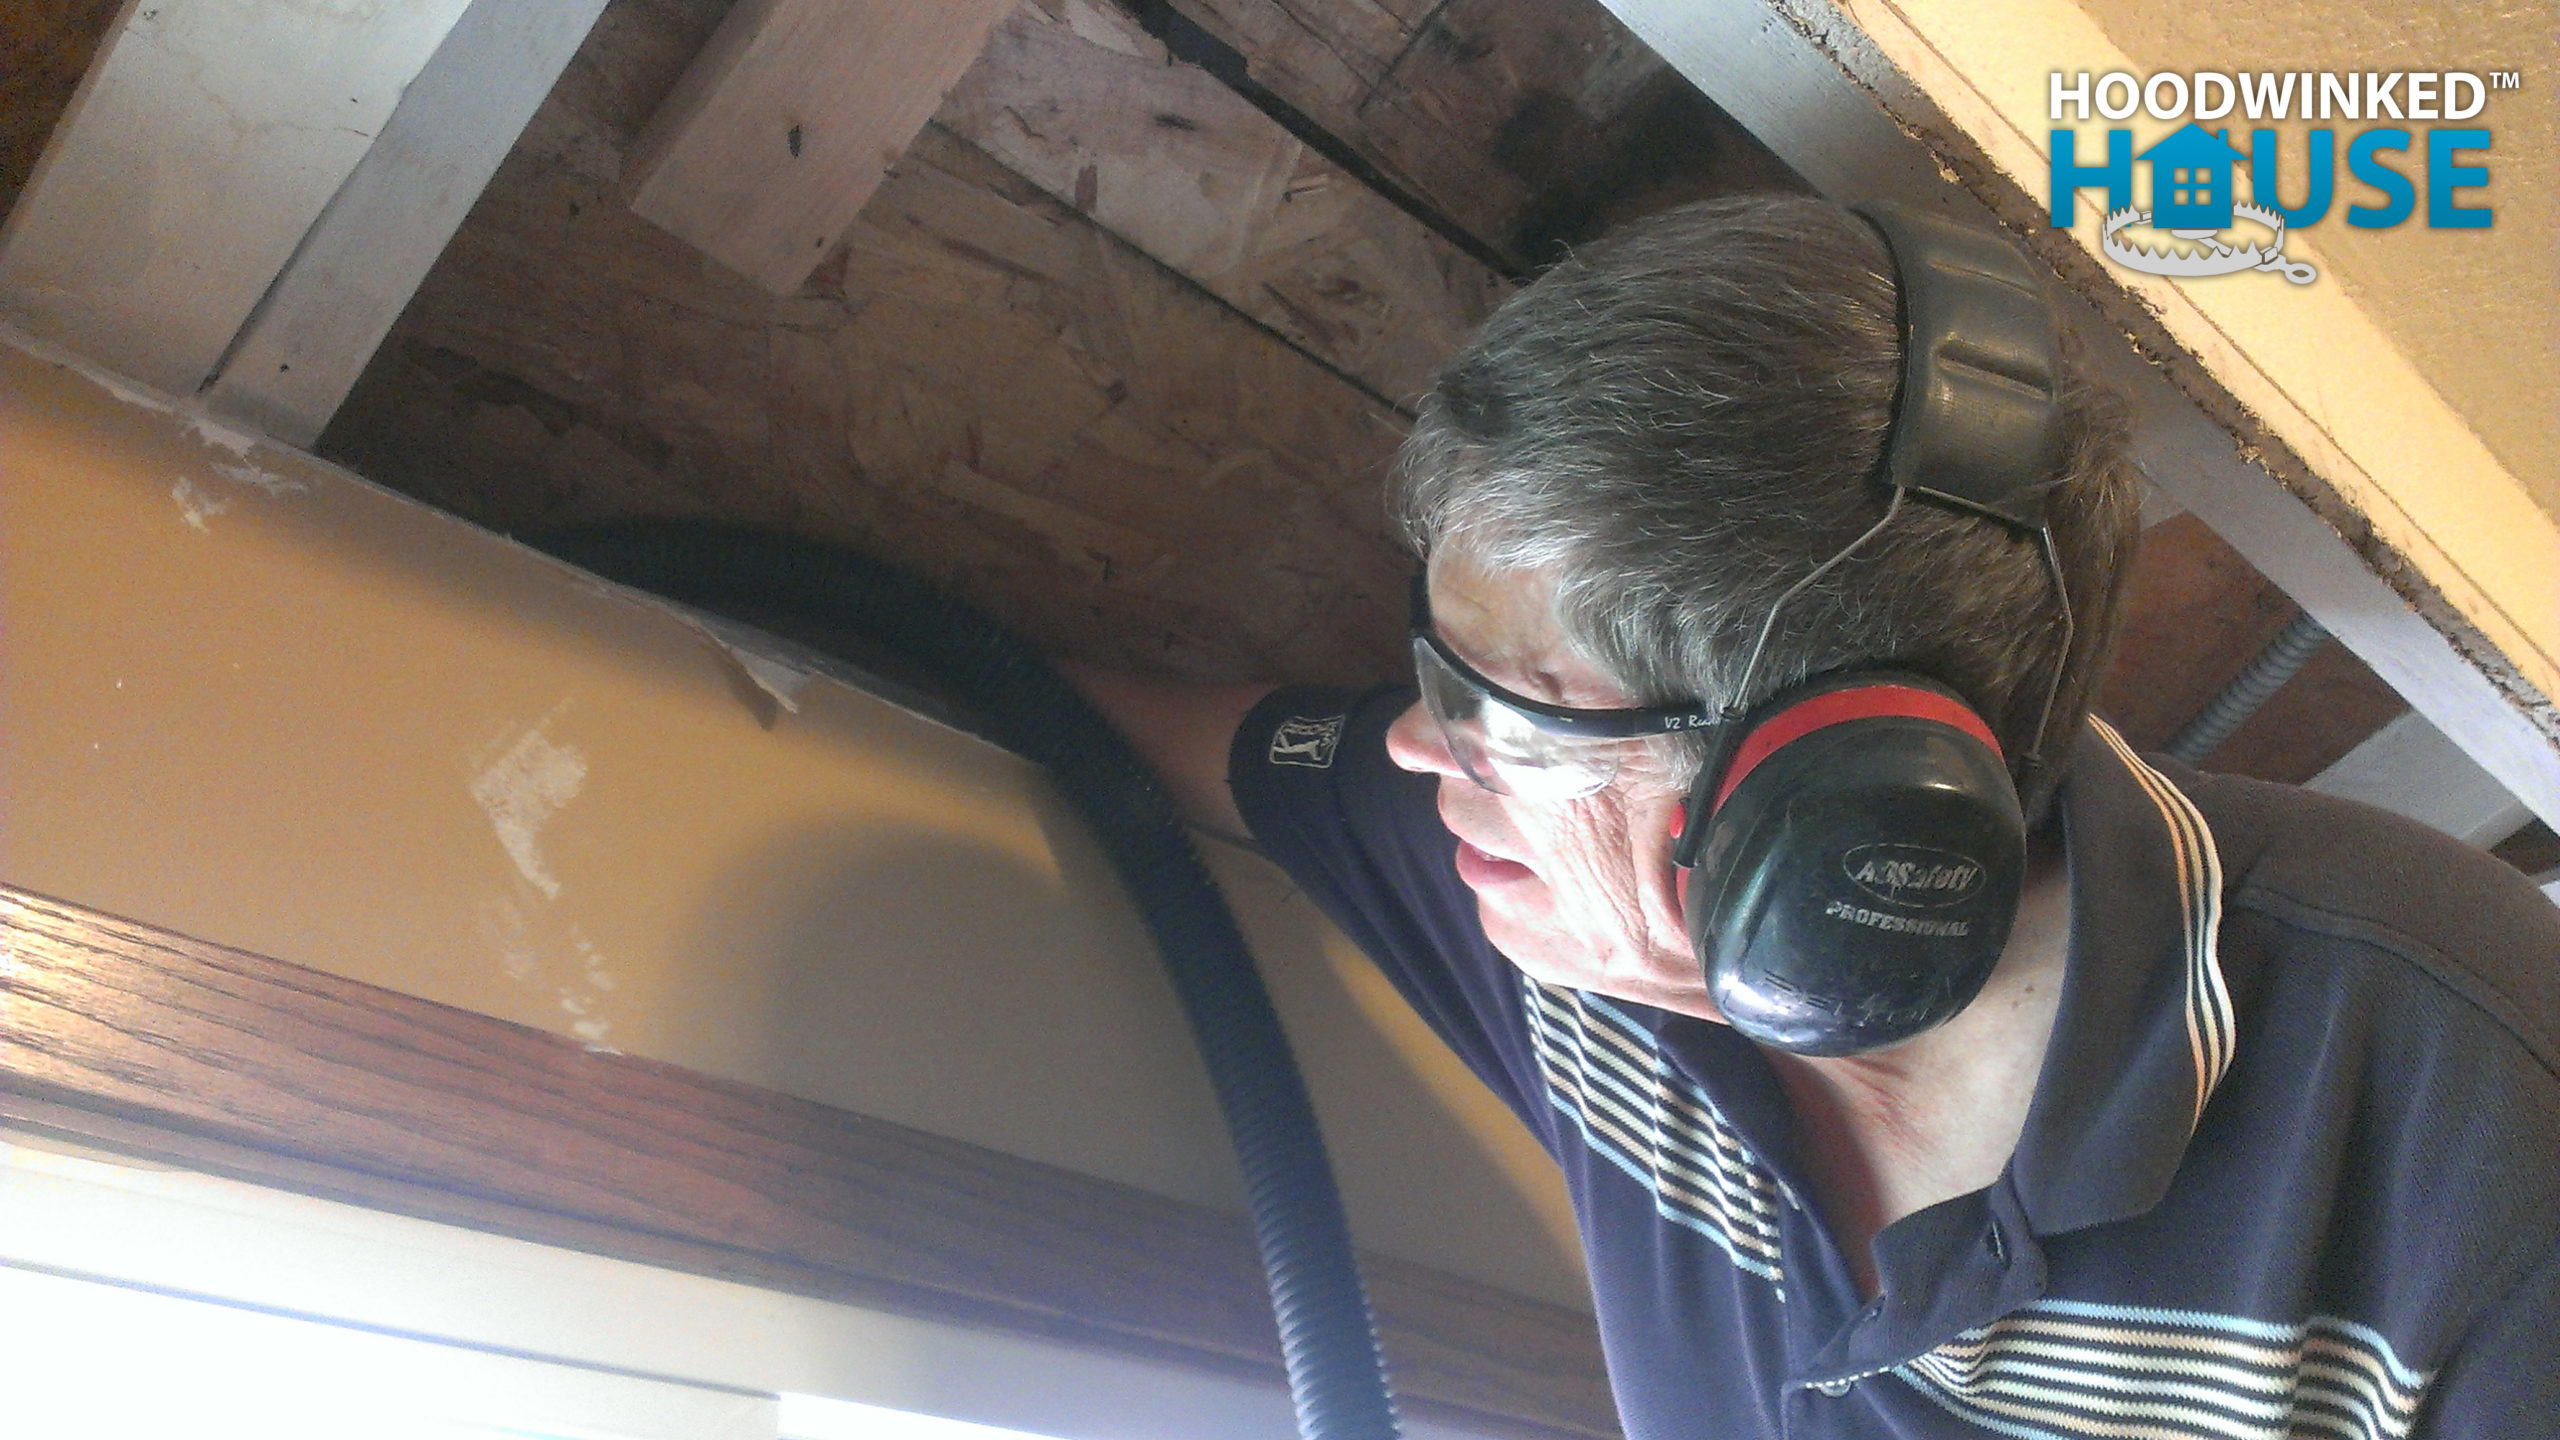
Their construction debris collected in the eves, piling more than 4″ deep, and blocking these vents.

My dad vacuums more than 10 gallons of debris out the eves to restore airflow. Cold air must flow into the attic to keep the roof cold, preventing ice buildup.
Attic ventilation chutes like this one used to extend all the way to the eves, but they were damaged during the roof collapse, and never replaced by the flipper.
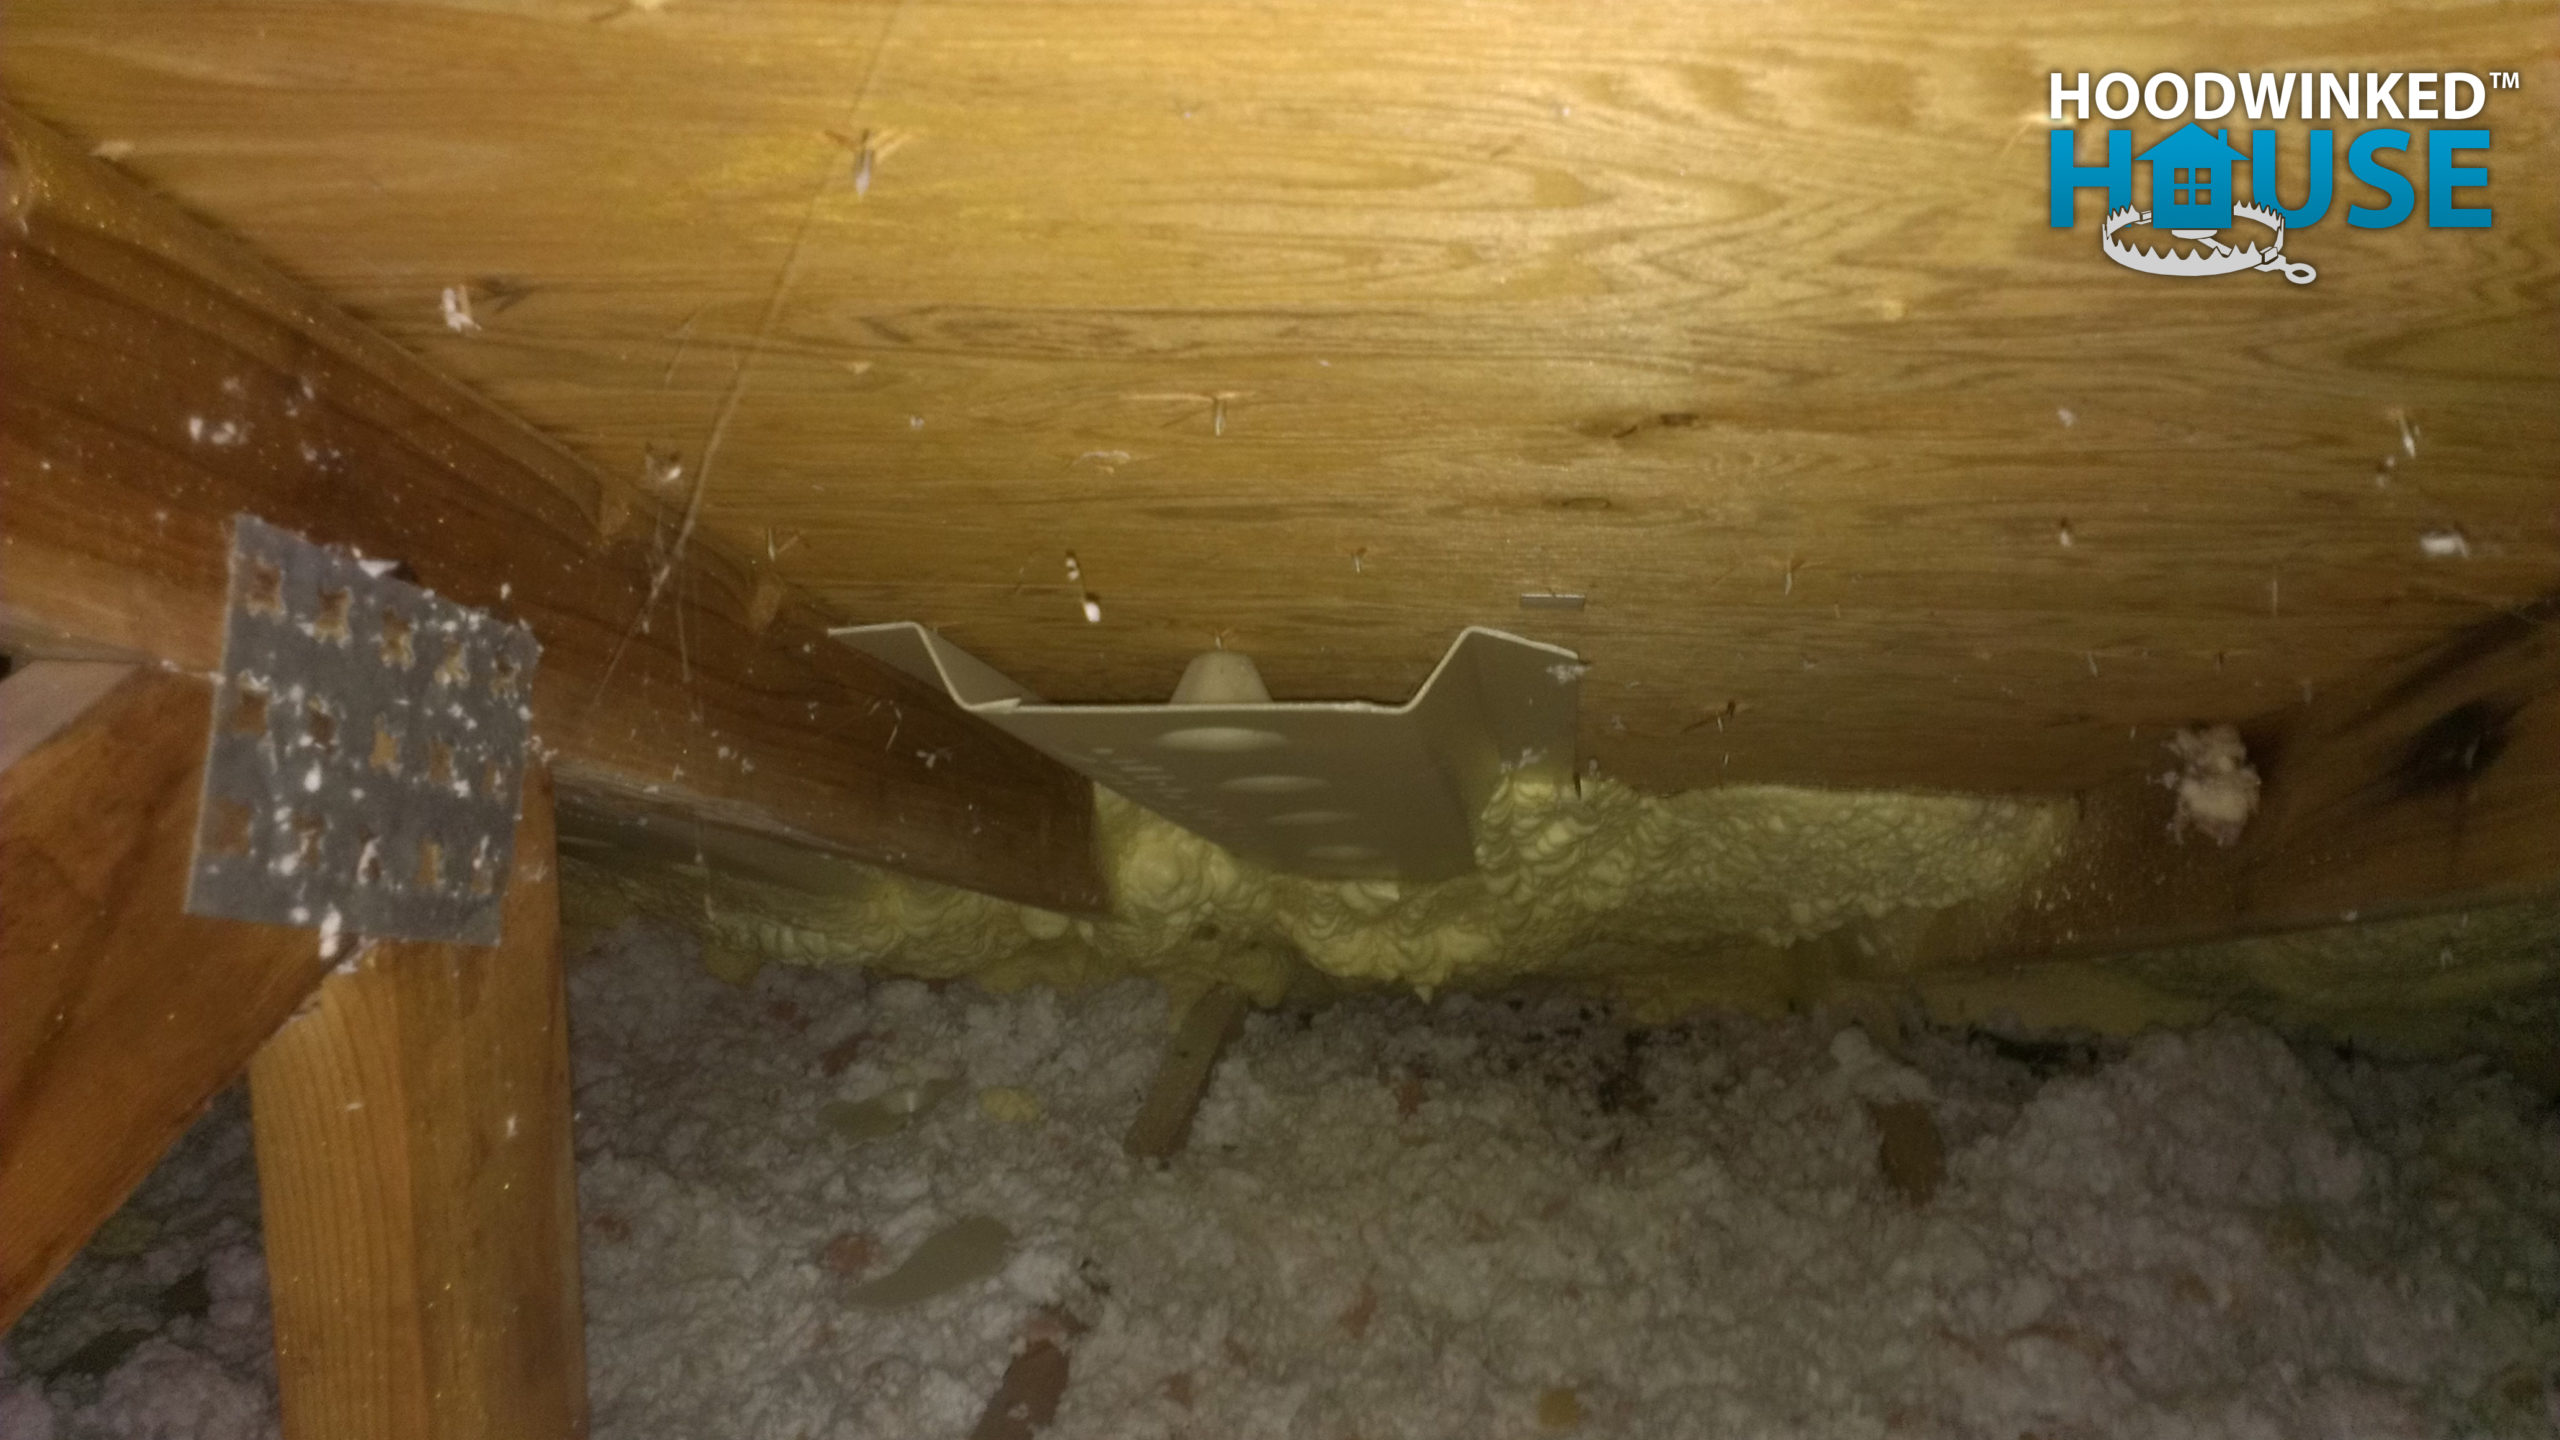
I reinforce and patch the underside of the sheathing hole with some extra framing and plywood. Later, we replace the damaged attic ventilation chutes with new ones. I also clean and sand the dirty, mildewey trusses. Then, I paint them with a generous coat of mold-killing primer.
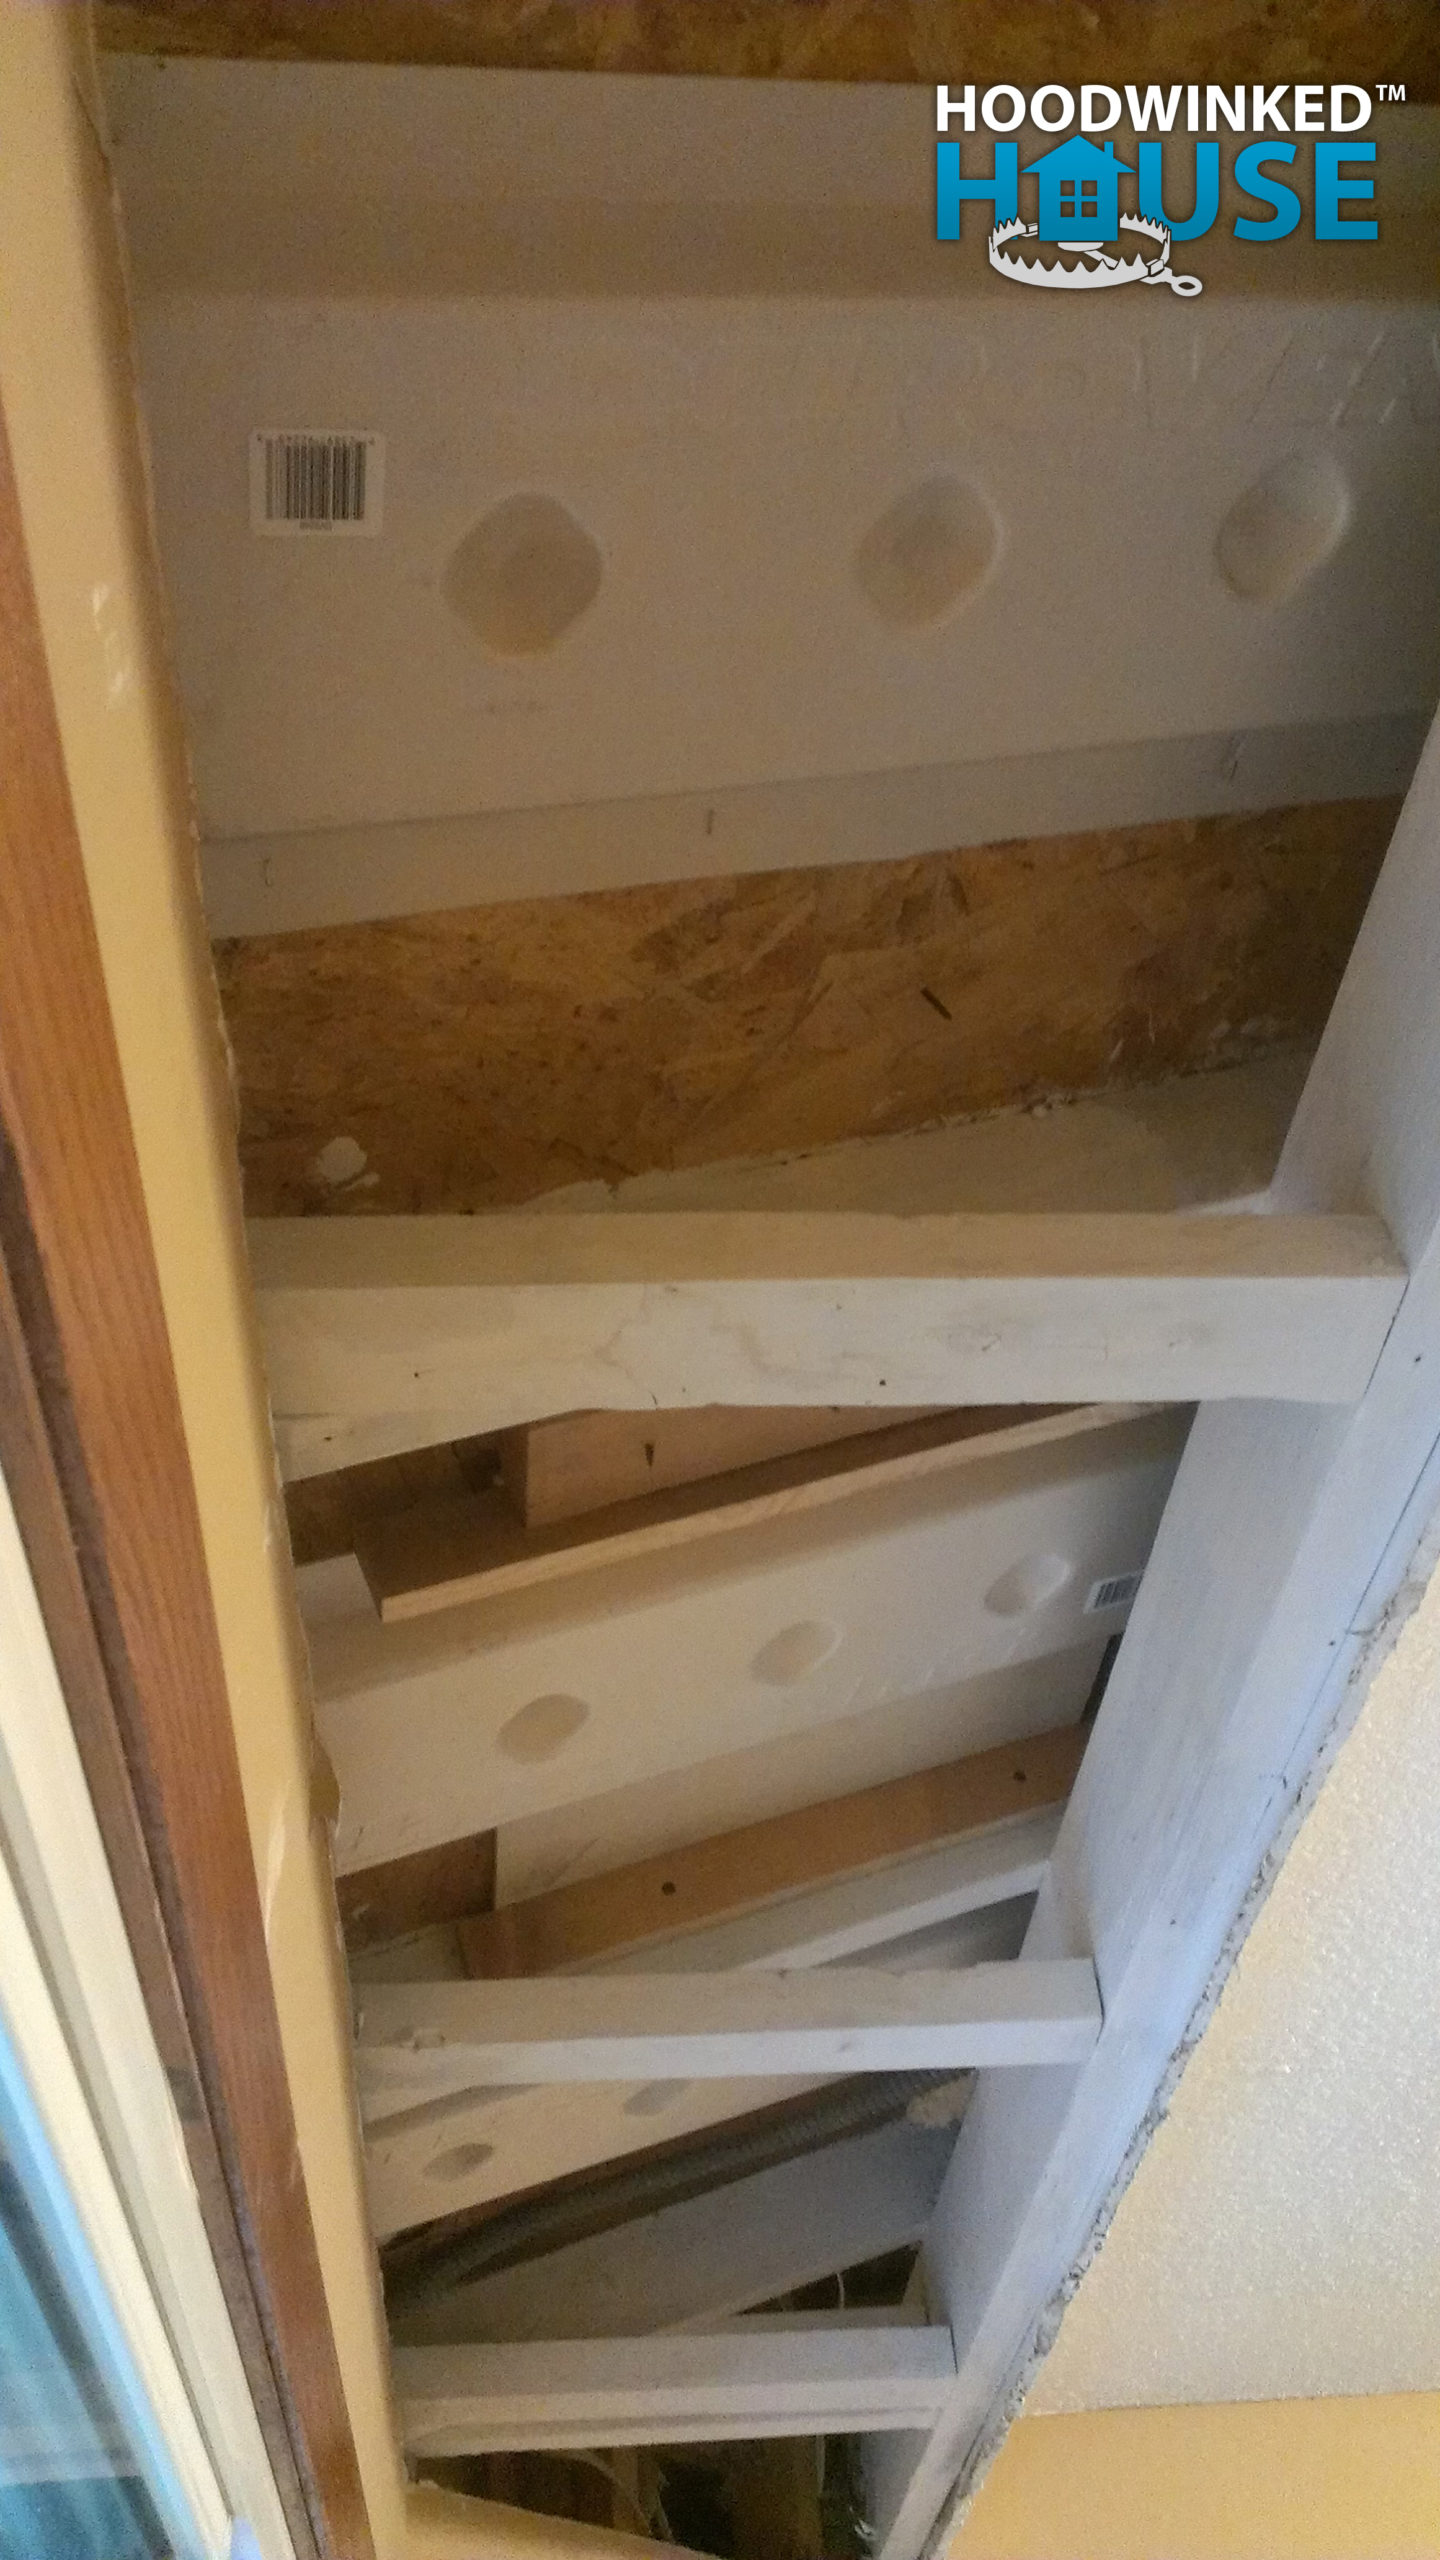
The vents are too small and sparse, not letting enough cold air into the attic. I cut some additional vent holes into the eves. Then, I install a long grille over the new vent holes.
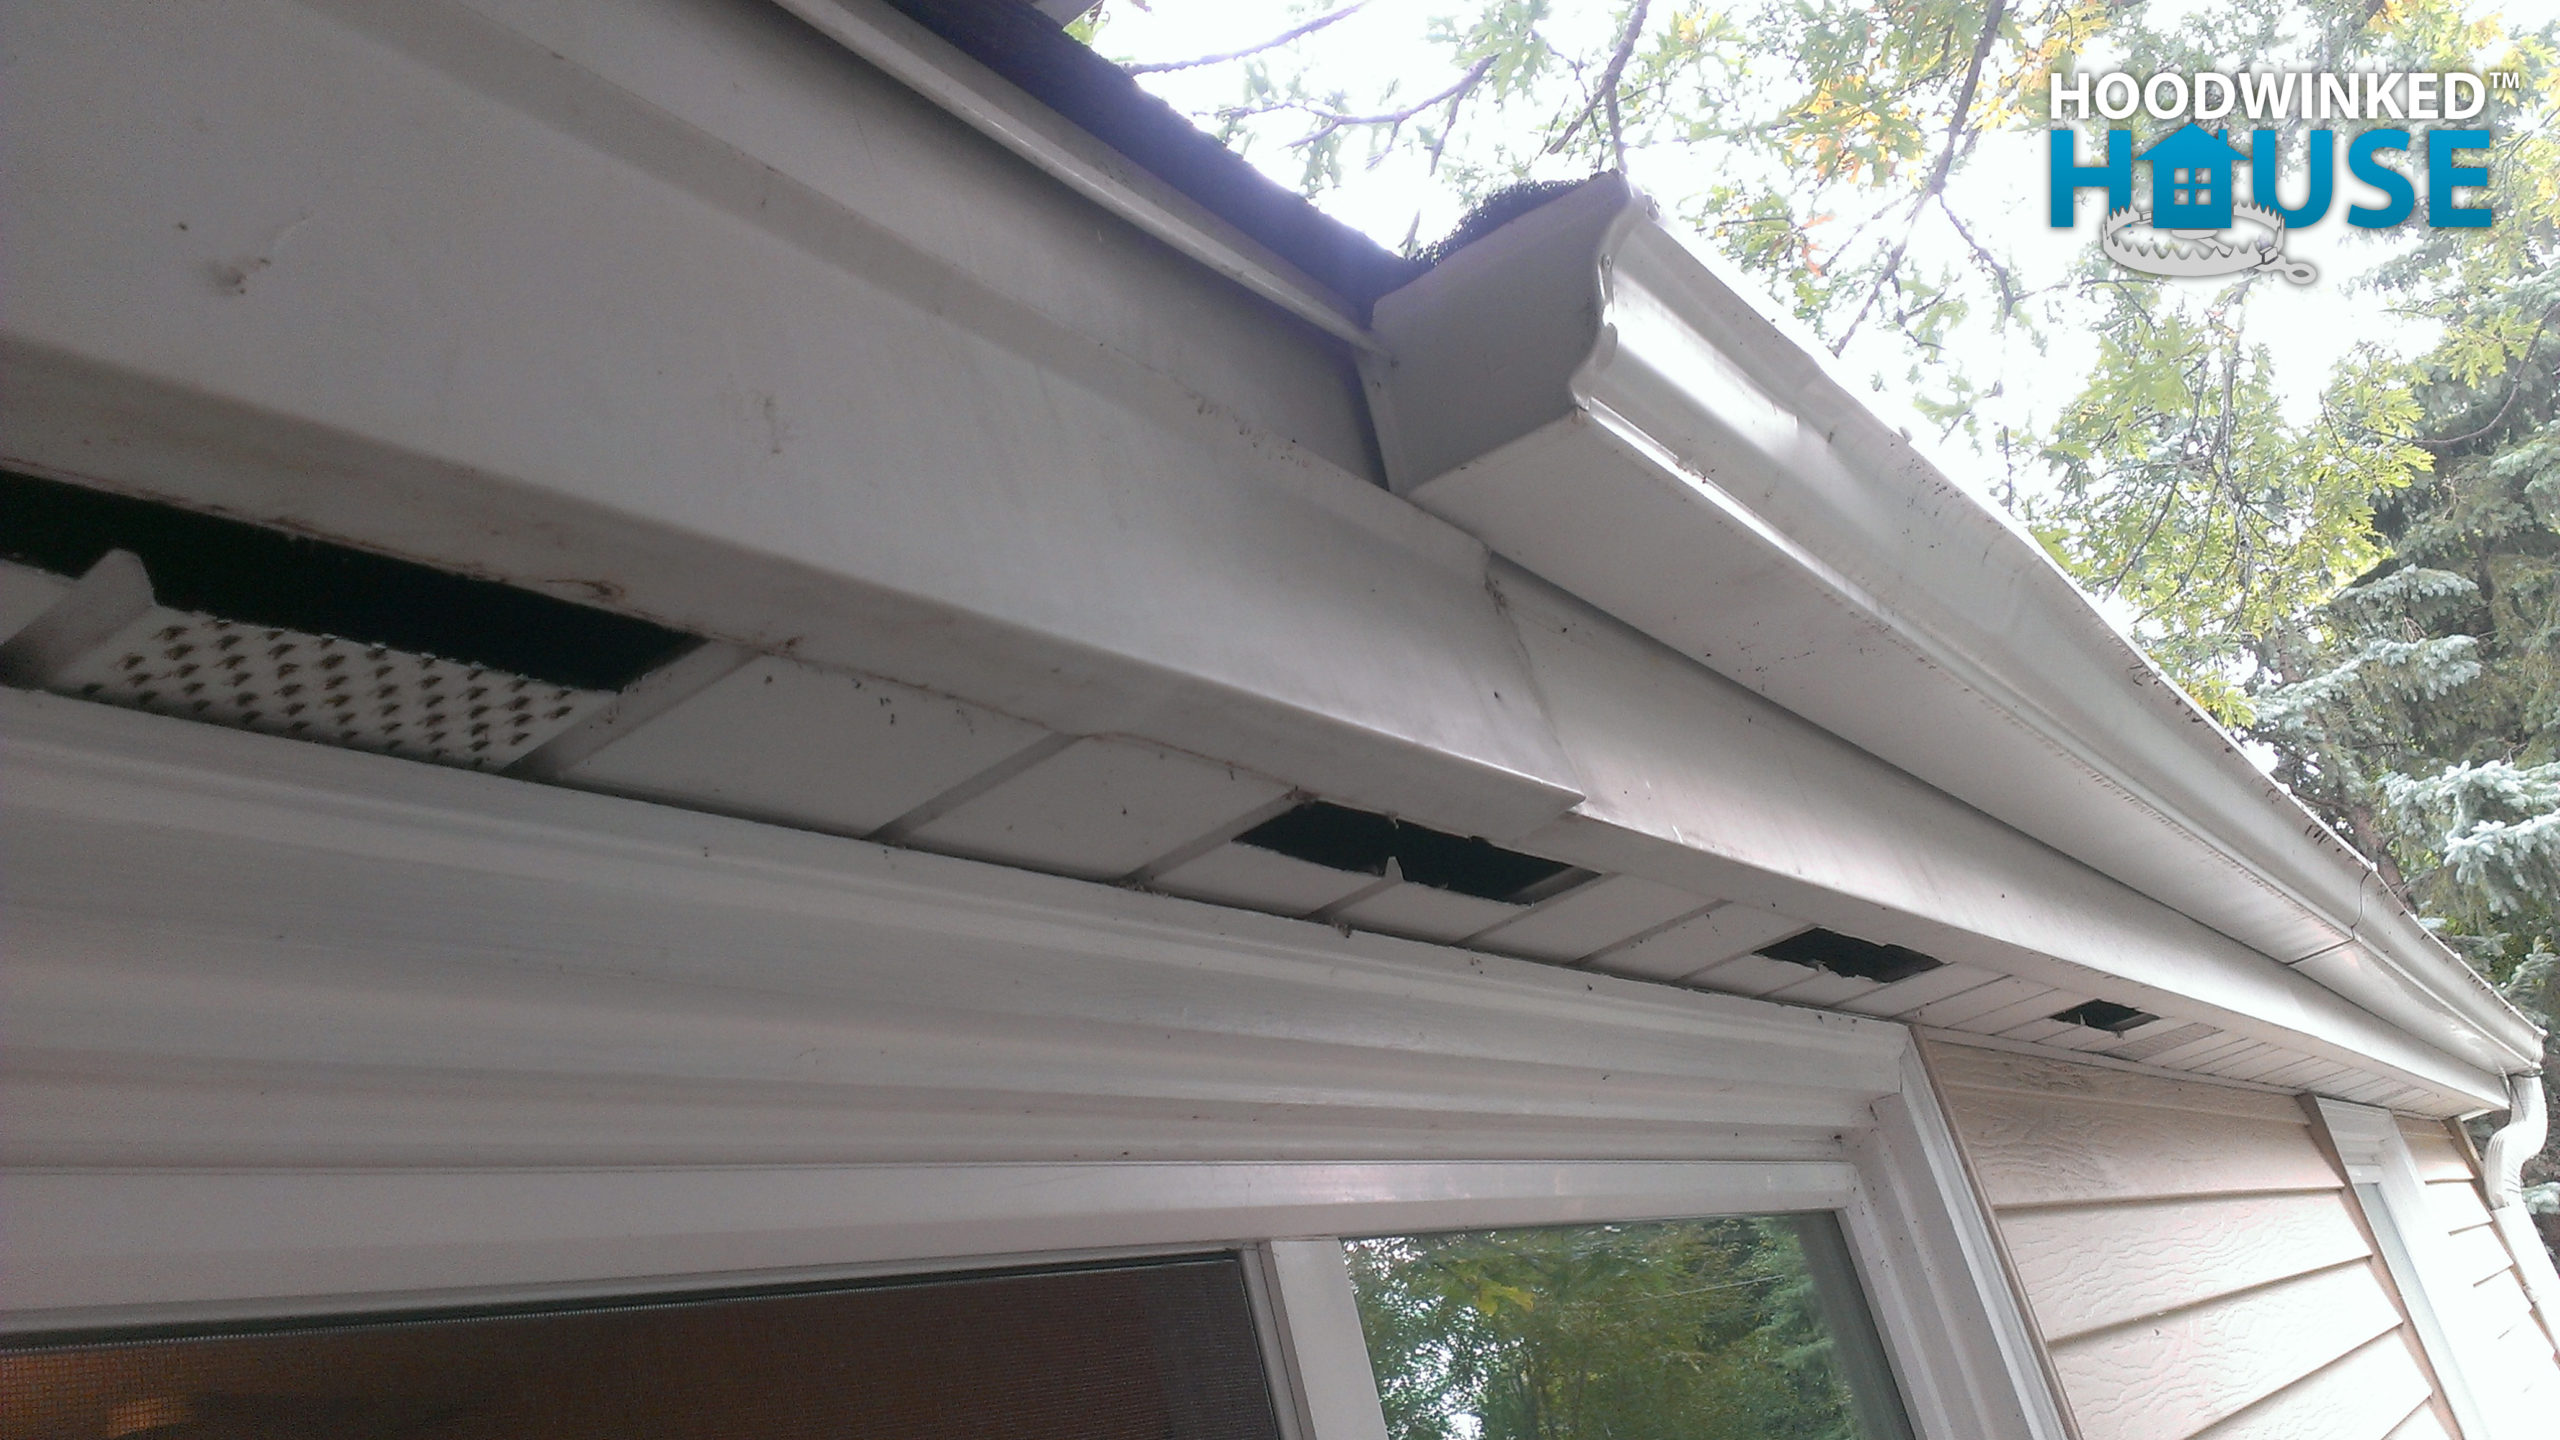
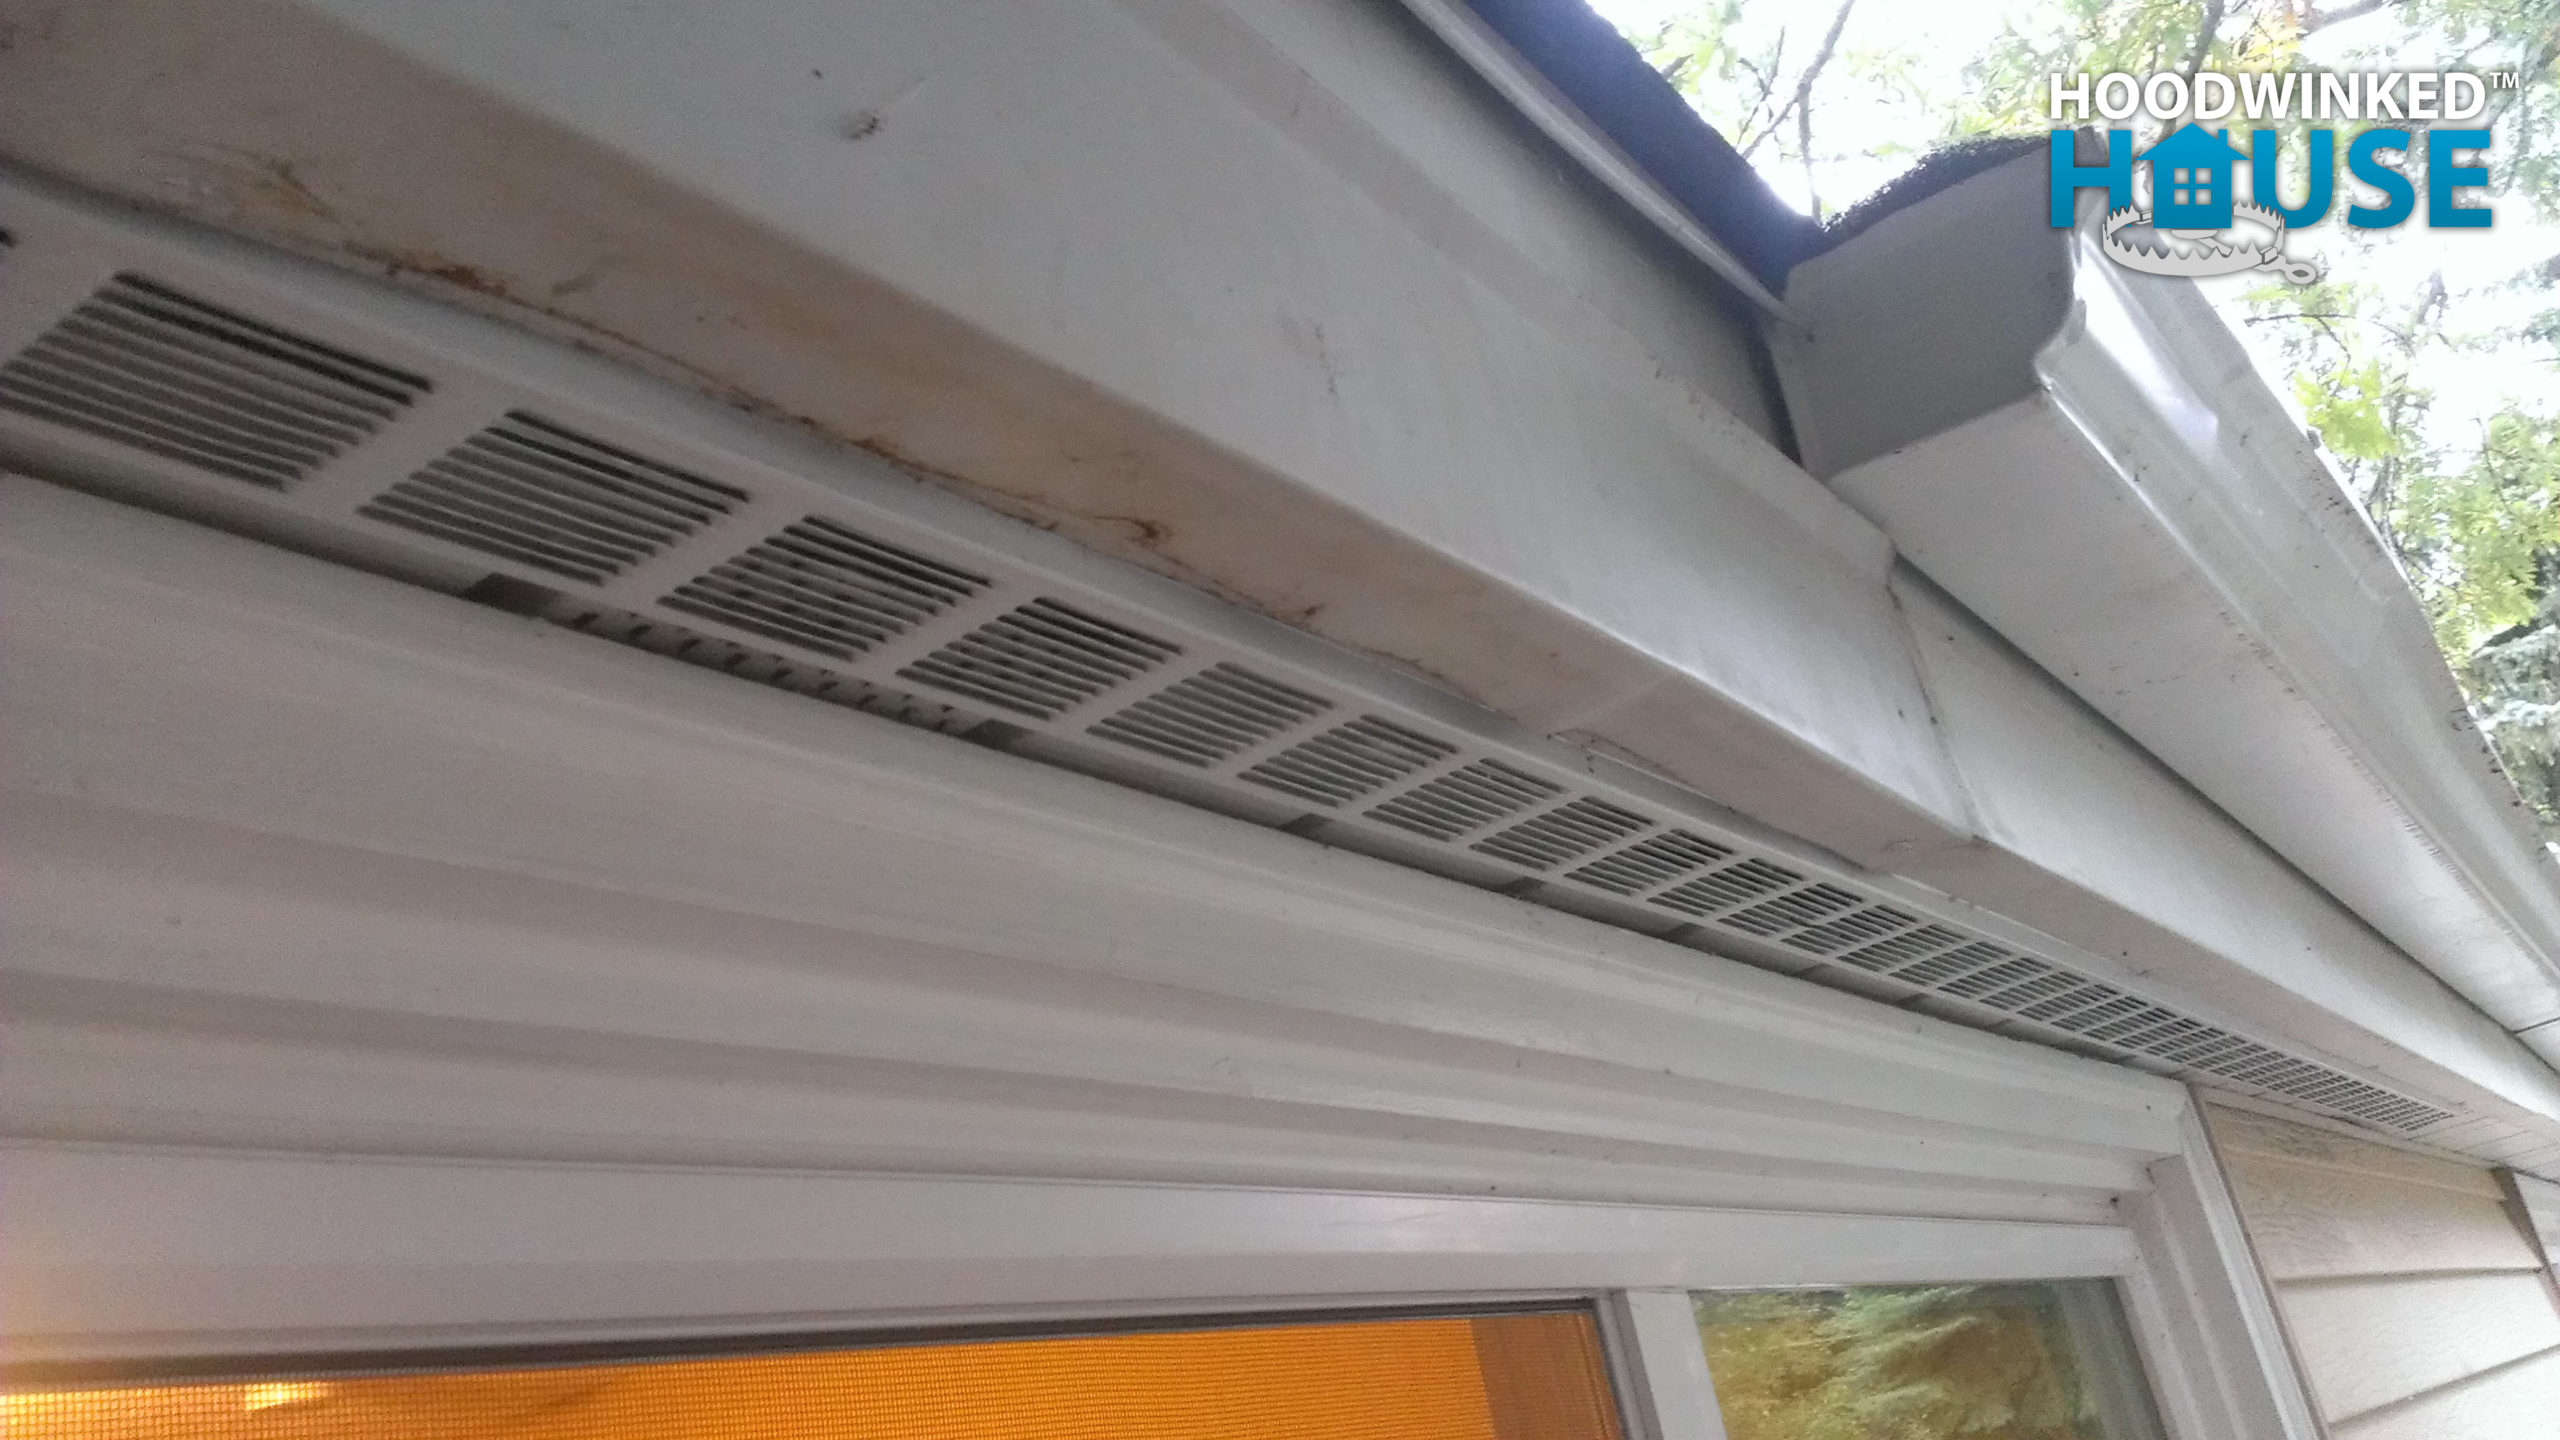
These repairs restore cold airflow to the attic, keeping the roof cold.

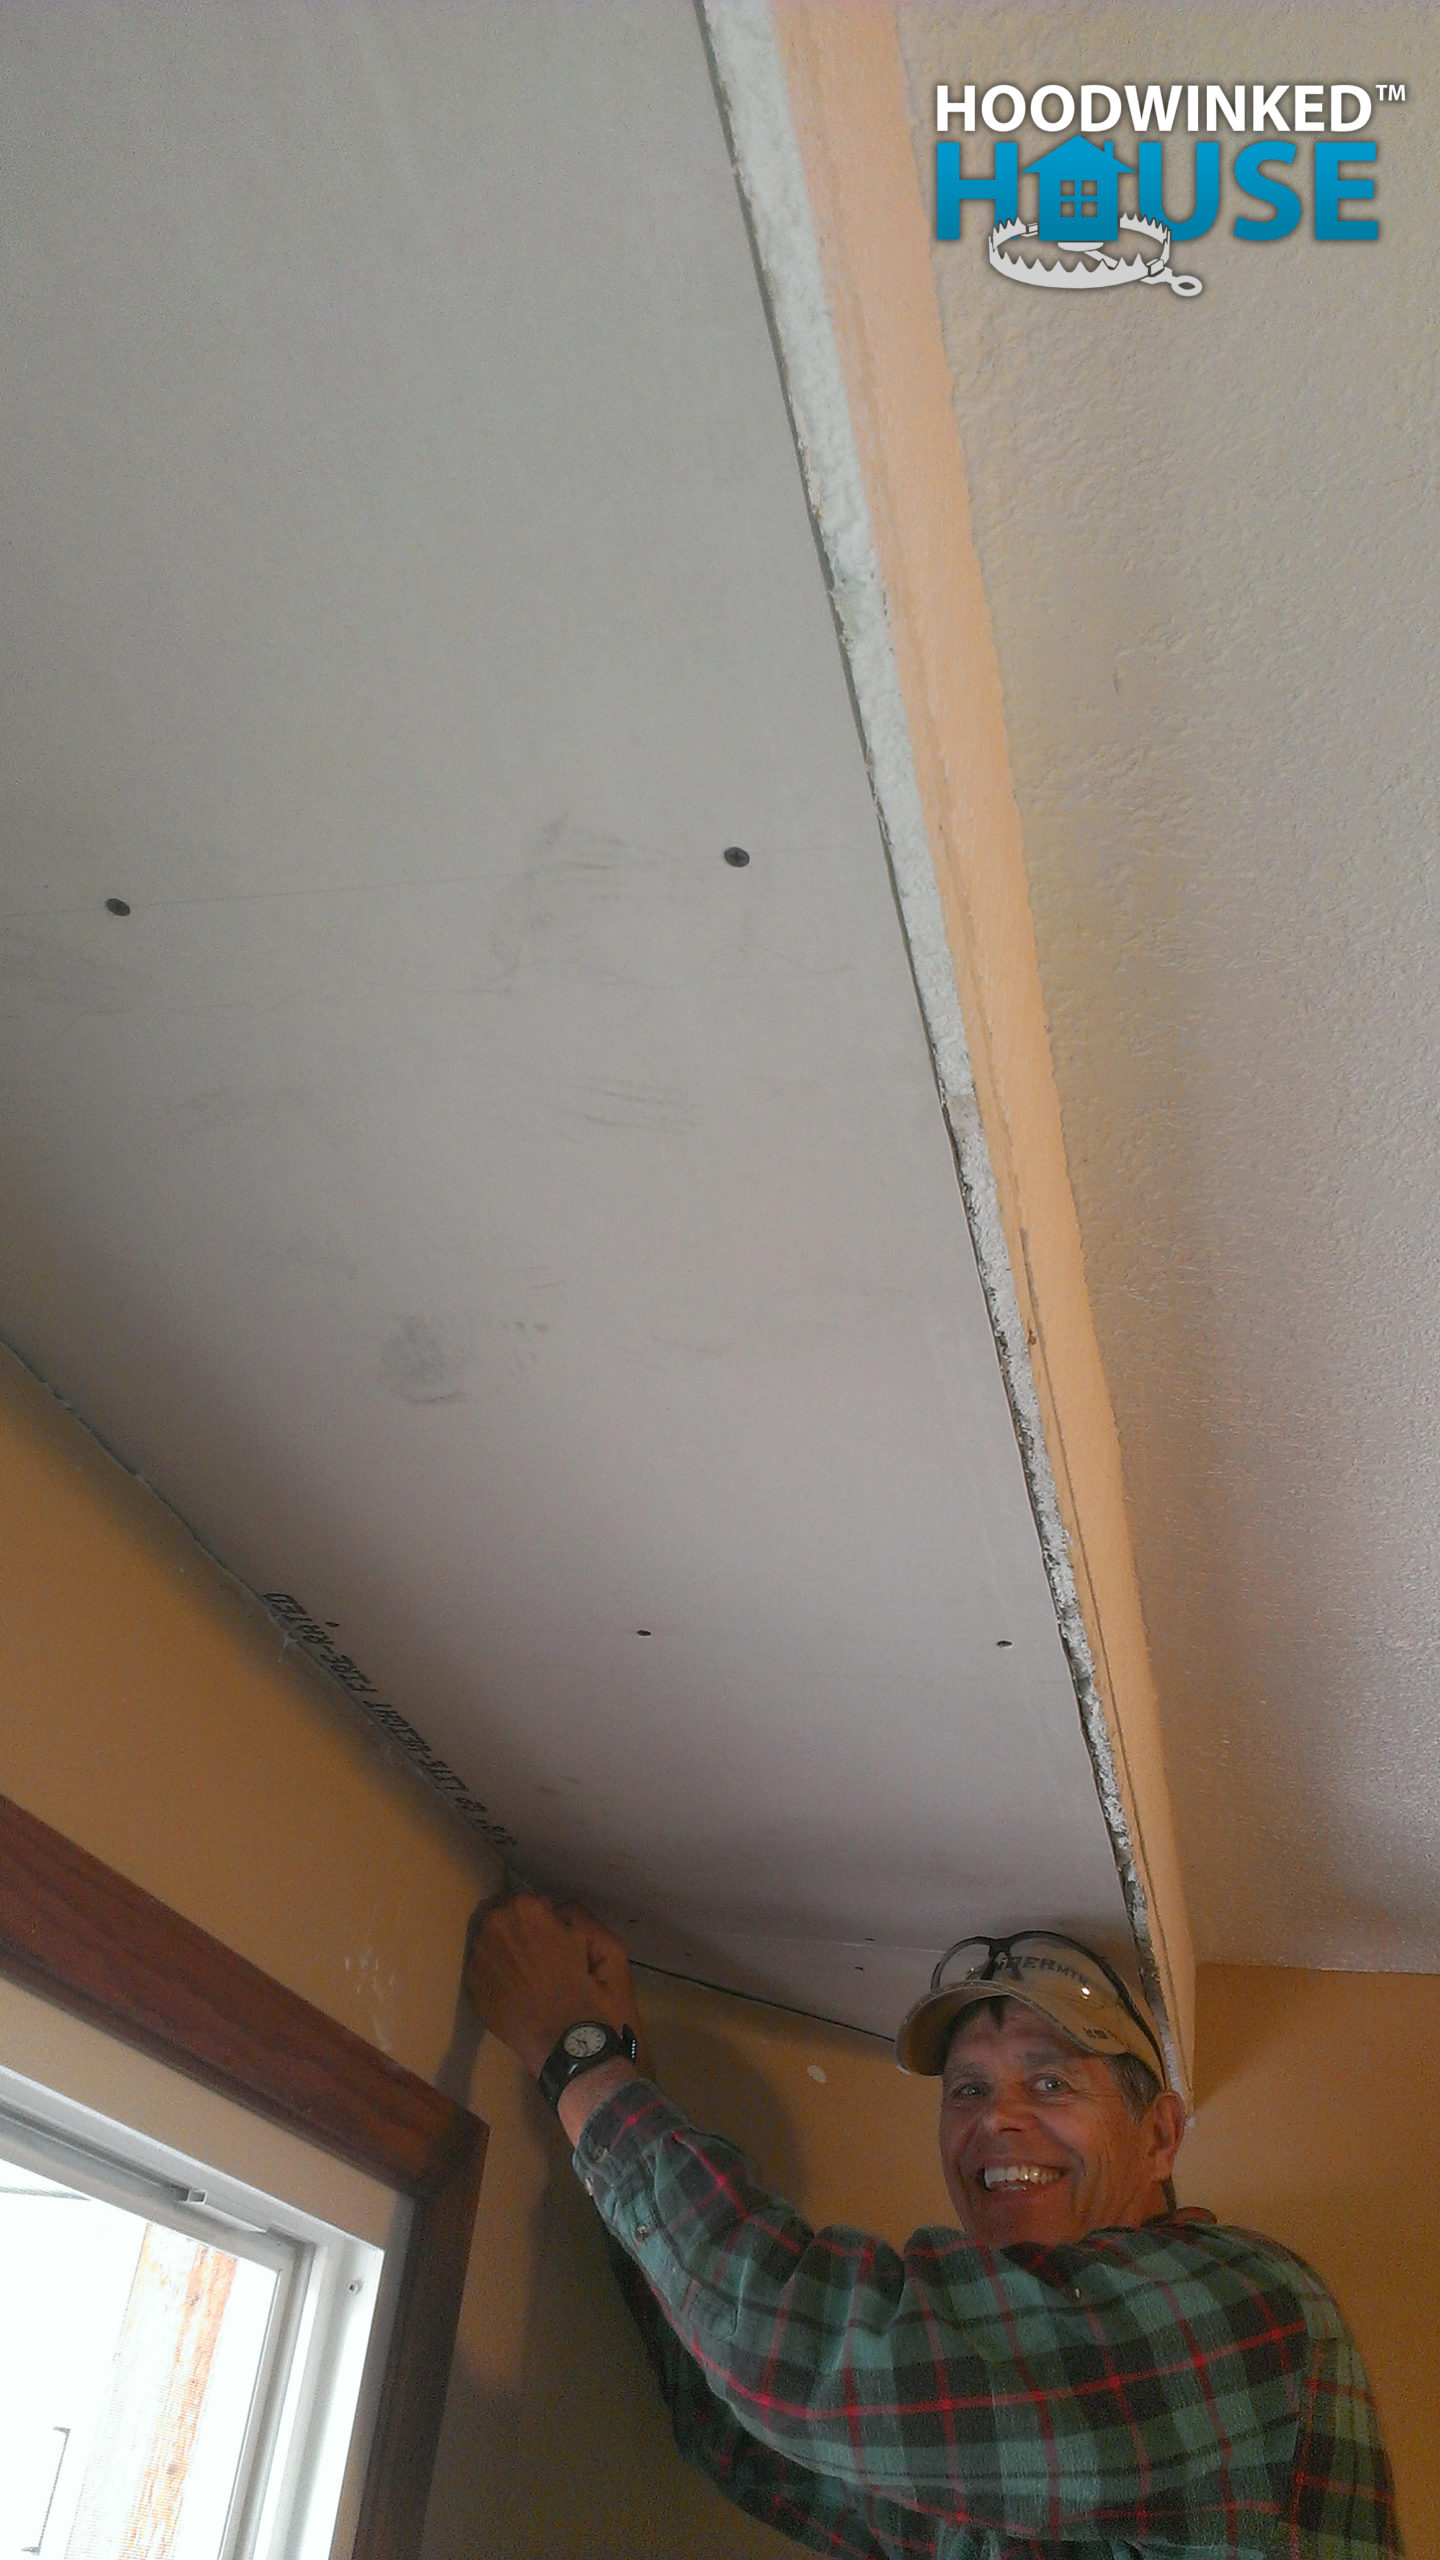
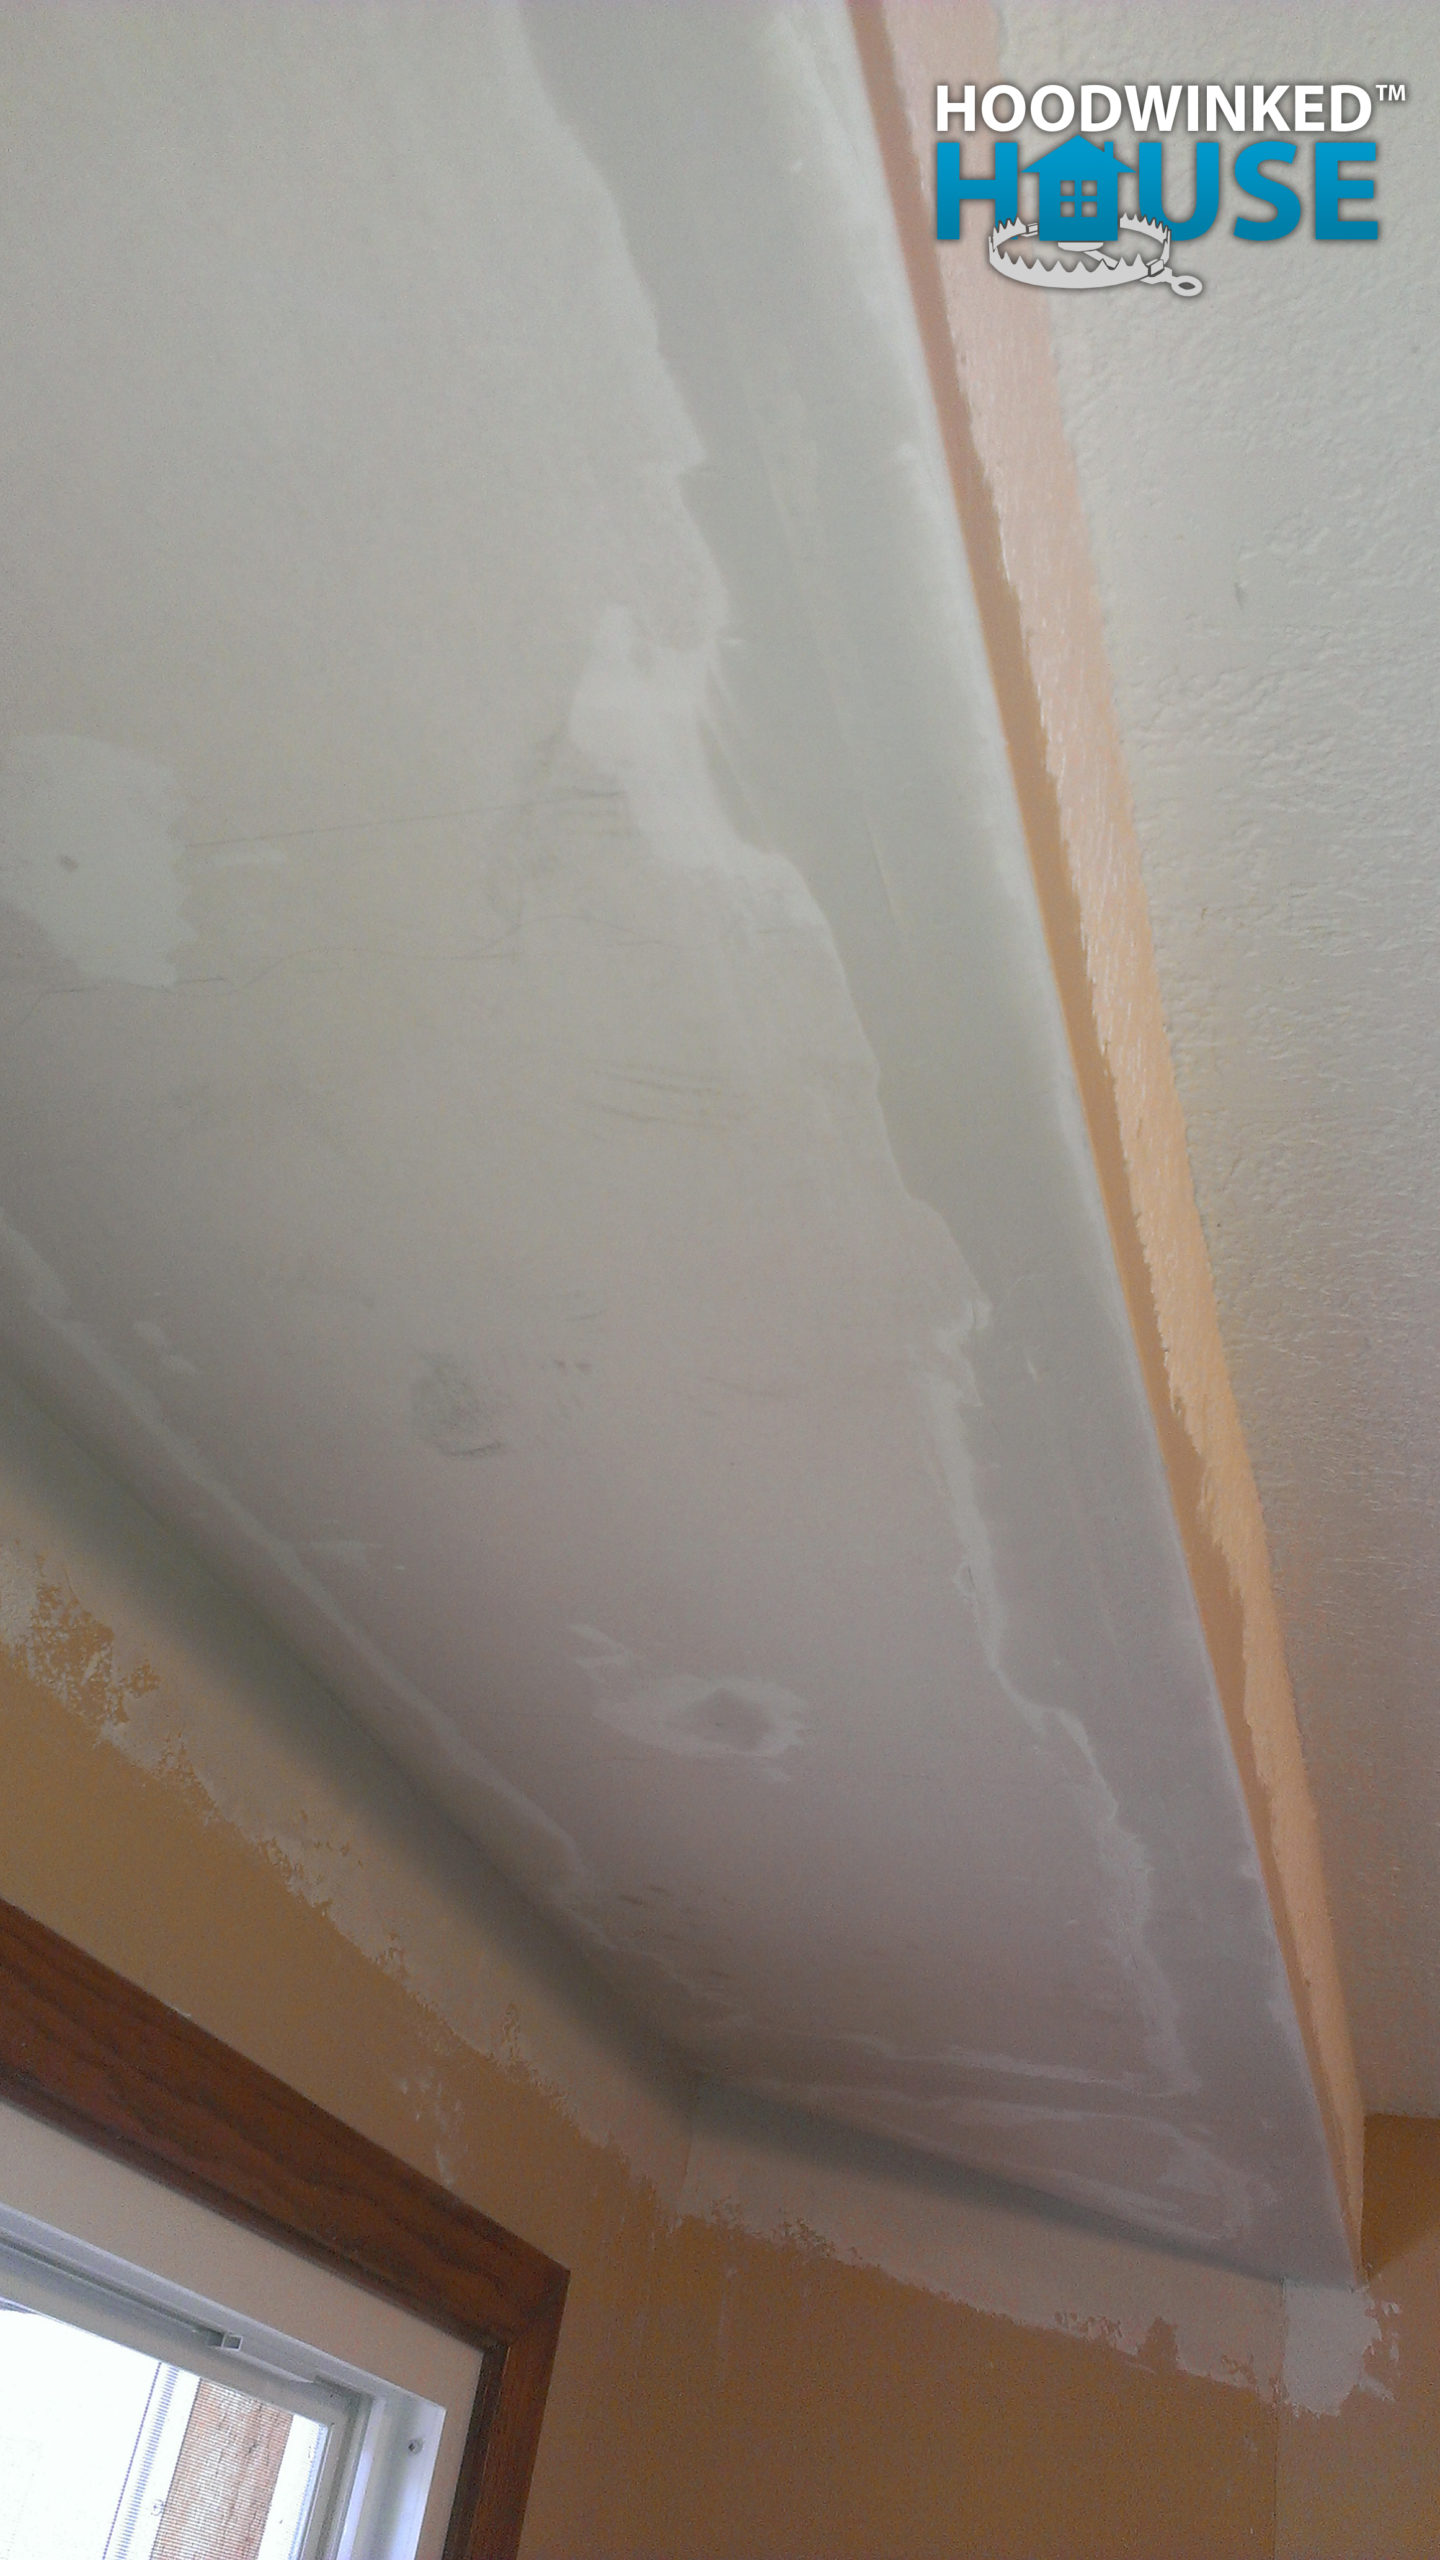
I properly install new insulation in the soffit, ensuring that the eves remain clear. Then I install vapor barrier. Next, my dad helps me hang new drywall on the underside of the soffit. Later, we tape the seams and apply the first pass of joint compound.