A breath of fresh air

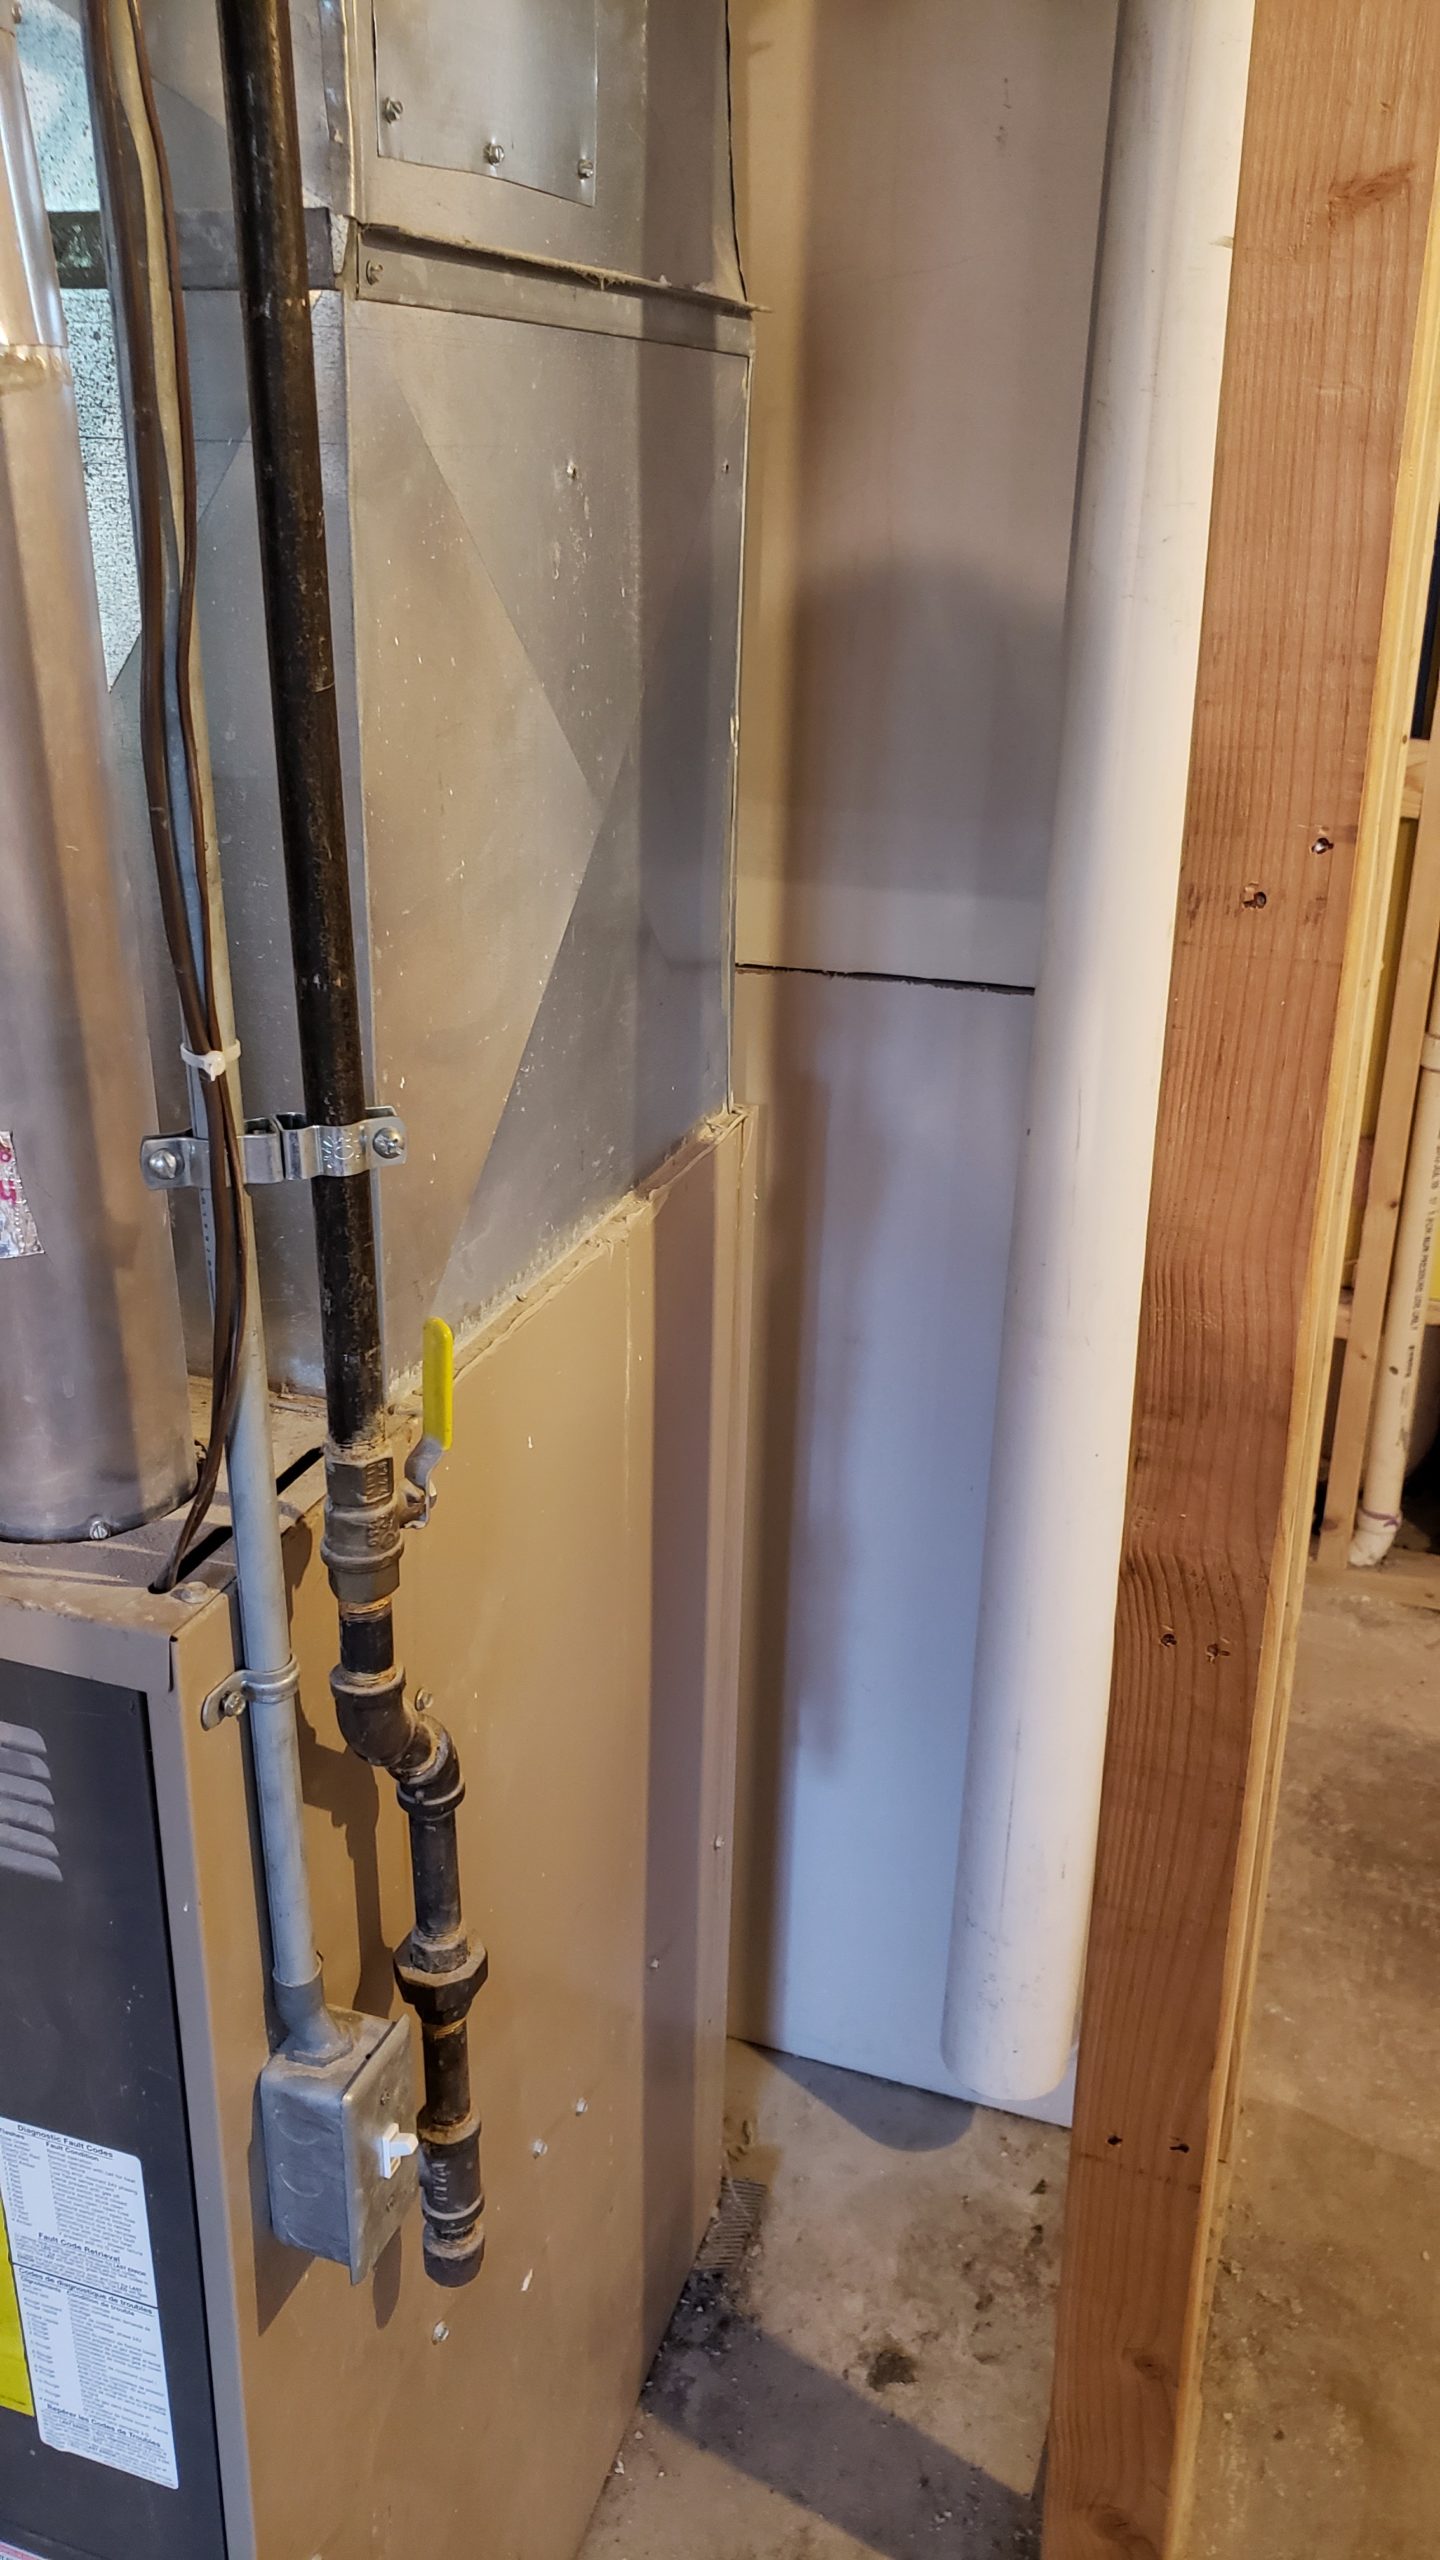
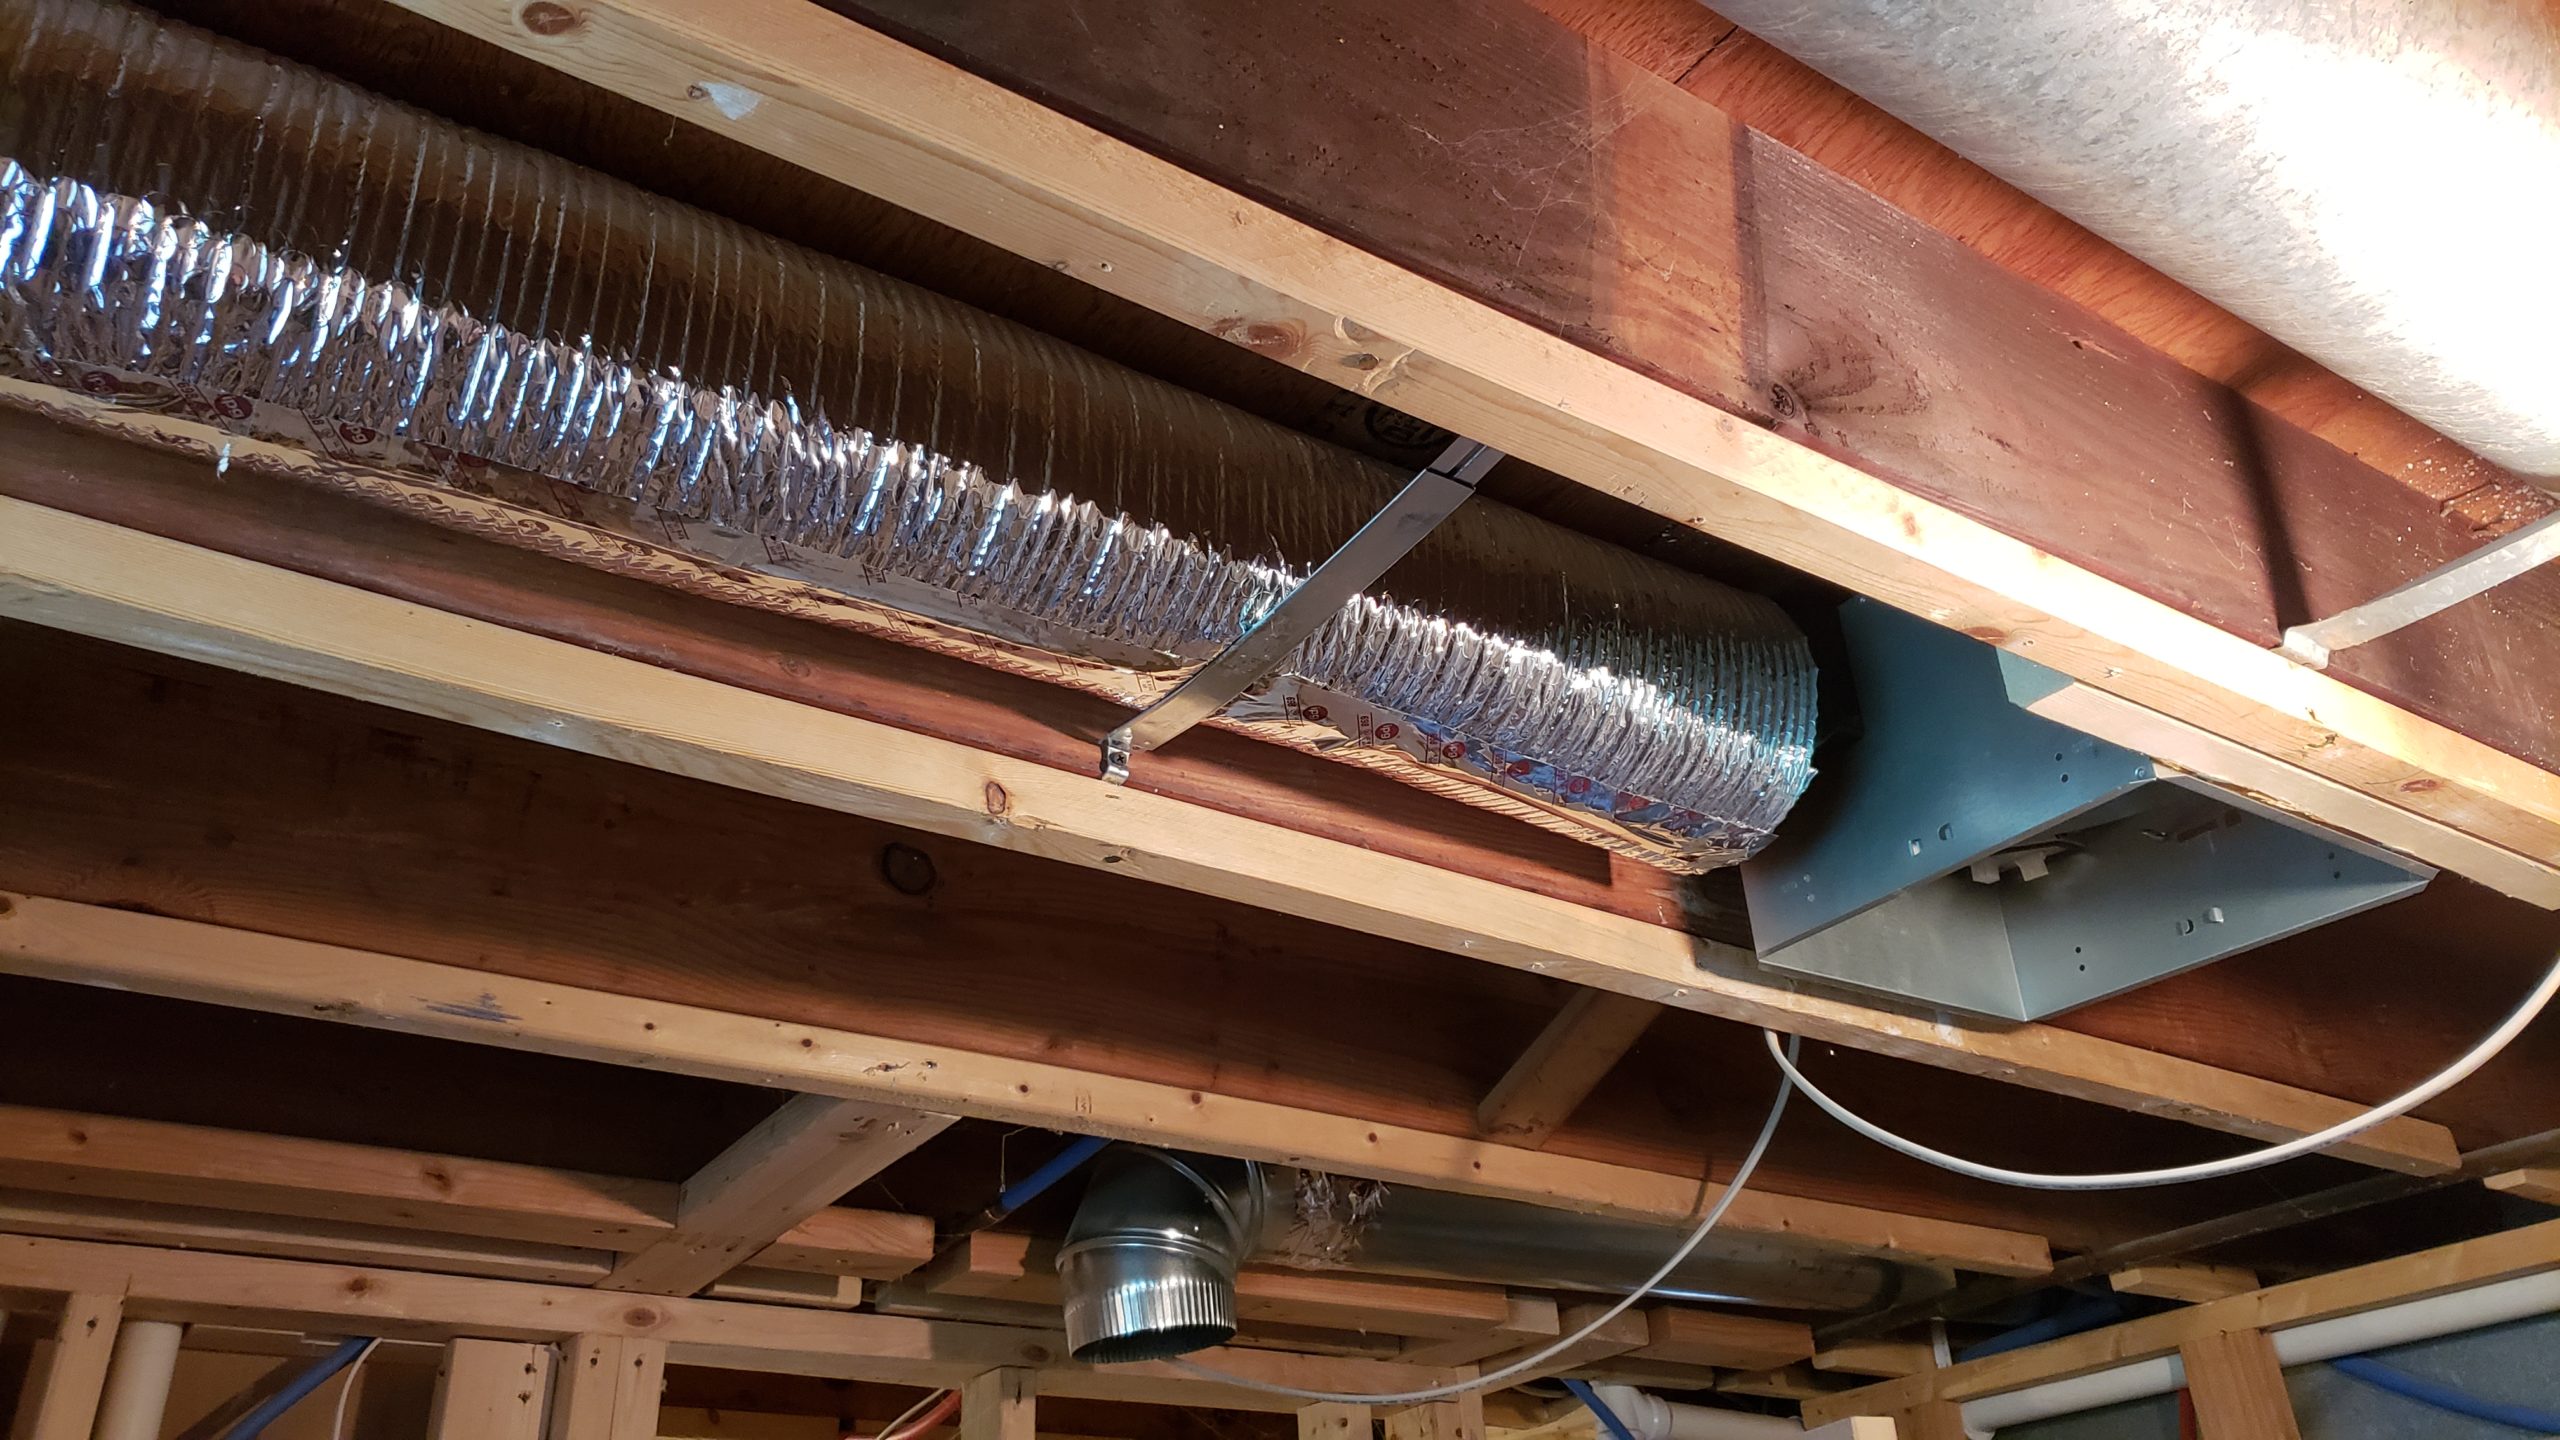
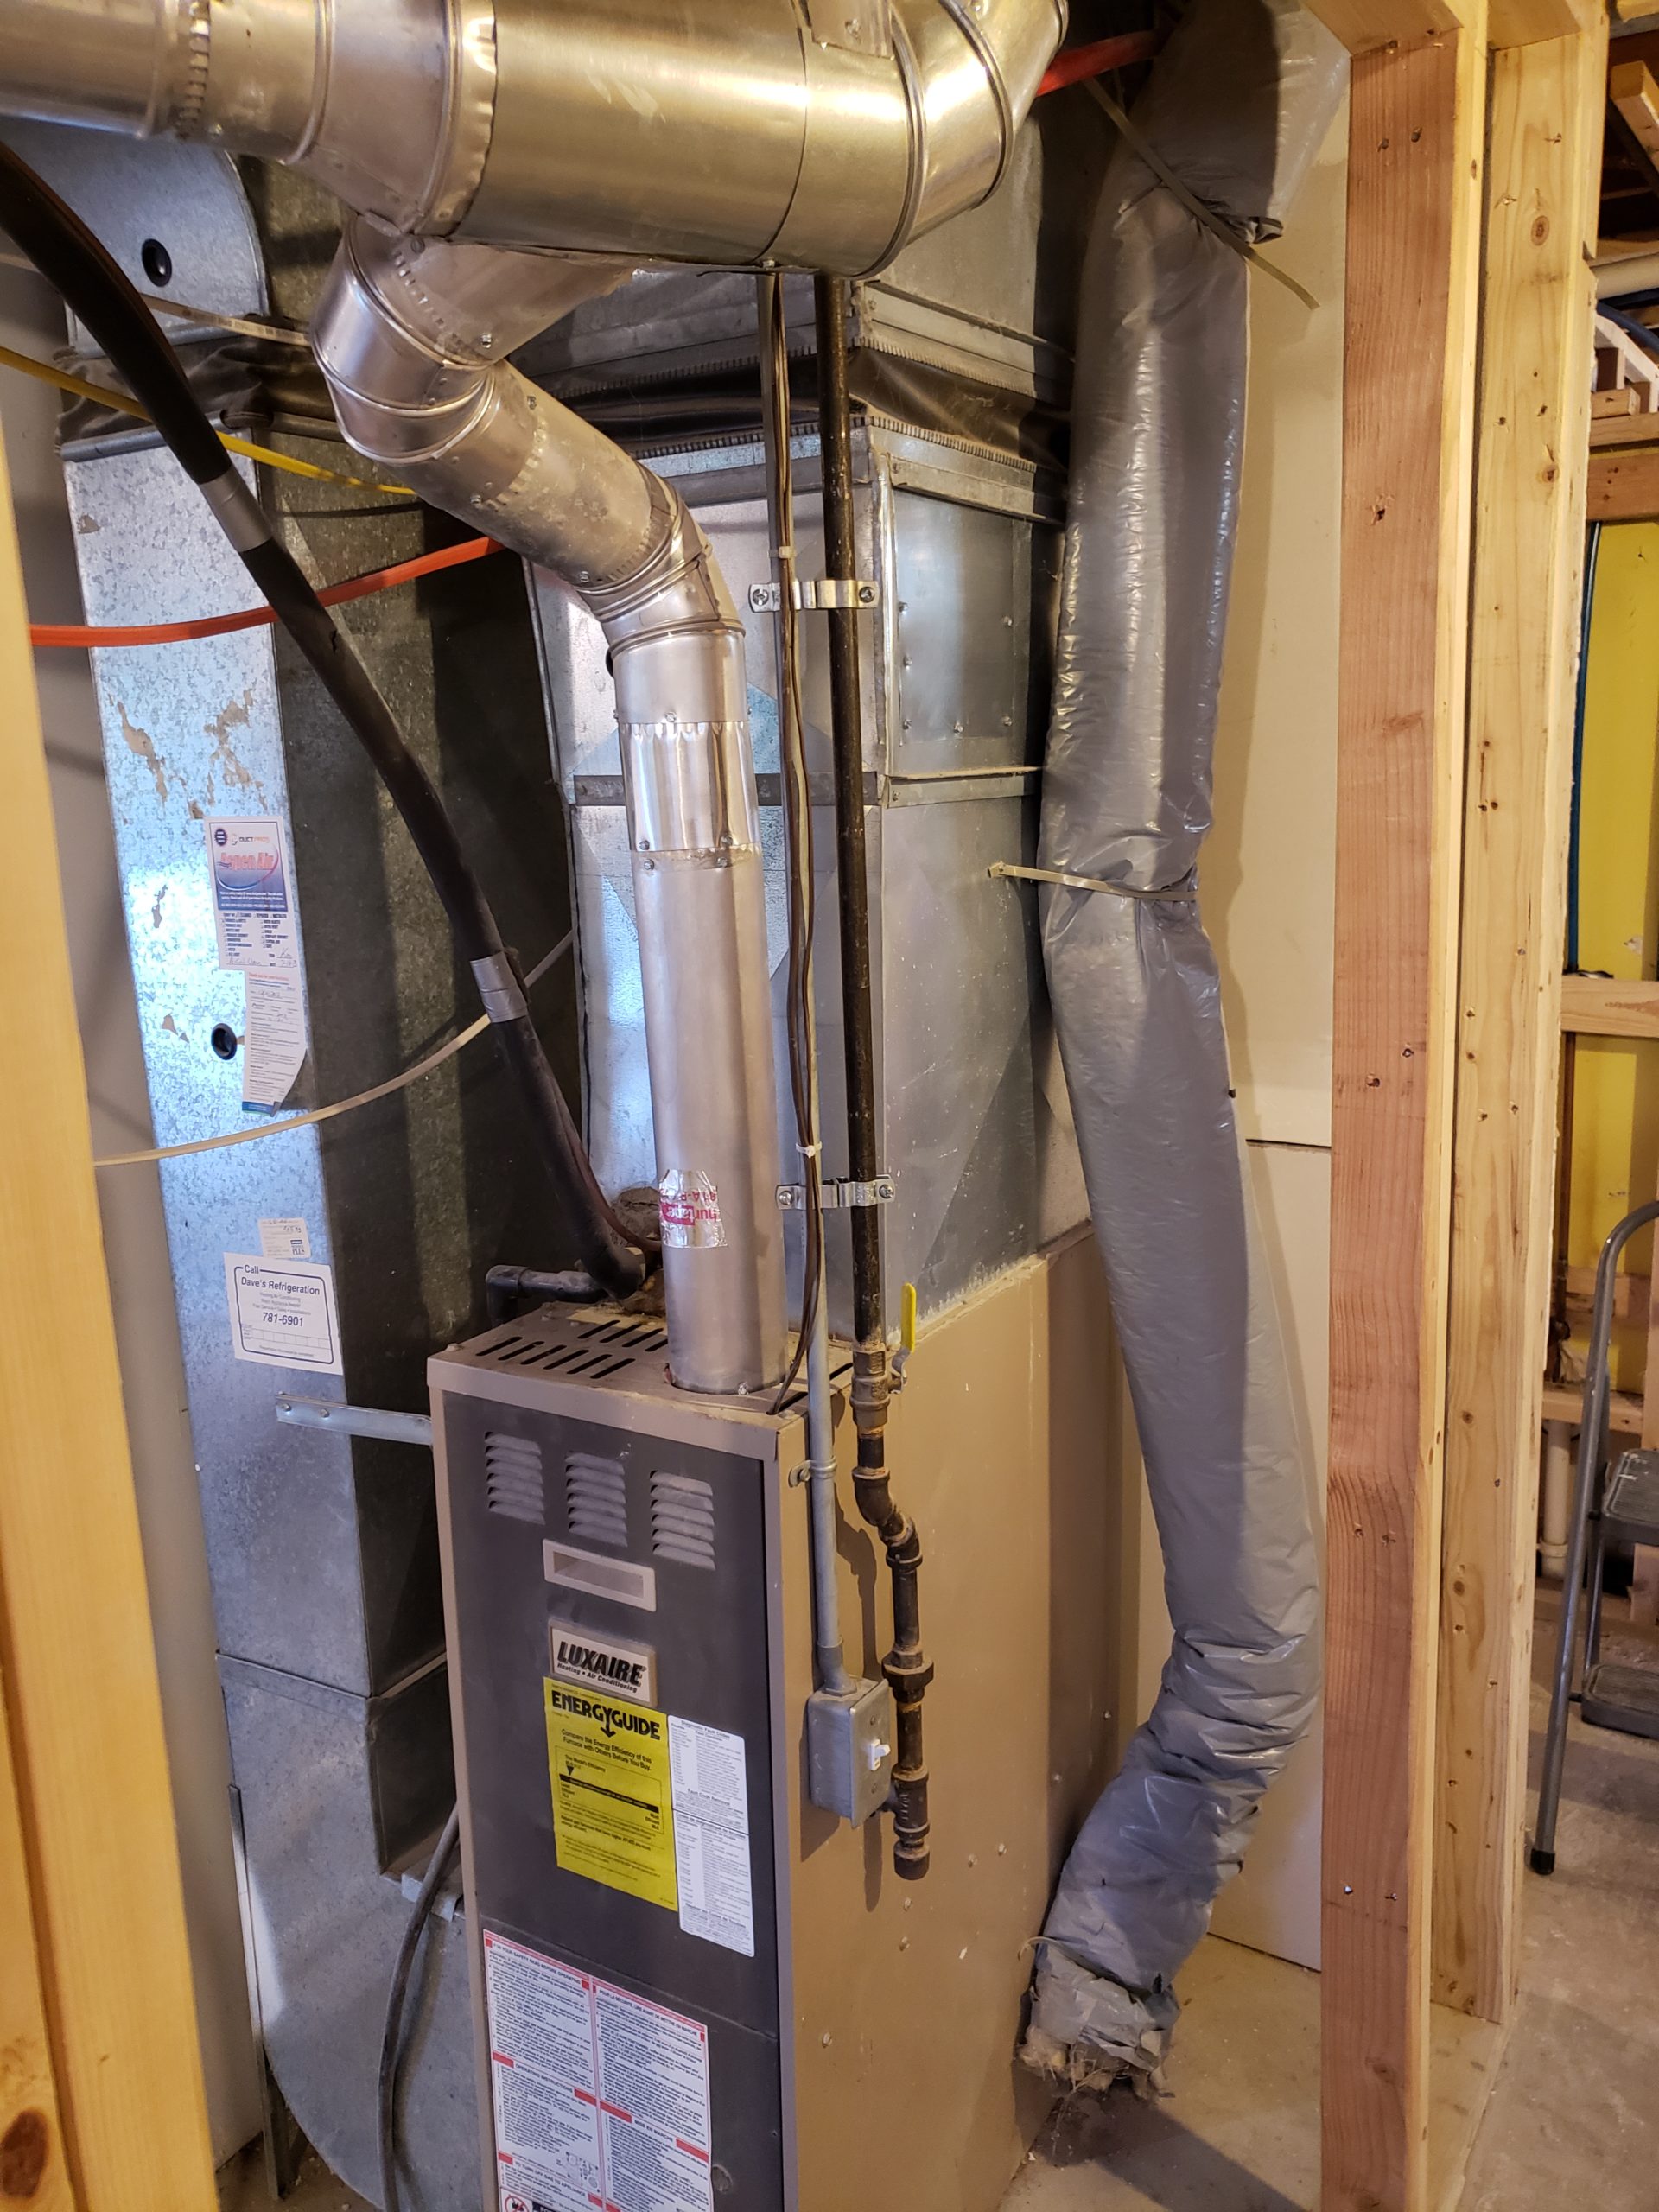
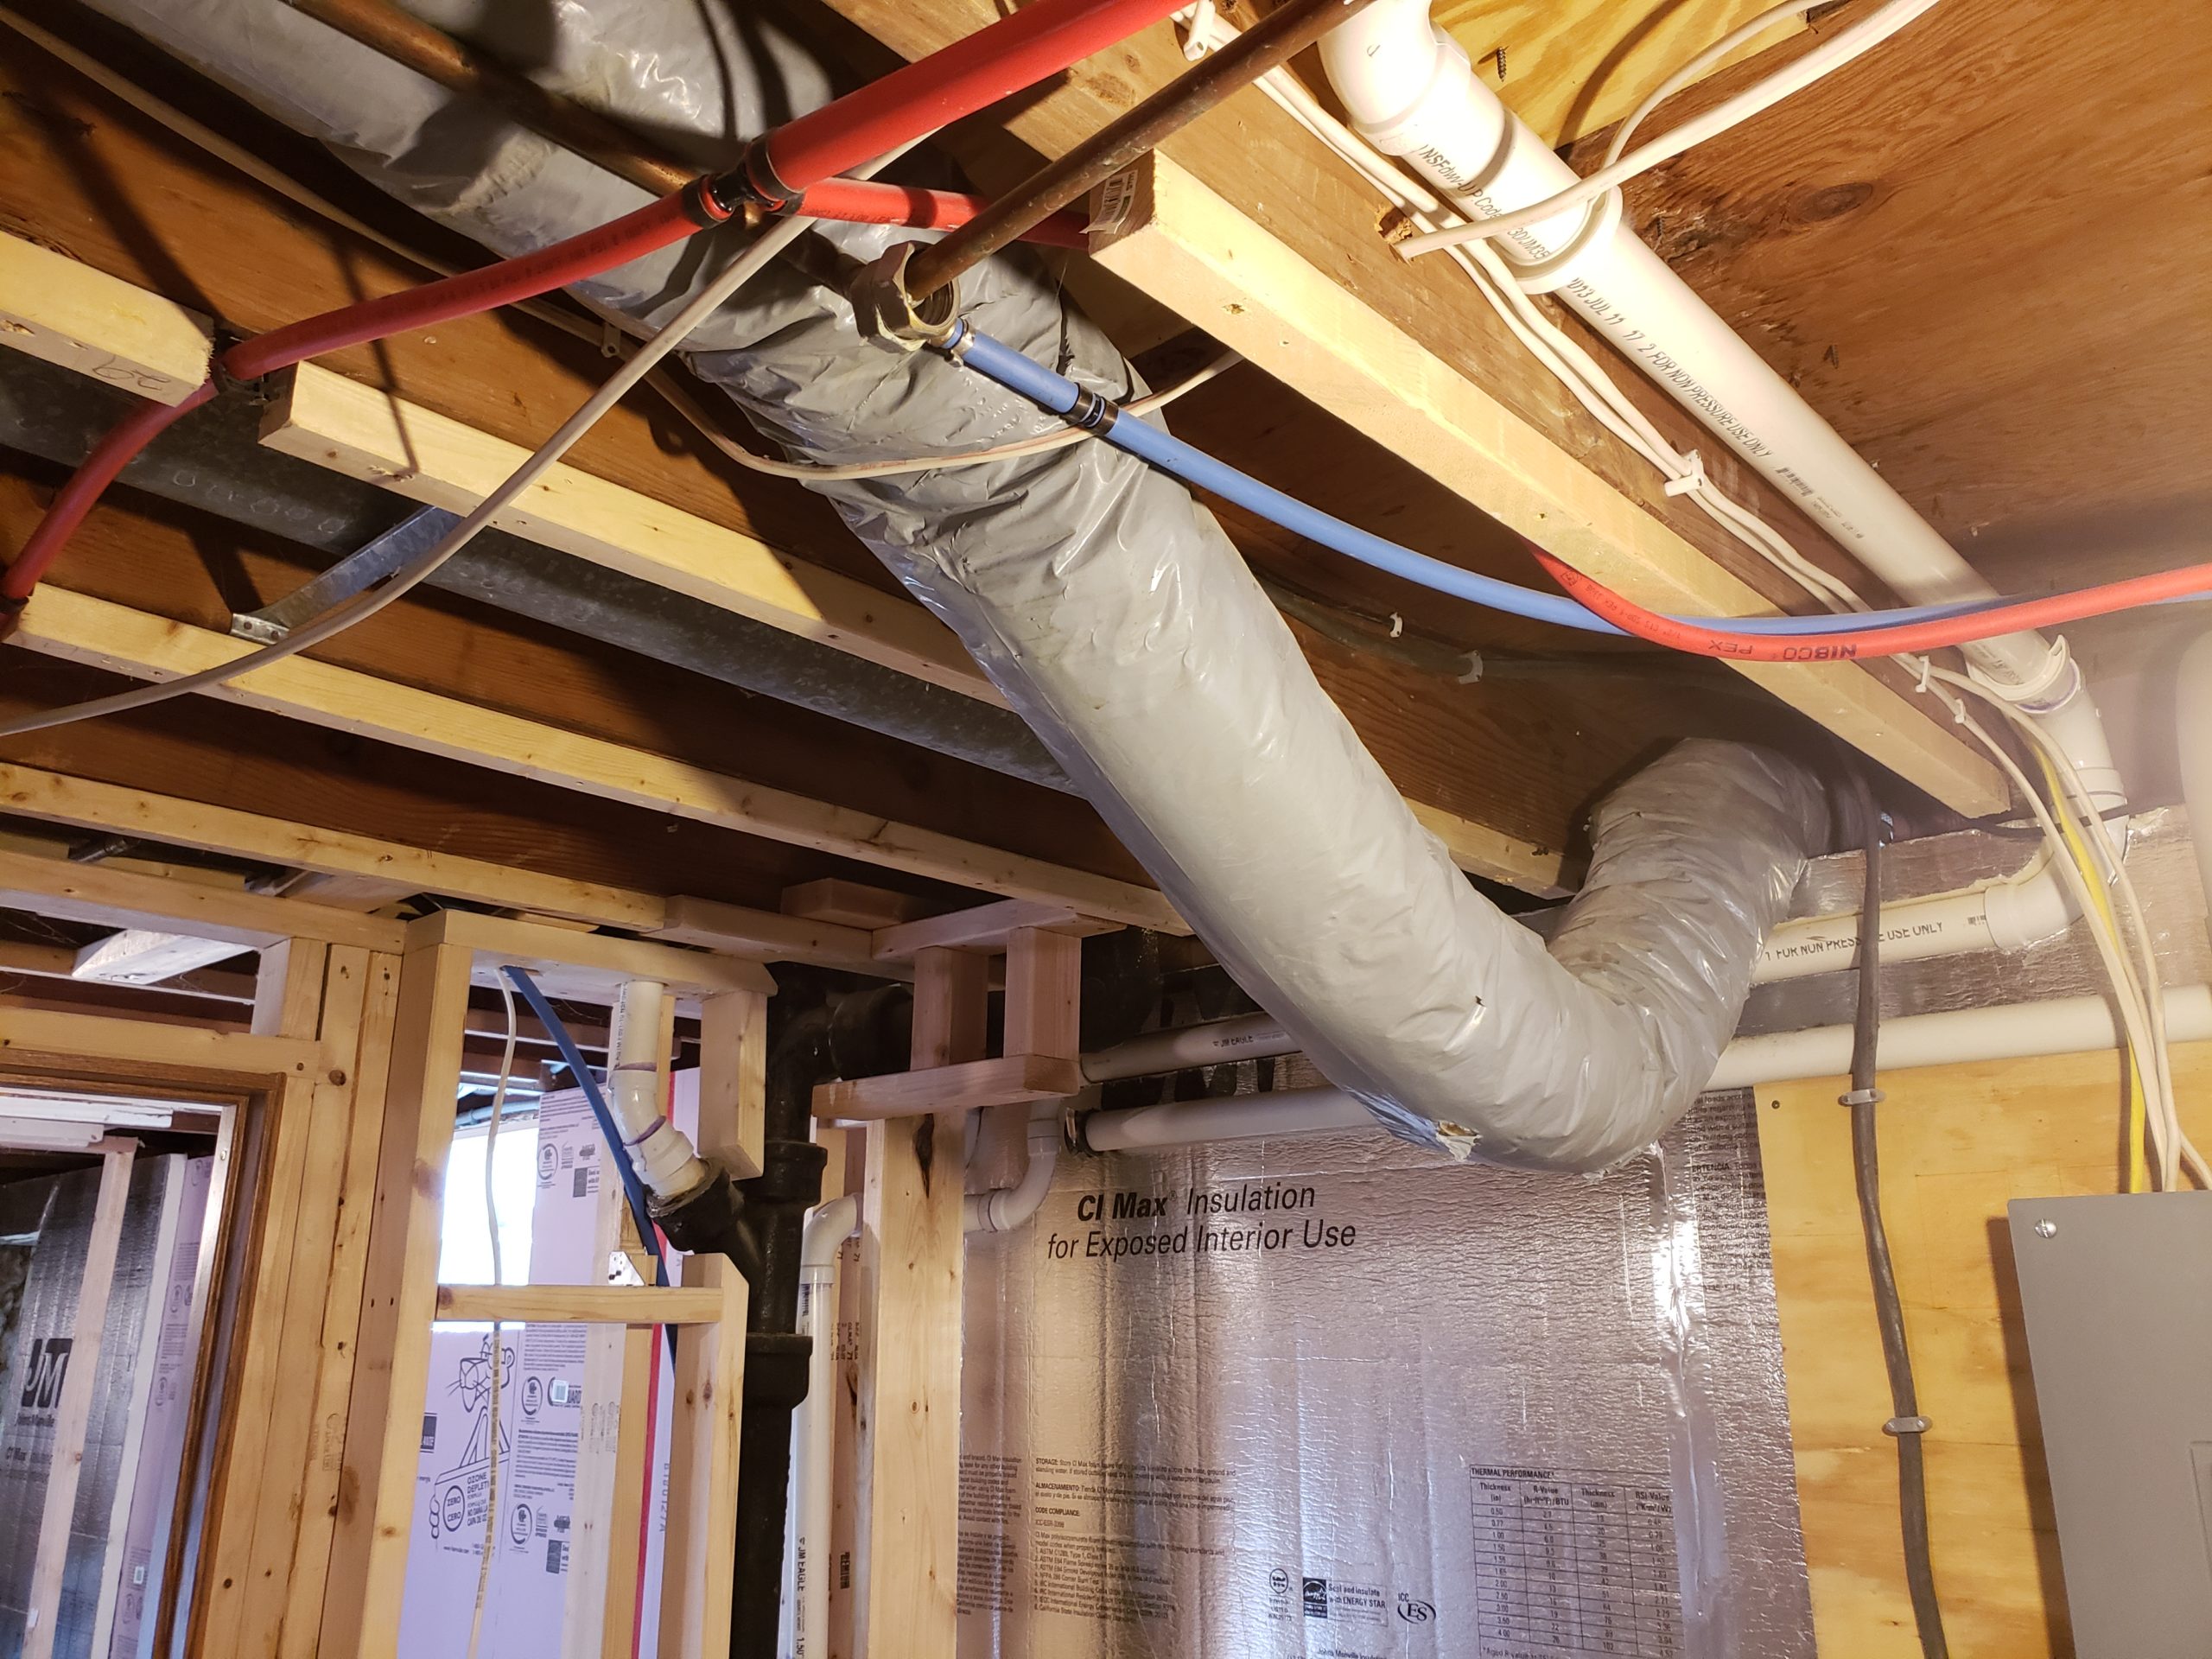
Readings around the furnace suggest that something is wrong with the fresh air intake. The duct is just a flexible hose, so I thought it might be pinched somewhere.

A furnace flexible fresh air intake is shown kinked in a few places.
A flexible fresh air intake hangs from a basement ceiling, sagging in the middle.

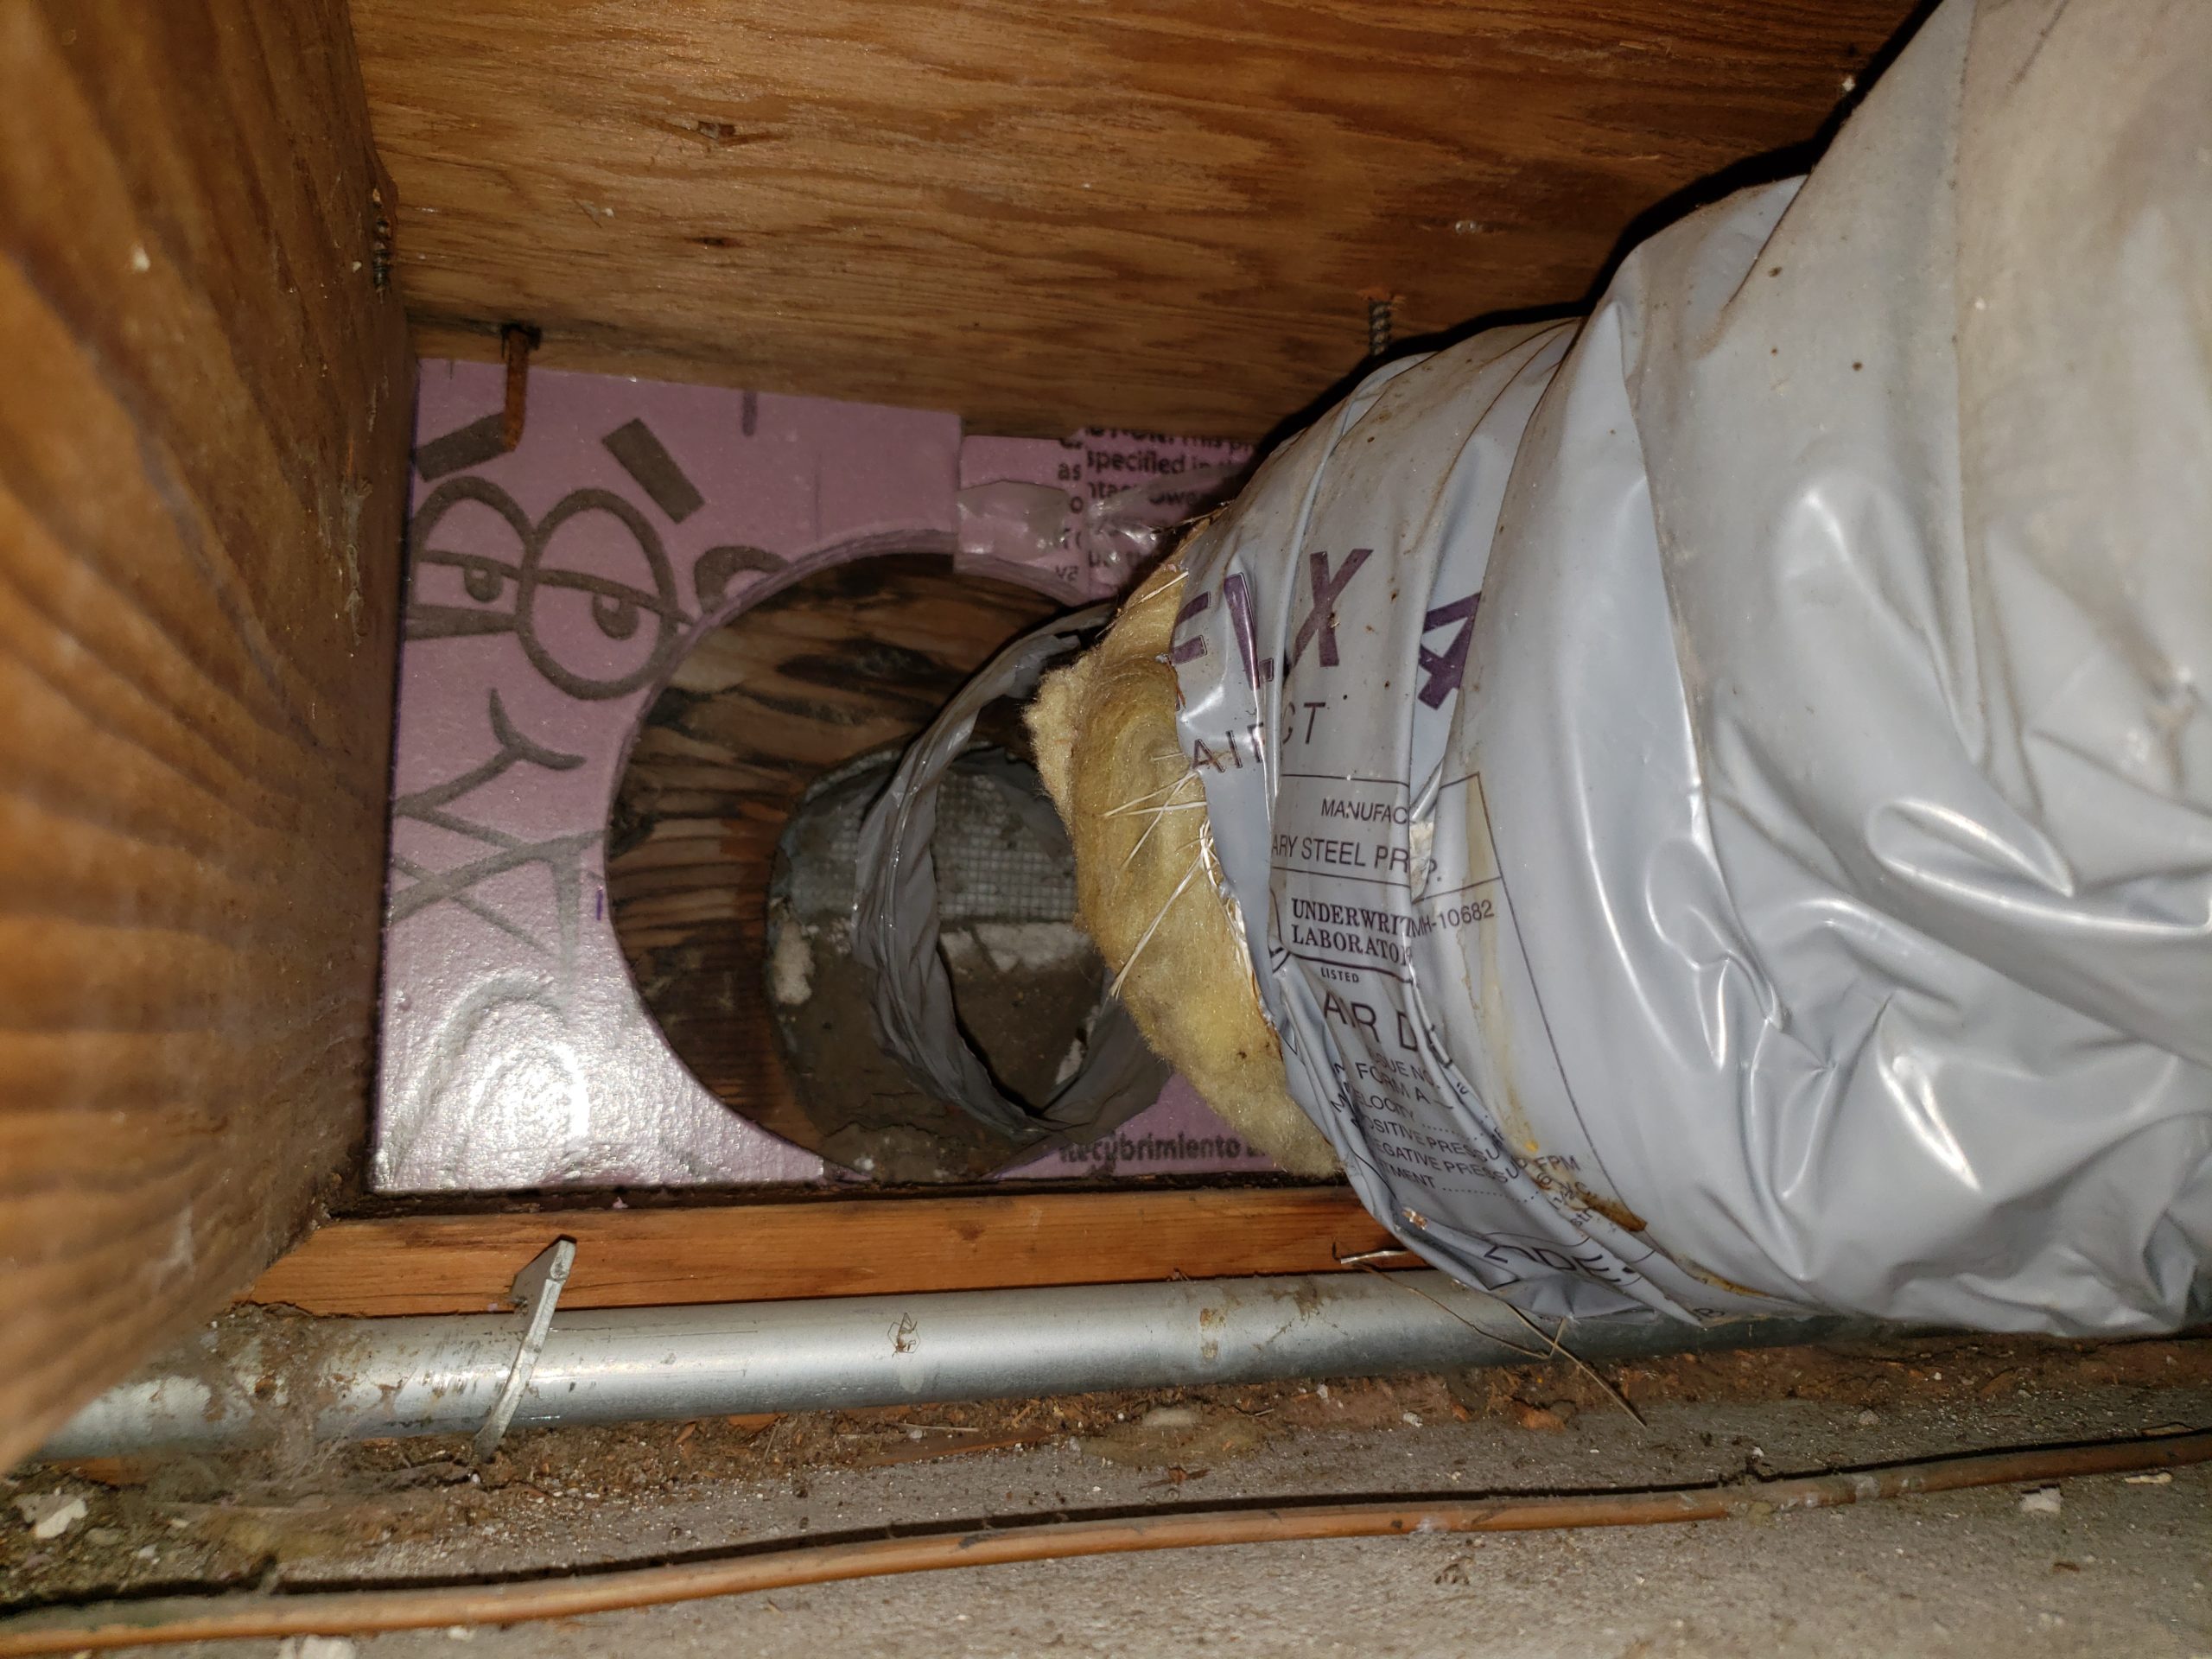
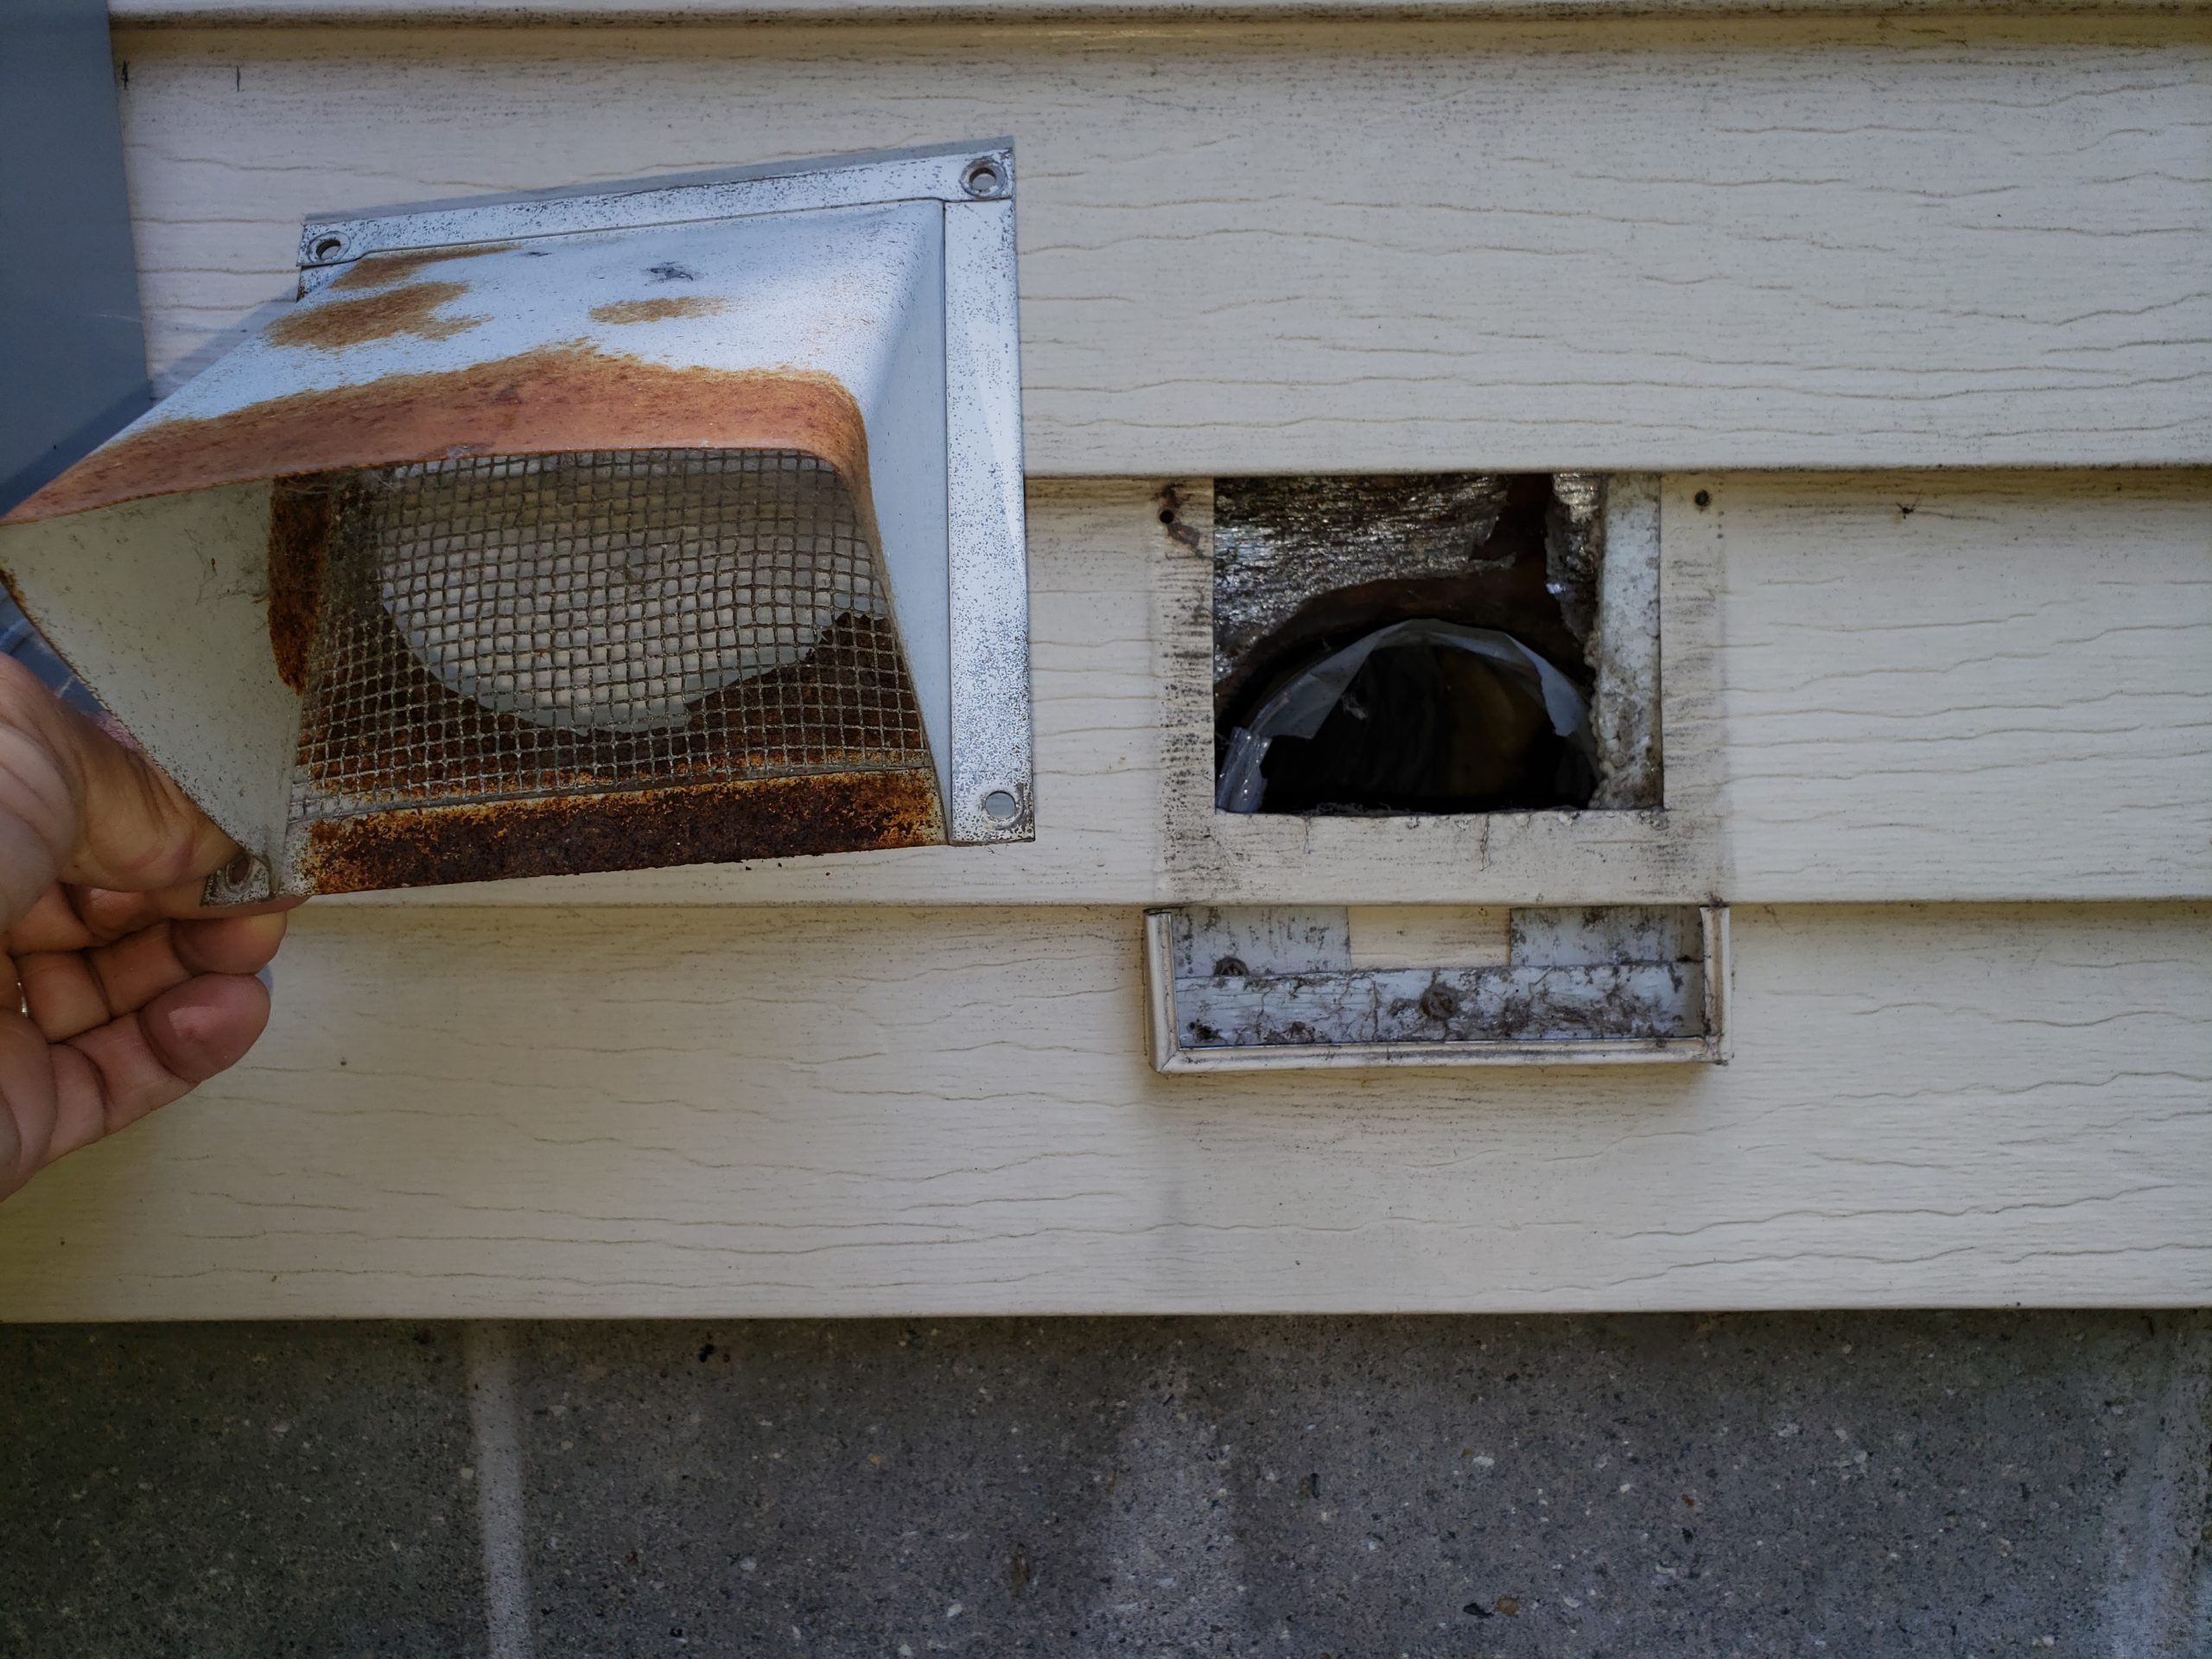
I discovered that the fresh air duct was not really attached to the outside of the house. Instead, it was simply resting in front of the rim joist in front of the exterior vent. The vent collar was missing, so there was nothing for the duct to attach to. That’s like breathing through a snorkel that’s only touching your lips. What’s more, the vent only lined up with half of the hole in the rim joist. That’s like breathing with only one nostril. At minimum, I’ll have to replace the rusty exterior intake vent in order to fix this.

A flexible fresh air intake where it meets the rim joist of a house.
A rusted fresh air intake, removed from the exterior of a house.

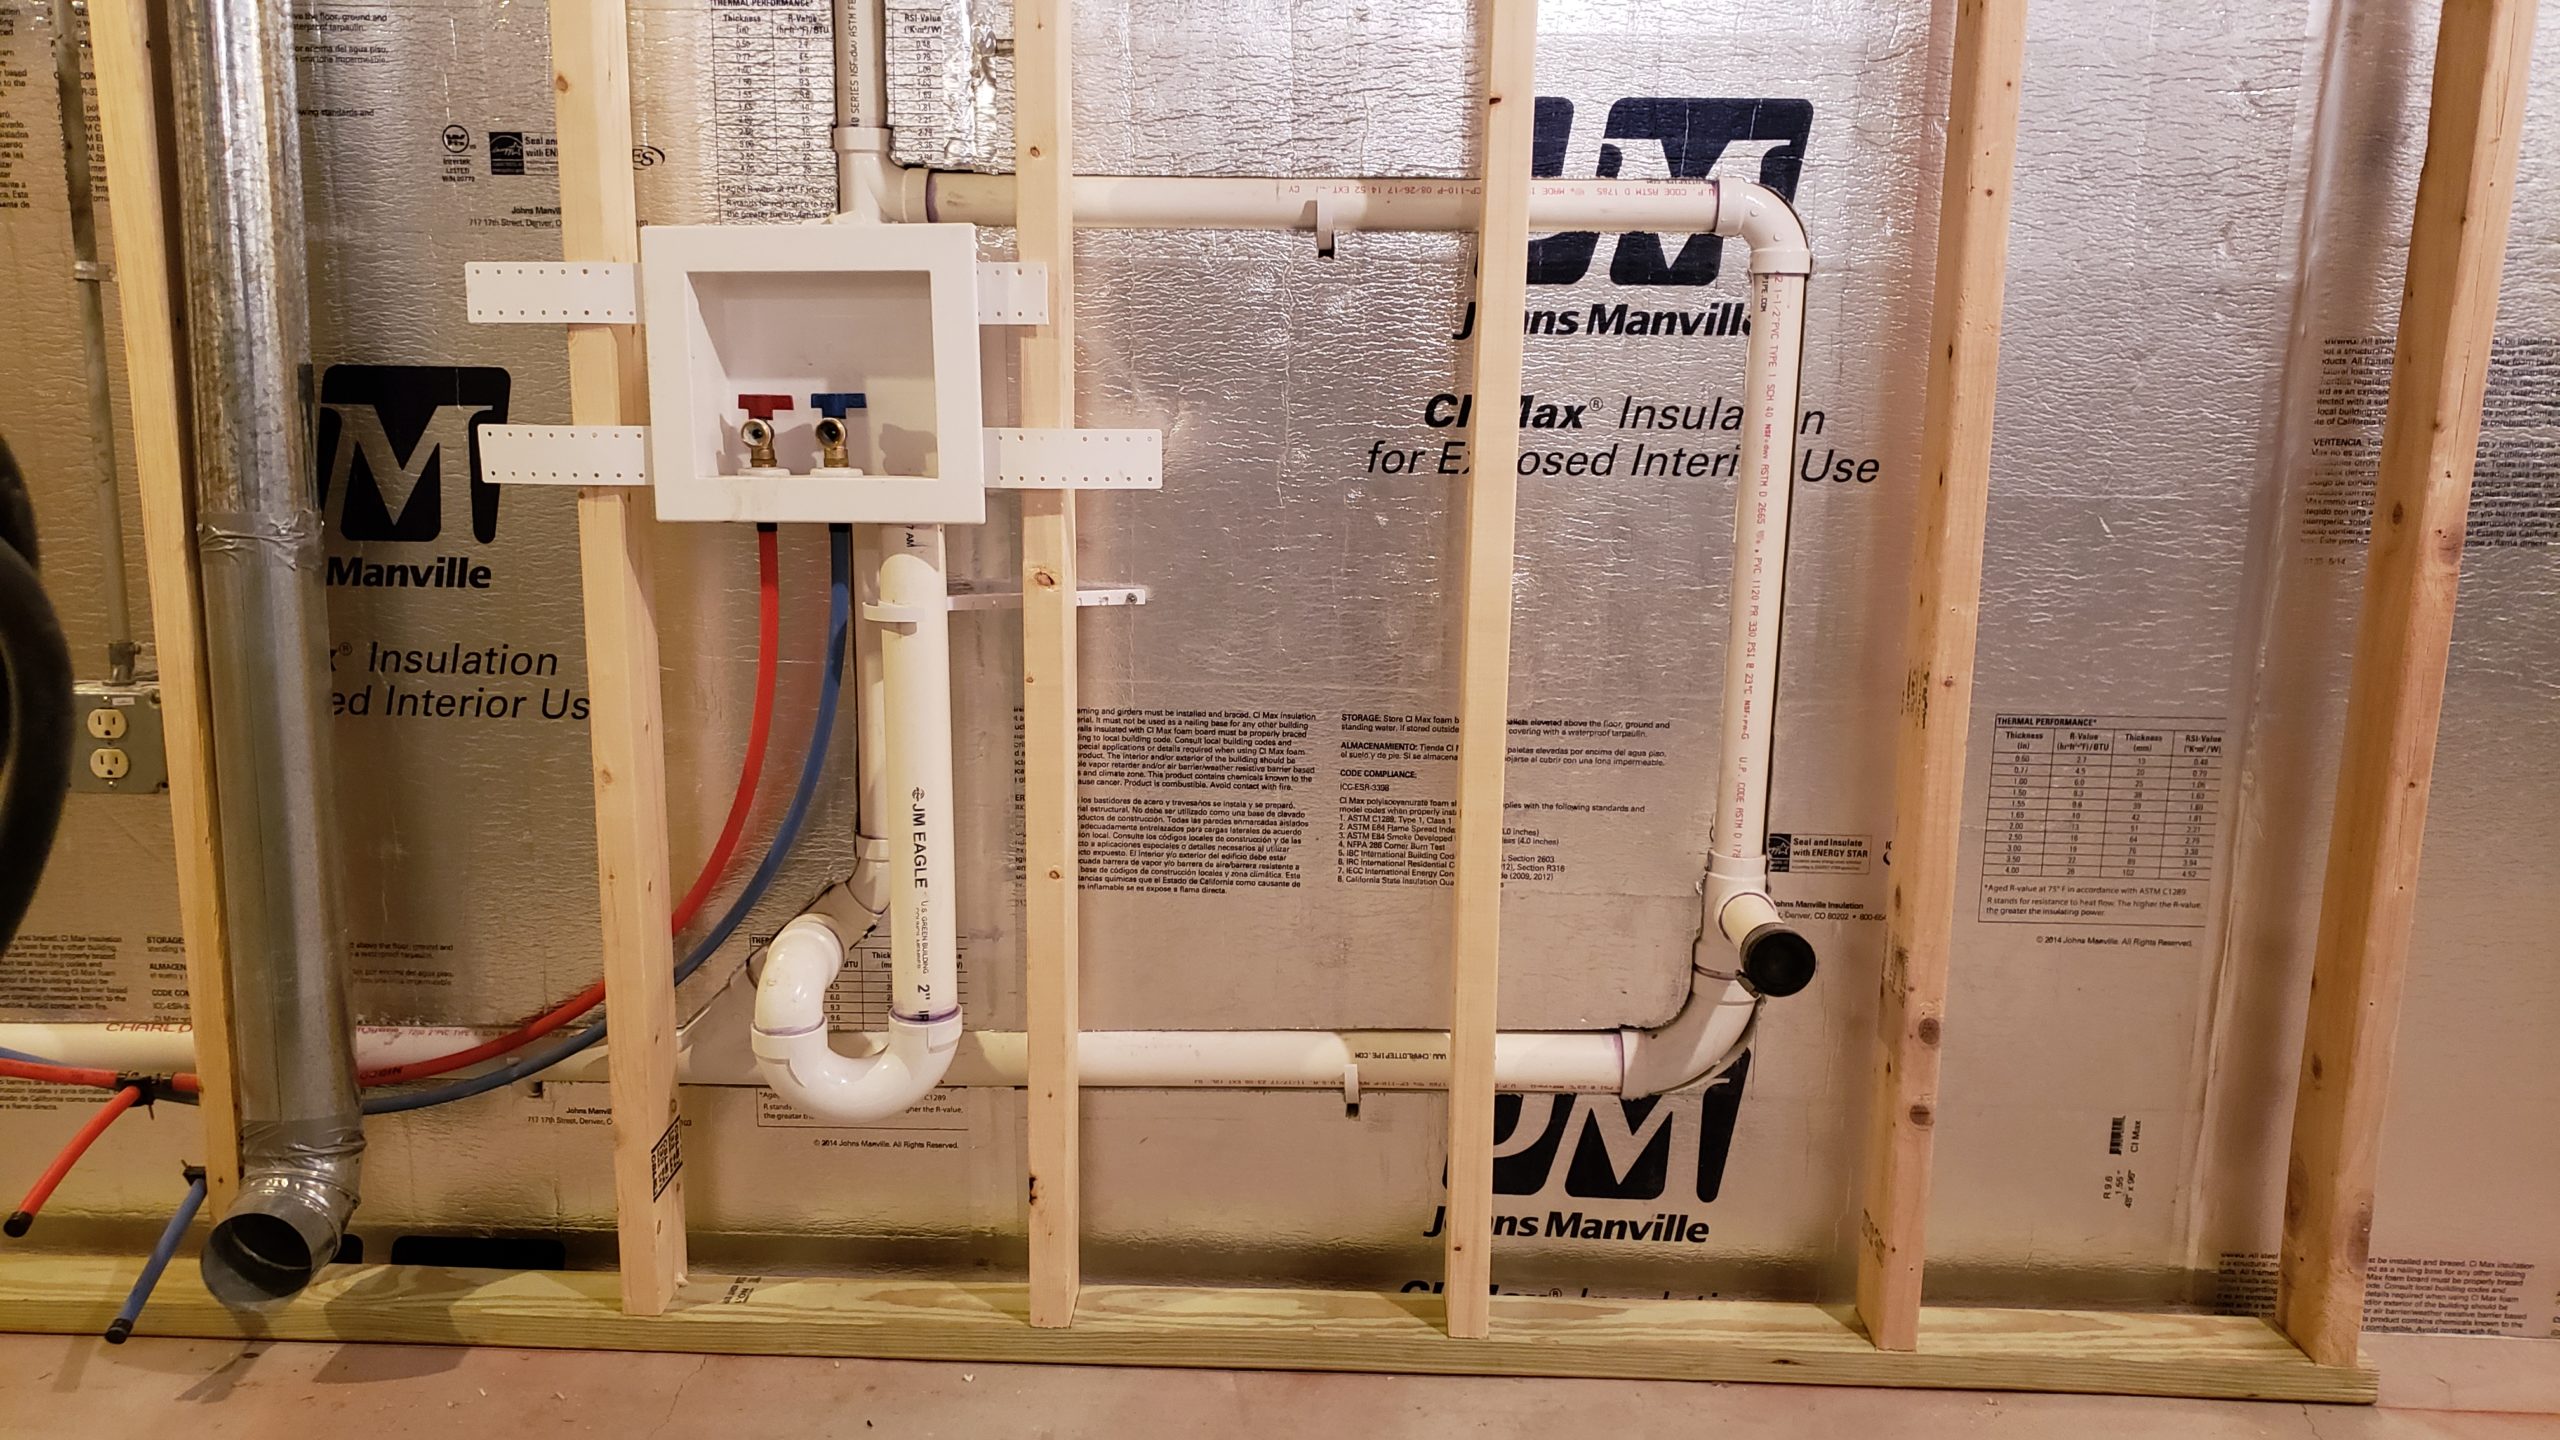
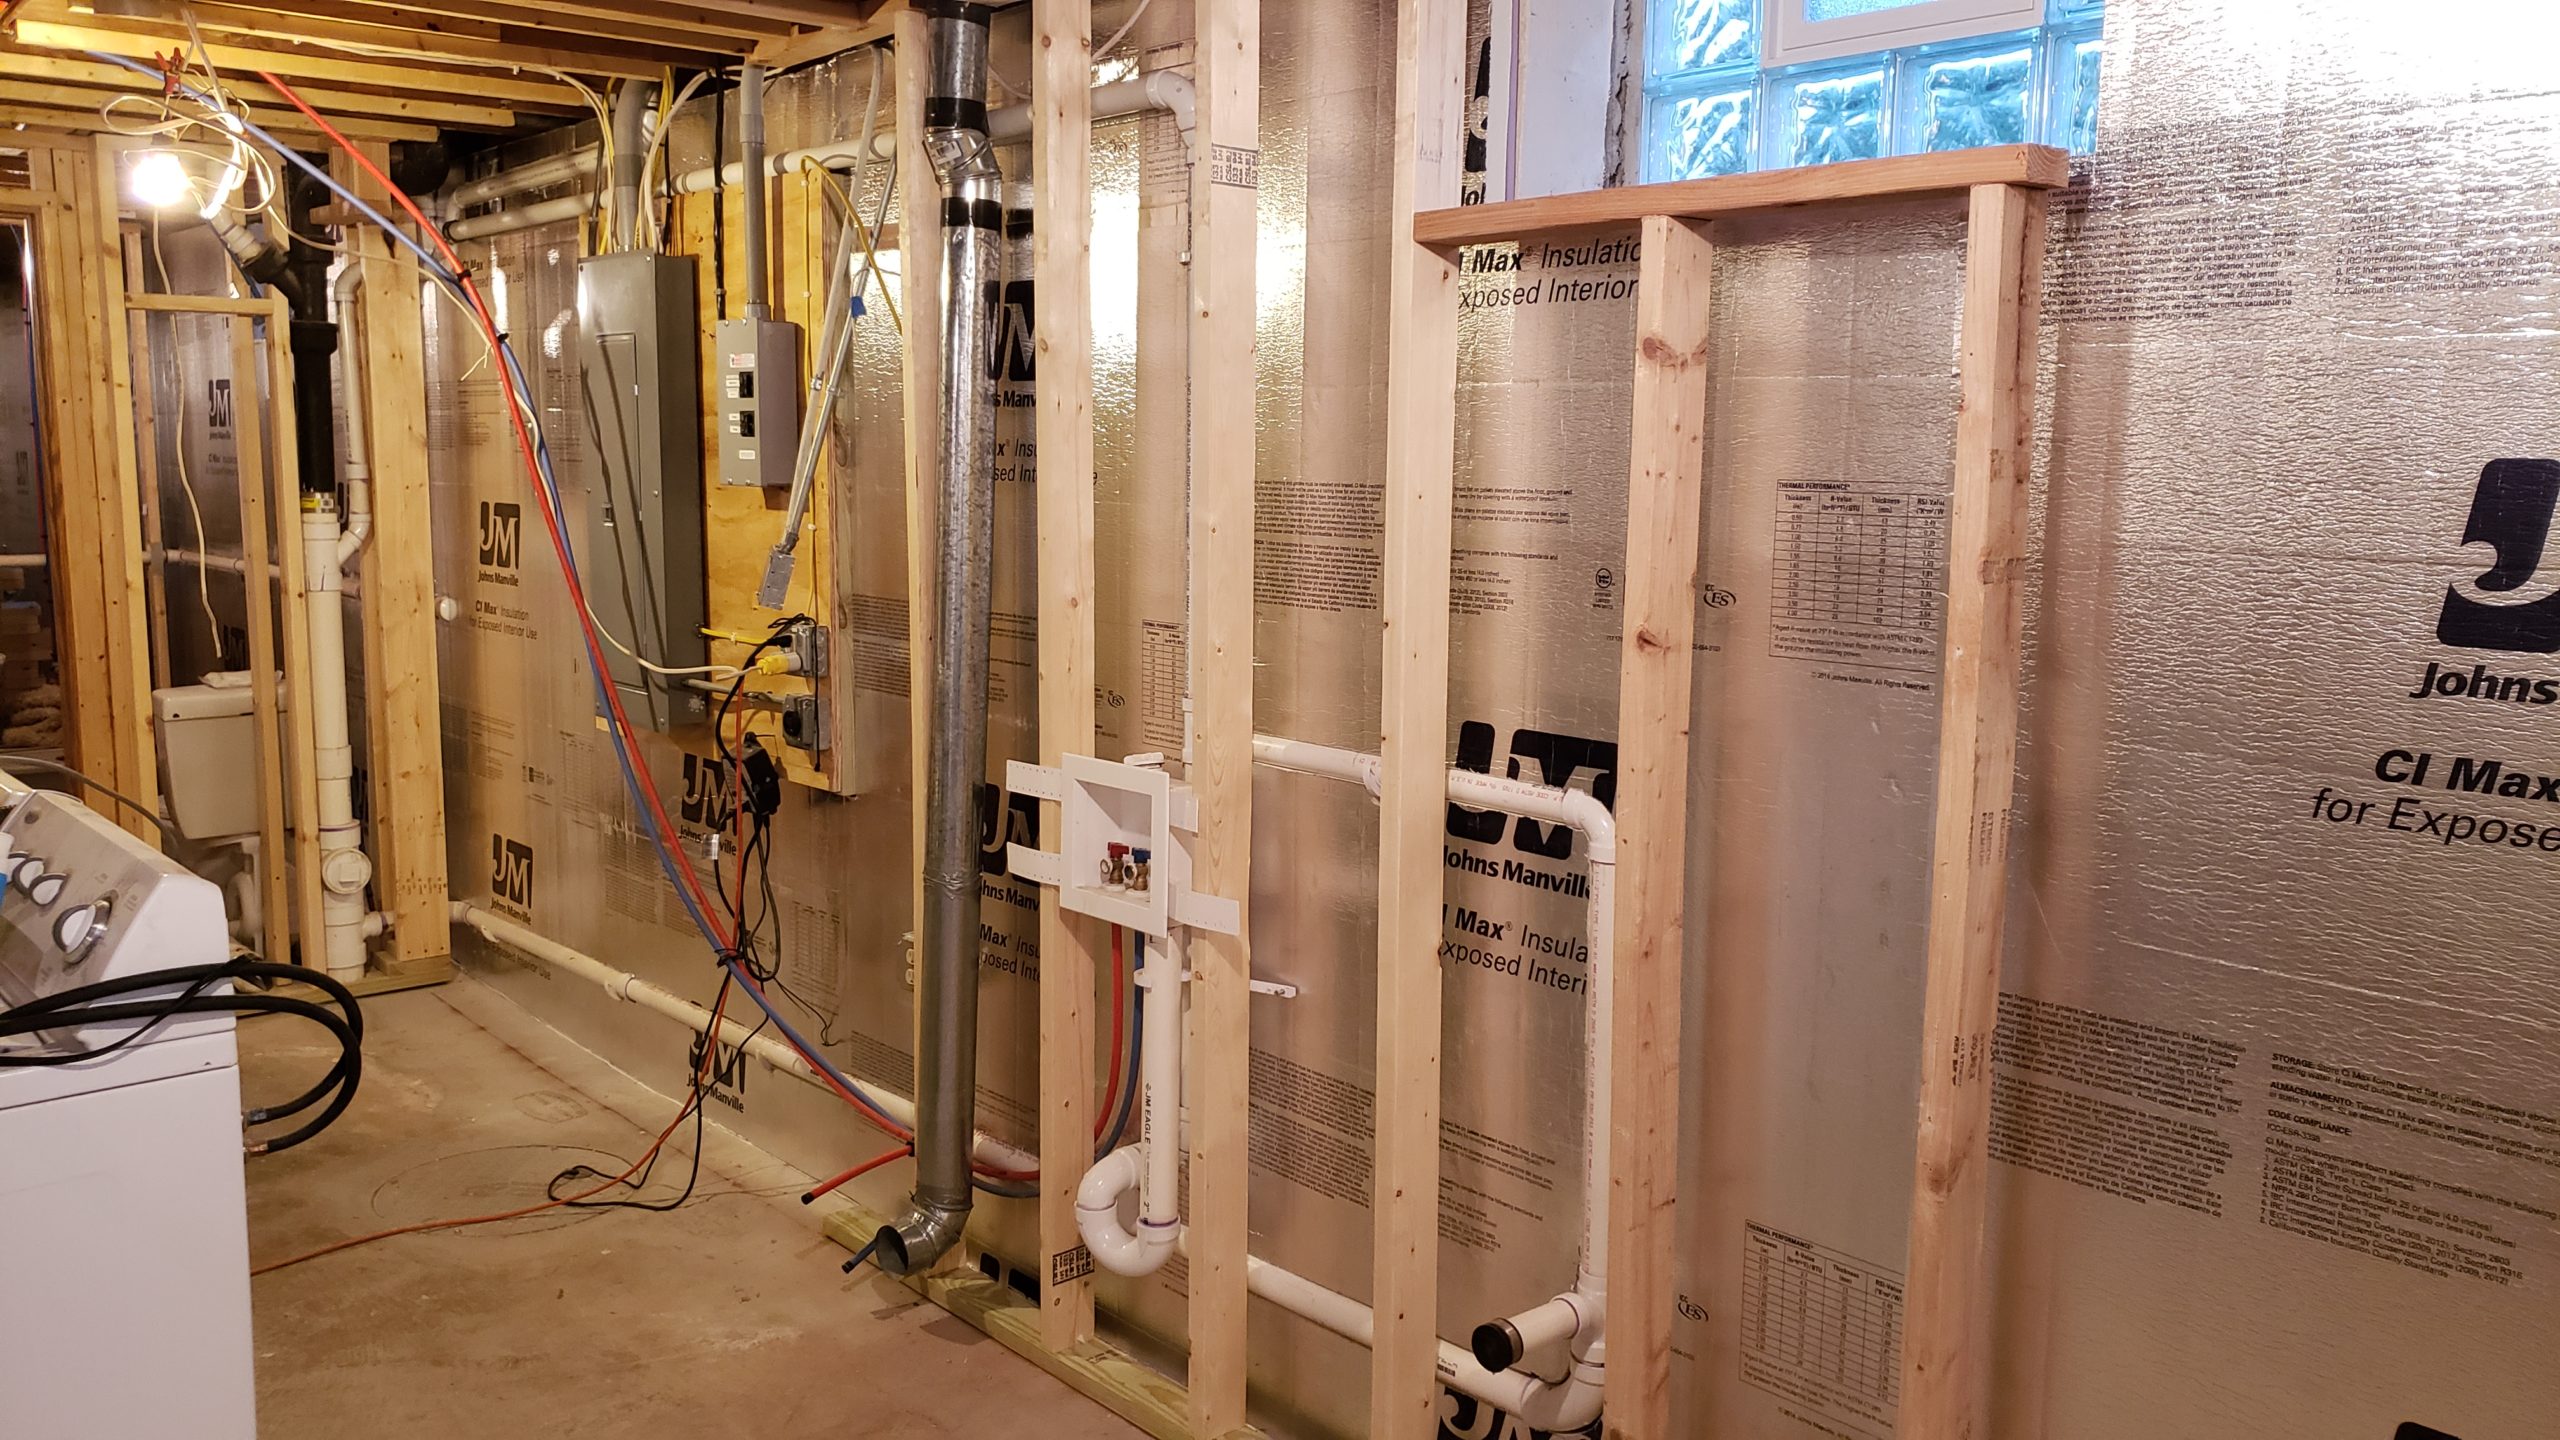
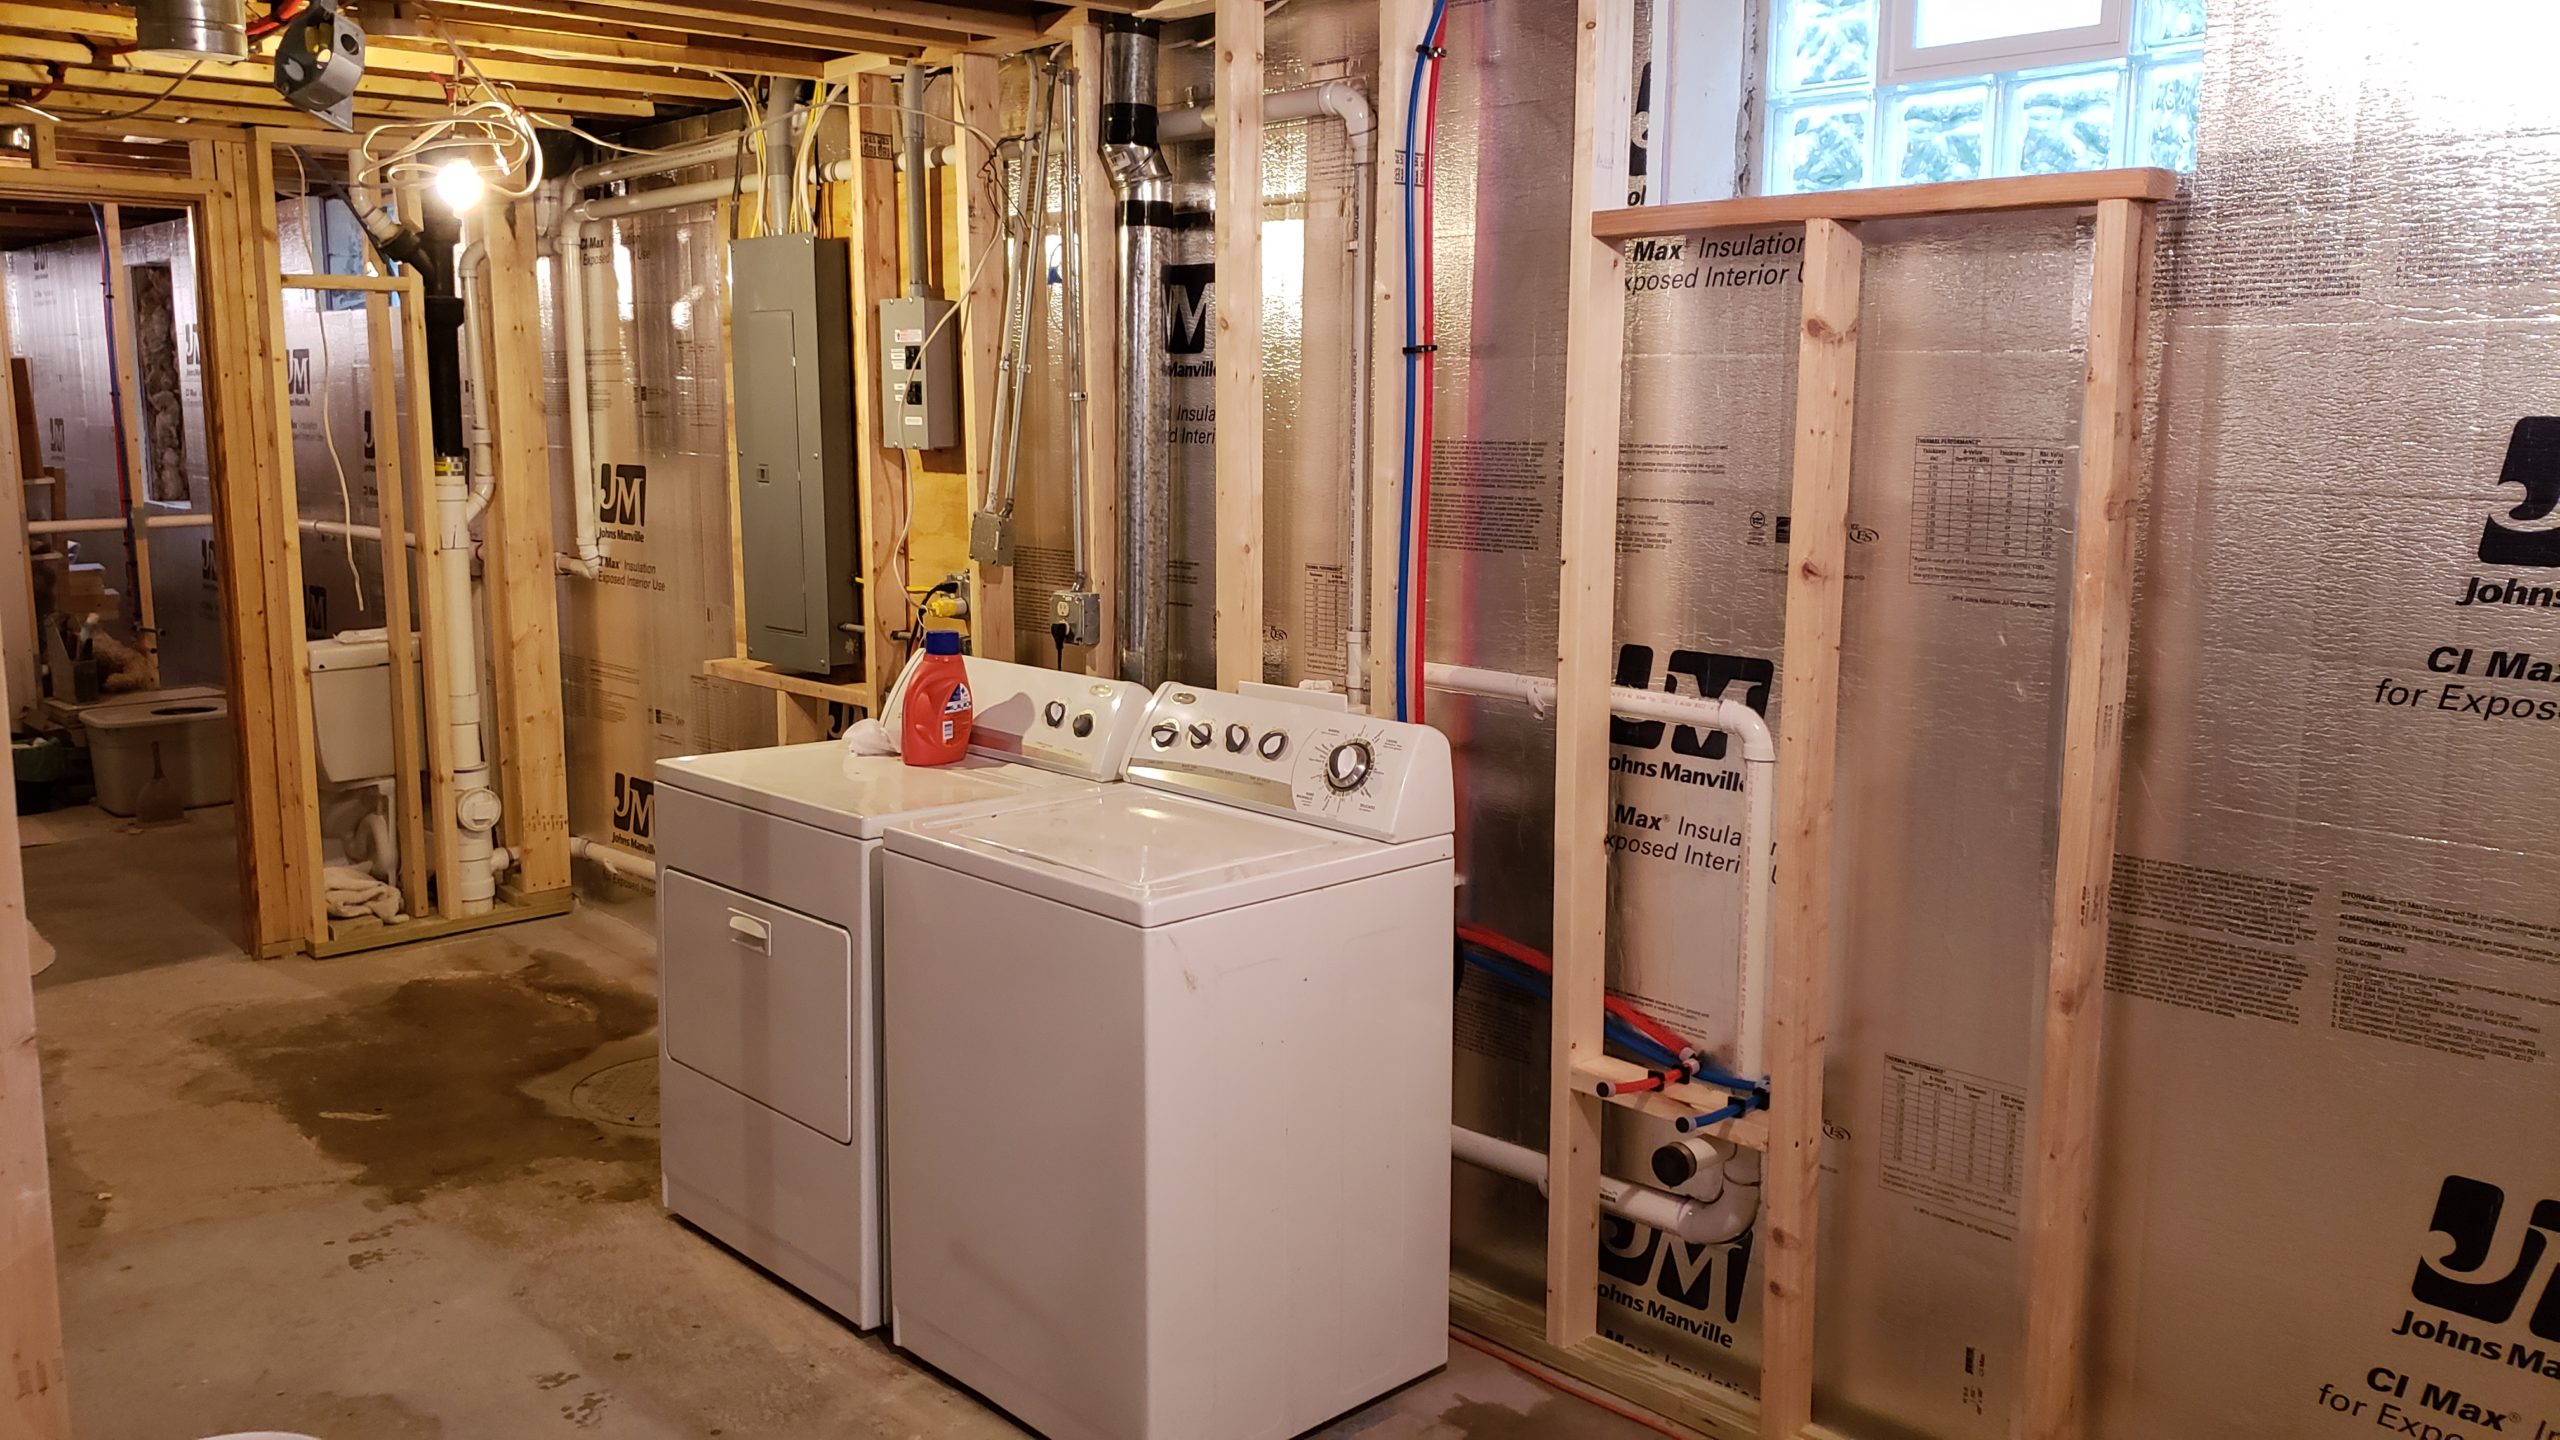
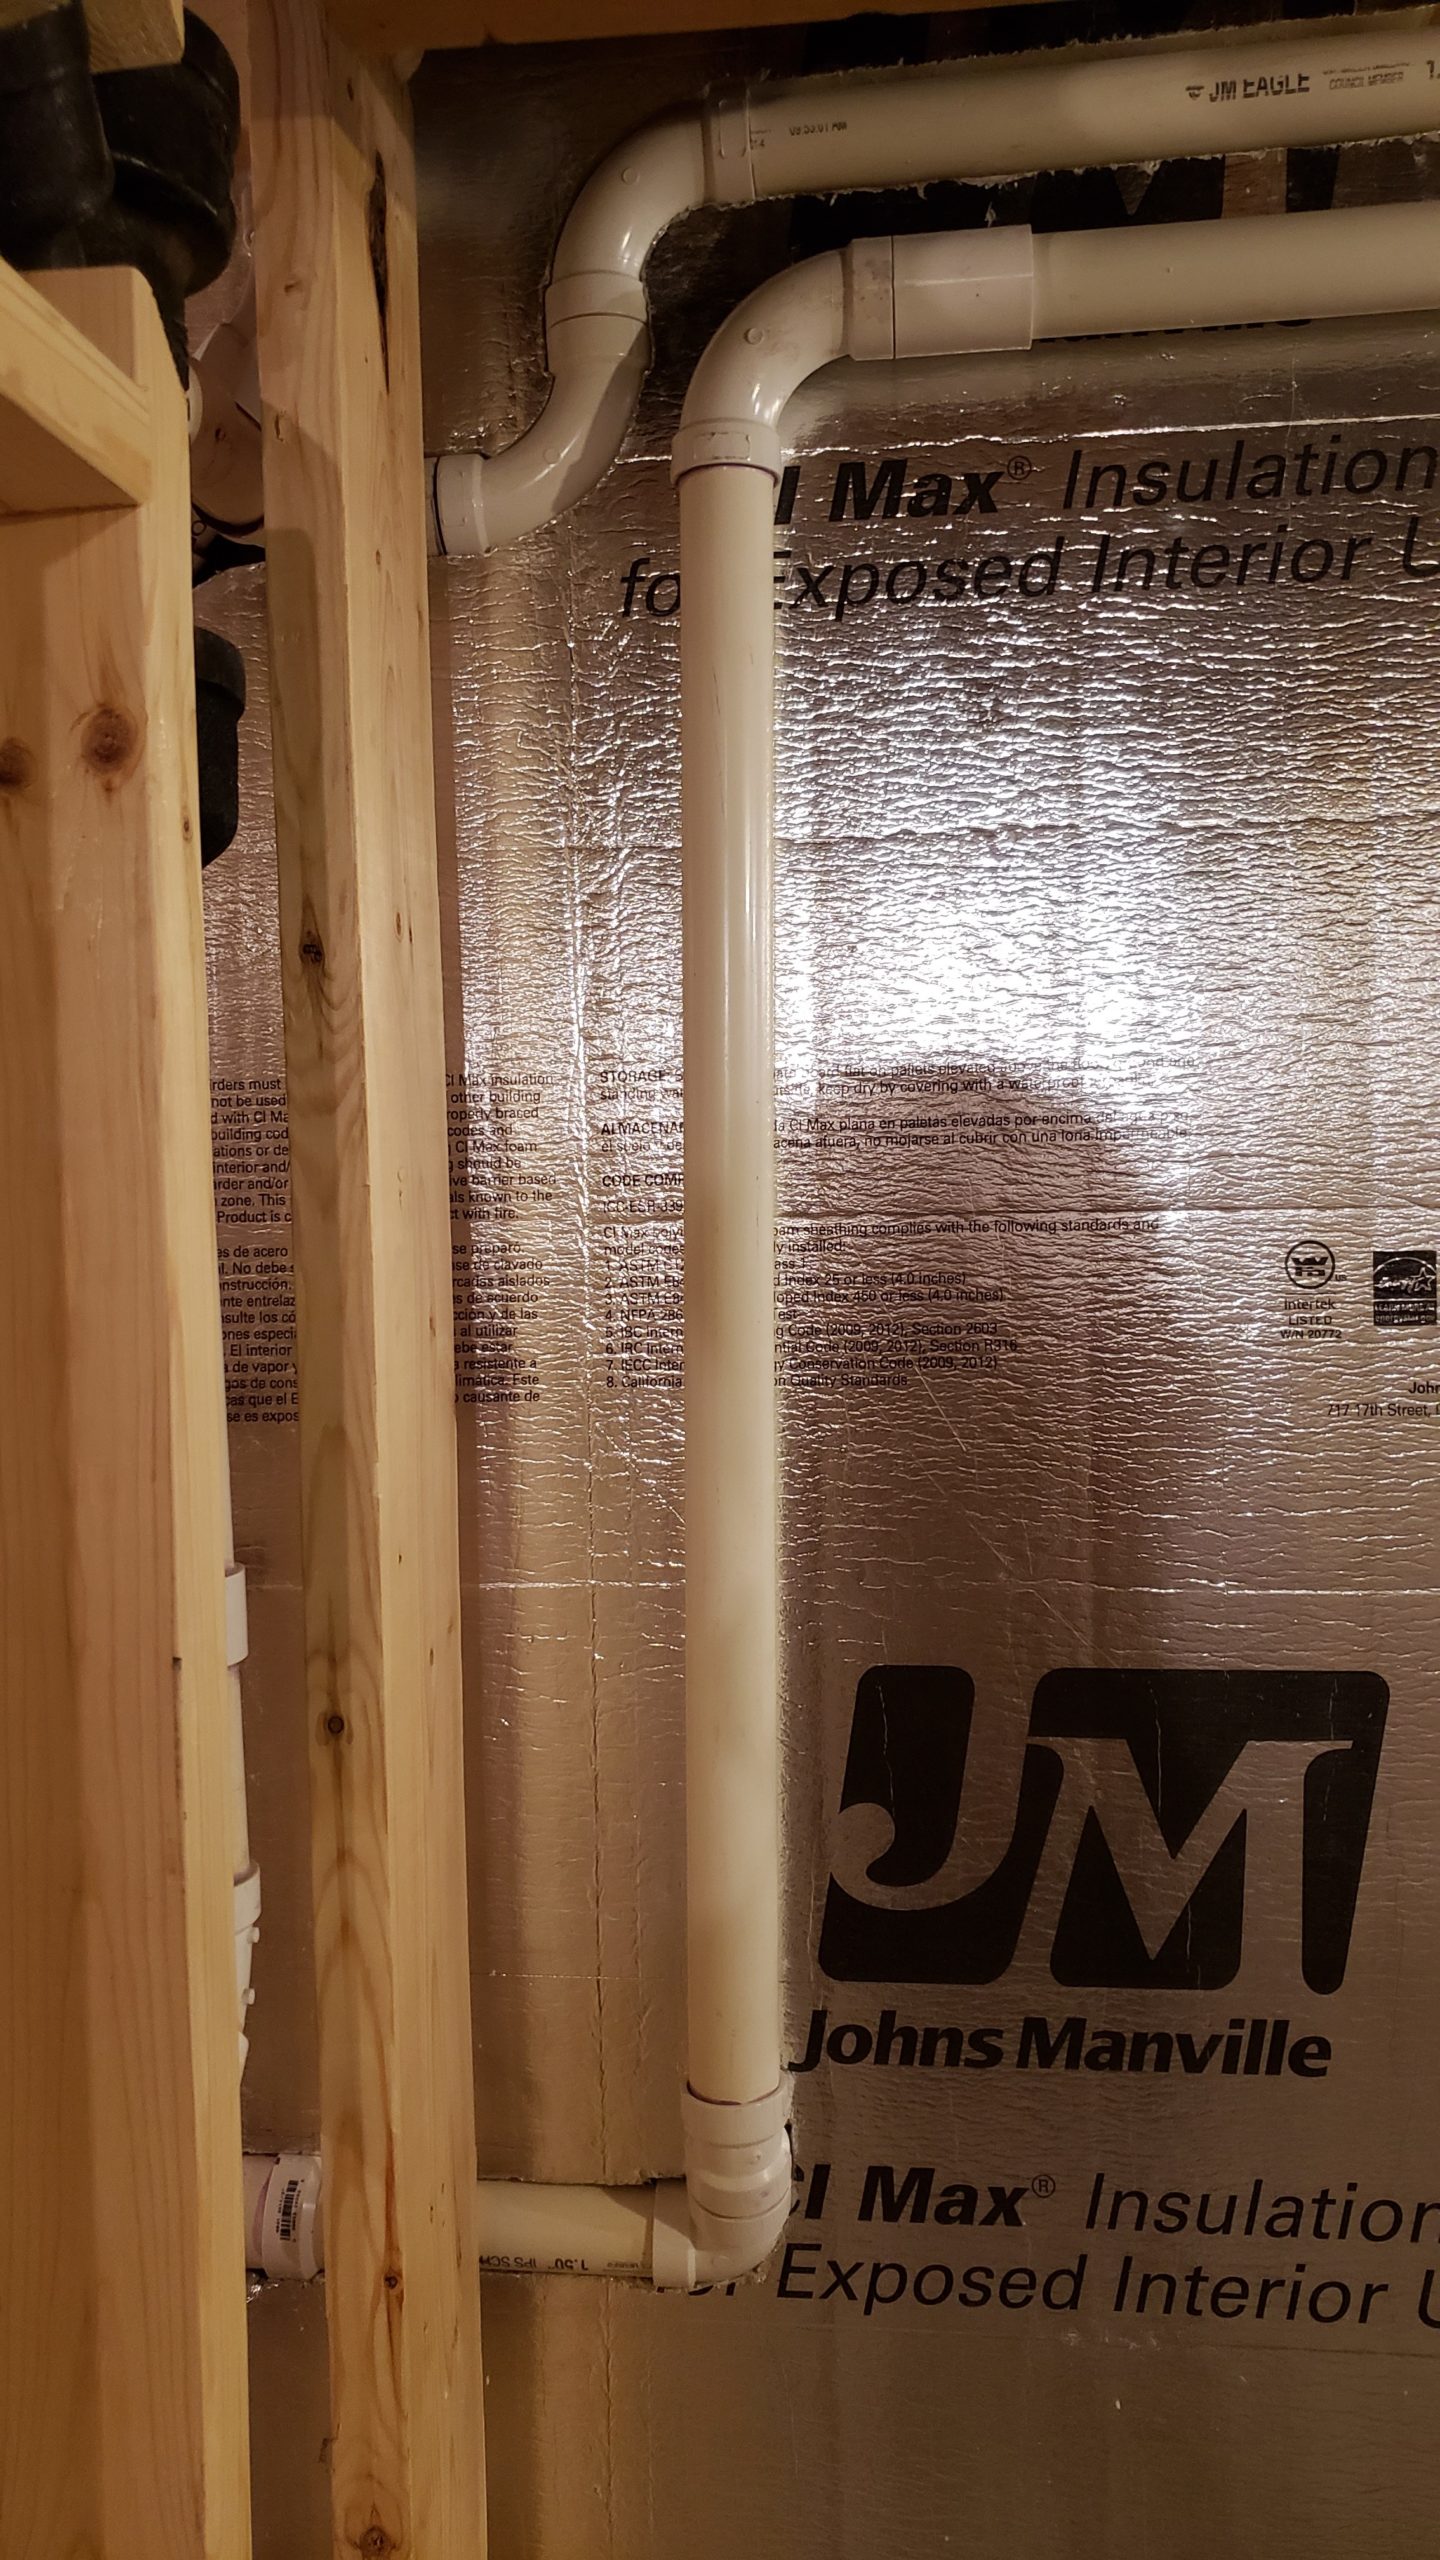
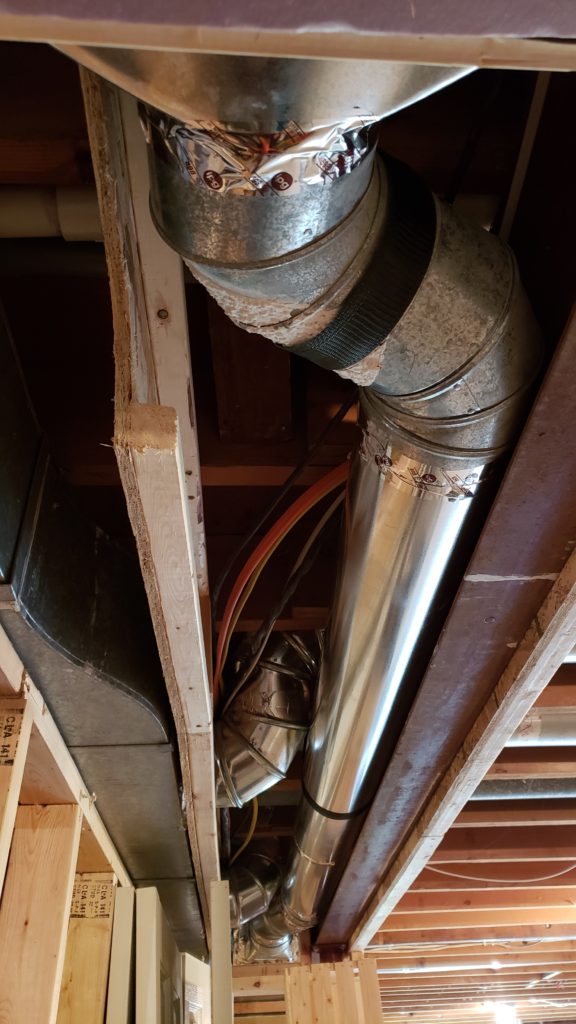
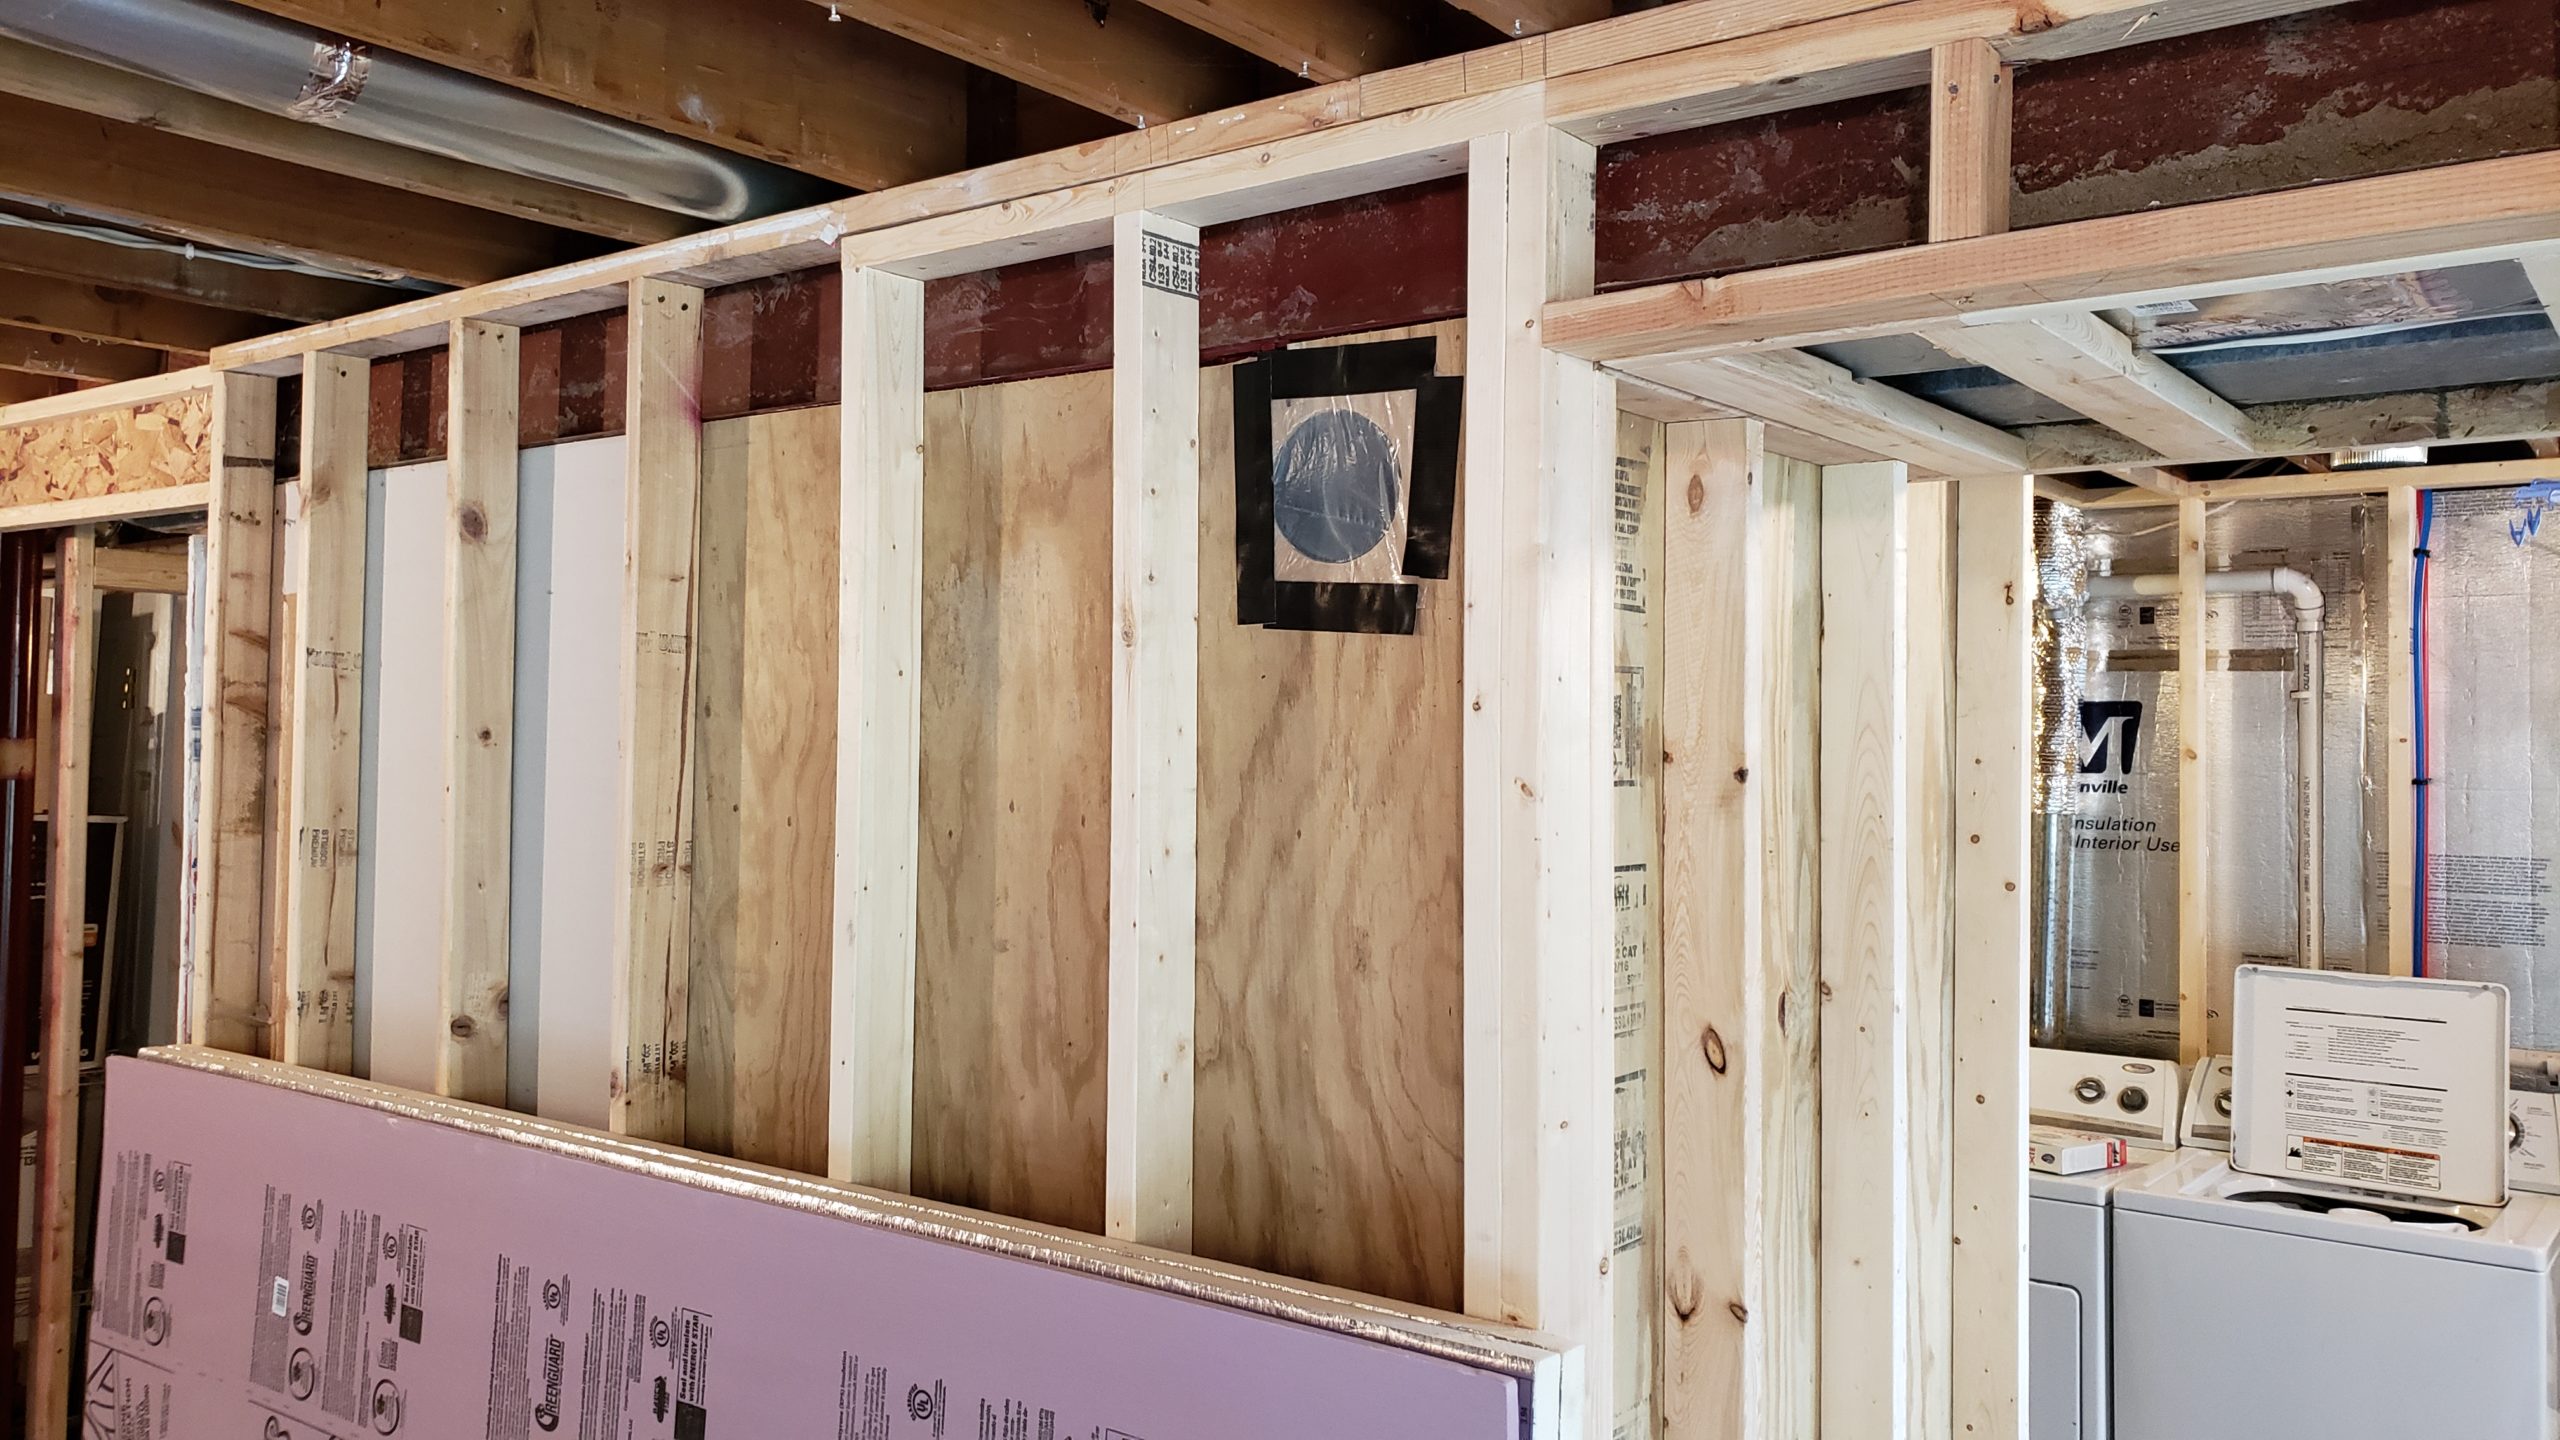
My plumber also returns to move my laundry drain pipes to their final location. He only moves the drains, so he’ll have to come back and do the water pipes later. I ask him to leave some of the venting disconnected while I finish insulating the basement wall.

Basement insulation finished!

I finally complete the basement insulation. This required cutting perfect shapes around each of the laundry pipes that are attached to the wall. Yes, it’s overkill, but I feel better knowing that the basement has this tight envelope on all sides.

Foil faced foamboard insulation cut to match laundry pipes on a basement wall.

Framing the laundry room wall… again.

I begin framing the laundry room wall. This portion stands off from the insulation to accommodate the dryer duct, plumbing, and the electrical service panels. Good planning means everything is lining up perfectly with the studs properly spaced. This is the only portion that will use wood studs, because we will be hanging cabinets on this wall.

Framing for a basement laundry room wall with roughed in plumbing.

Fresh air fixed!

I had to replace the rusty fresh air intake vent, but I was also worried about the sagging duct. I decided to replace the whole thing with a PVC pipe. This is fine for now, but will need to be insulated before winter. Otherwise, condensation will occur and that just leads to mold.

A PVC pipe used as a fresh air intake for a furnace.
A PVC fresh air duct between joists in a basement.

Laundry room plumbing finished, once and for all.

My plumber returns to connect new water pipes to the laundry room. Meanwhile, I finish connecting the vents that were left unfinished while I was insulating.

Laundry machines connected to new plumbing in an roughed in basement.
PVC plumbing vent pipes in a basement.

I also asked my plumber to raise a portion of the water main pipe so that it doesn’t hang below the joists. This will make hanging drywall much easier later on.

I have to get rid of that lousy junction box

There is an old junction box in the laundry room that is related to a bad circuit my electrician refused to fix. If I disconnect anything, it causes a free neutral and makes the lights blink. Today, I start to trace the wiring to see if I can figure out the problem myself. I start opening up every wall plate in the house, running tests, and making a map.

A junction box with one outlet installed in a finished wall.

Bathroom privacy… again

I reinstall the temporary bathroom door and hang some additional drywall for bathroom privacy. It’s functional once again, but still only has temporary lighting and no power outlets.

I also add some new framing around the refinished support column that had been caked with mud.

Bath fan duct replaced and insulated

My previous general contractor installed the housing for the bath fan I purchased. It’s designed for a 6″ duct. However, he connected it to the existing 4″ bath fan duct and used an adapter. The fan is capable of moving 110 cubic fee per minute, but the small duct is choking it. I decide to replace it with a new 6″ duct and a new 6″ vent on the outside of the house. I insulate the whole duct and connect it to the bath fan housing.

A bath fan housing with a large duct in the ceiling joists of a basement bathroom.

Tight space for HVAC

Each room needs a heat duct on one side and a cold air return on the other. I had to make all of the HVAC fit into this tight area behind the central I-beam. This cold air return used a few joints, but it actually fits without squeezing anything.

A cold air return runs along an I-beam in a basement.

Fixing that stupid framing

It’s time to fix that uneven framing. I only demolished the parts that couldn’t be fixed. I rebuilt it with the studs at 16″ on center. You can see the difference.

Before photo of a wall with uneven studs, and an after photo showing evenly-spaced studs.

The home’s water heater is in the mechanical closet. Naturally, there are times when water needs to be drained or even vented during emergencies. I want to keep that closet dry. Instead of drywall that can mold, I decided to use washdown paneling attached to treated plywood. It’s a nice bright white finish and looks great. At the same time, I fixed the framing and moved a cold air return. I temporarily taped a sheet of plastic over the return hole to keep construction dust out.

A water heater in a closet lined with washdown paneling.
A cold air return between studs is temporarily covered to keep dust out.