I hire a pipe cleaner to clear the sewer plug. ($272.30)
 Frost Simula
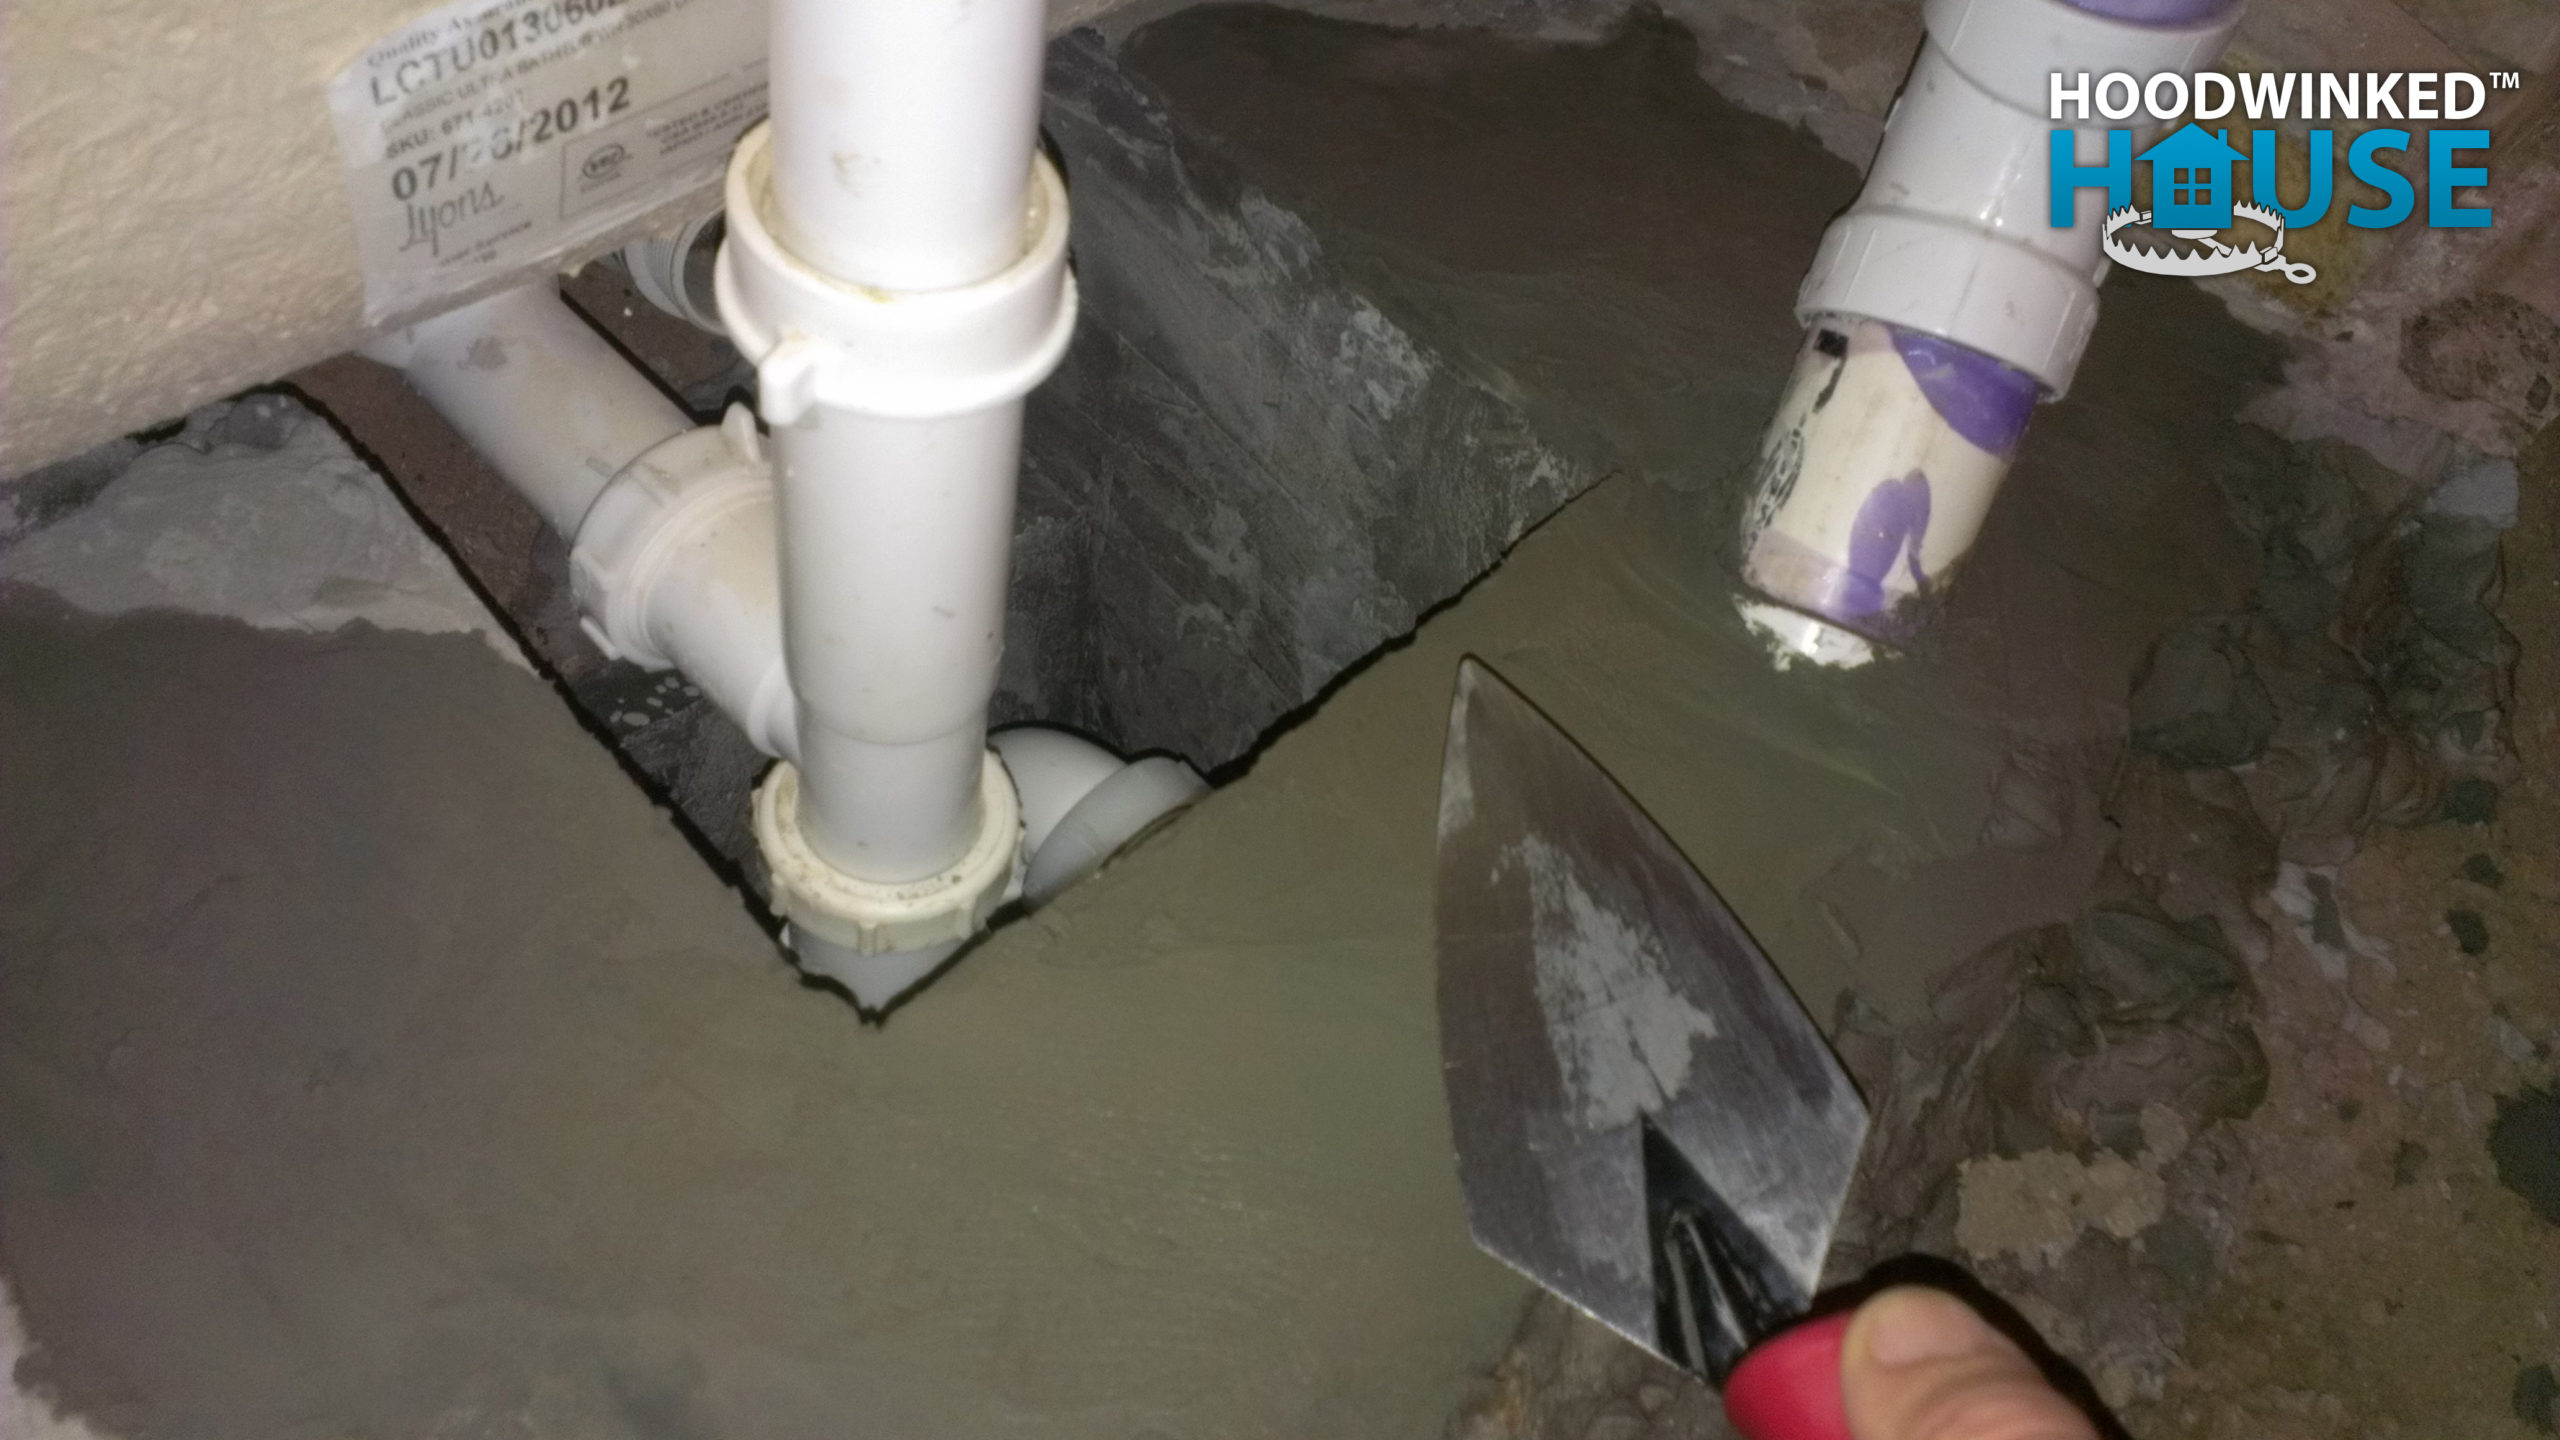
Finished edges
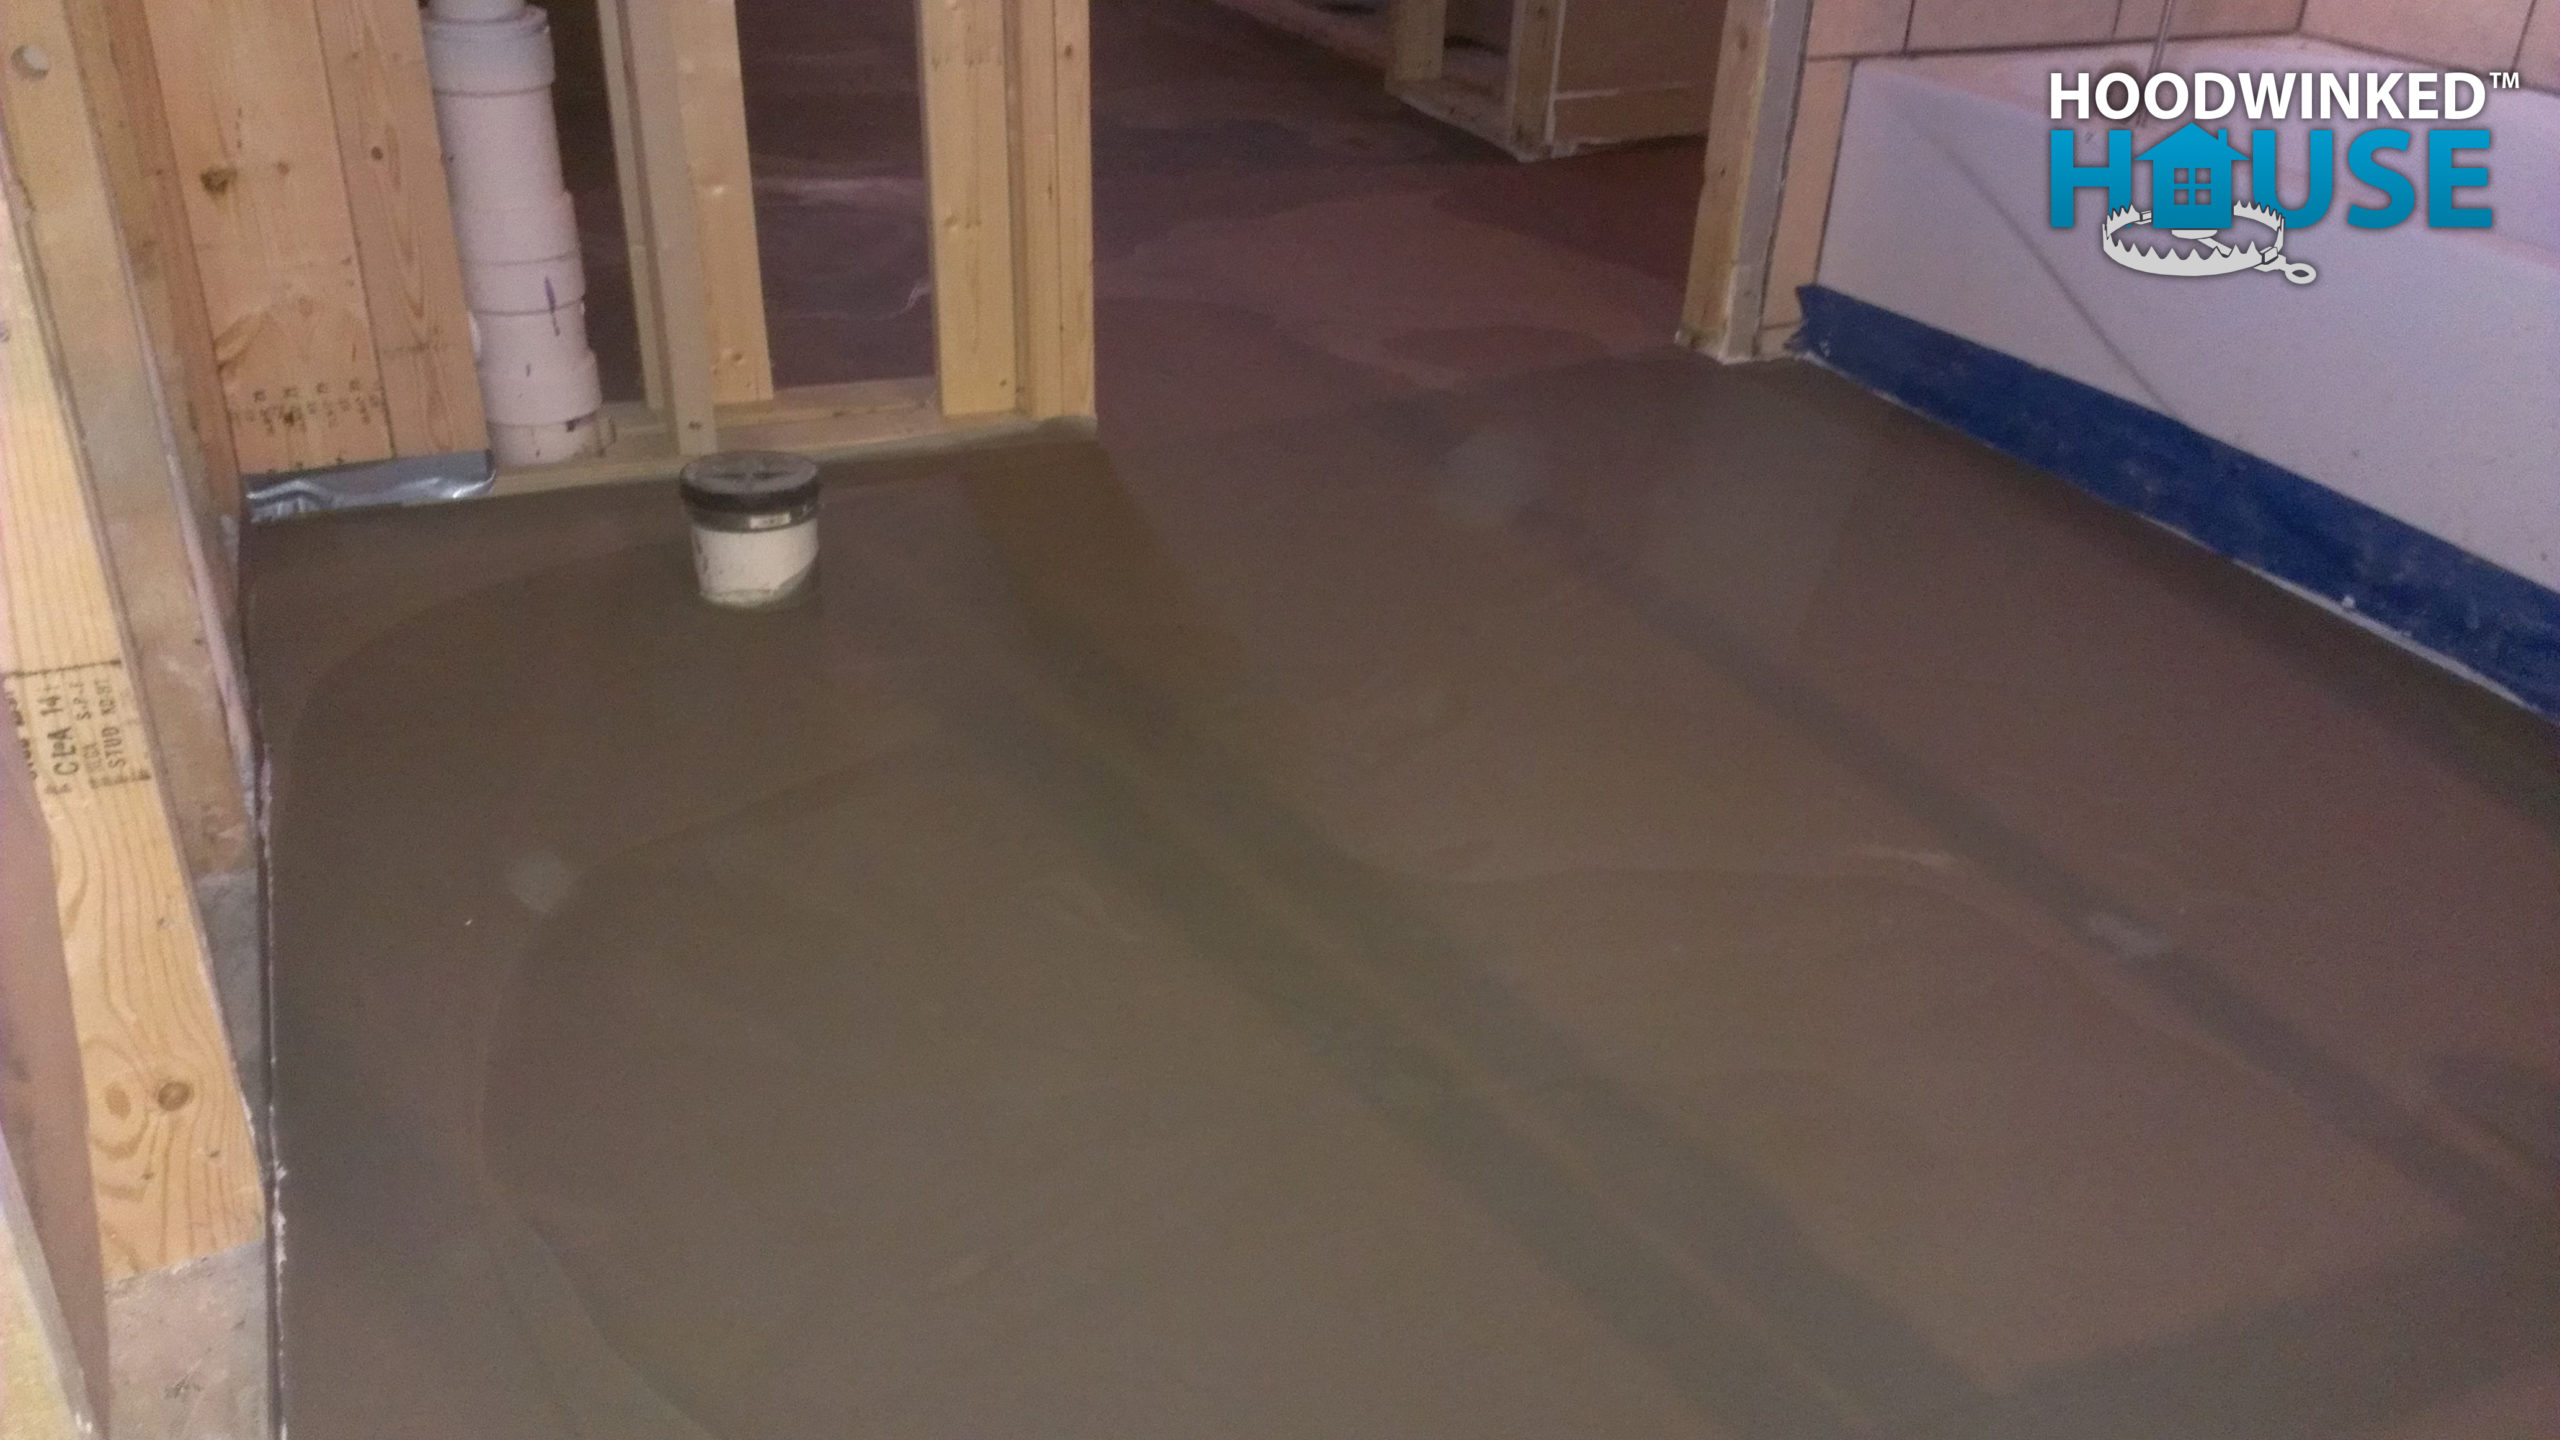
I finish the concrete work around the downstairs bathtub P-trap.
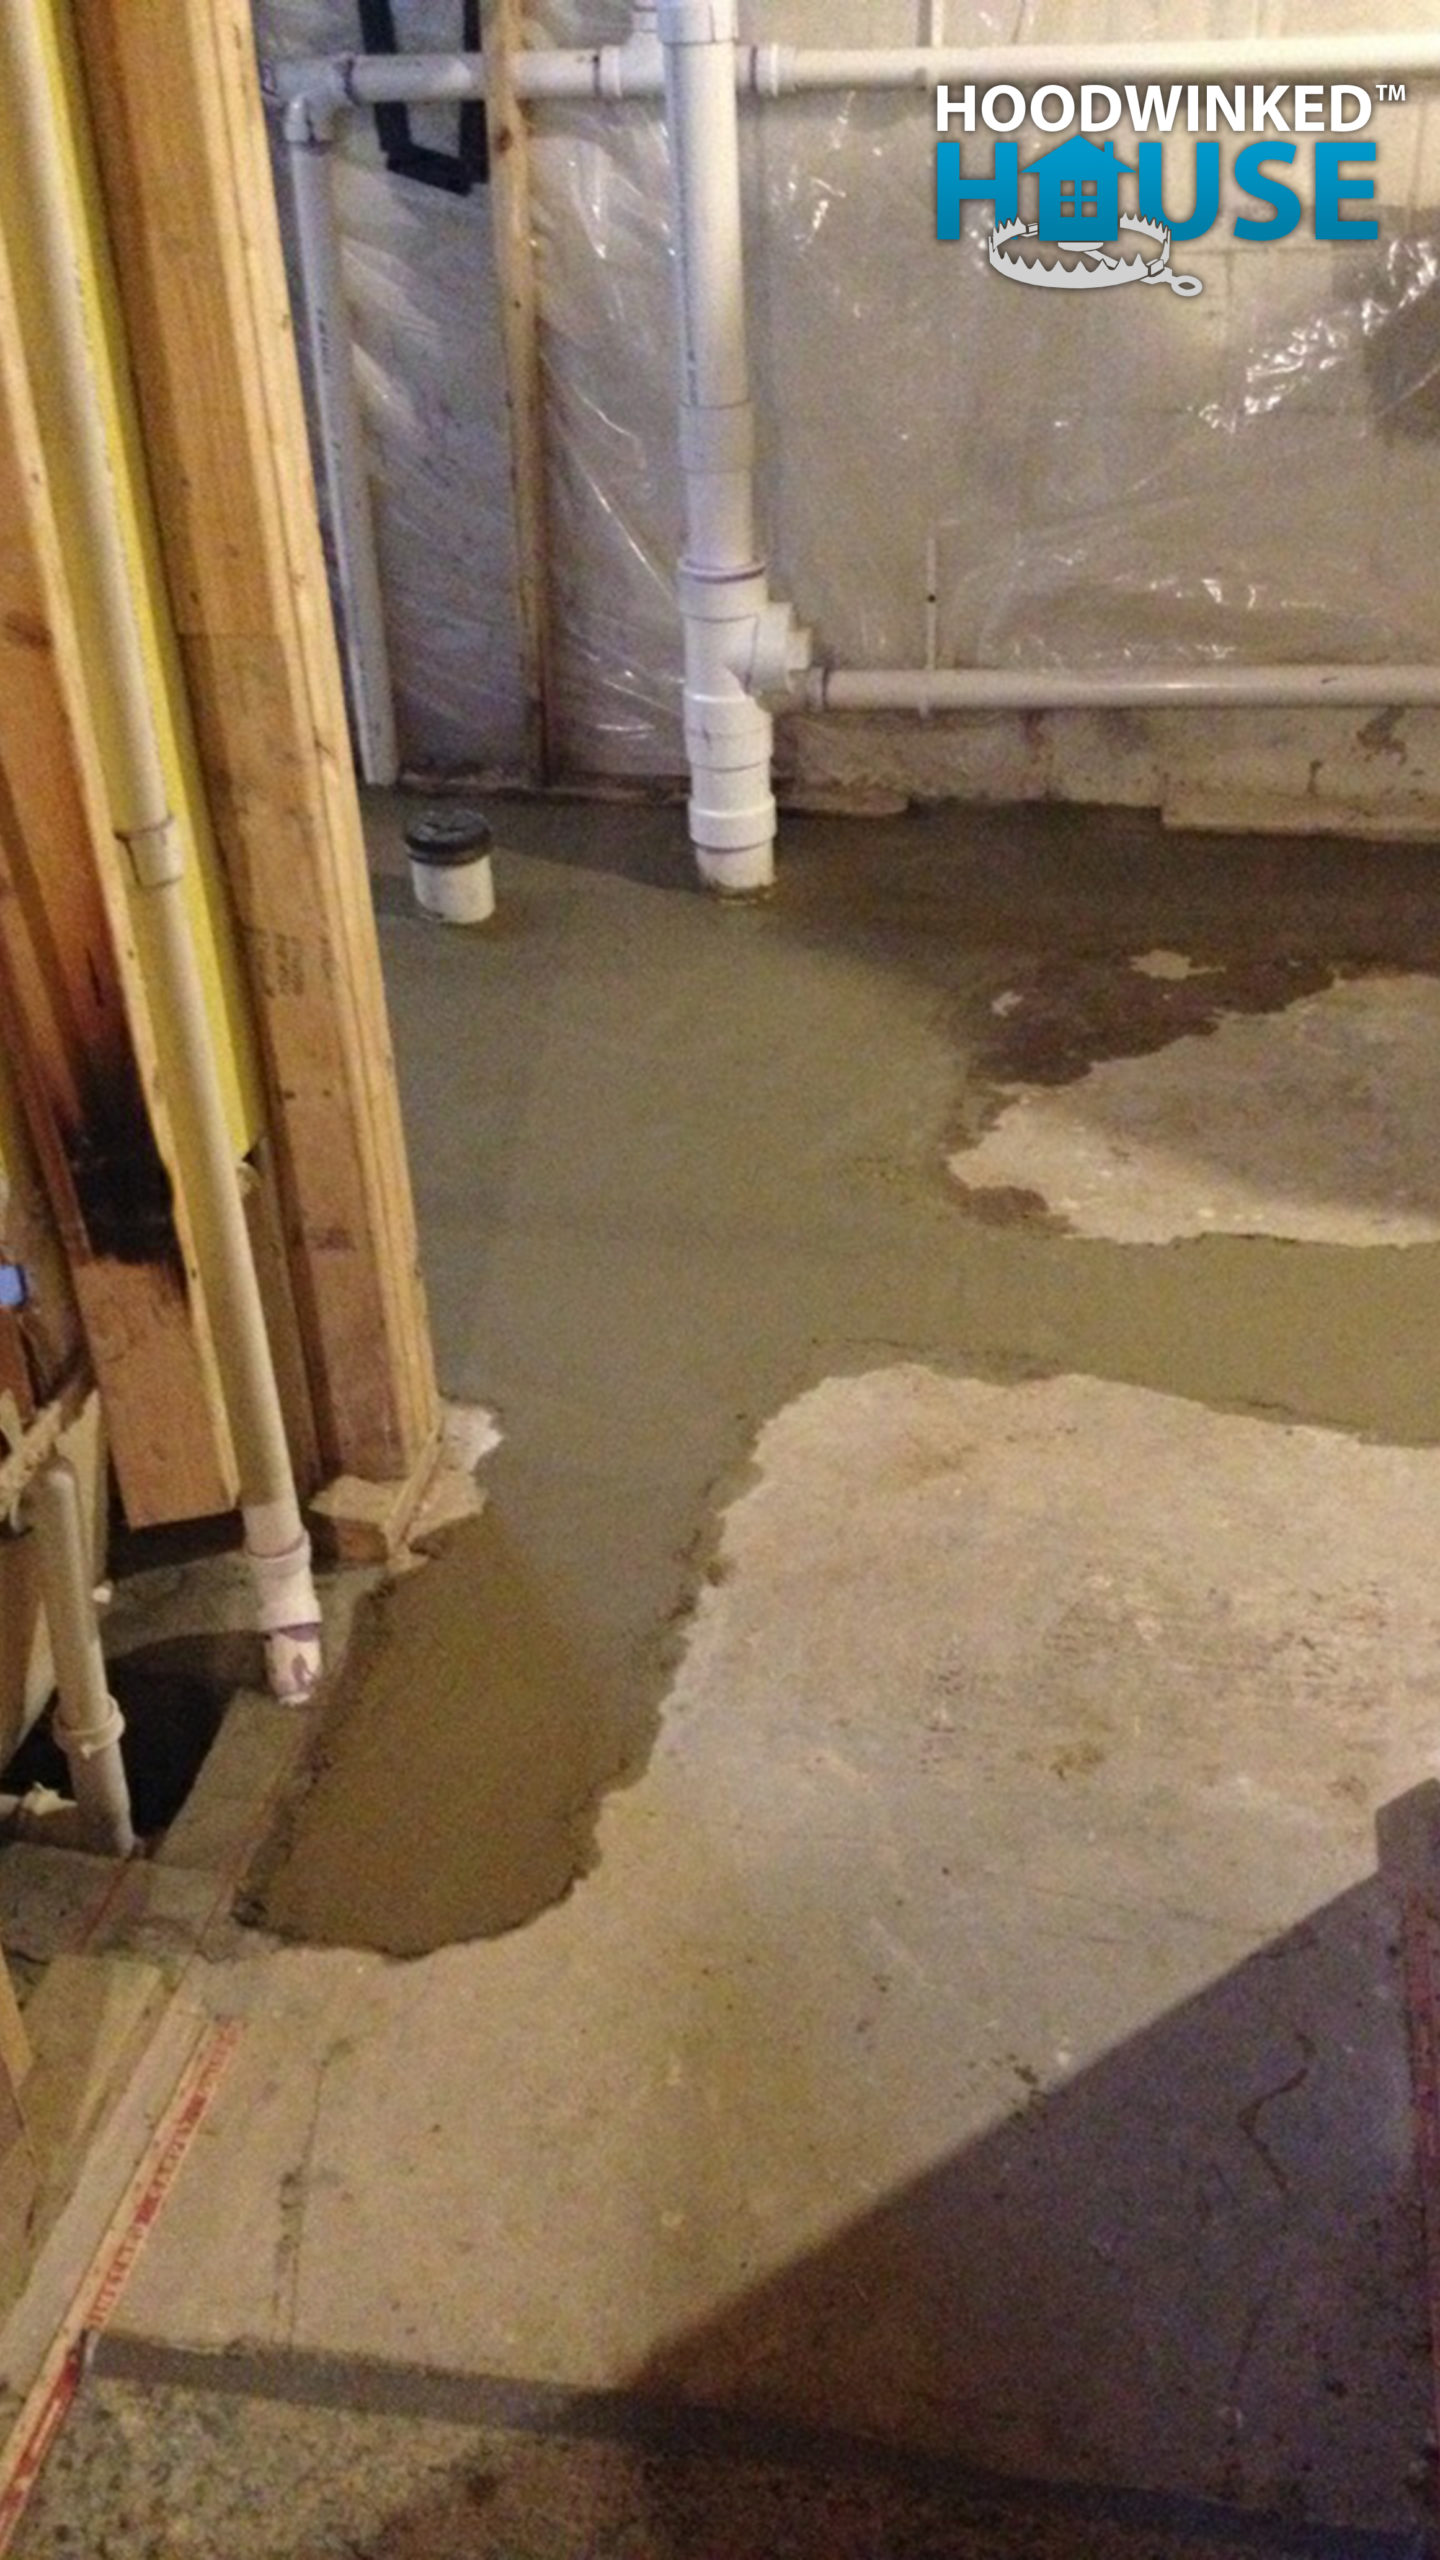
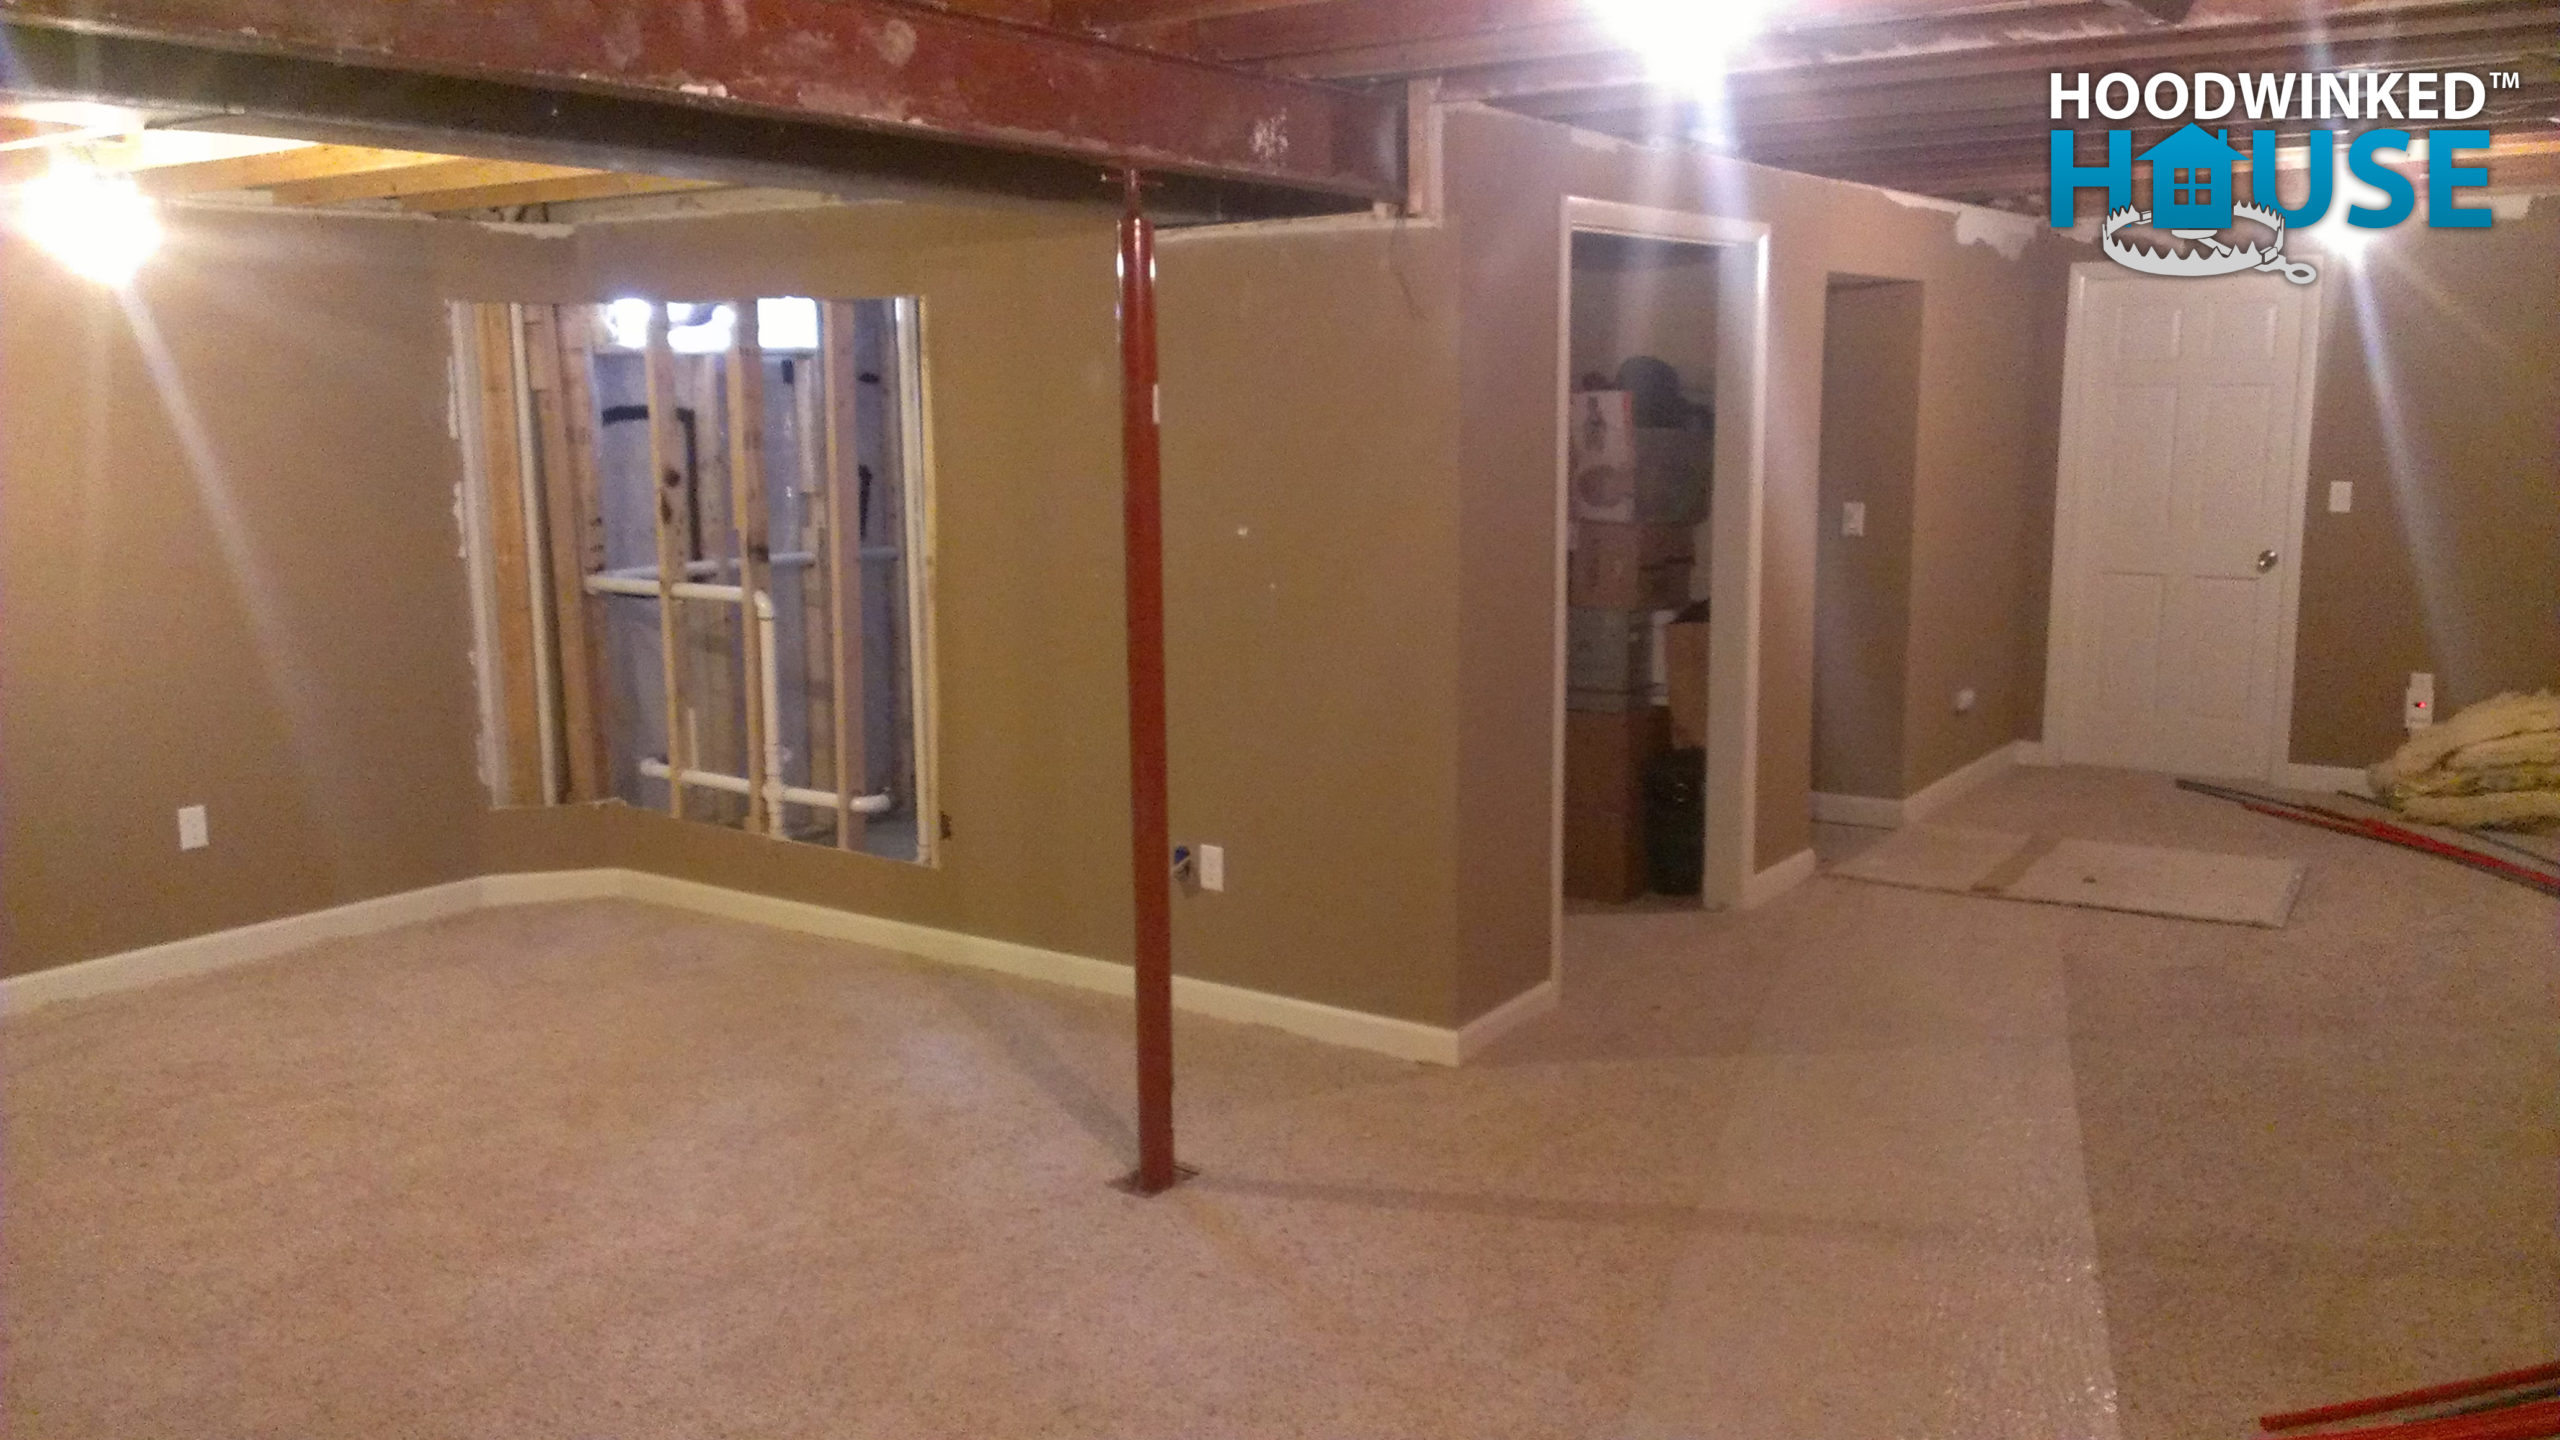
New concrete, new column
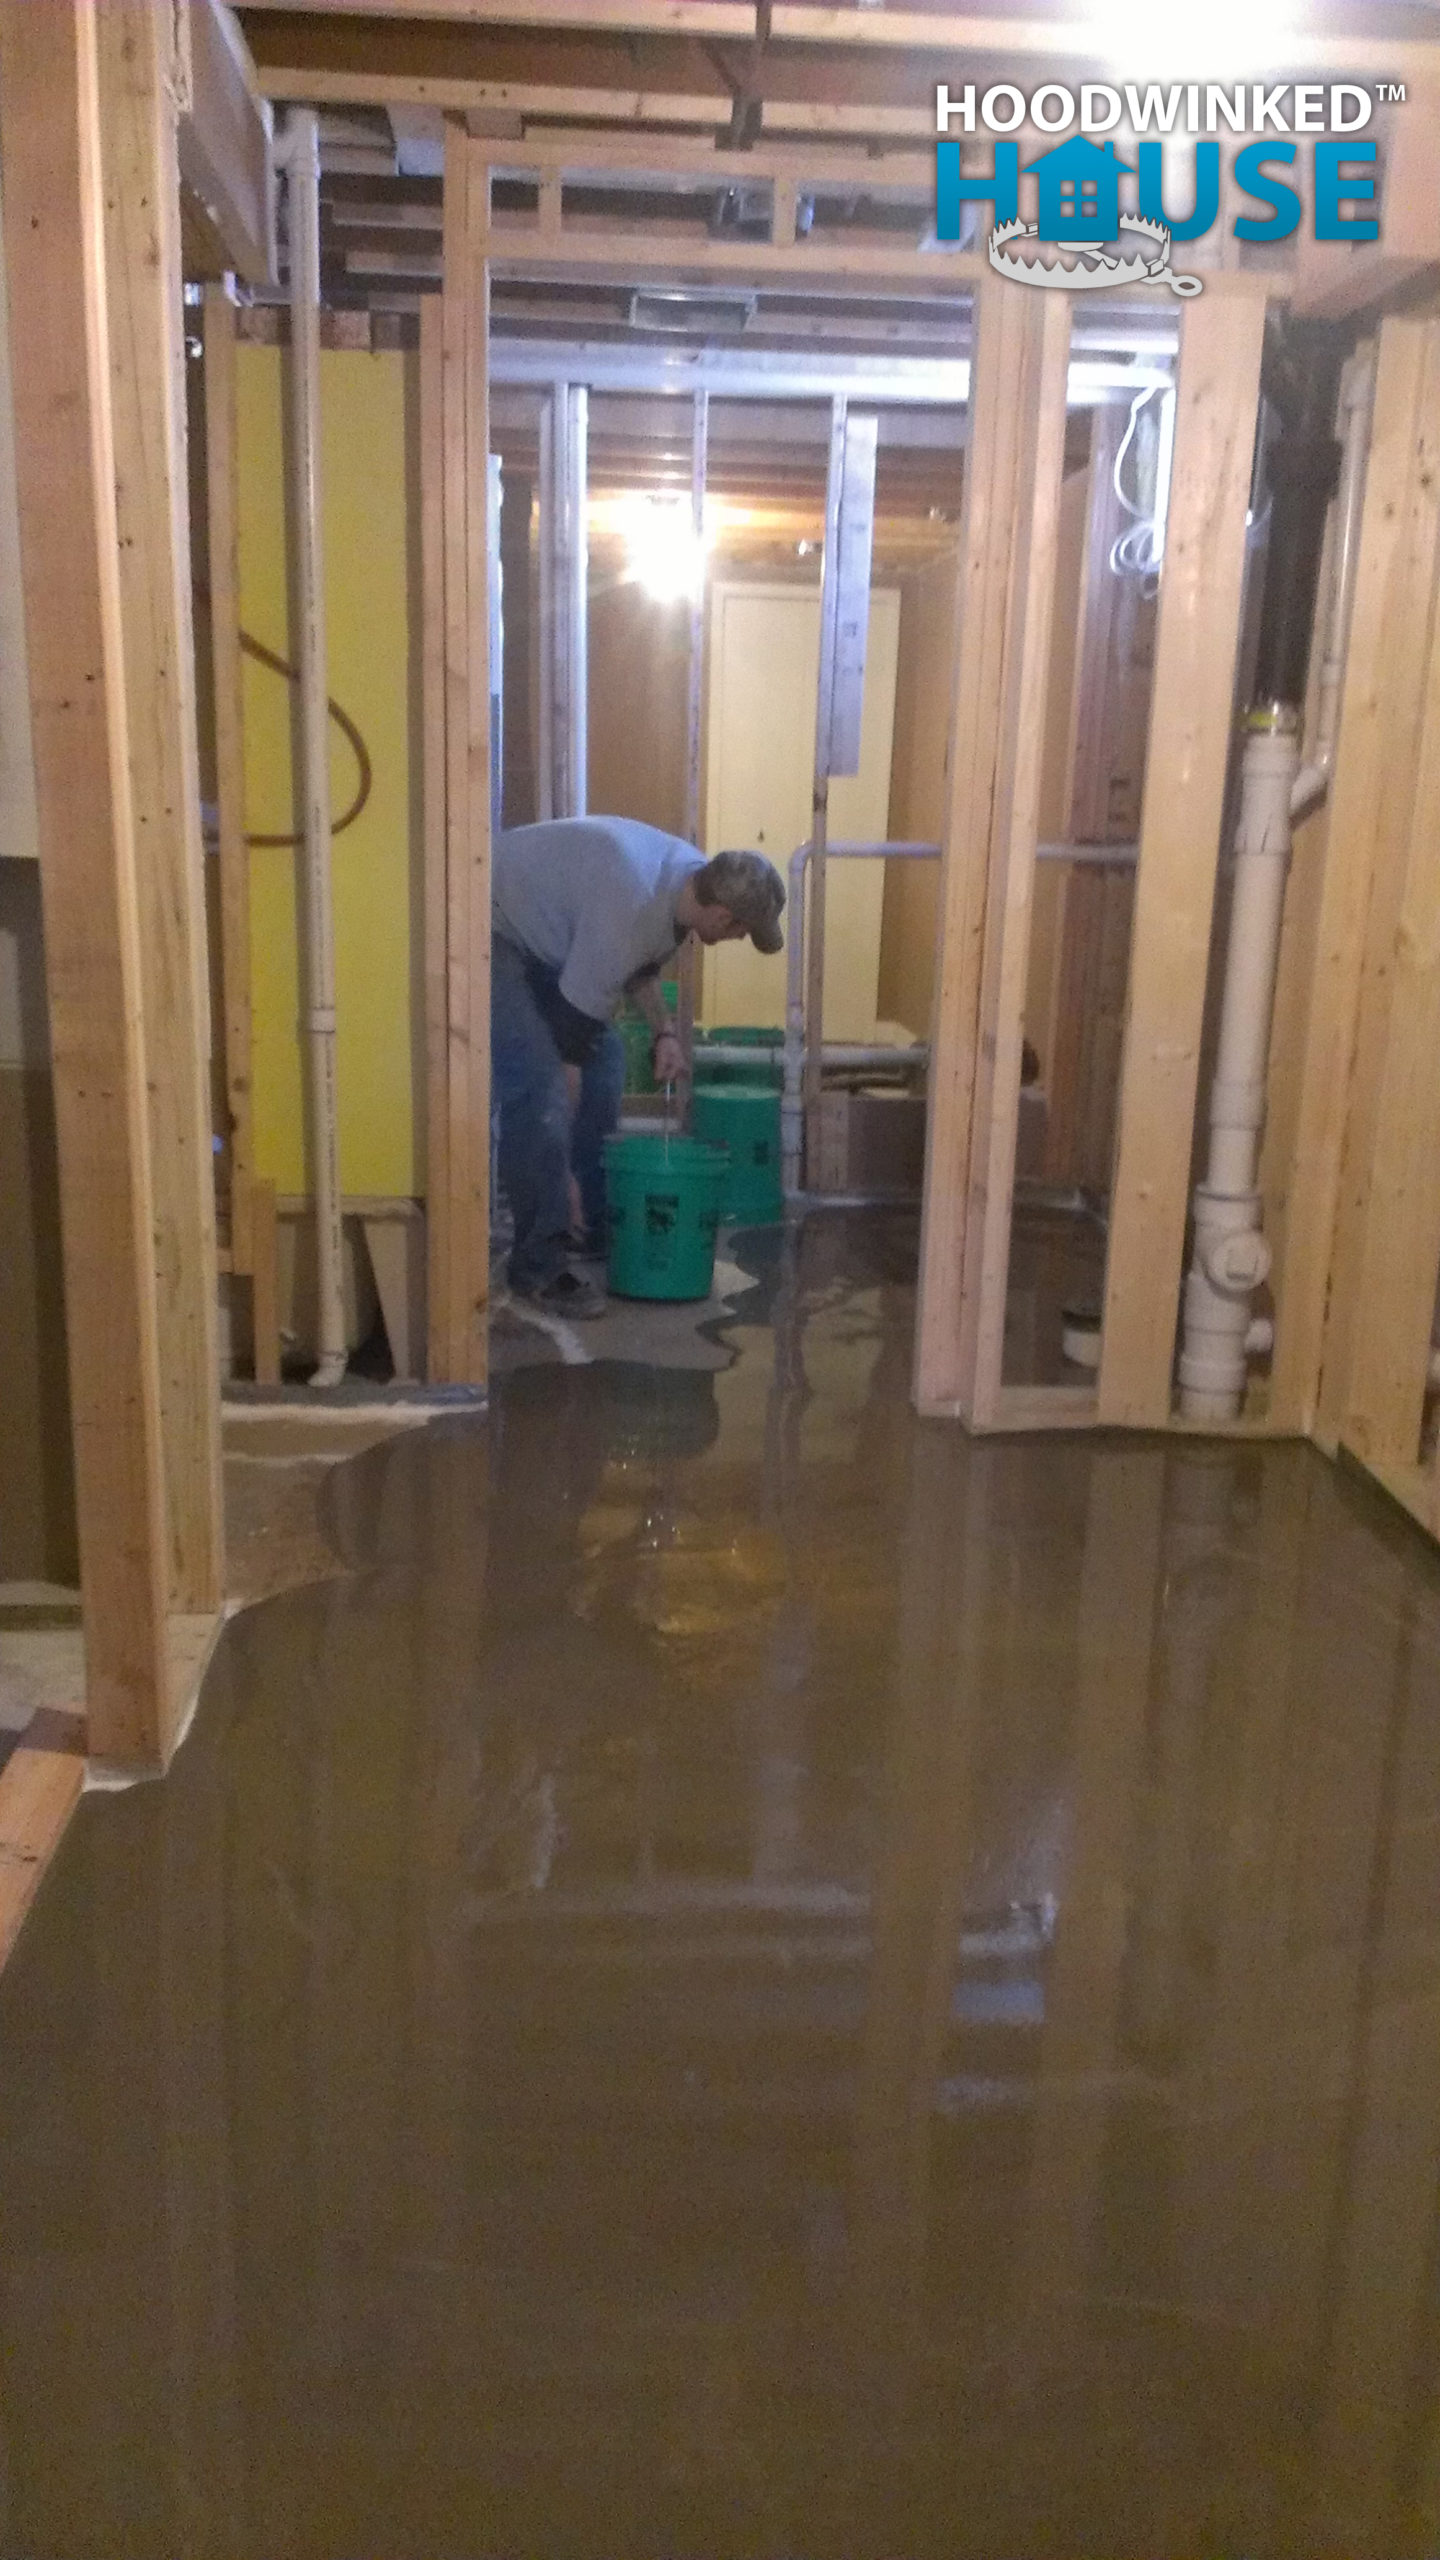
My general contractor arrives with his crew and sets up shop in my garage. Using a rented concrete mixer ($58.60), he begins re-pouring the concrete in the basement-level master bathroom, laundry room, and mechanical room around the new floor drain ($495.06).

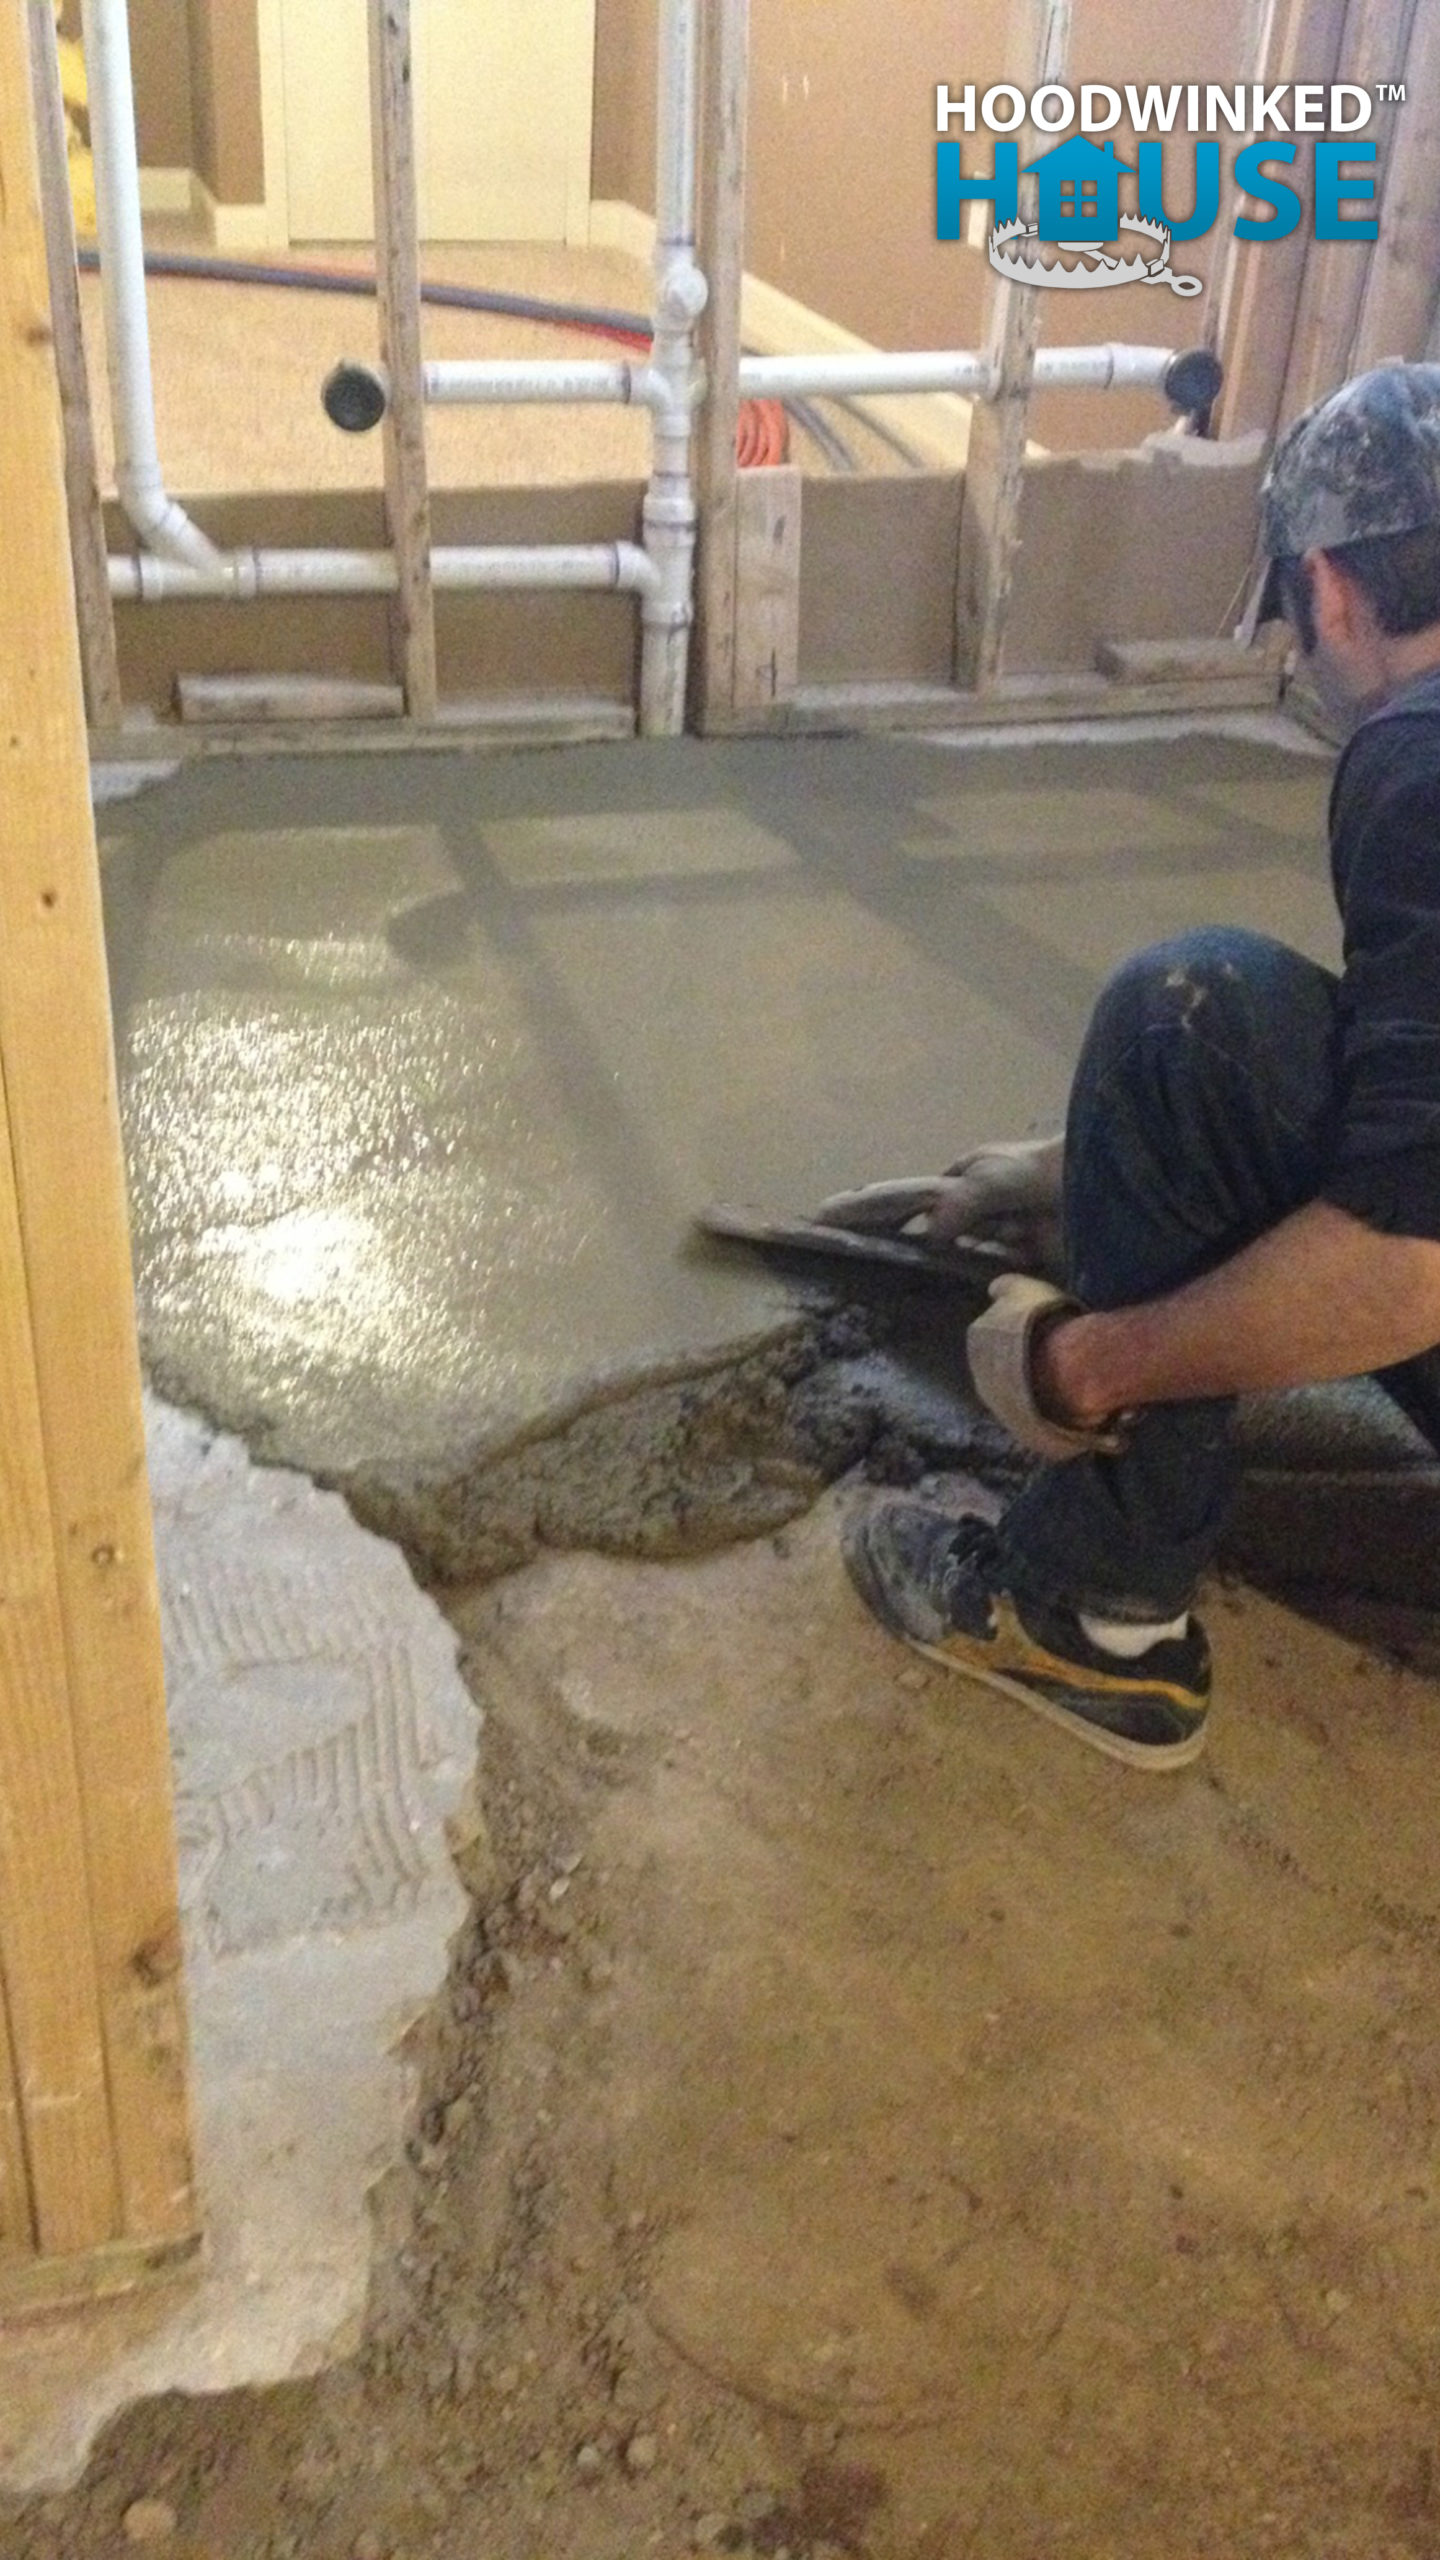
A replacement support column is installed in the proper location under the main beam, restoring the integrity of the building structure ($113.25).
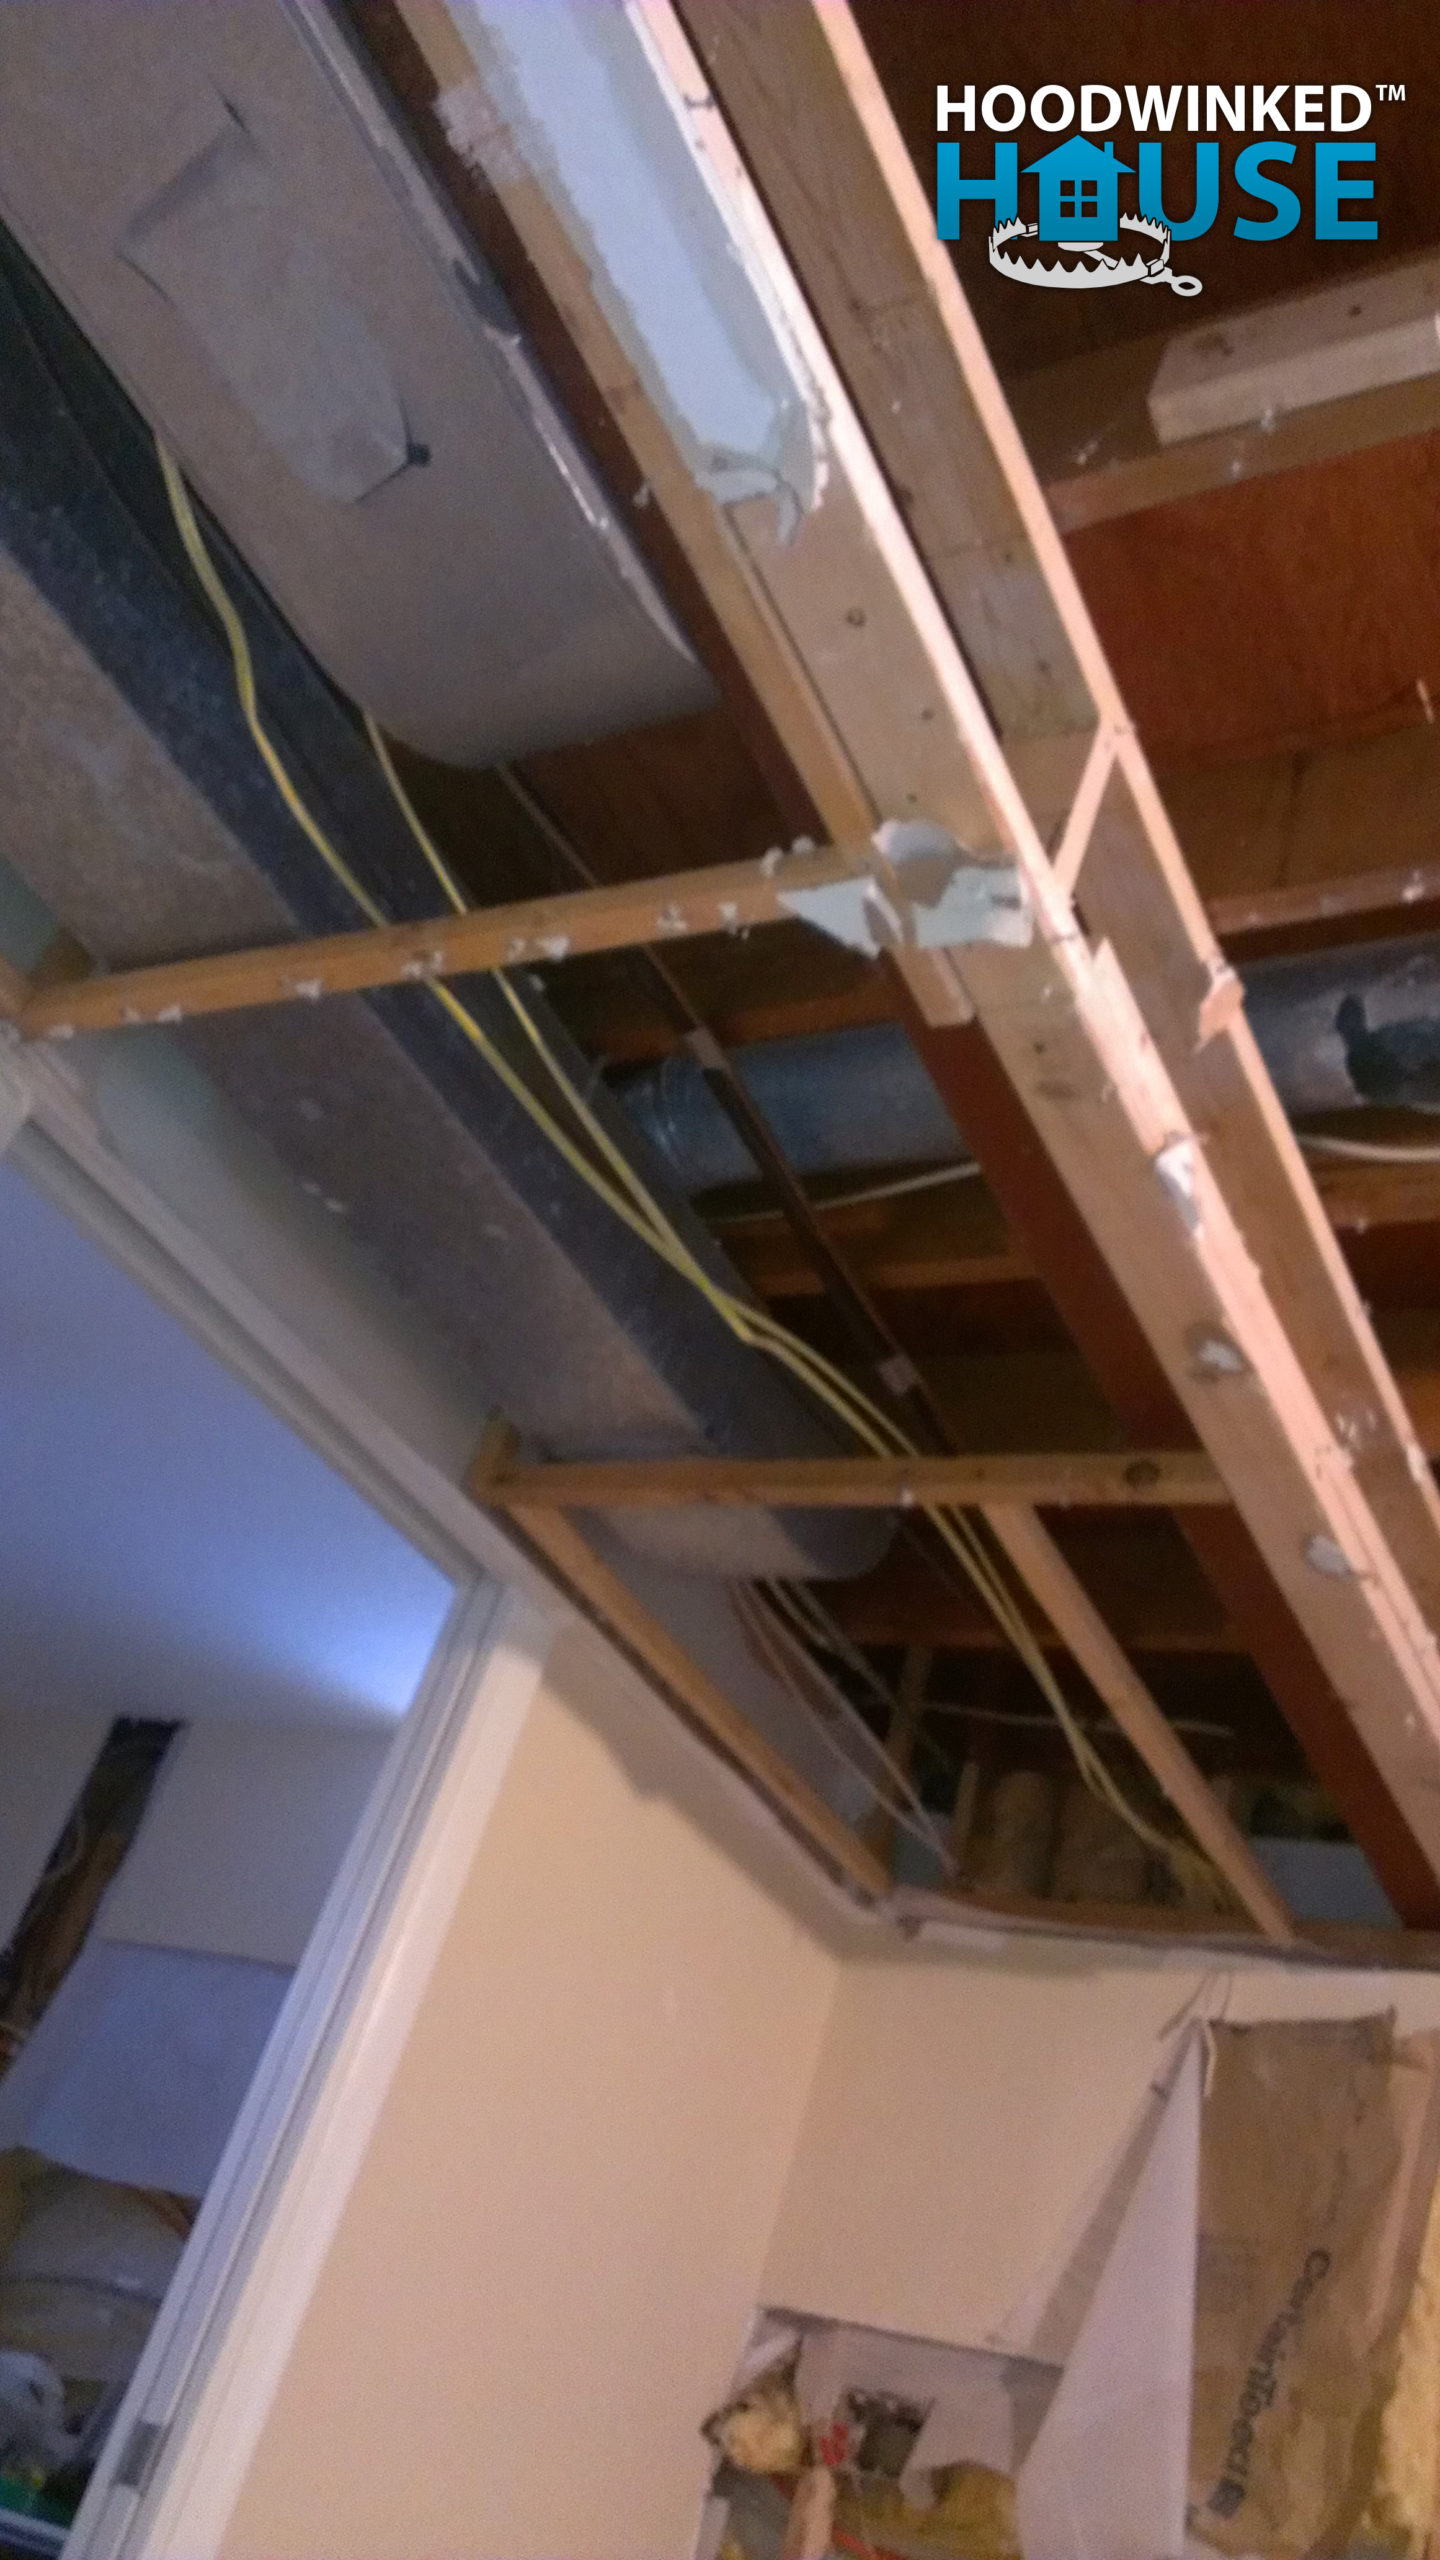
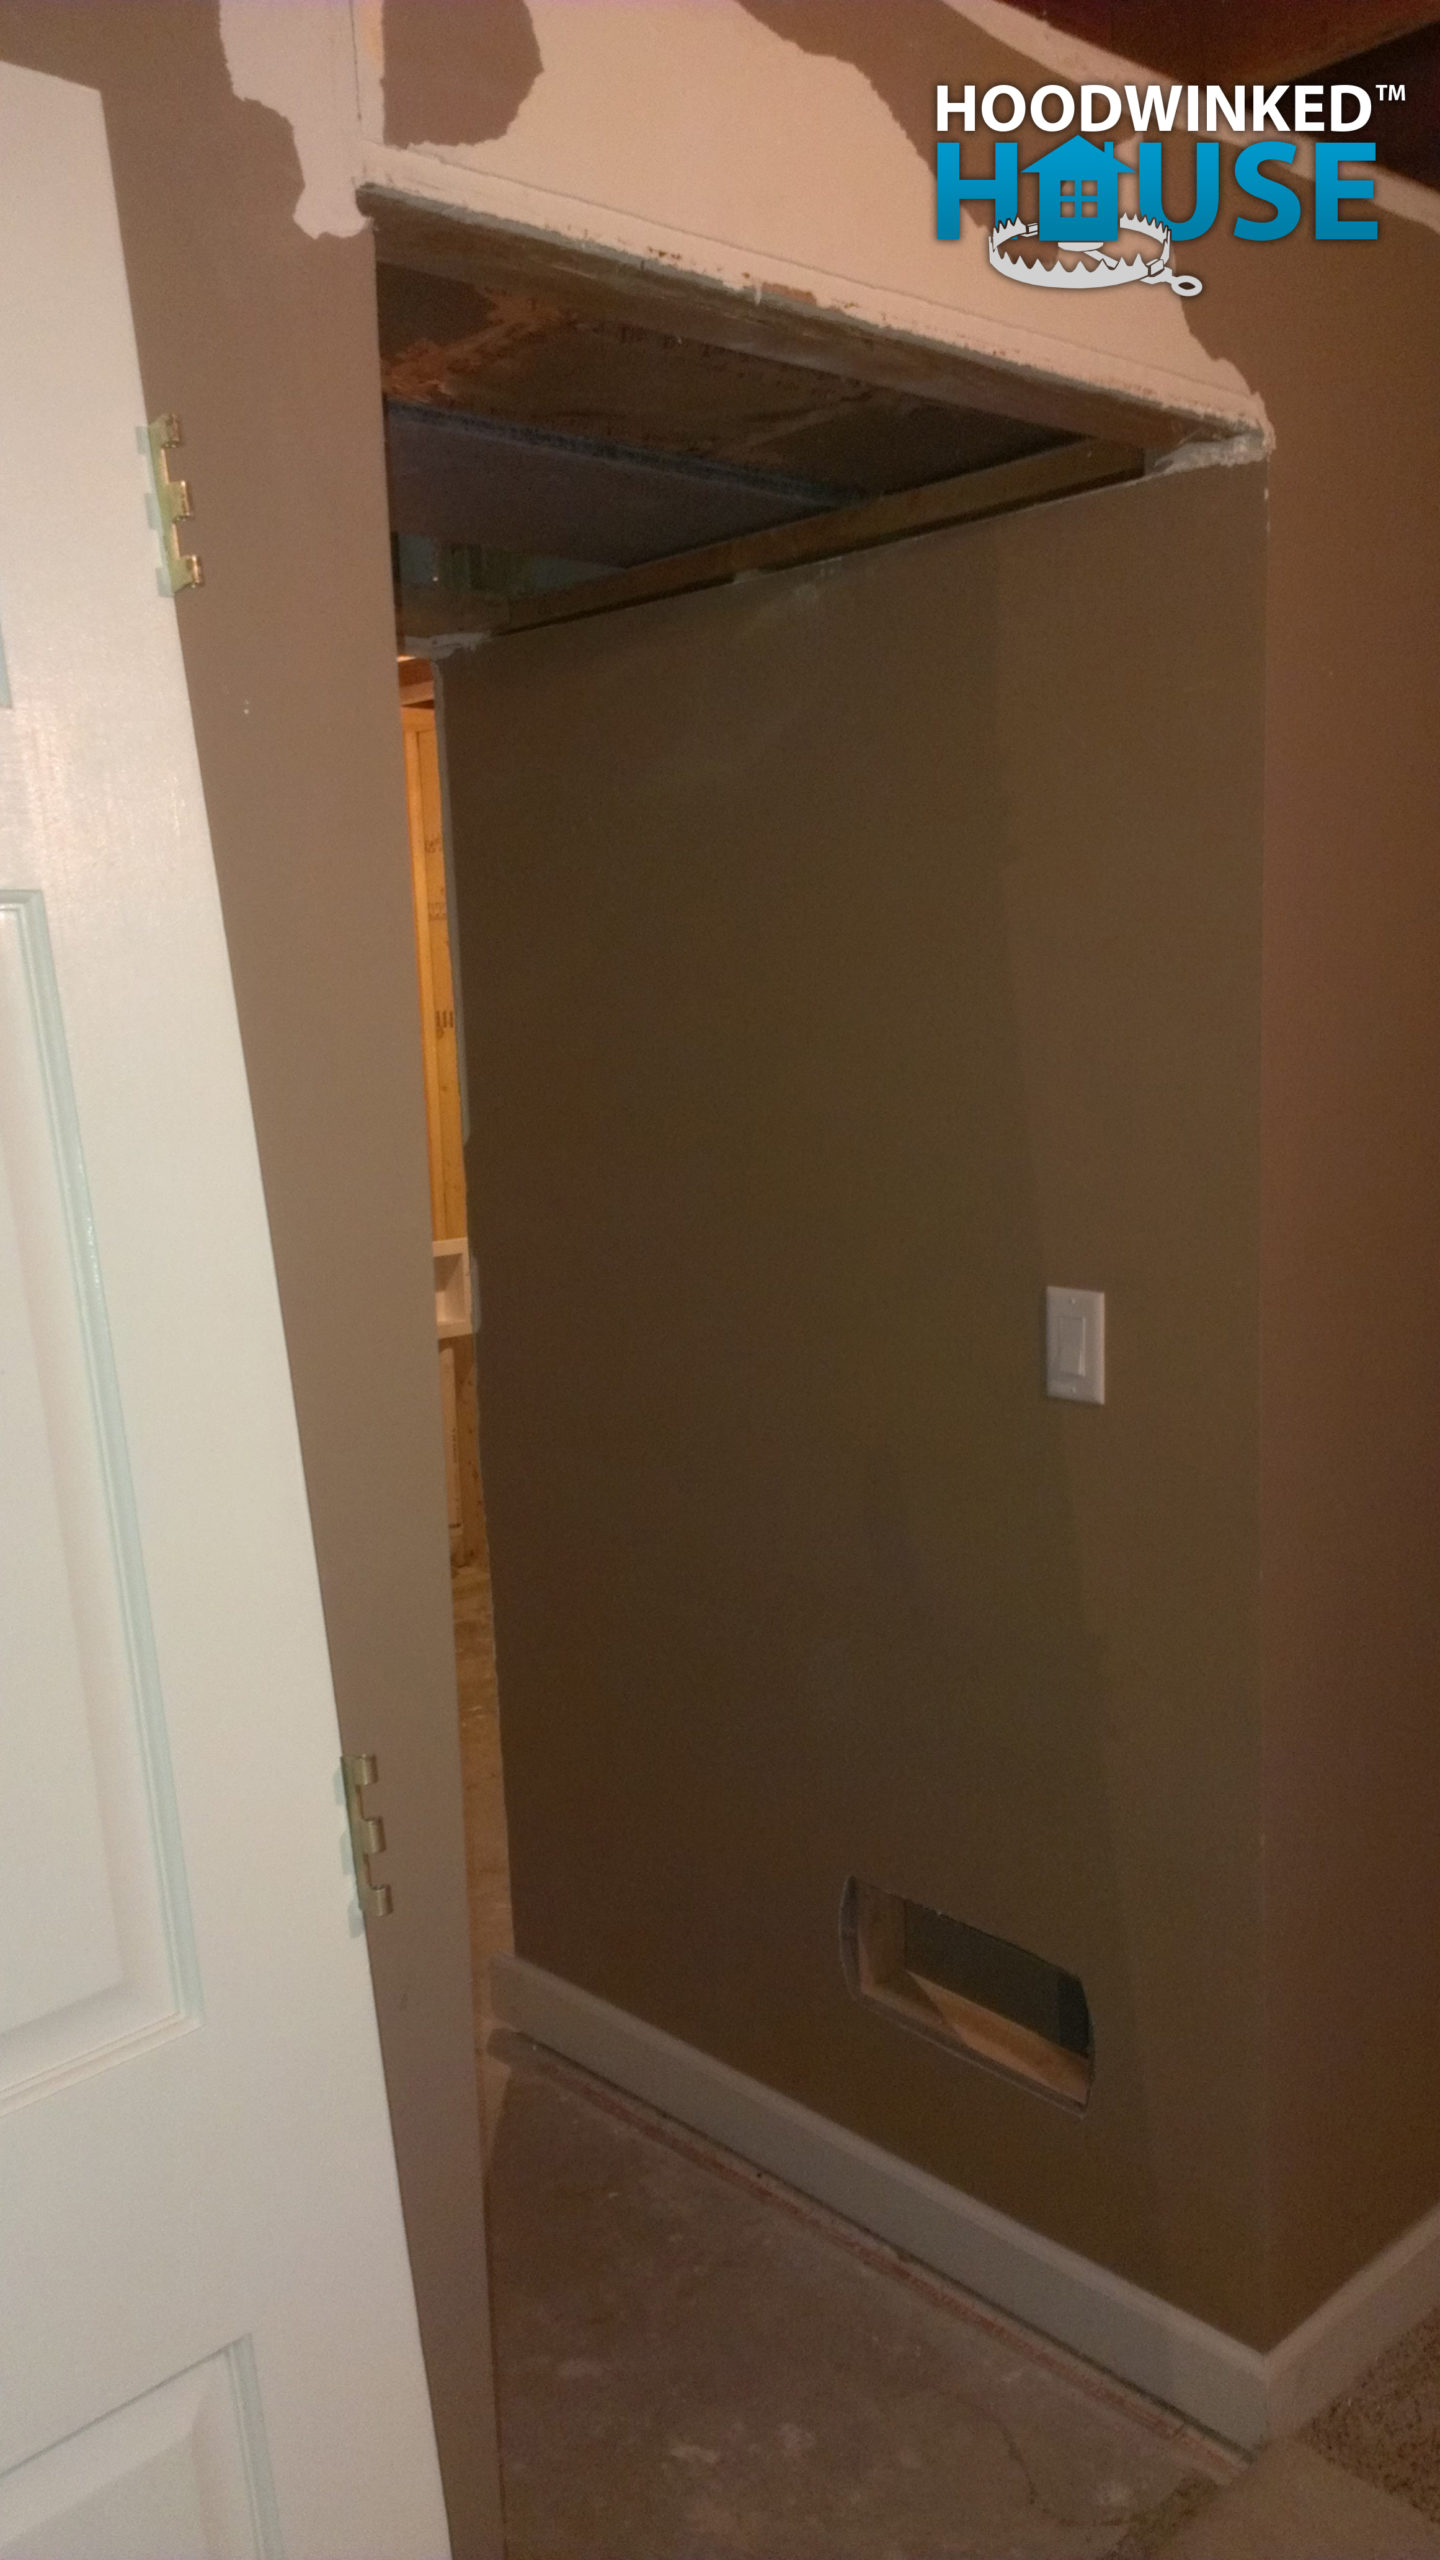
Ceiling surprises
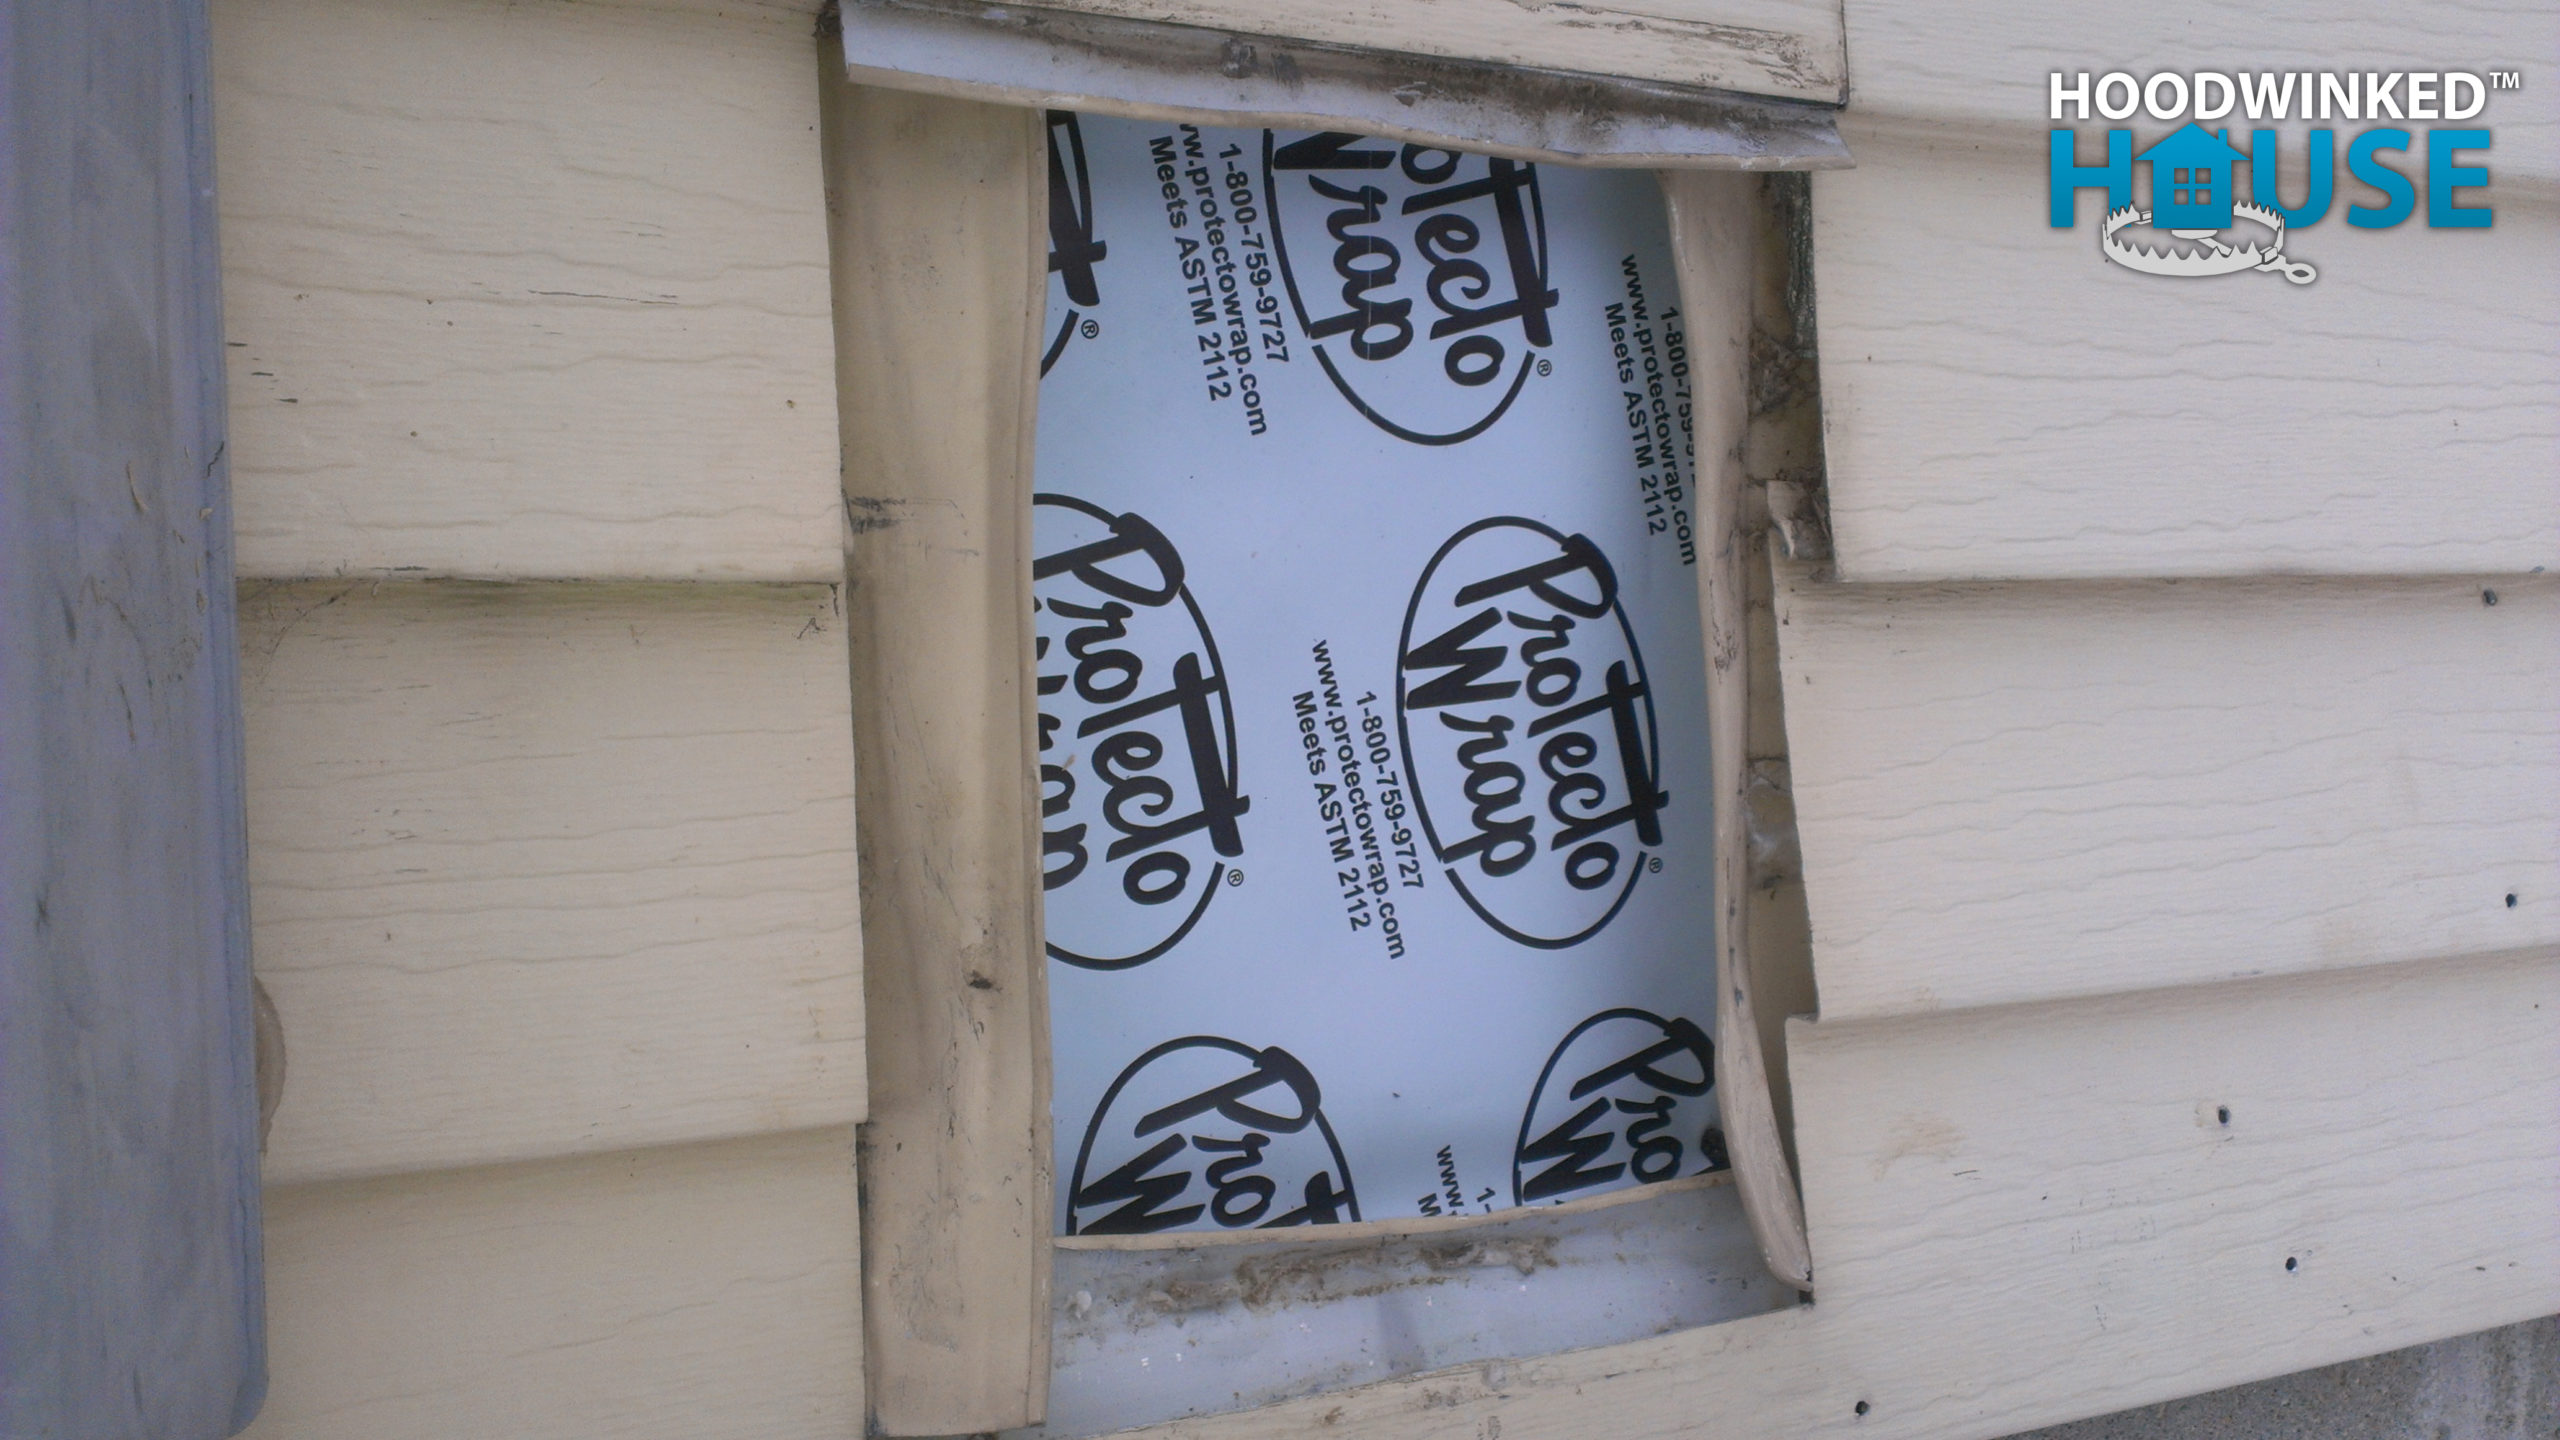
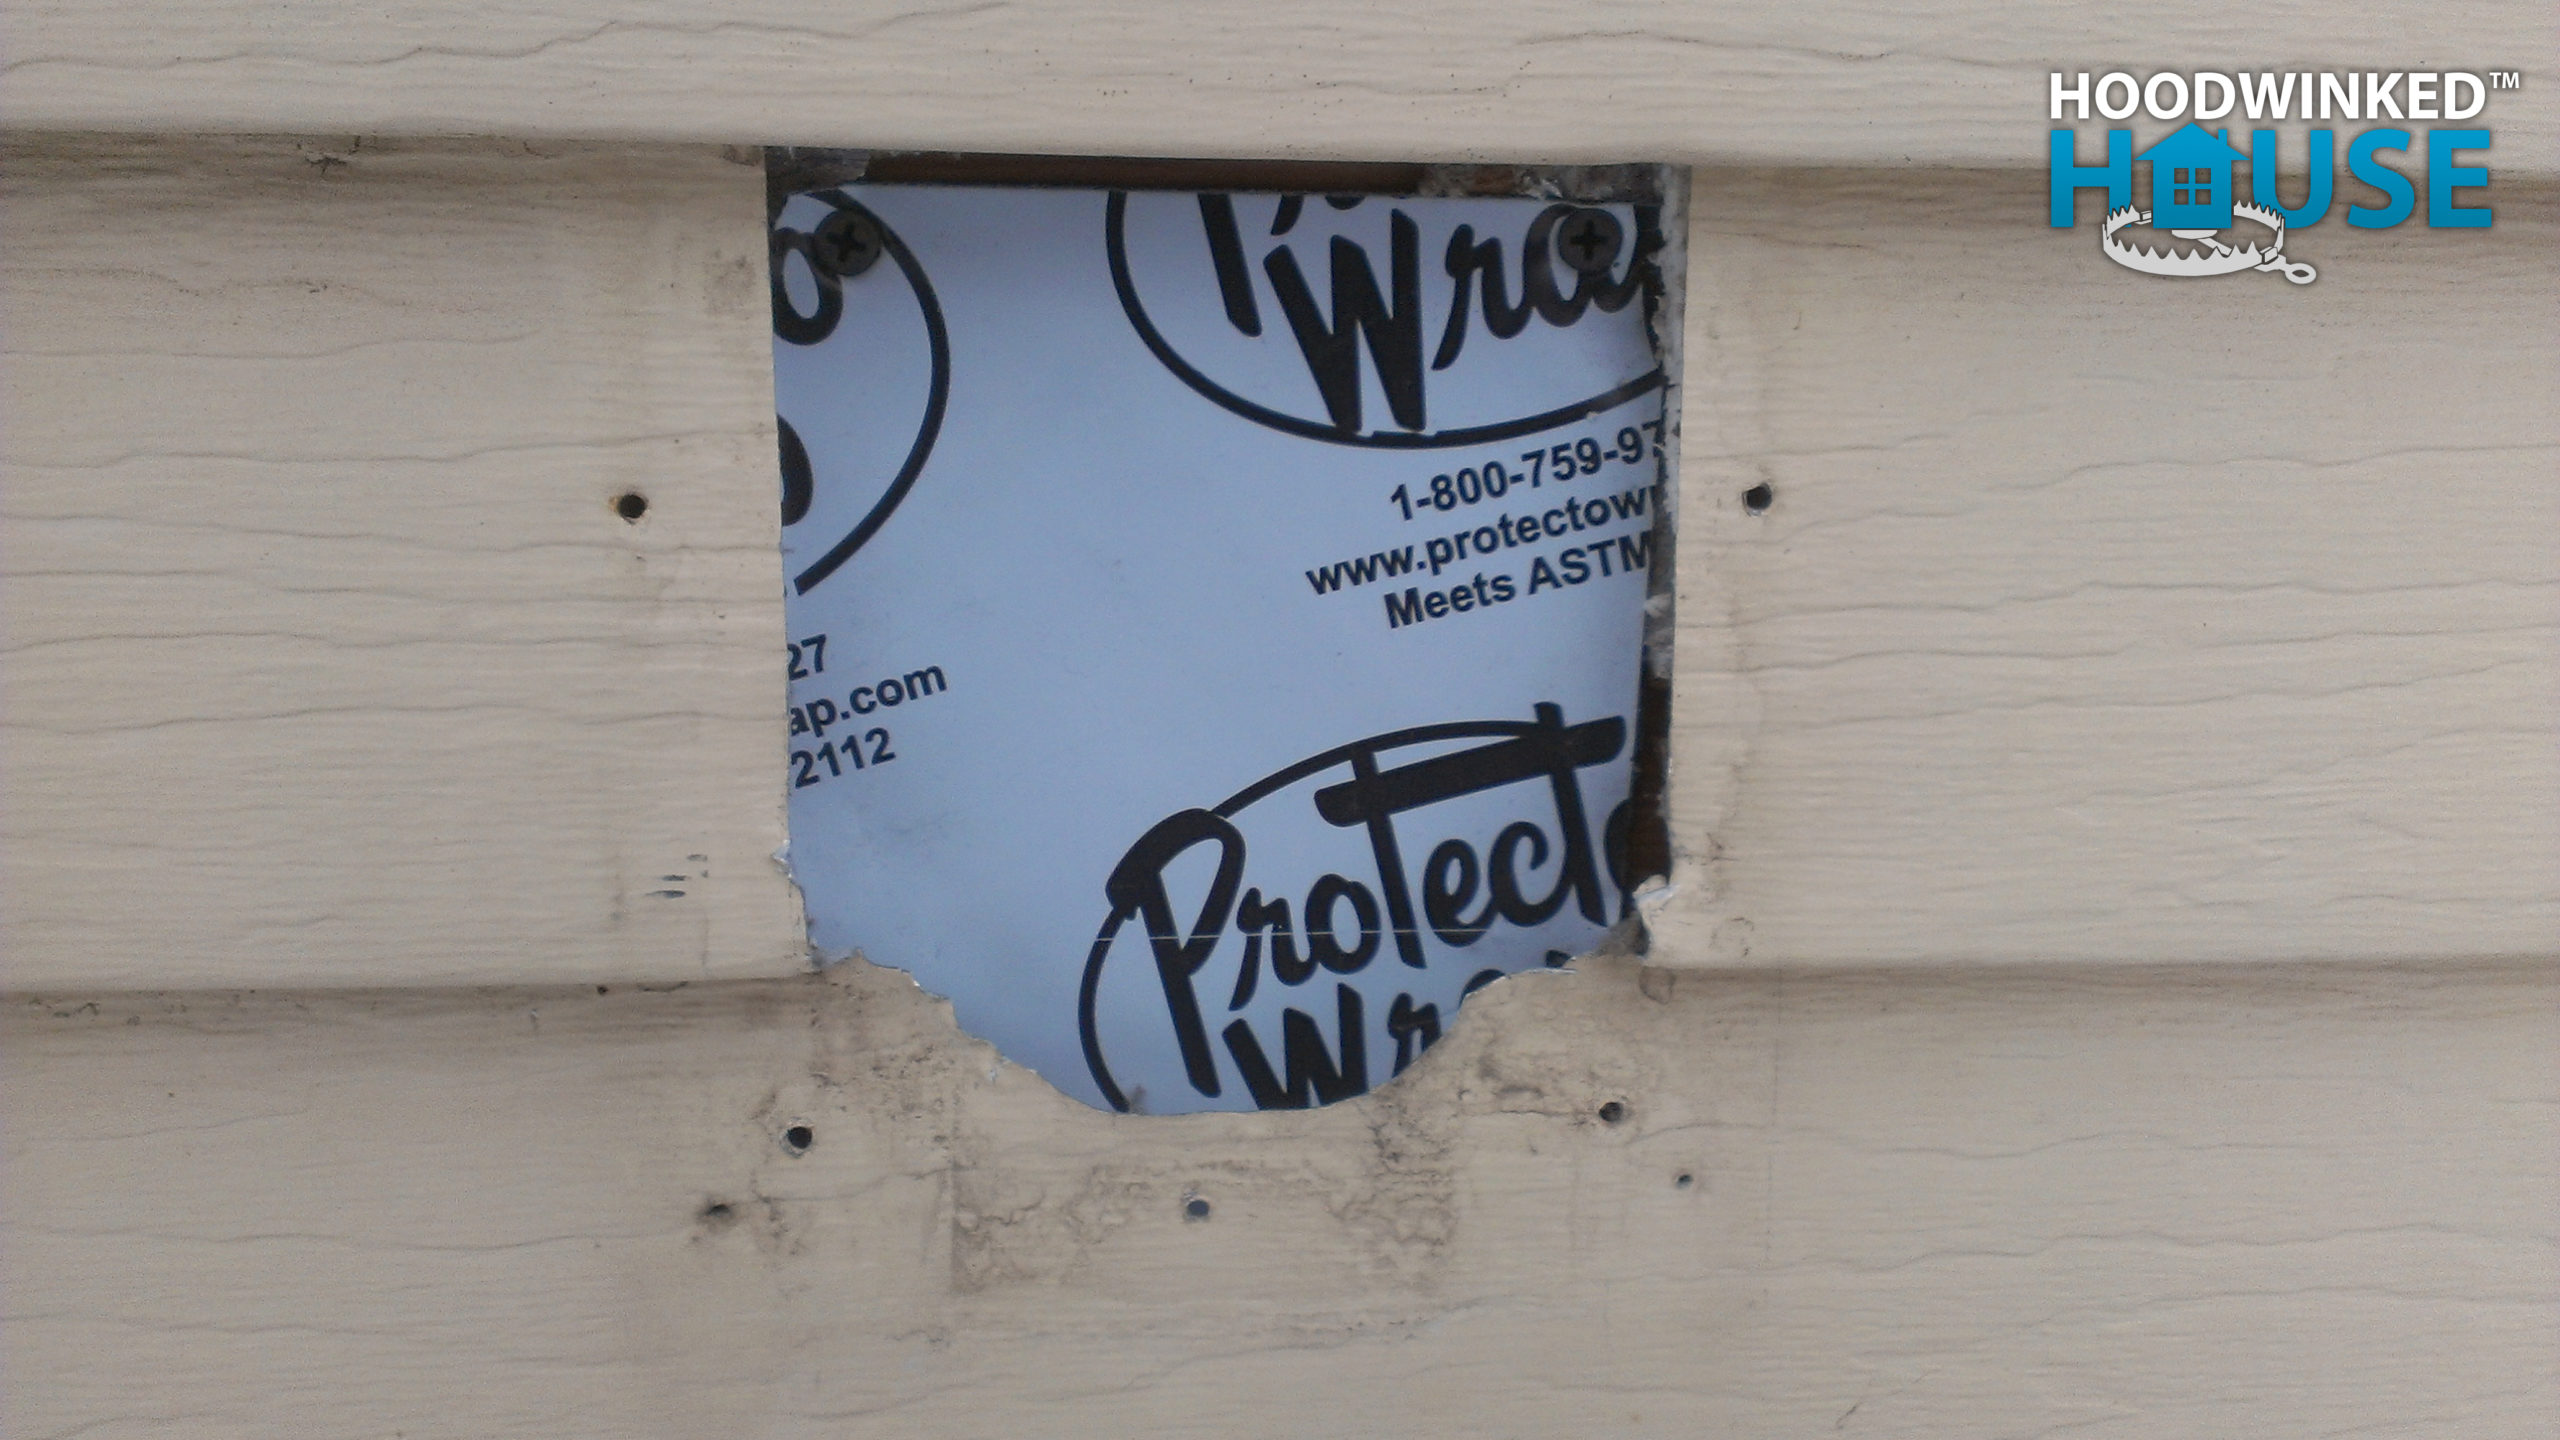
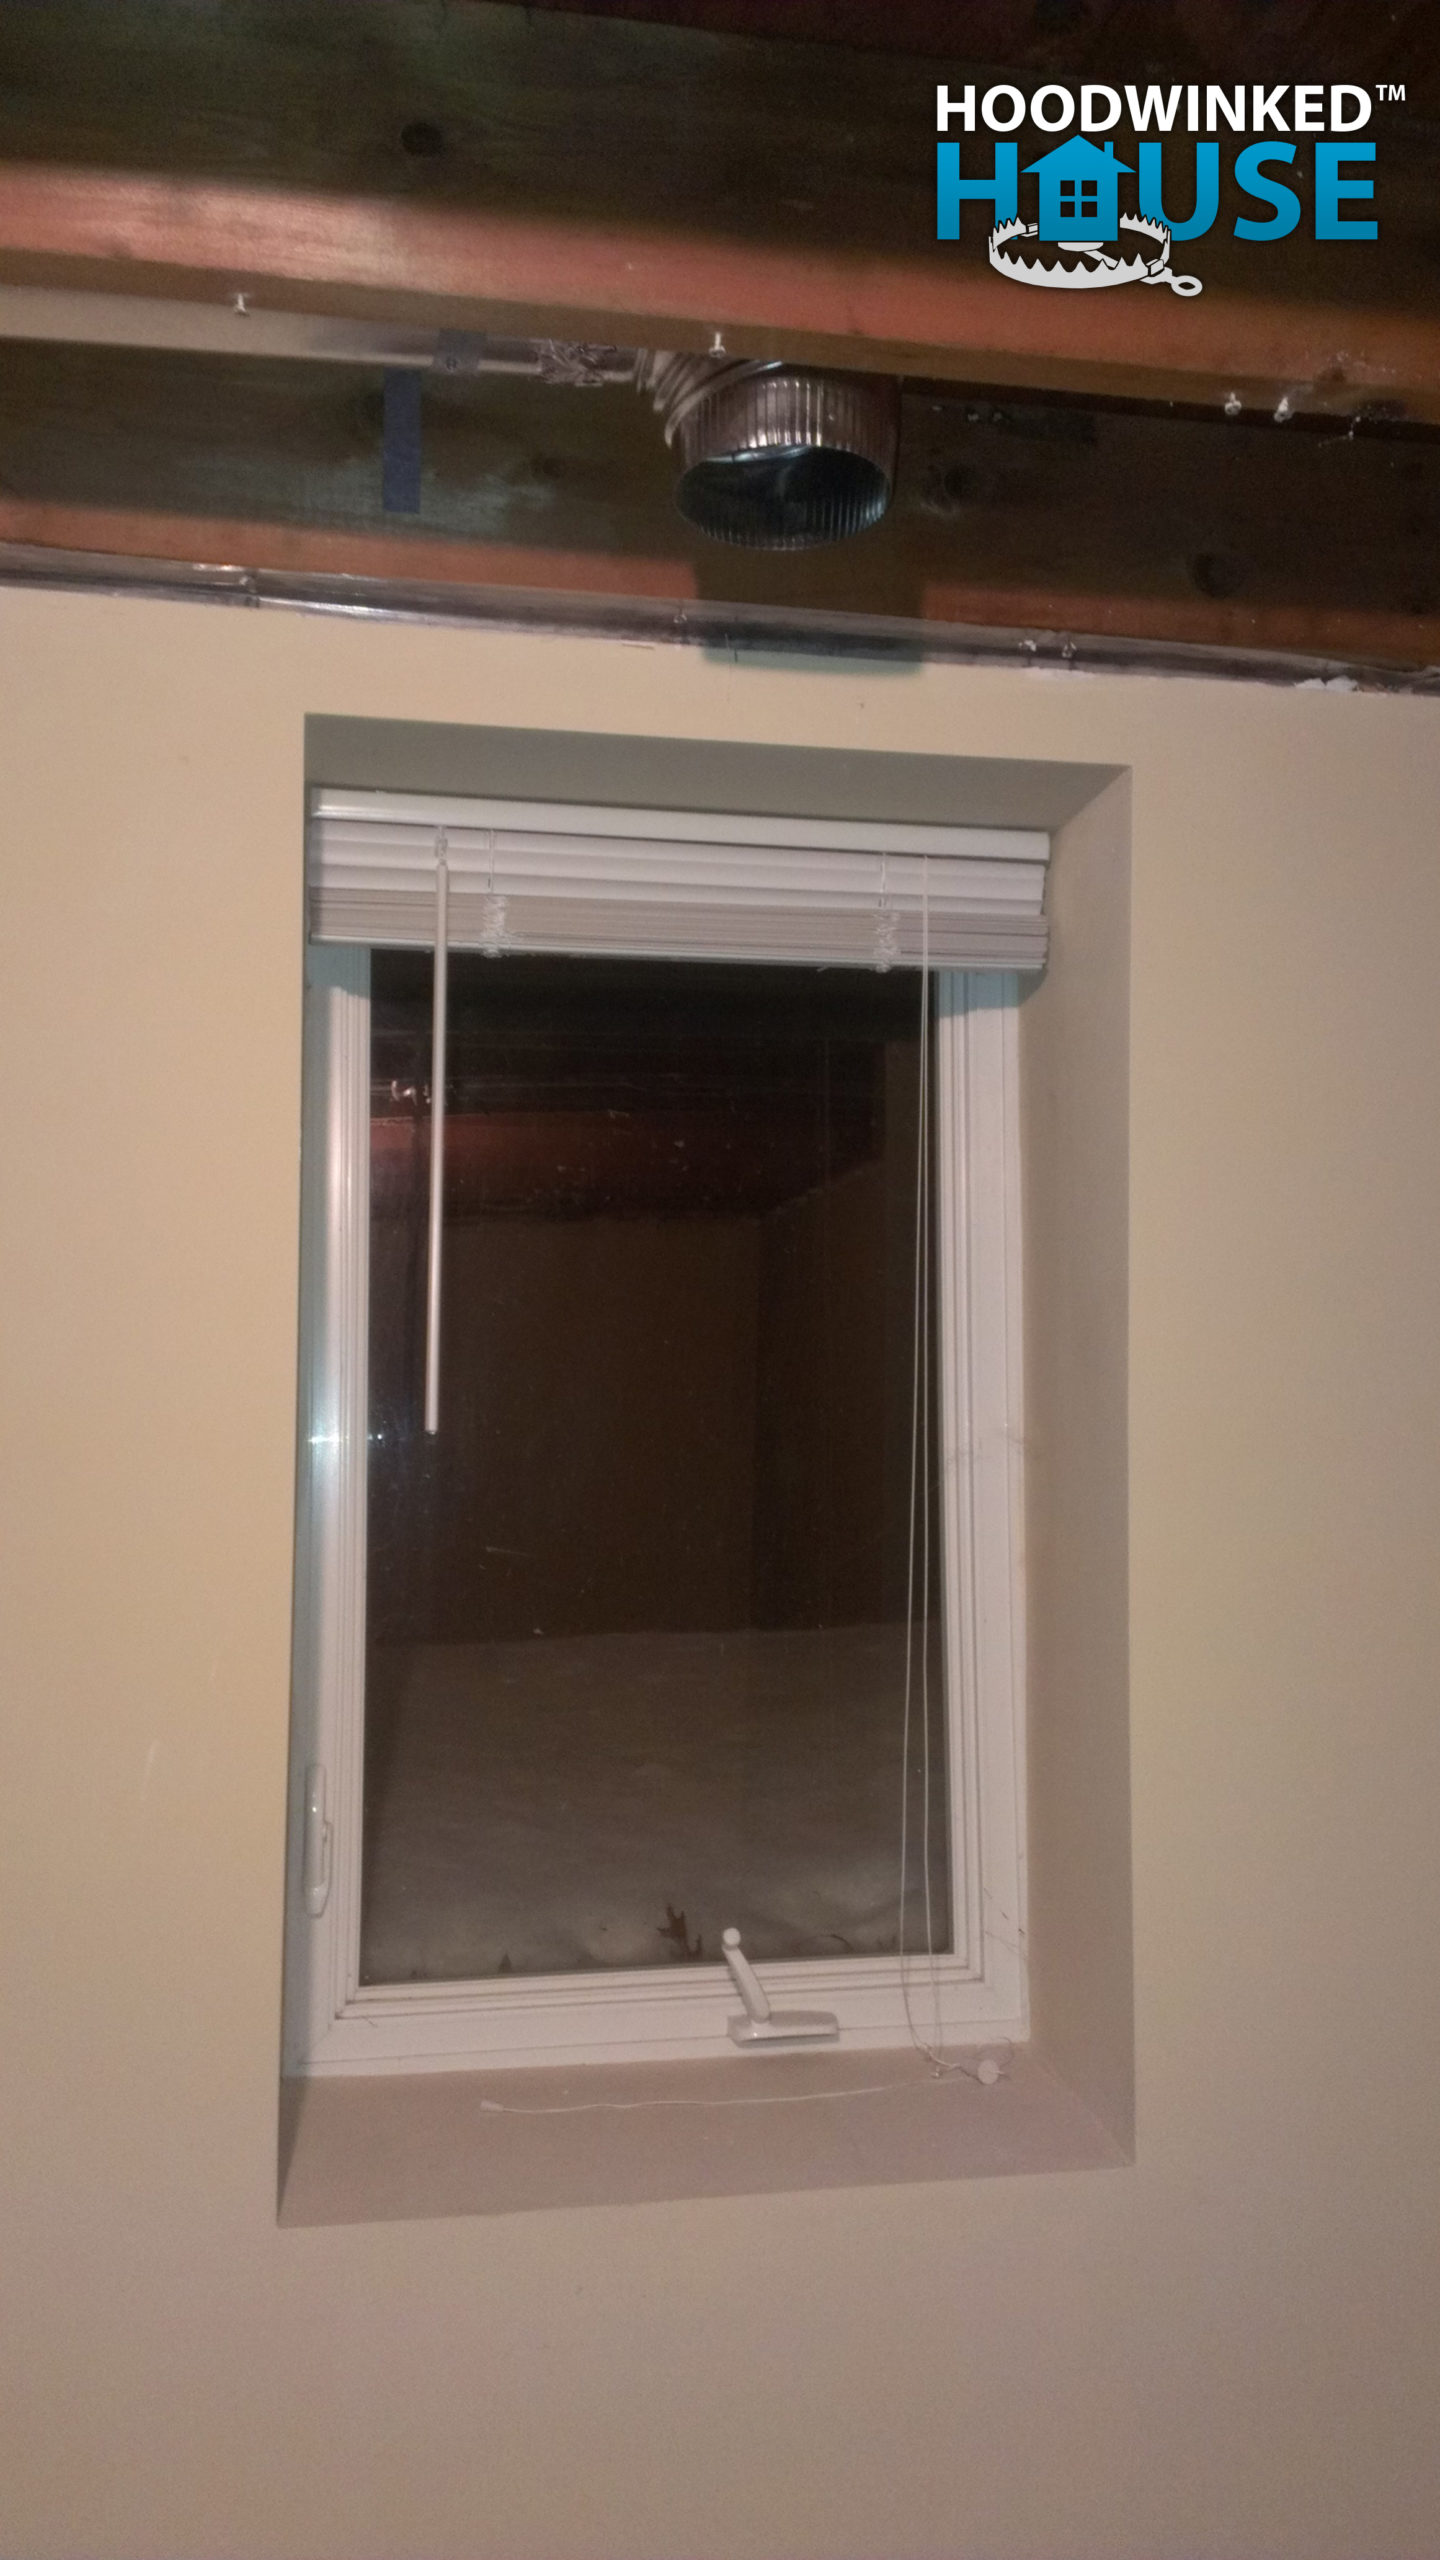
I install home wrap over the previous electrical mast and dryer vent holes.
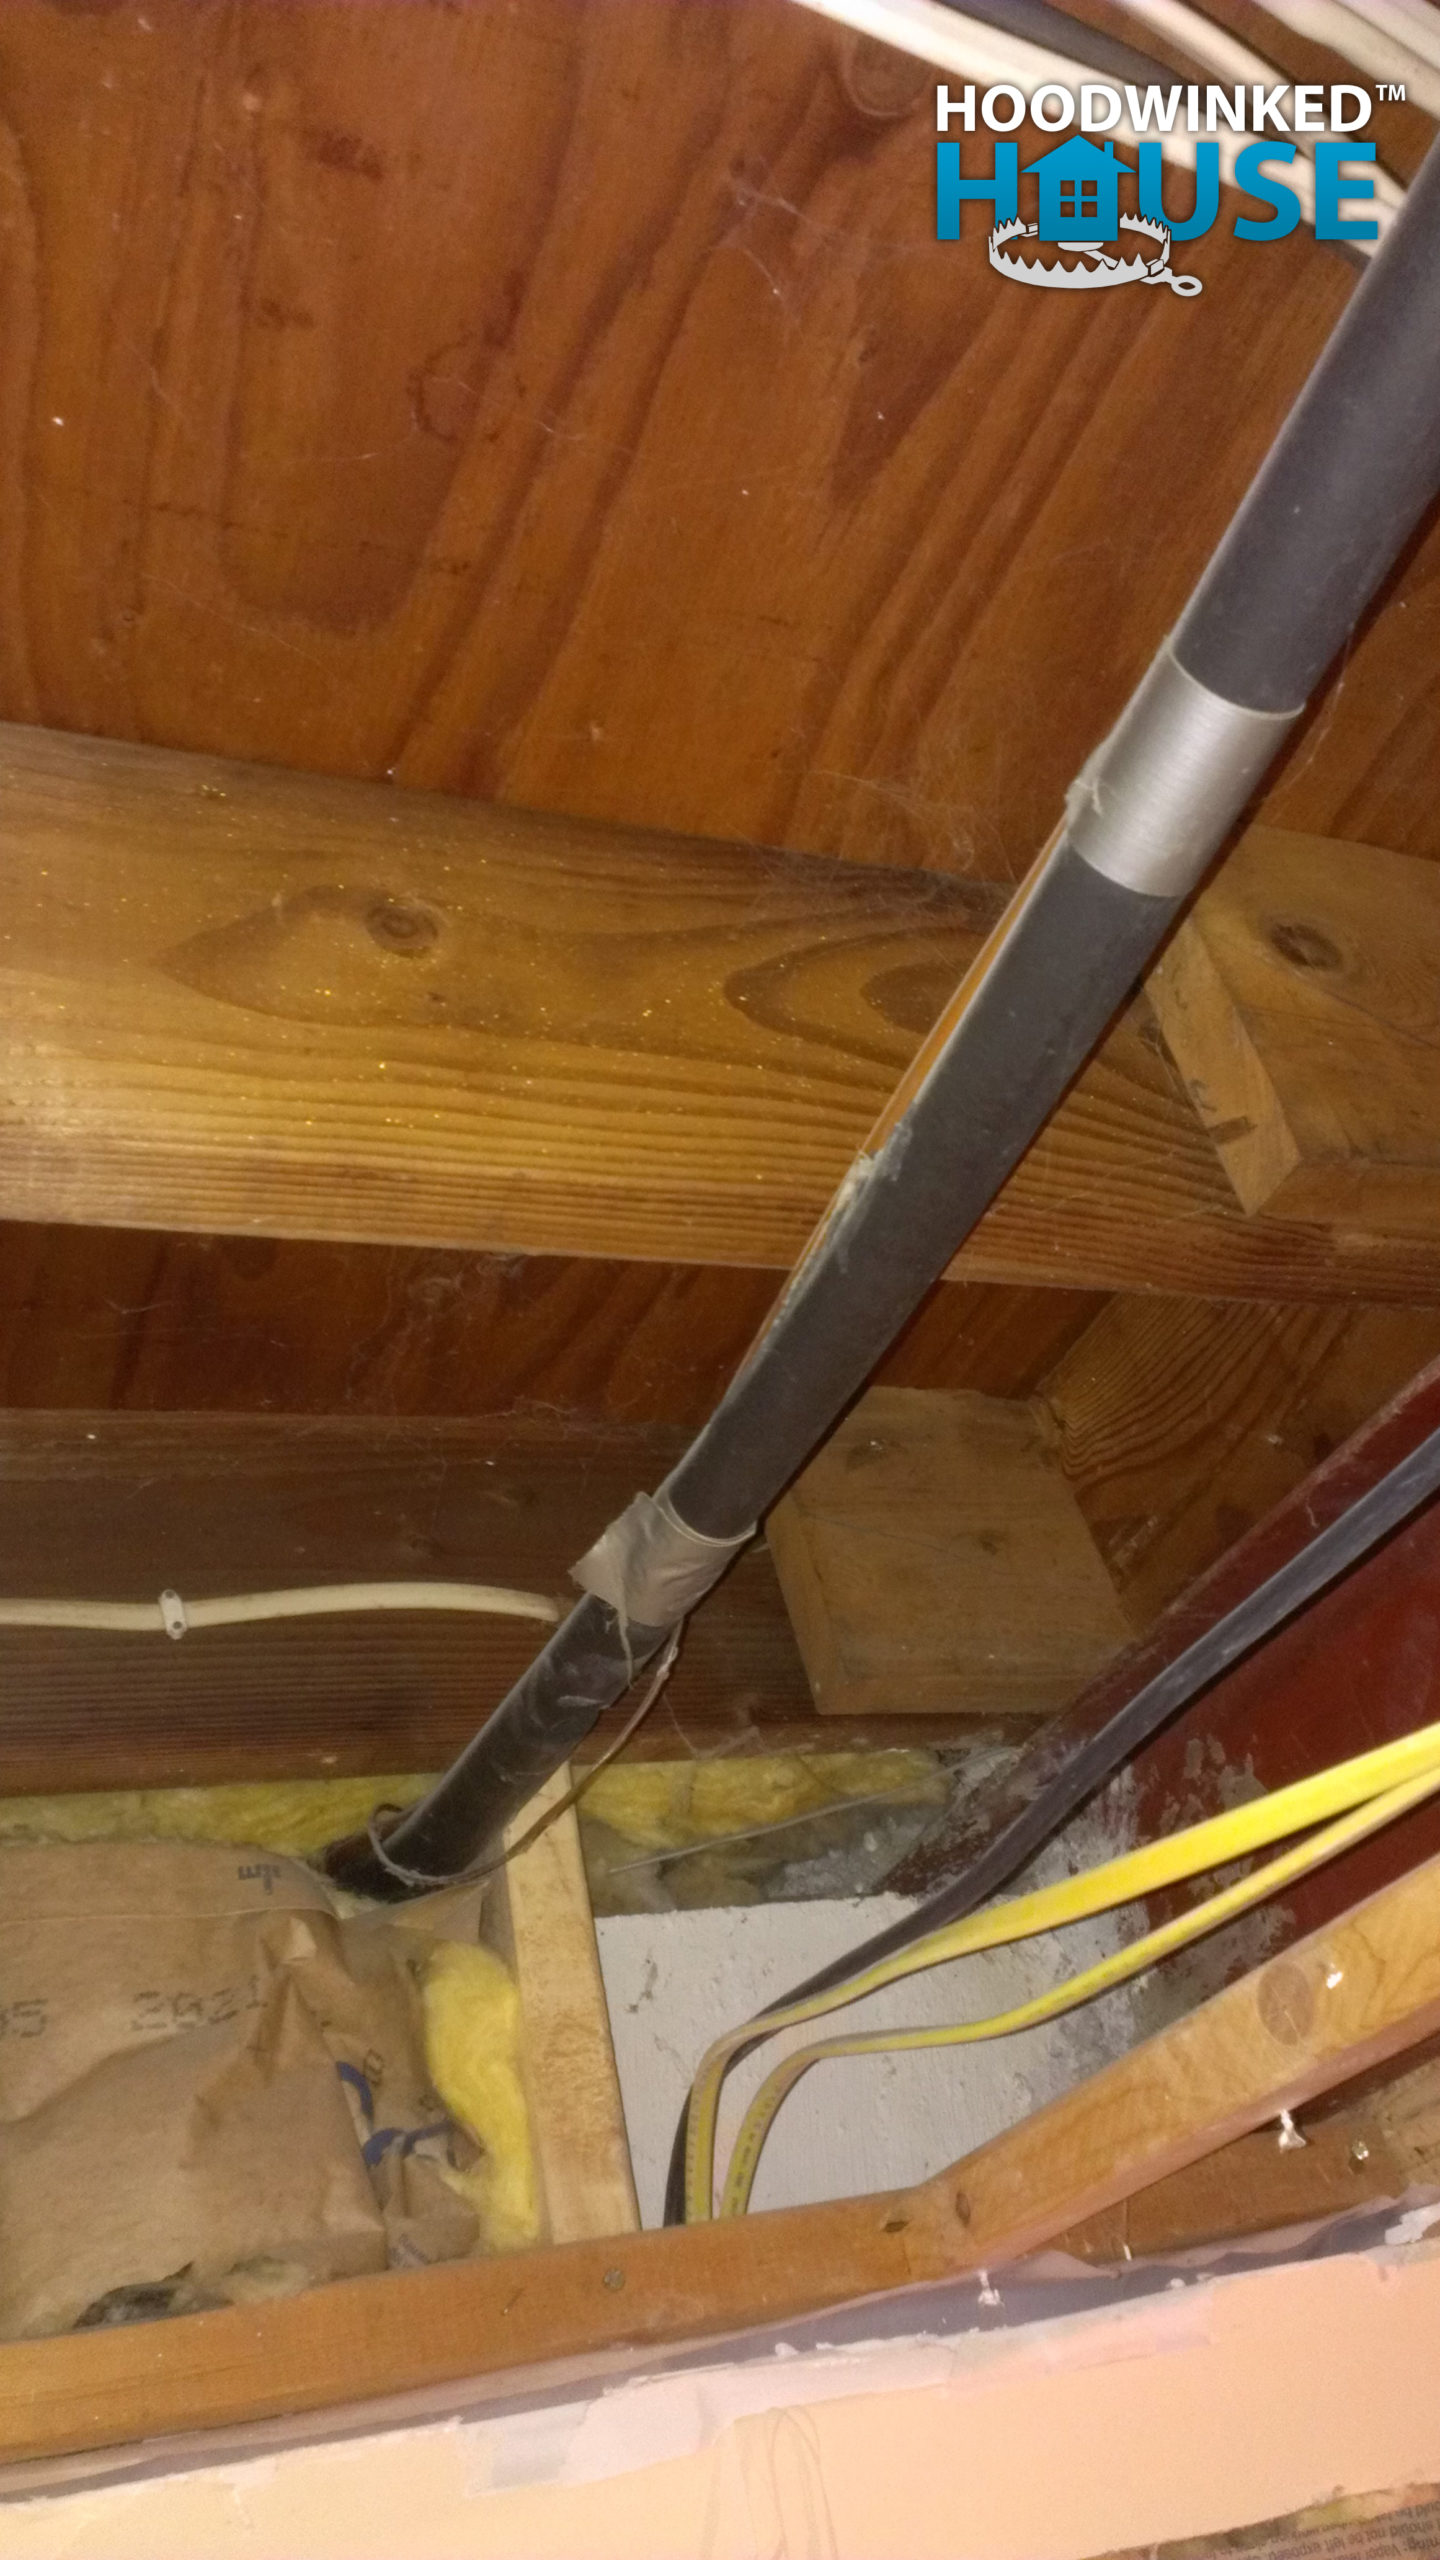
I also prepare the master bedroom ceiling for demolition. I find that the heating register was held in place by drywall screws that were spray painted in place. There is no proper duct boot. Instead, one has been fashioned from wads of duct tape.

My roommate Frosty demolishes the master bedroom ceiling.
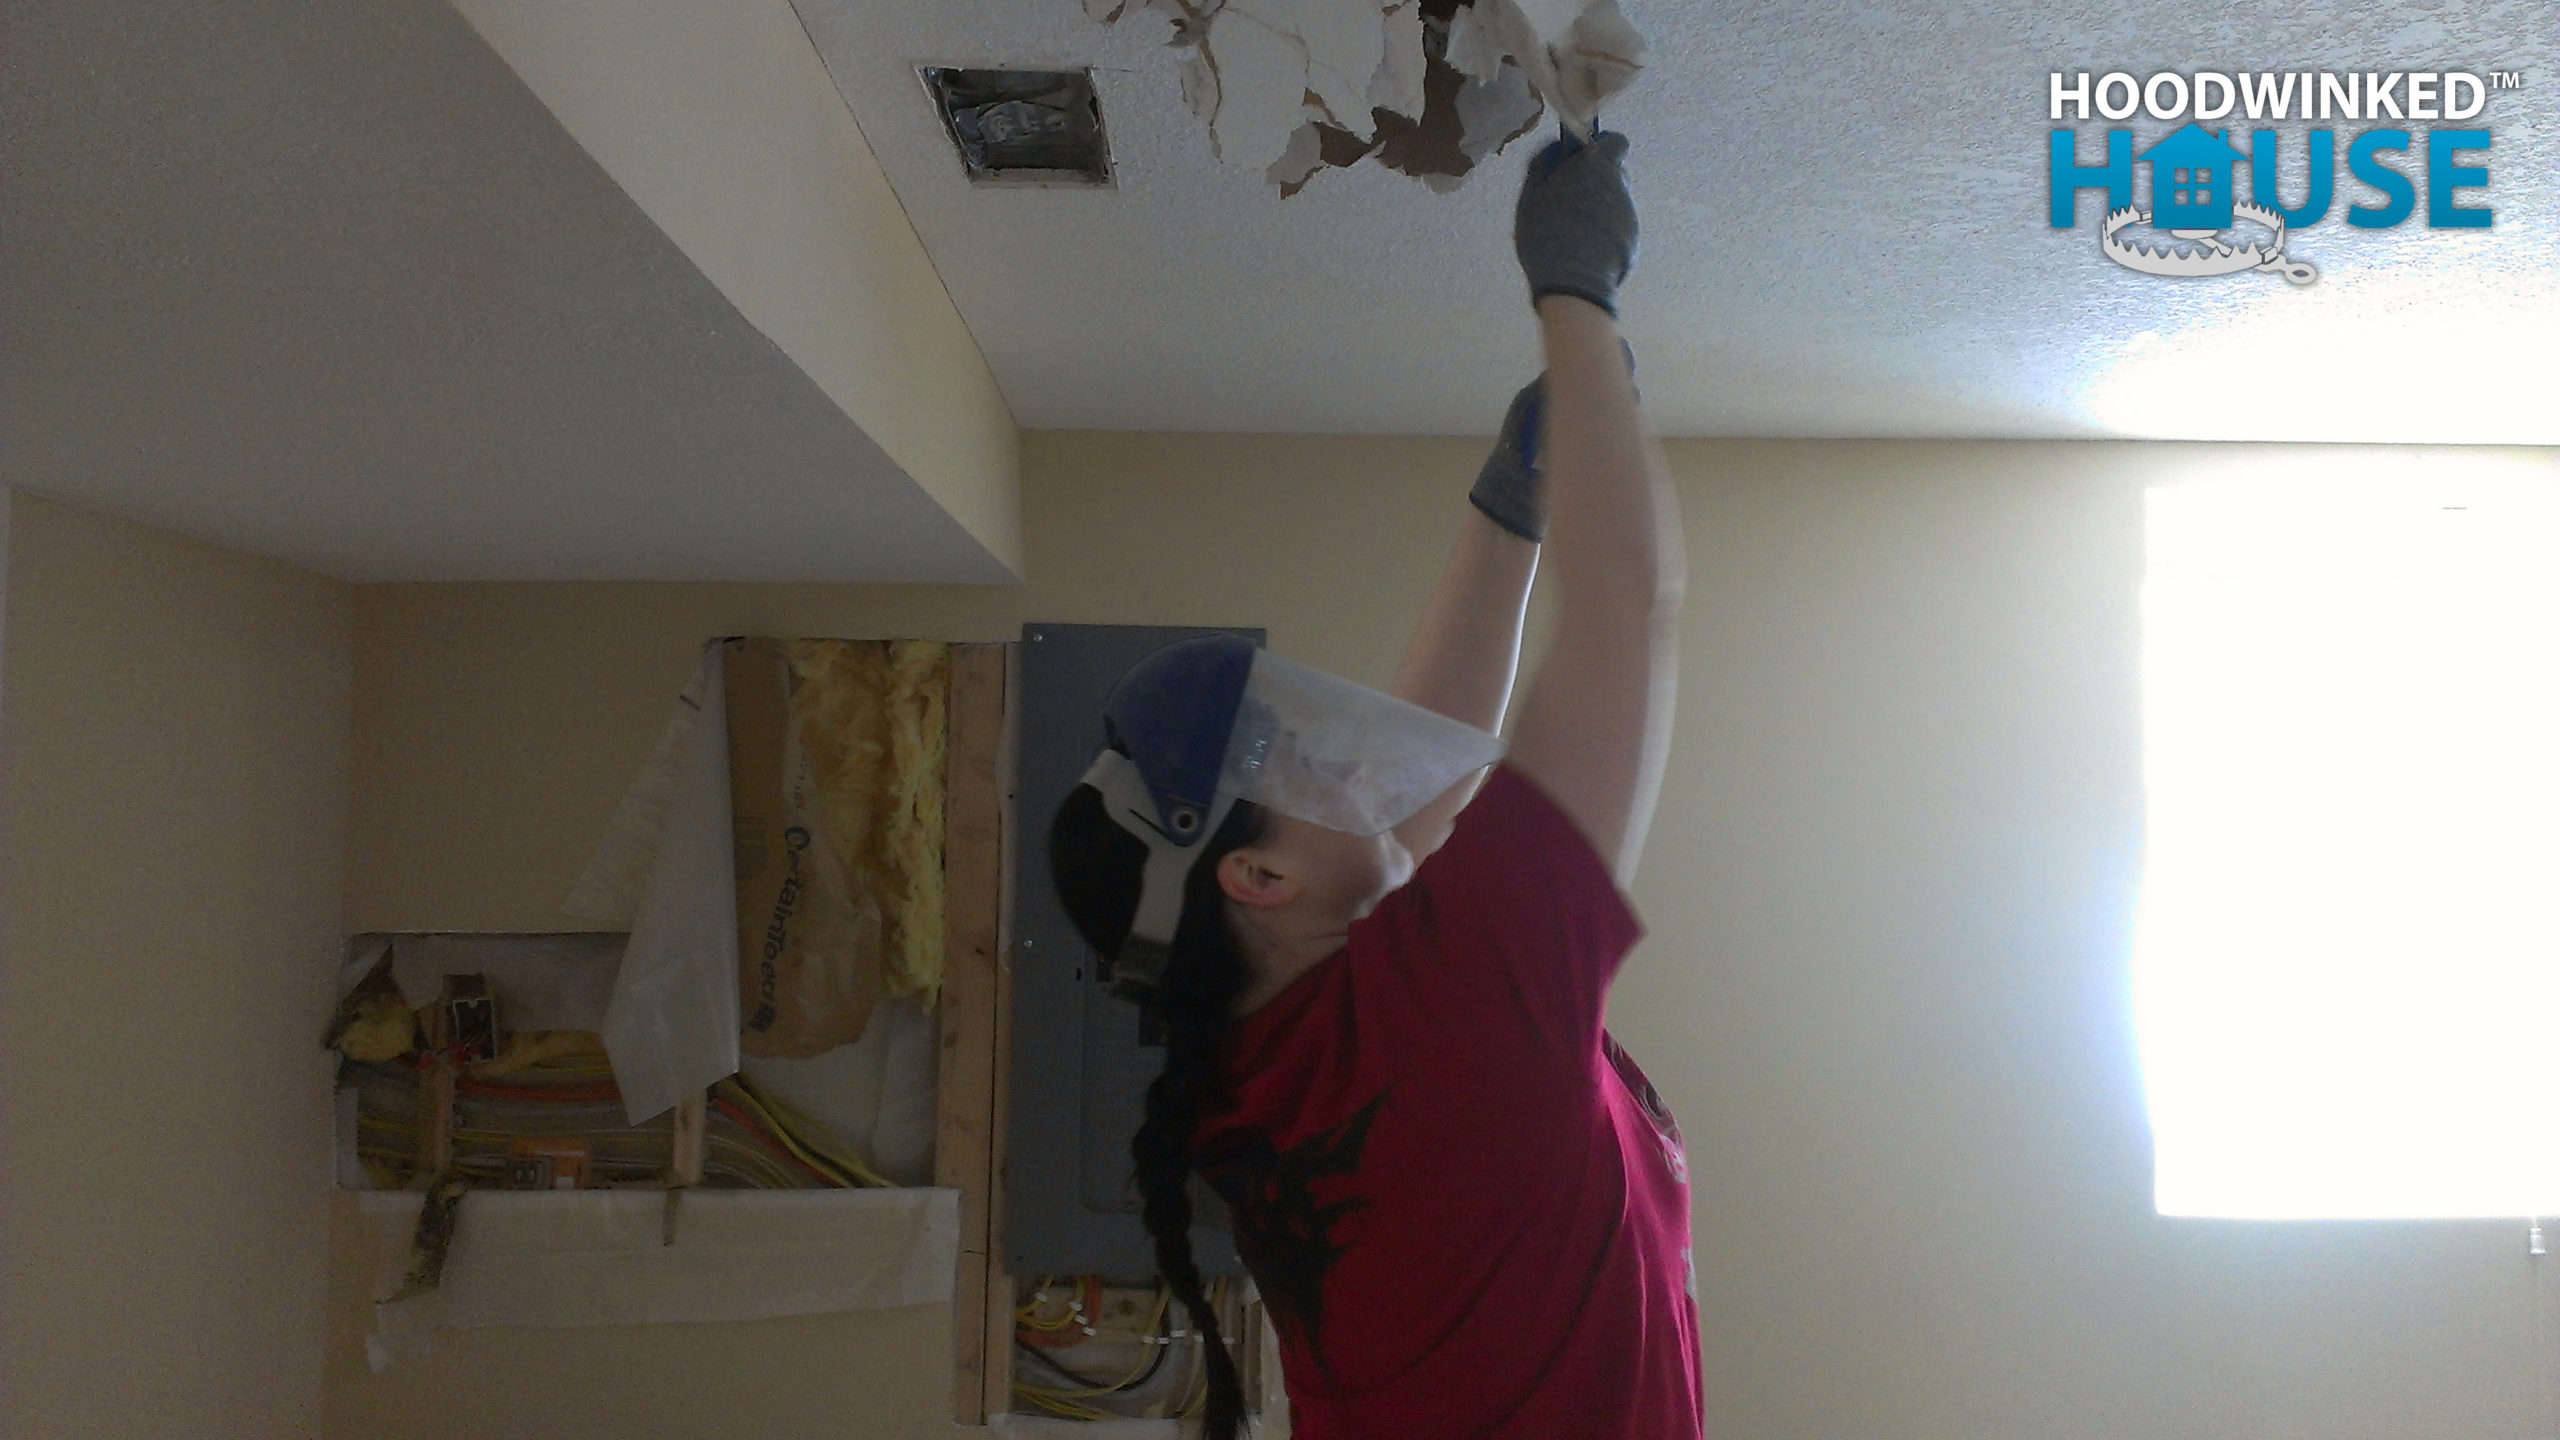
We discover more hidden junction boxes and illegal wiring.
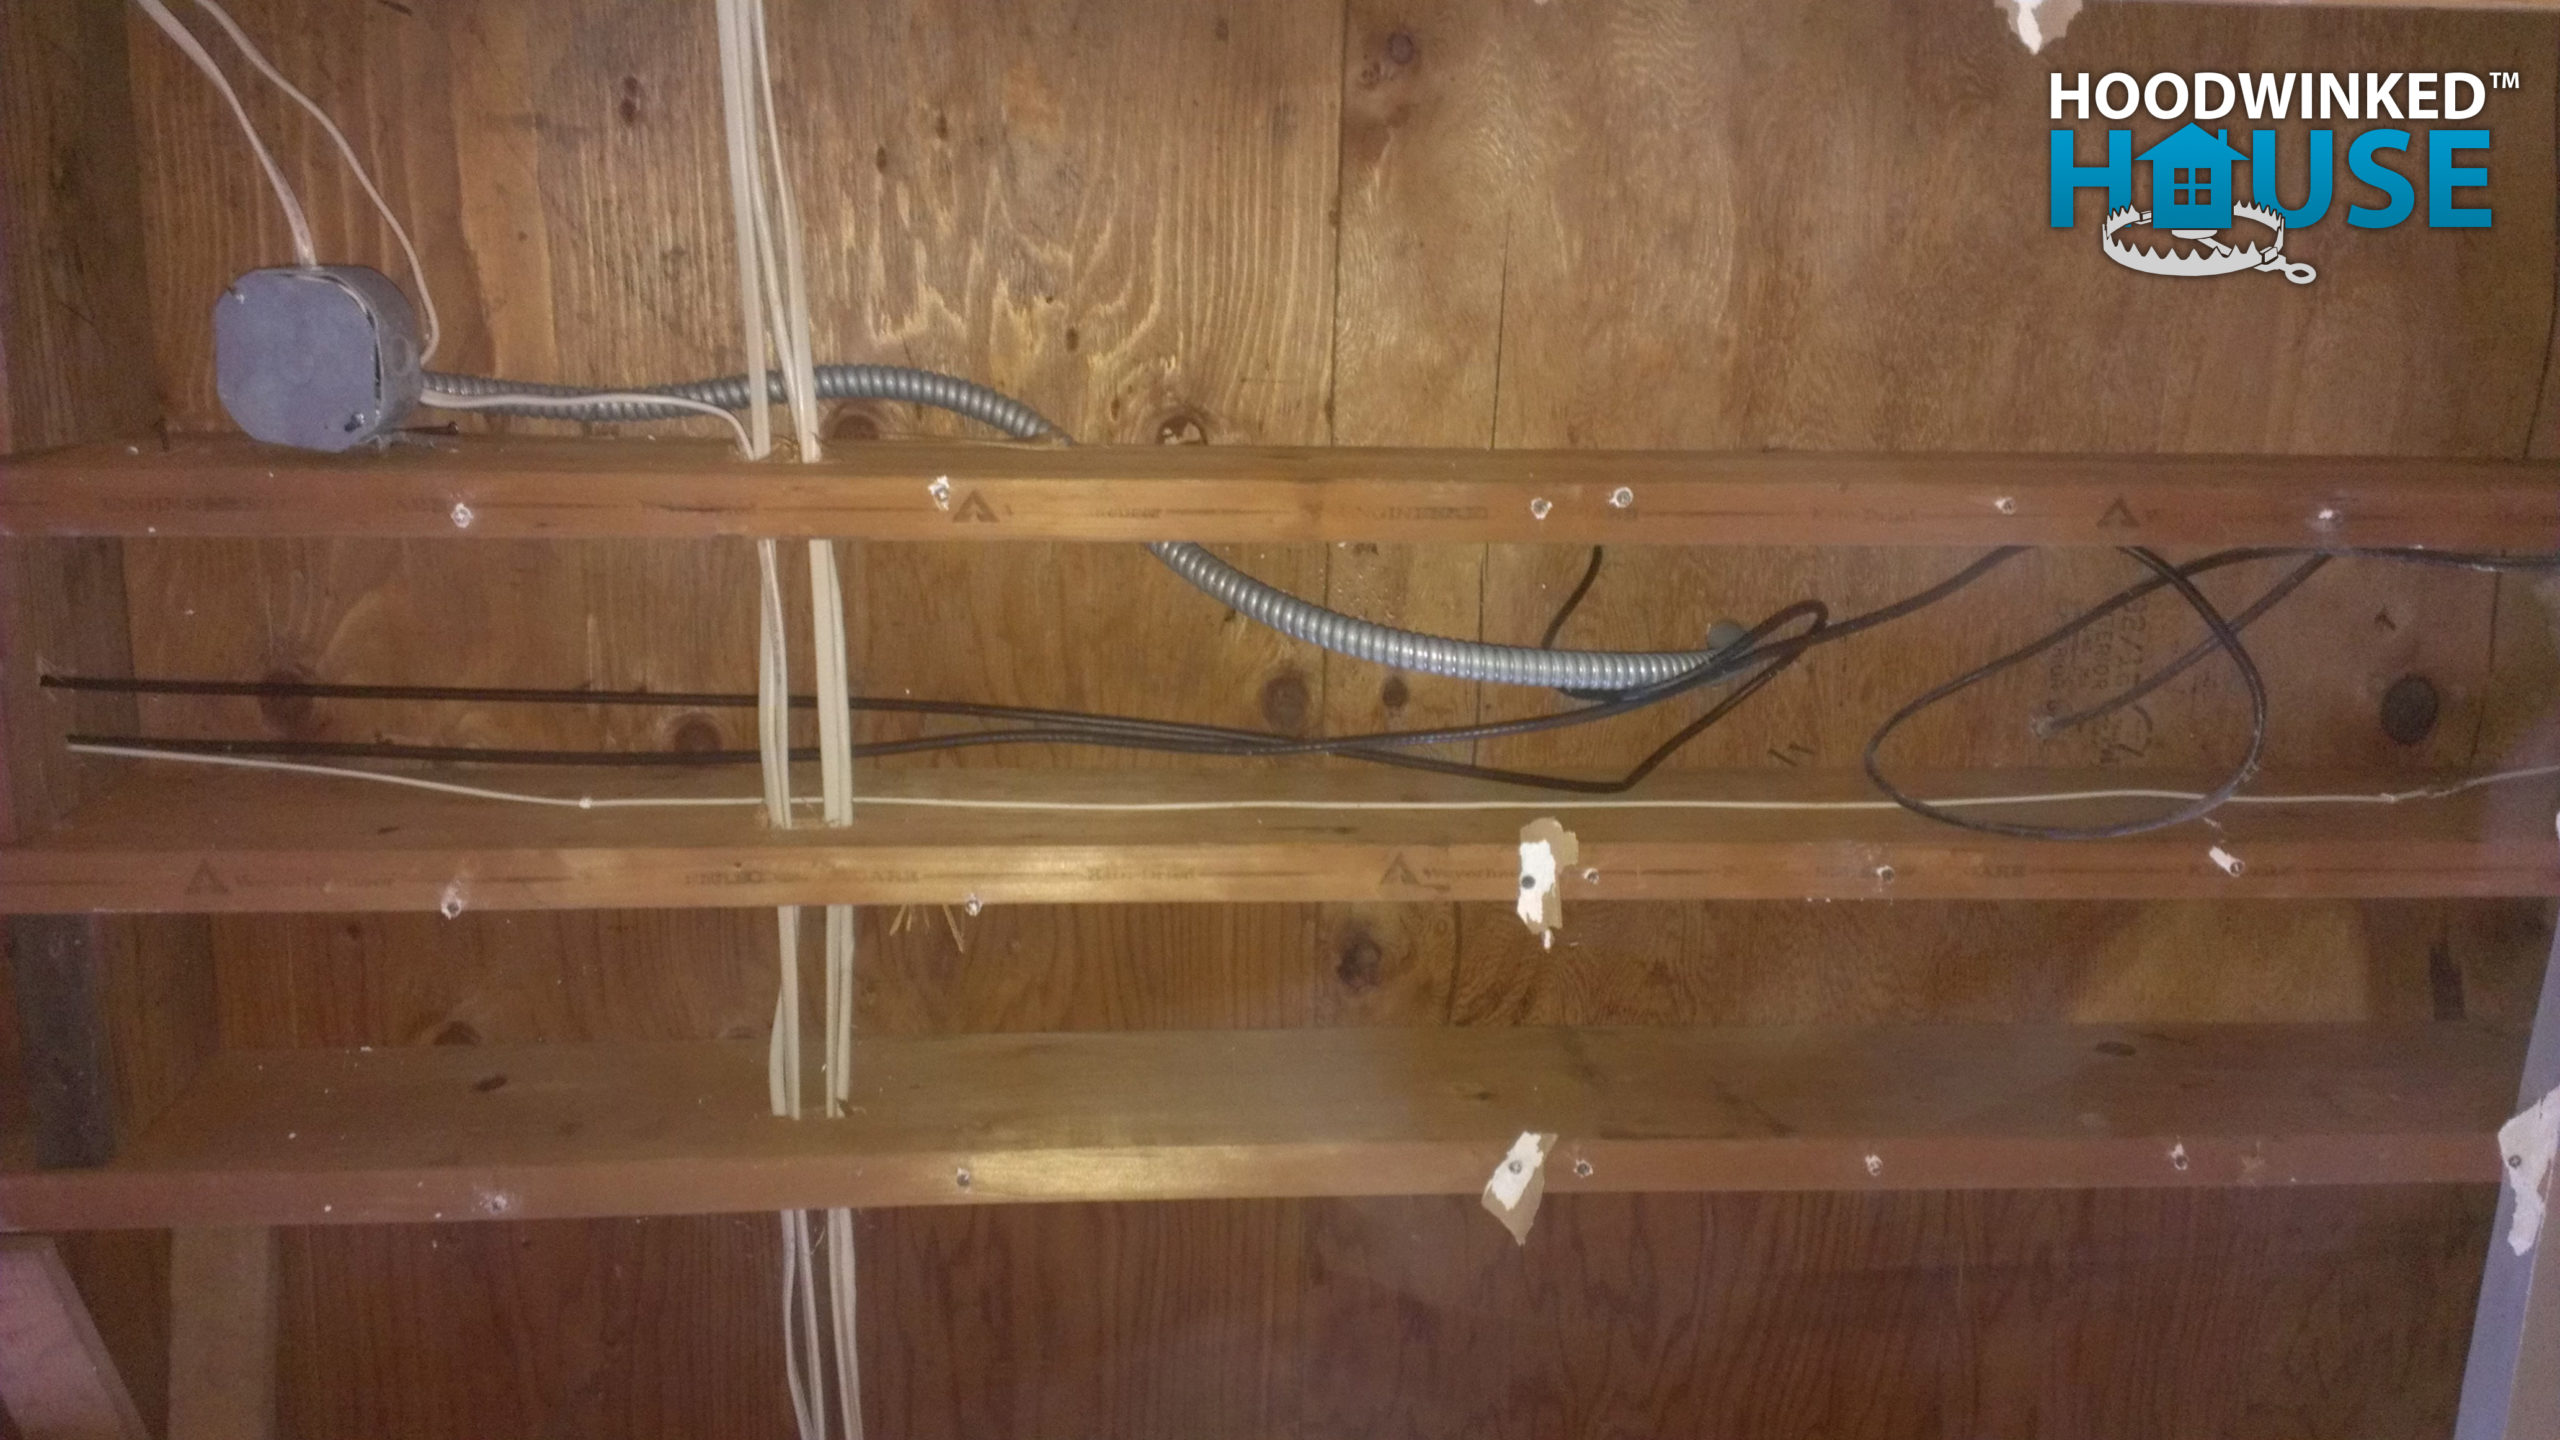
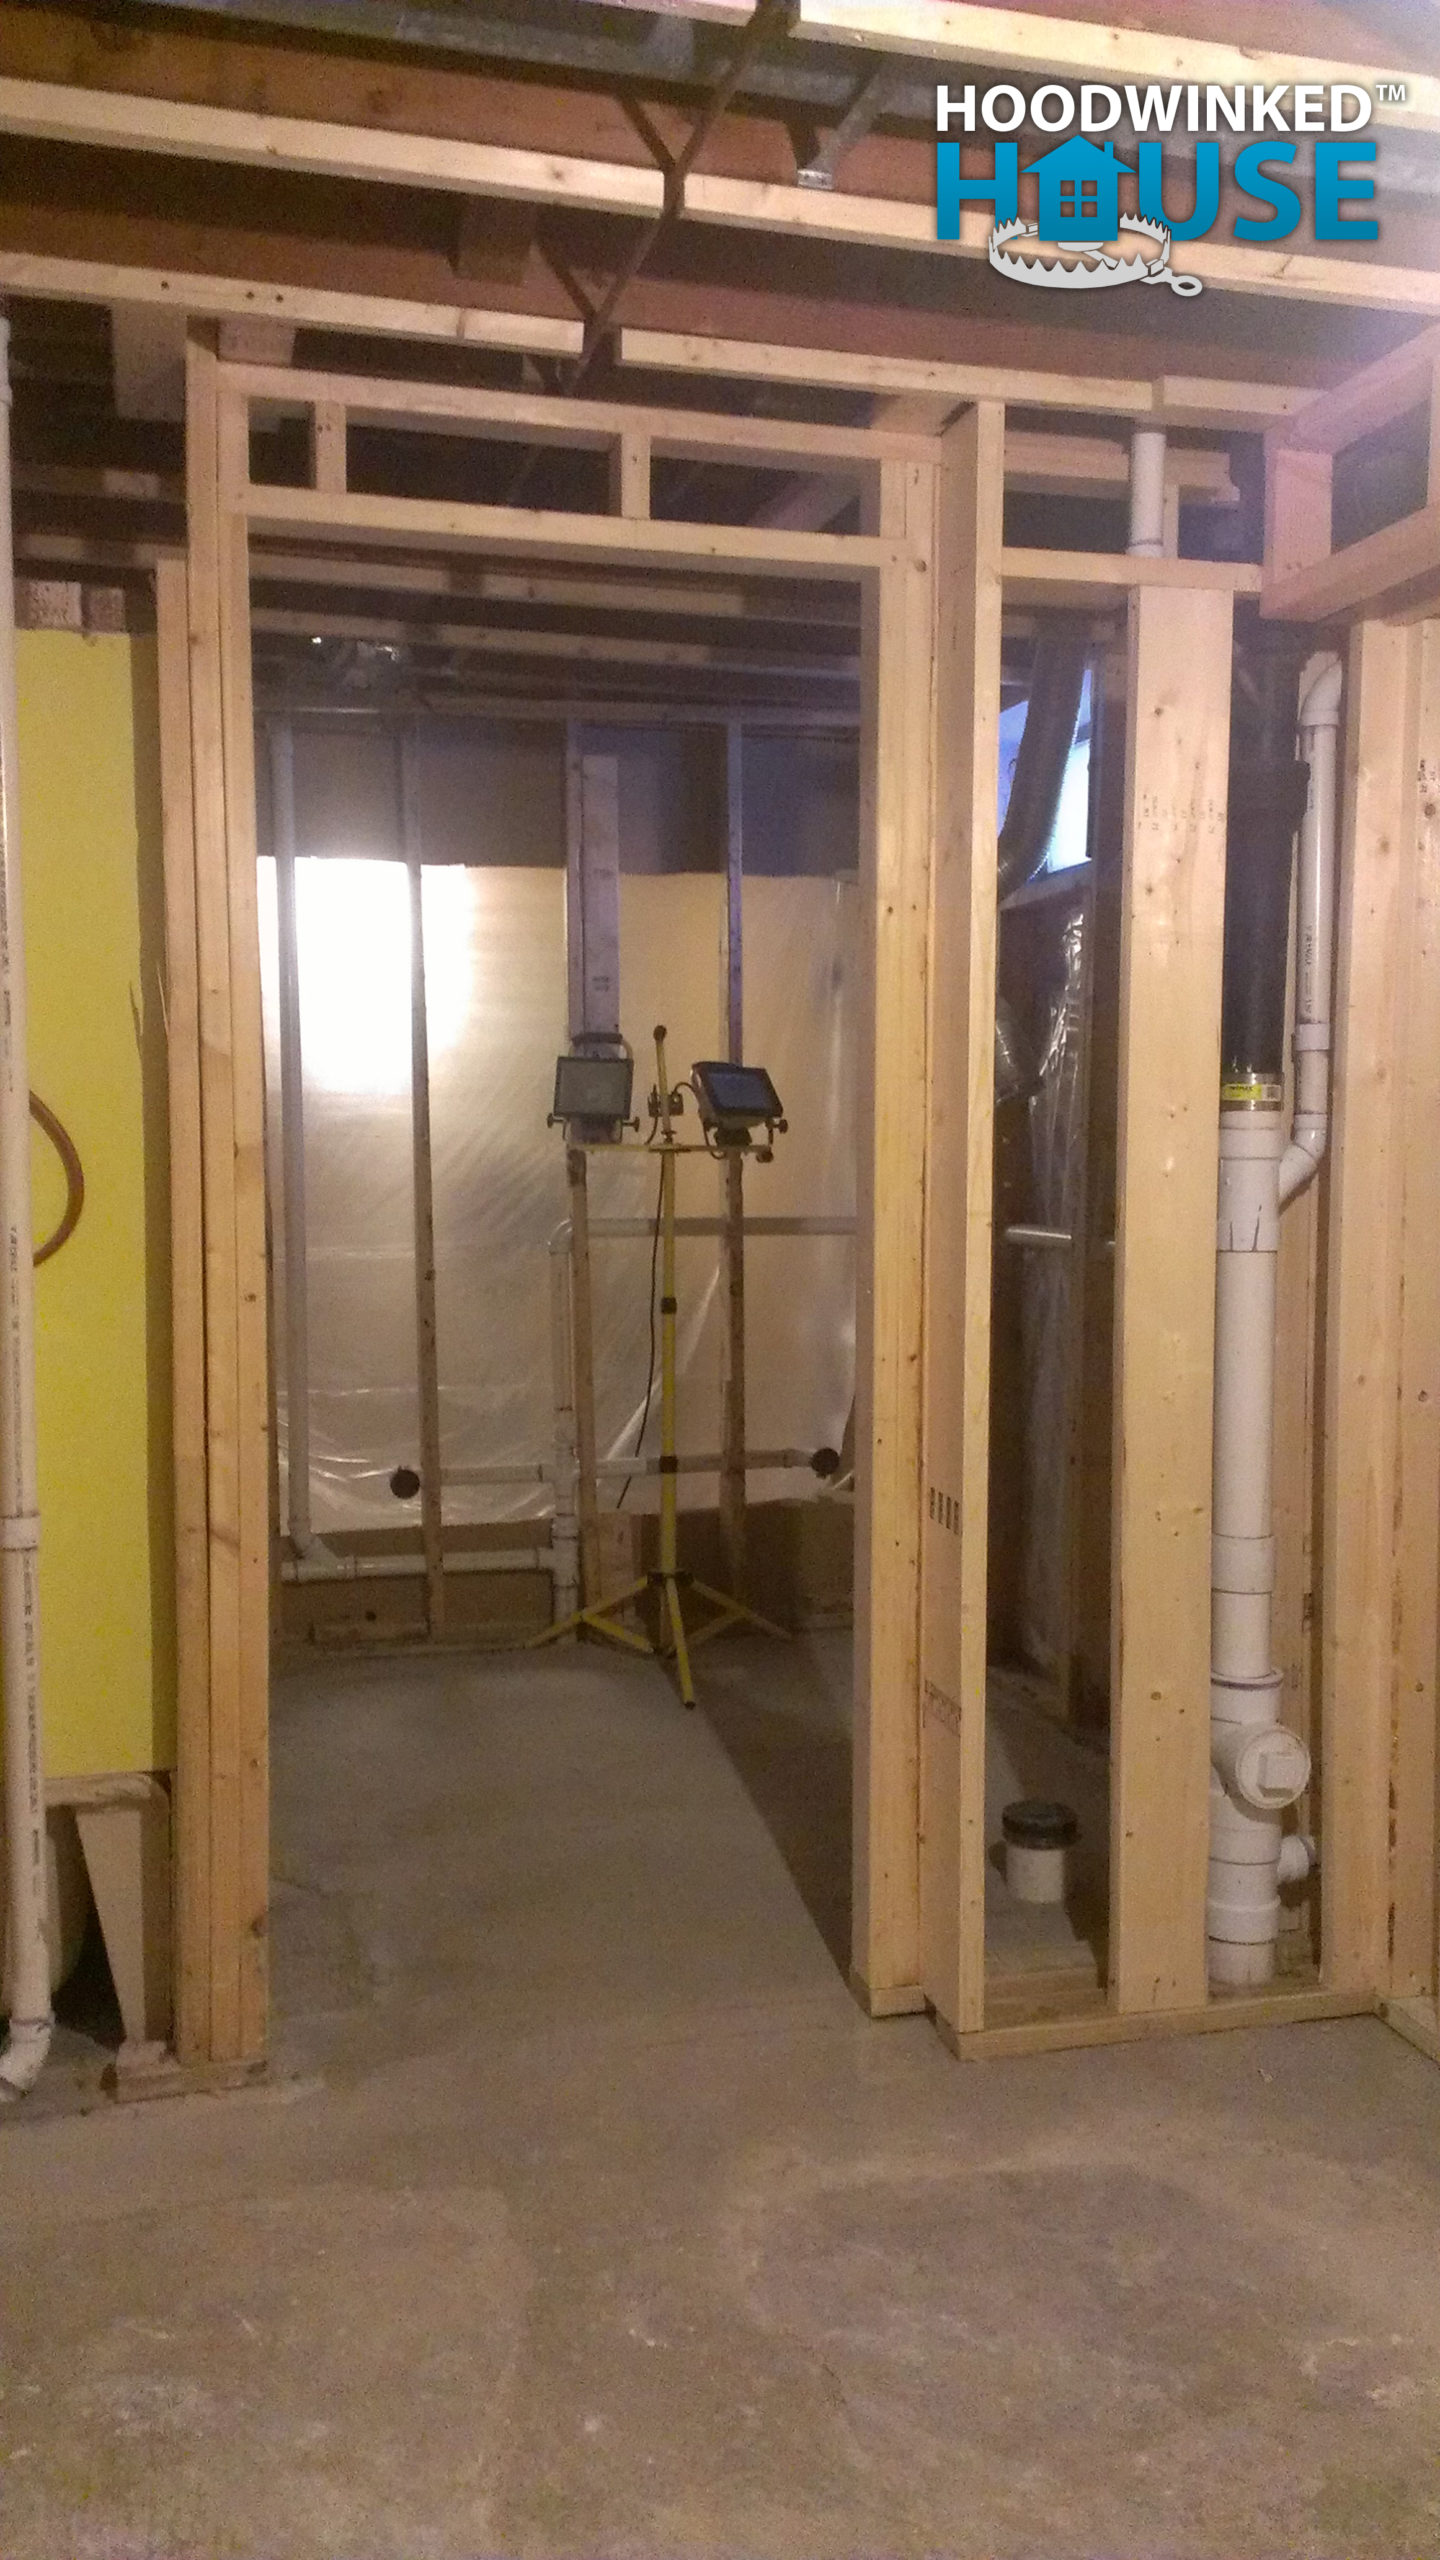
Drips, demolition, and framing
The west wall of the house has tiny eves. This reduces cold air flow, making it easier for ice dams to form on that side of the house. Electric heat tape had been installed to compensate. I also rake the roof regularly.
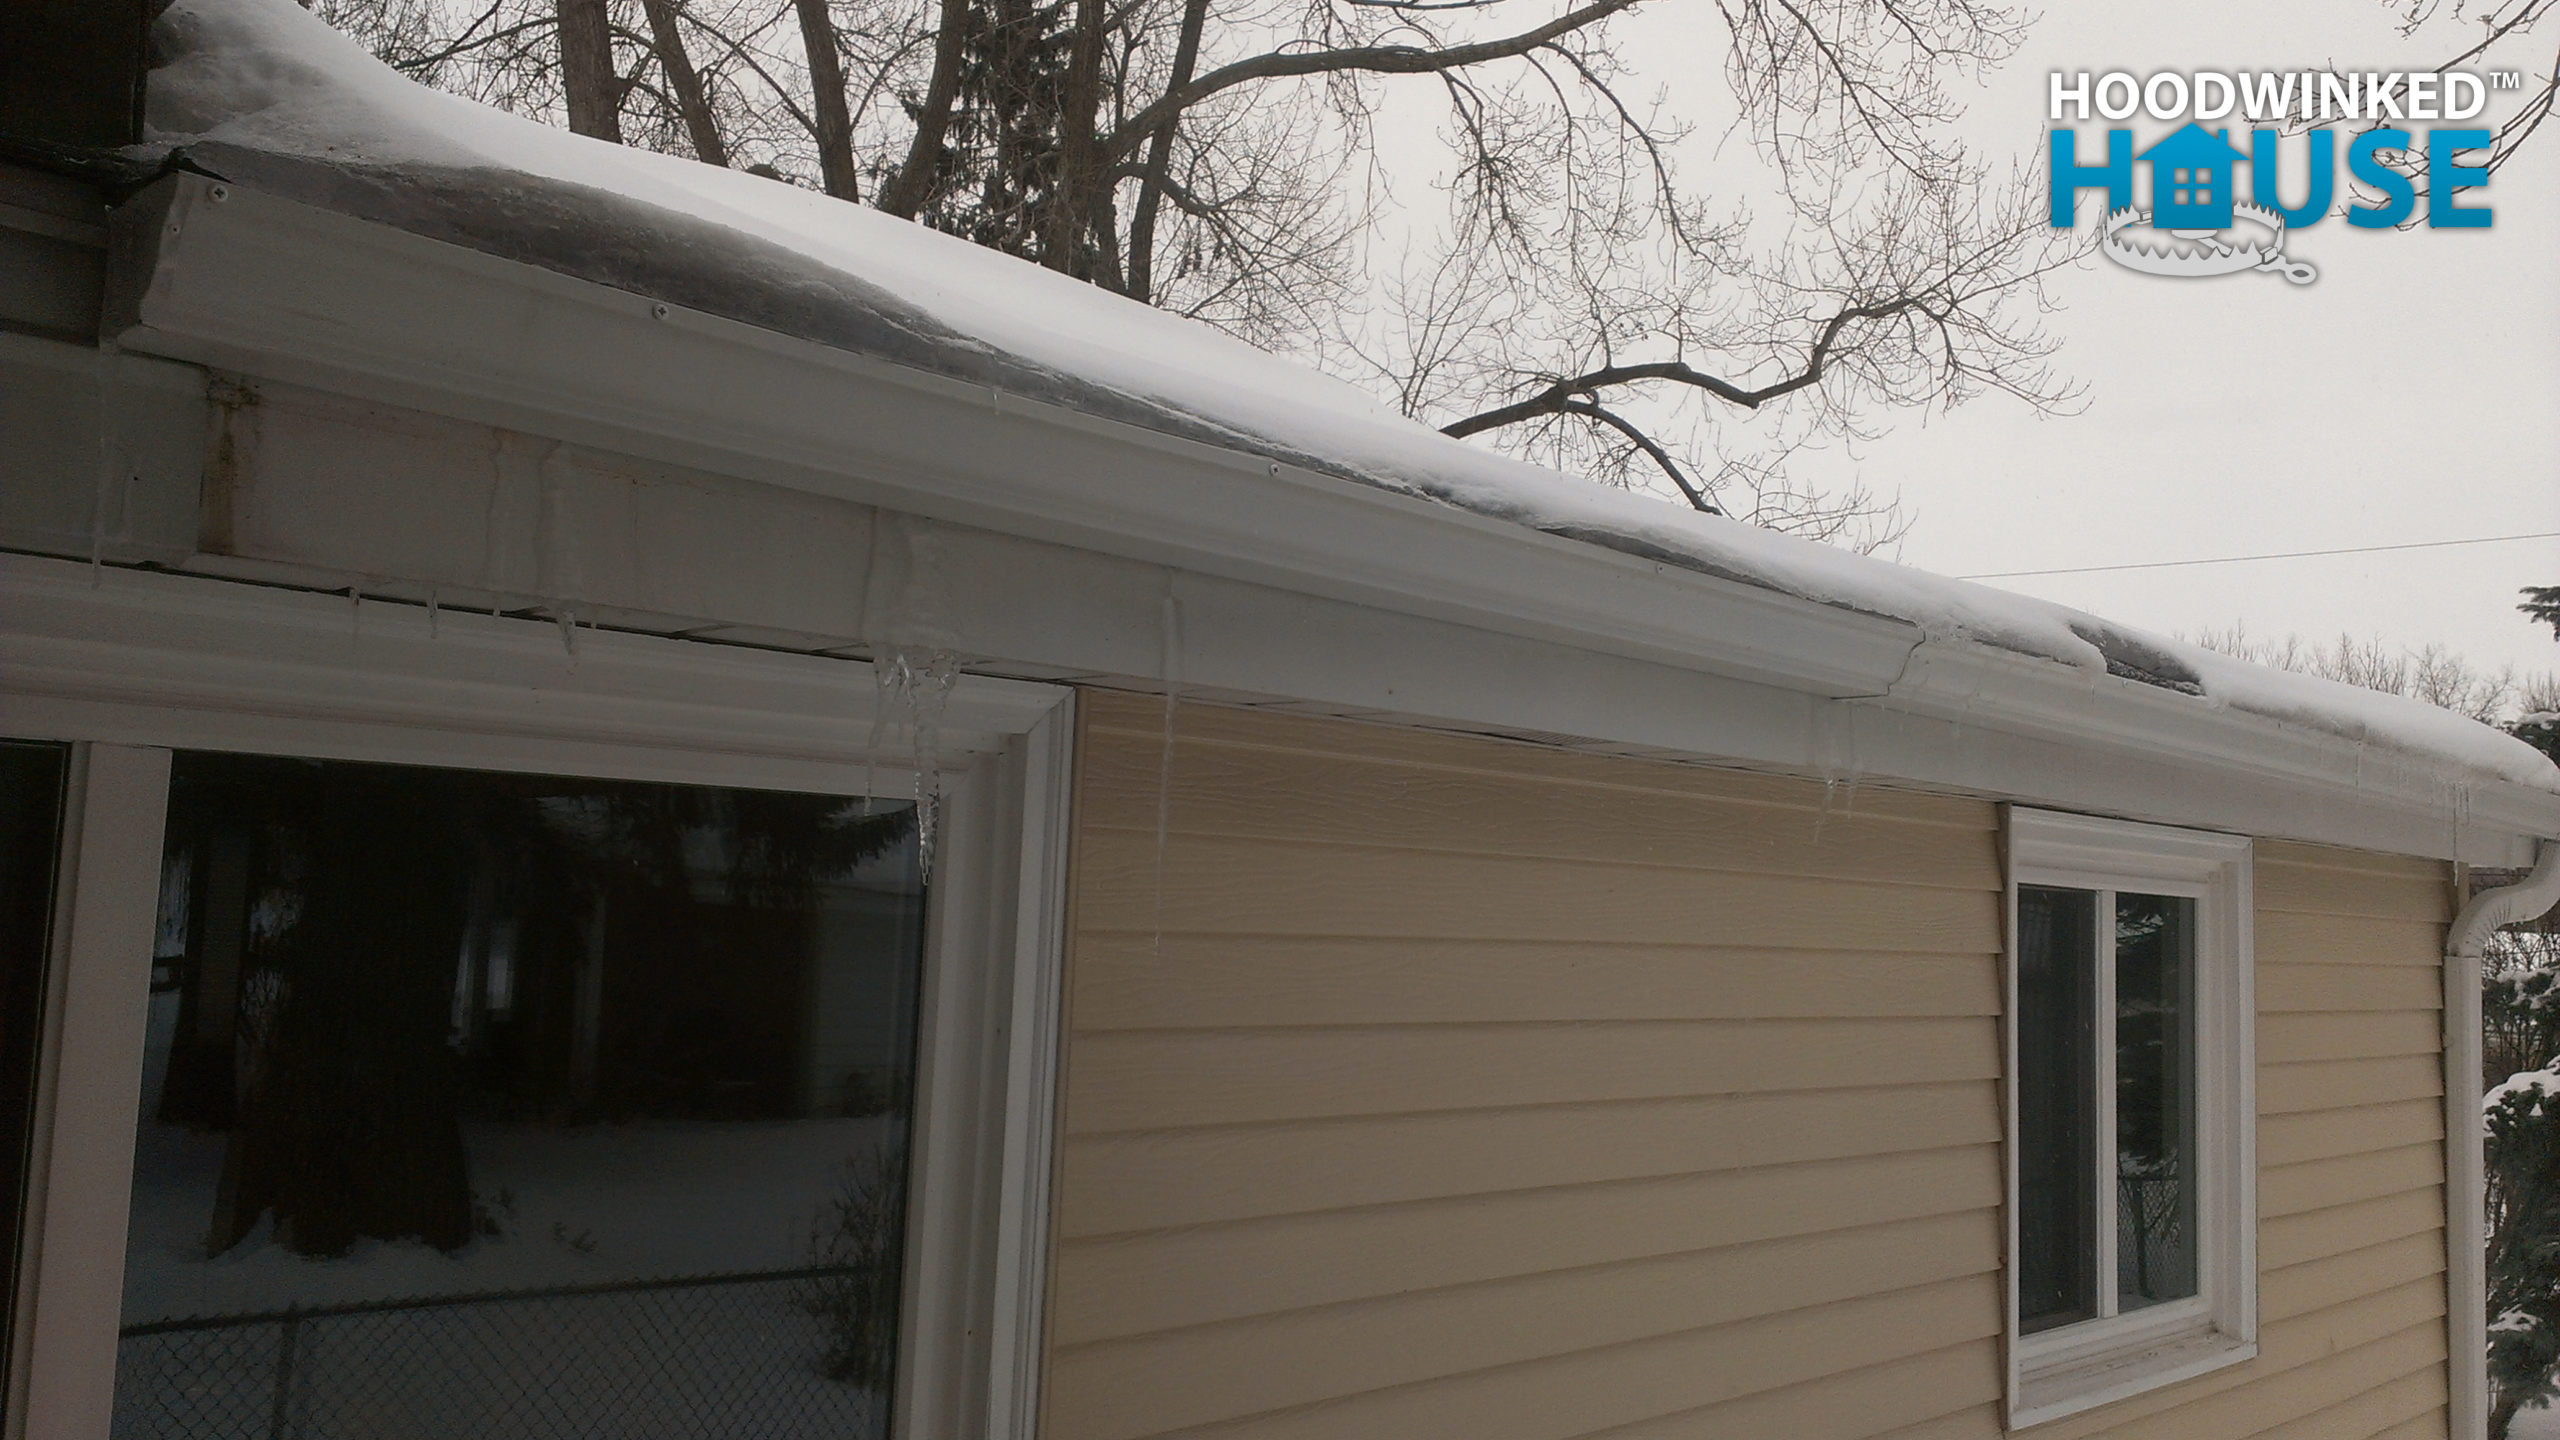
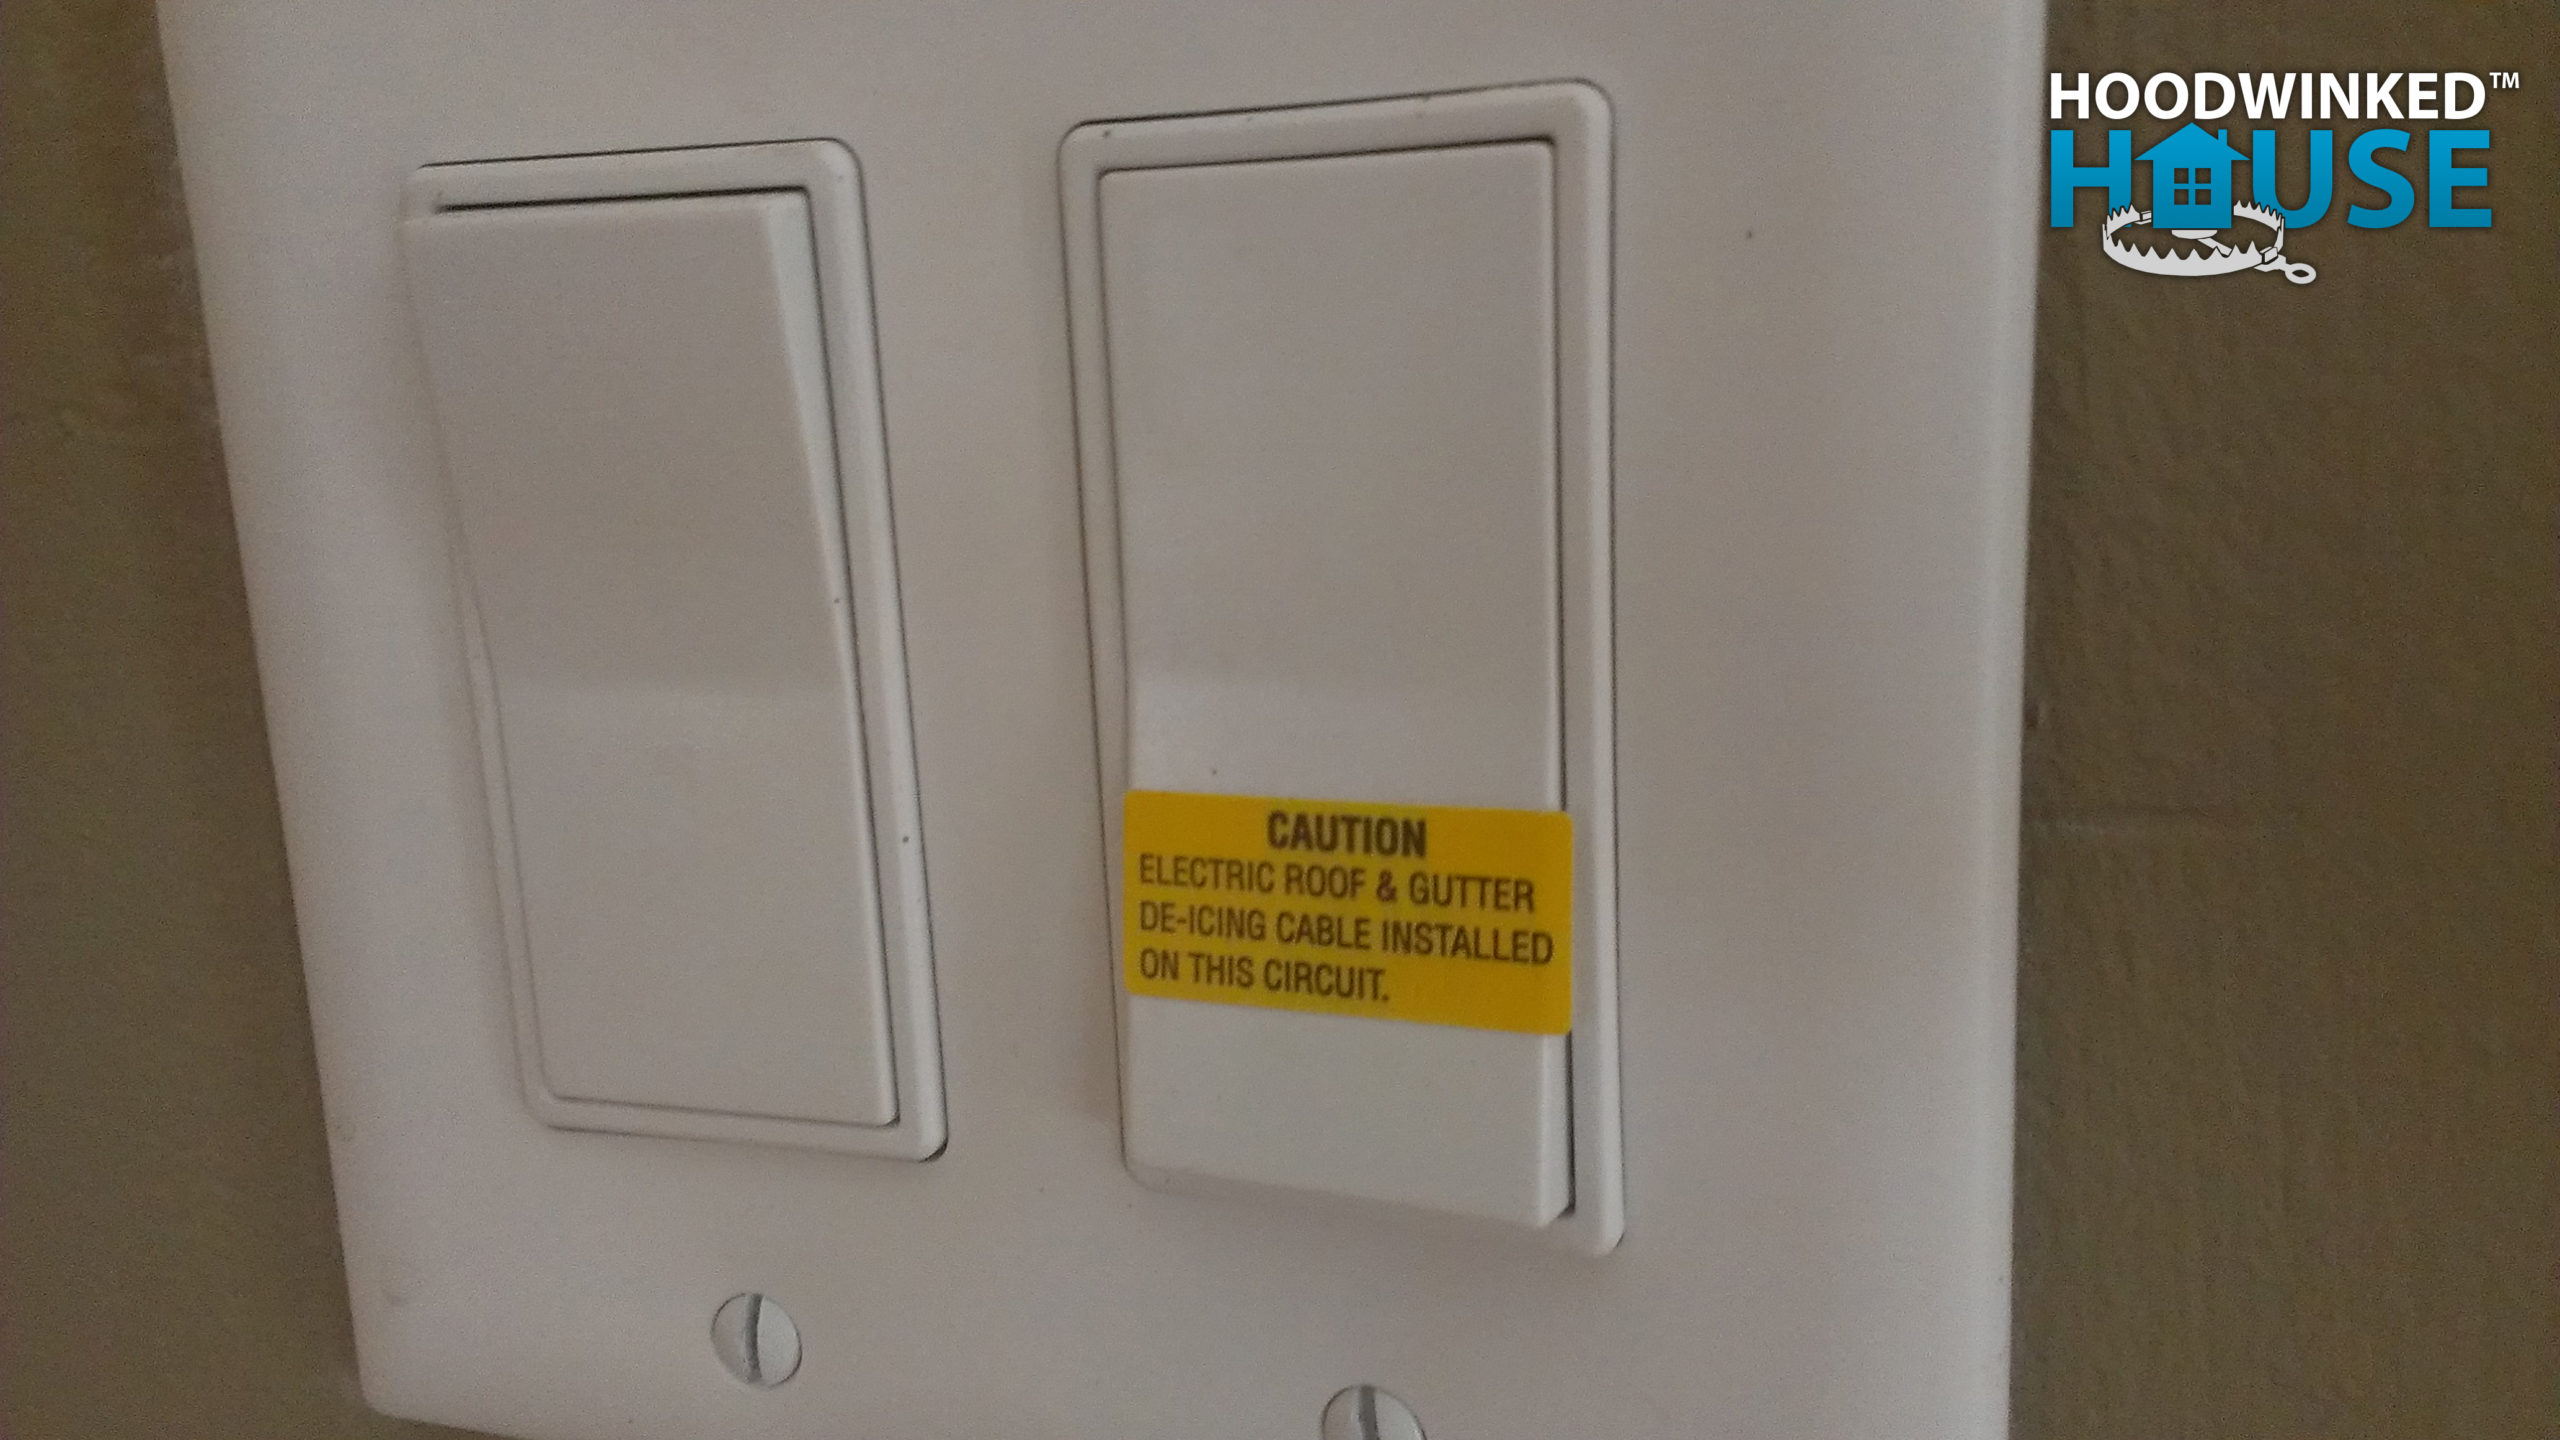
The circuit works fine, but the heat tape turns out to be faulty. Ice dams form and water begins leaking through the bedroom ceiling. It’s clear that the interior soffit has been drywalled recently, and I begin to suspect that the flipper intentionally hid additional problems.
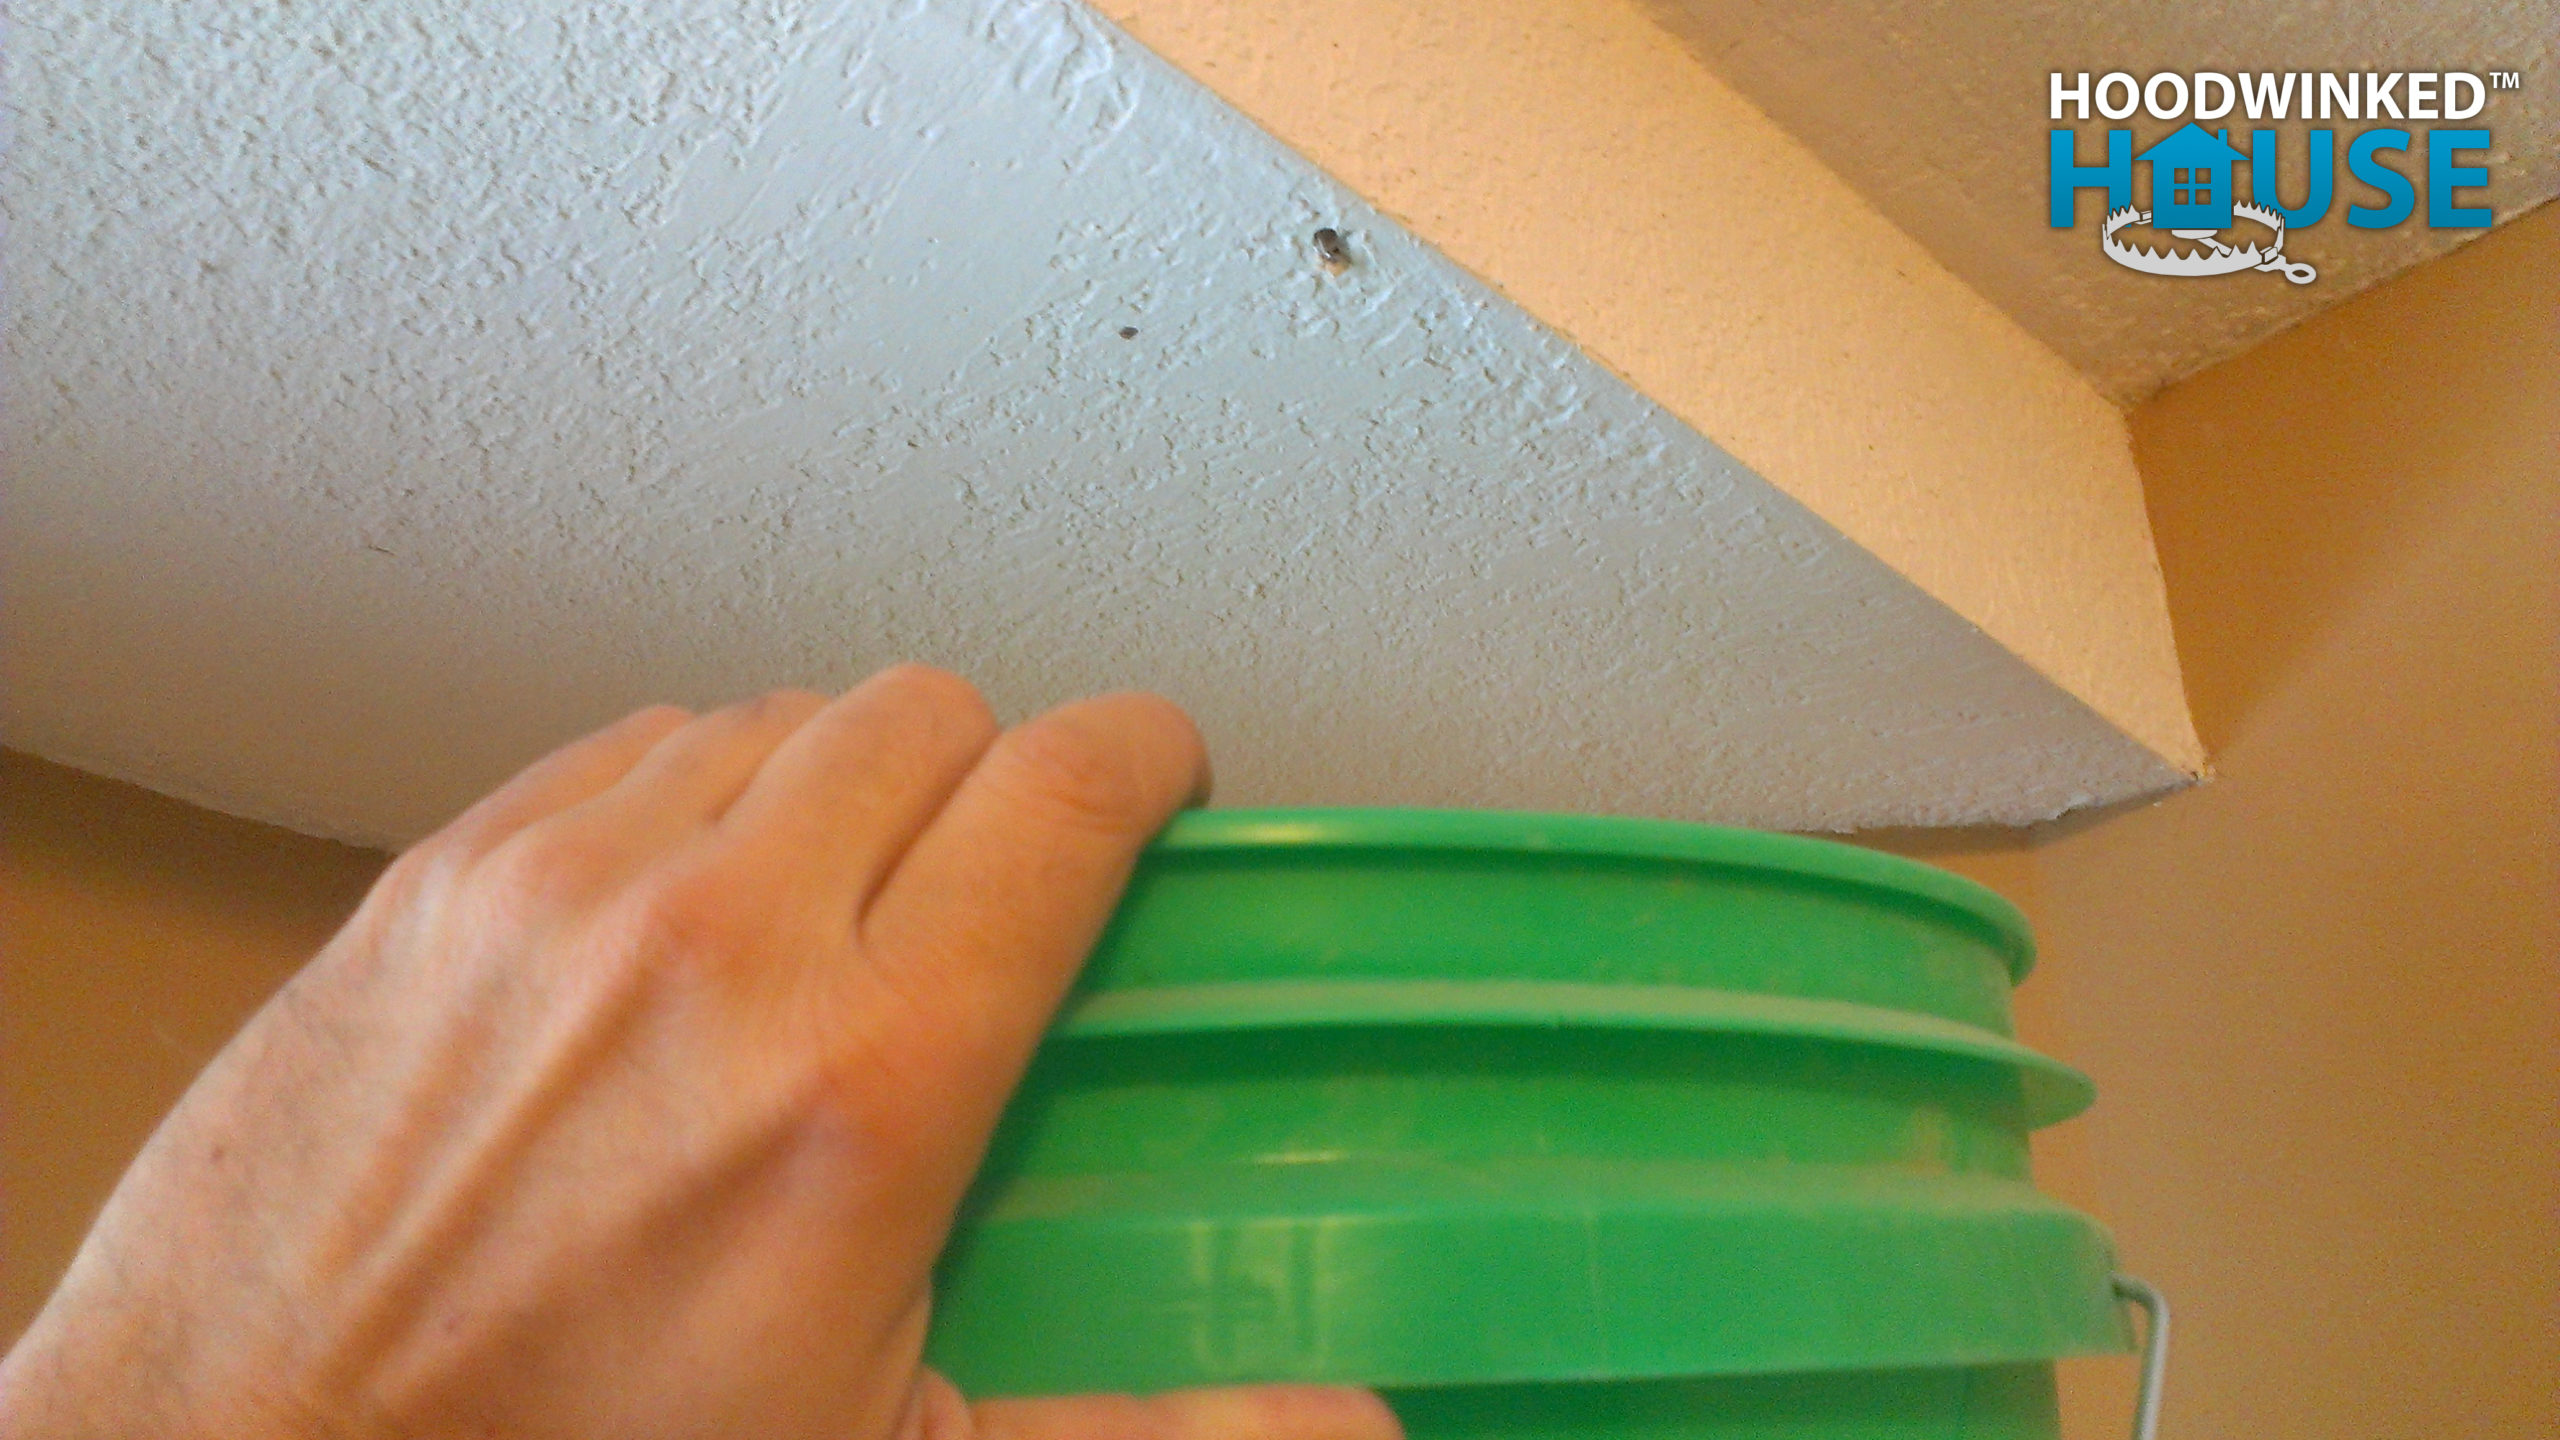
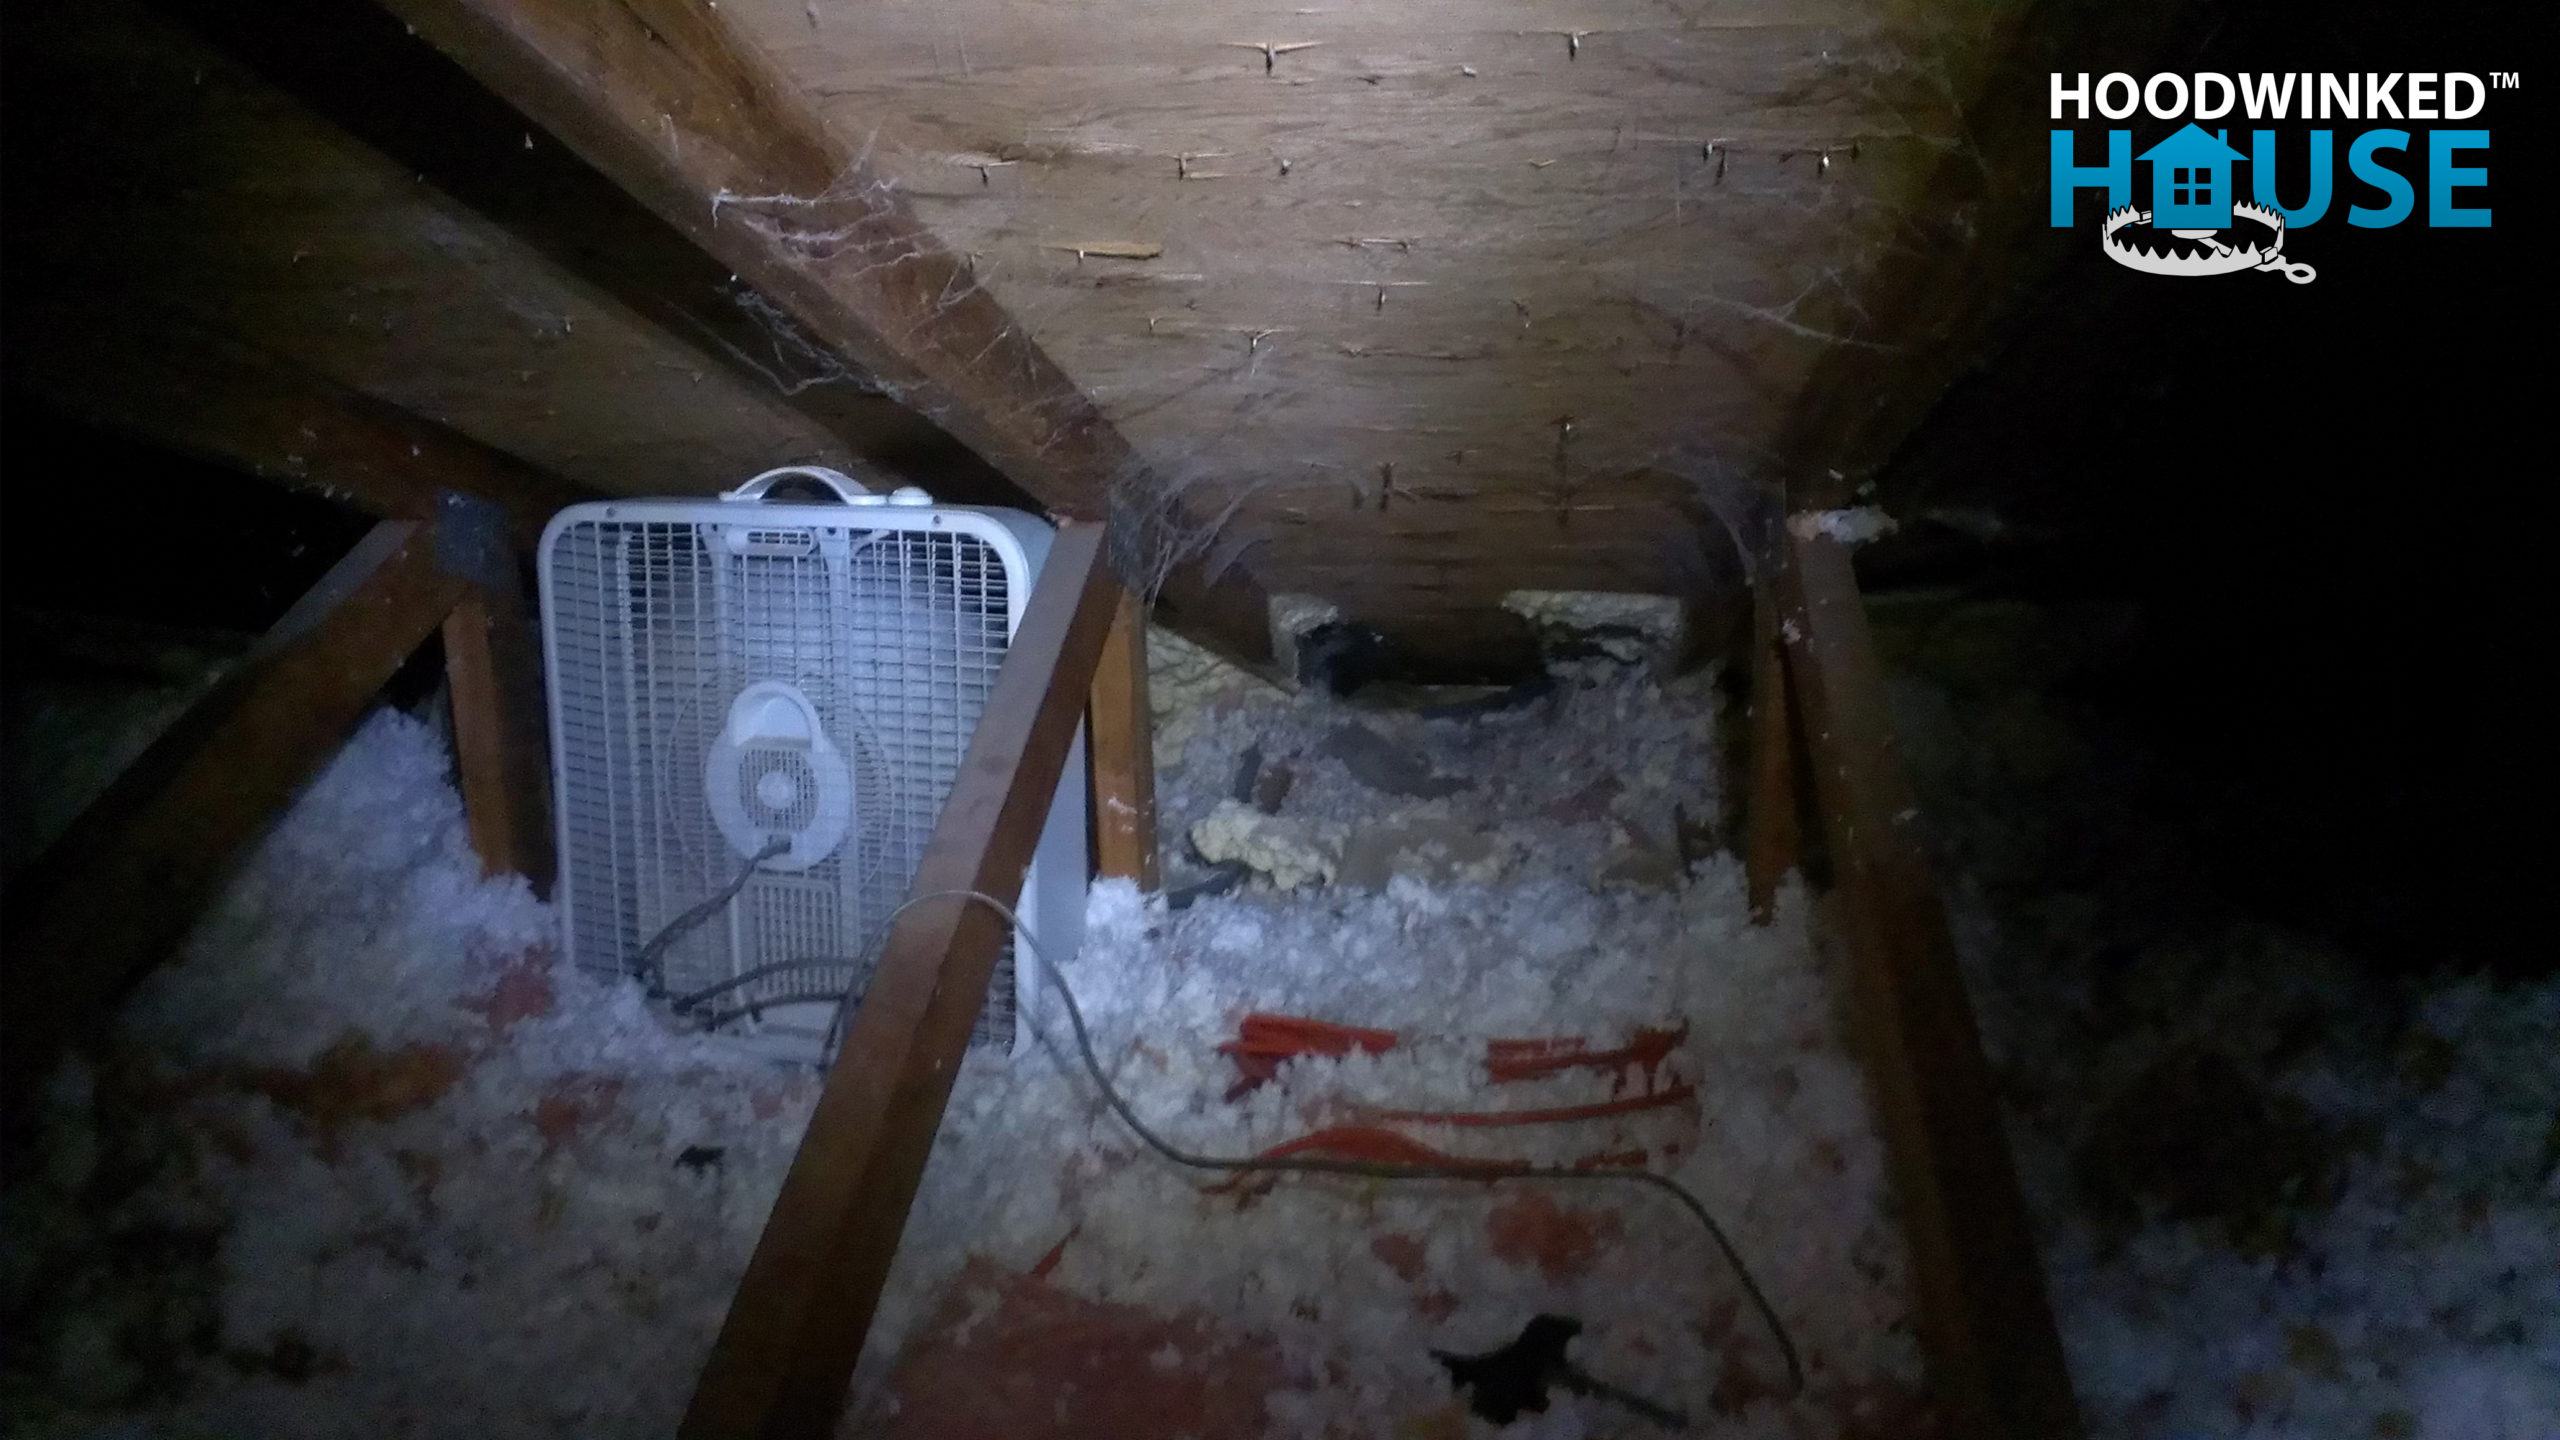
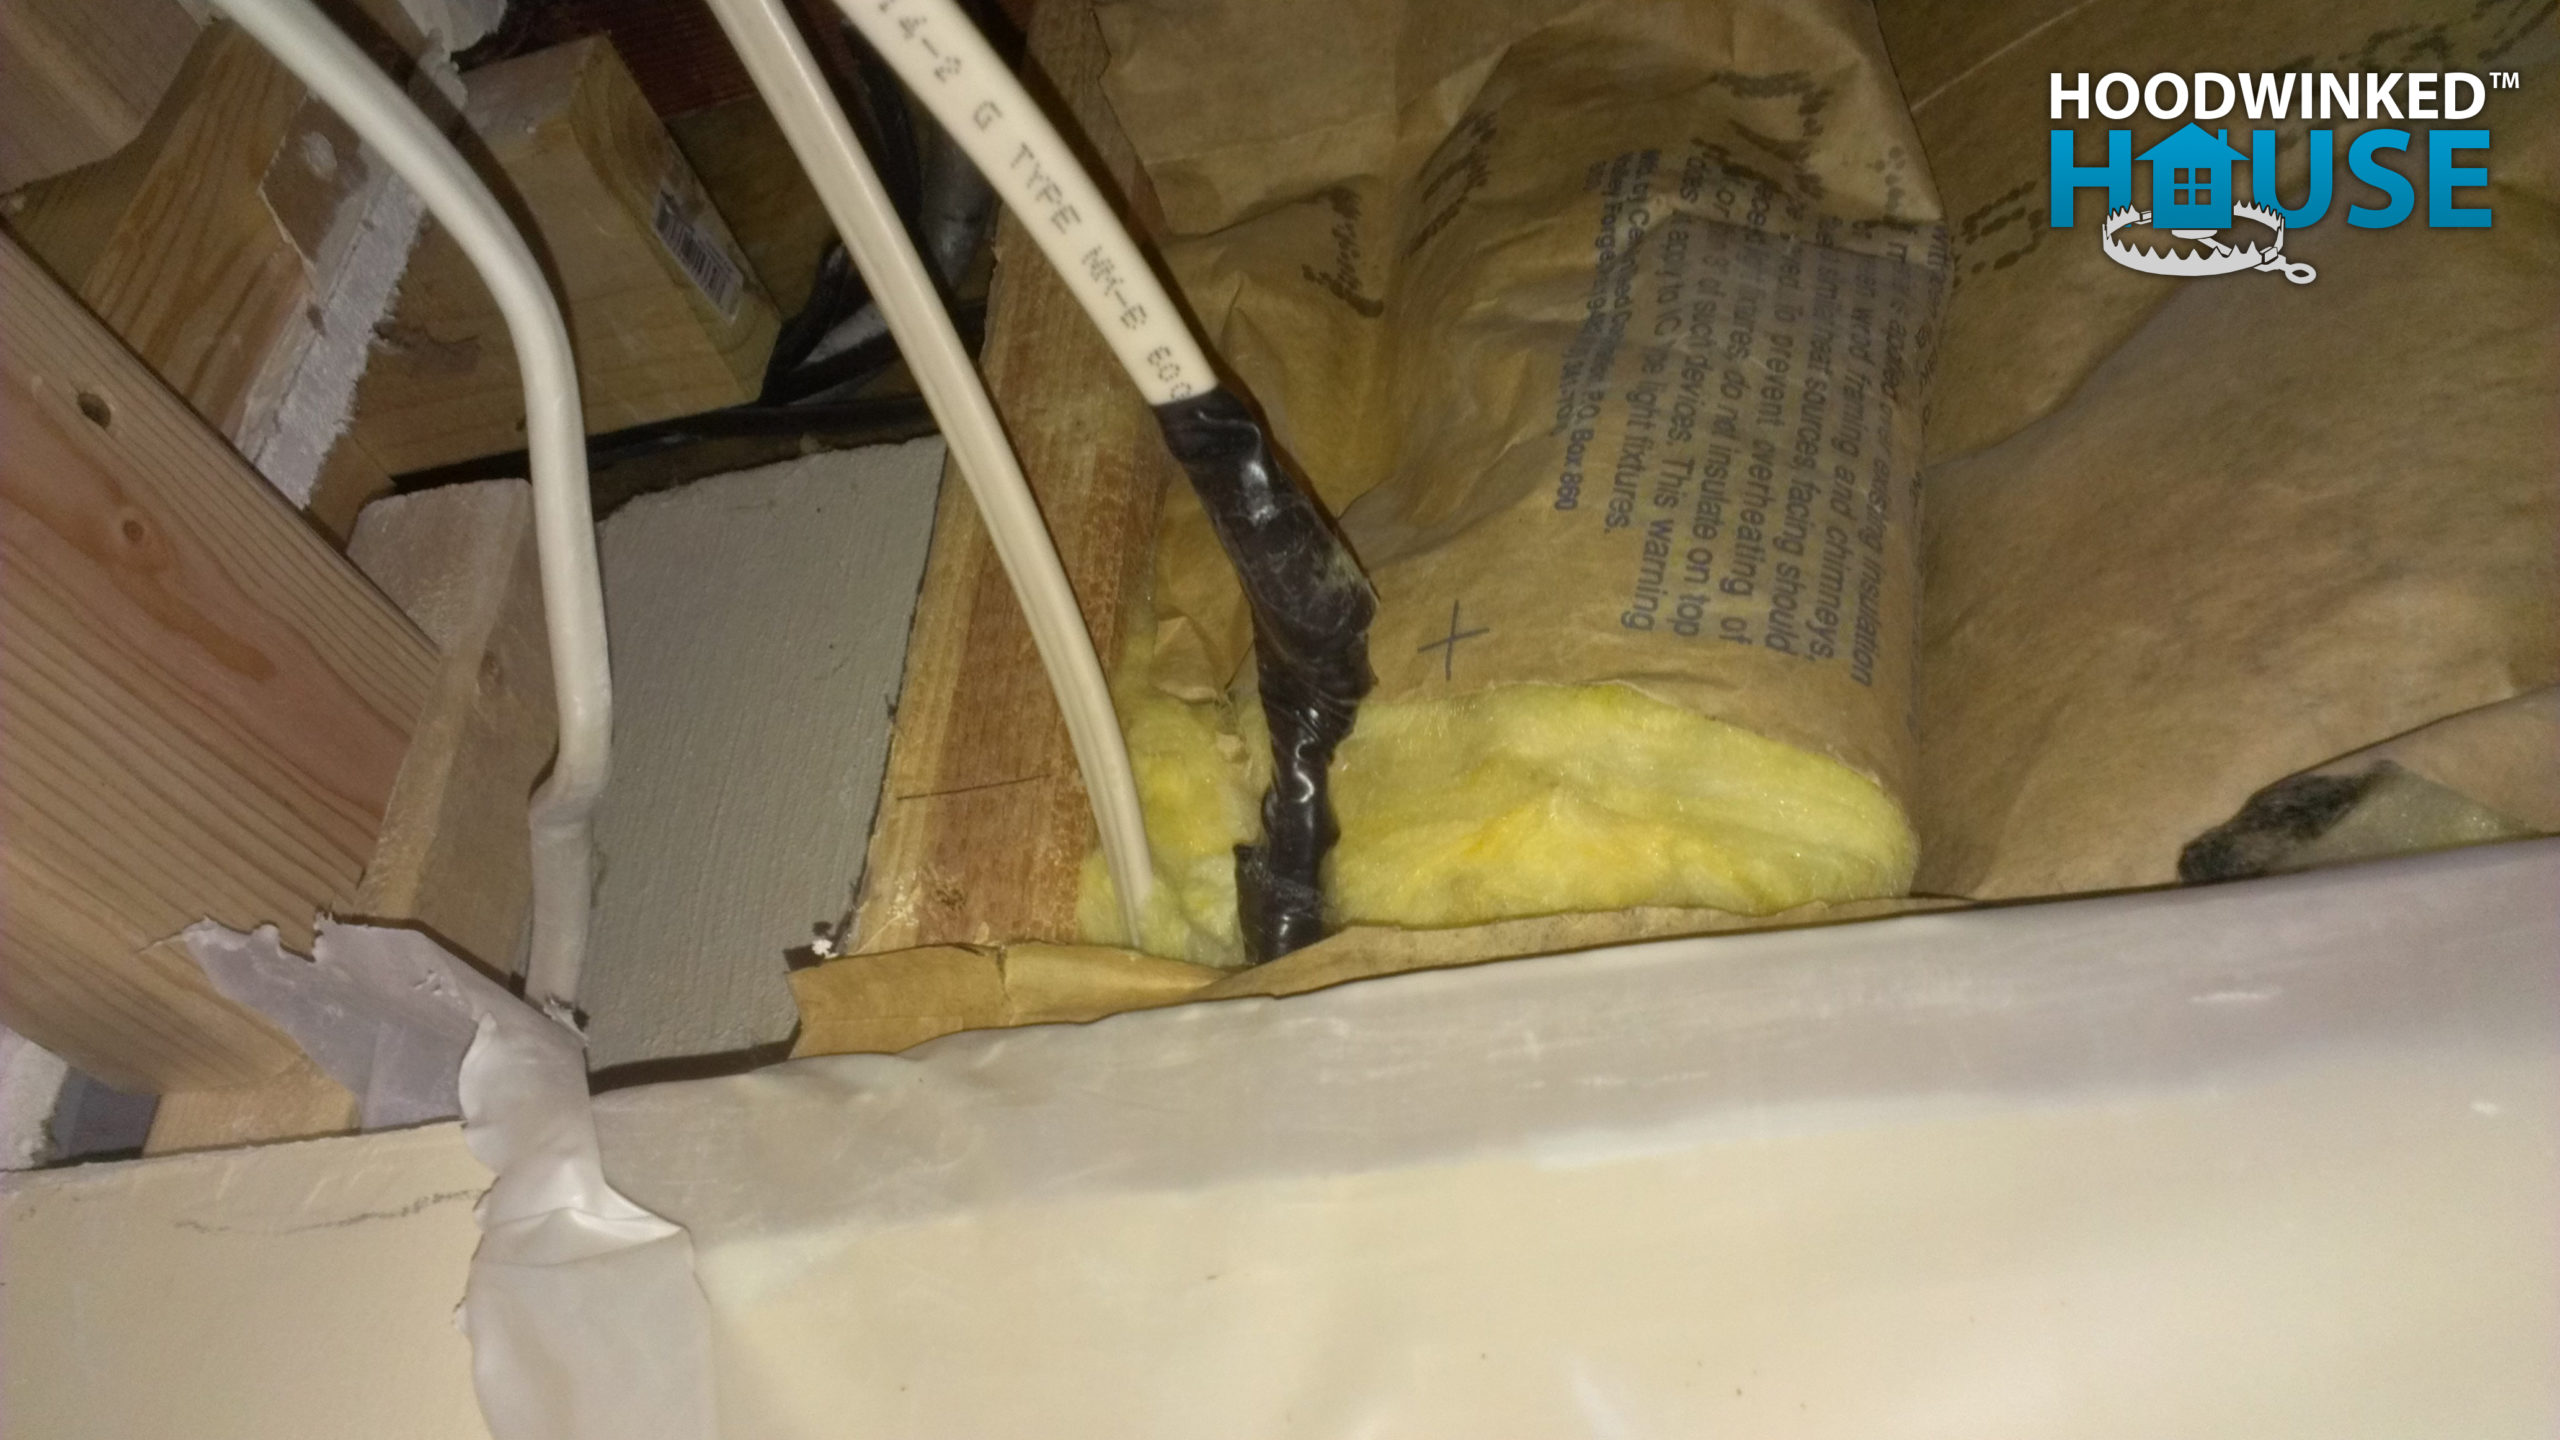
I place a box fan in the attic to blow away the warm air and re-freeze the ice dams. In this photo you can also see that someone had previously used yellow spray foam insulation to try to plug up ice dam leaks.
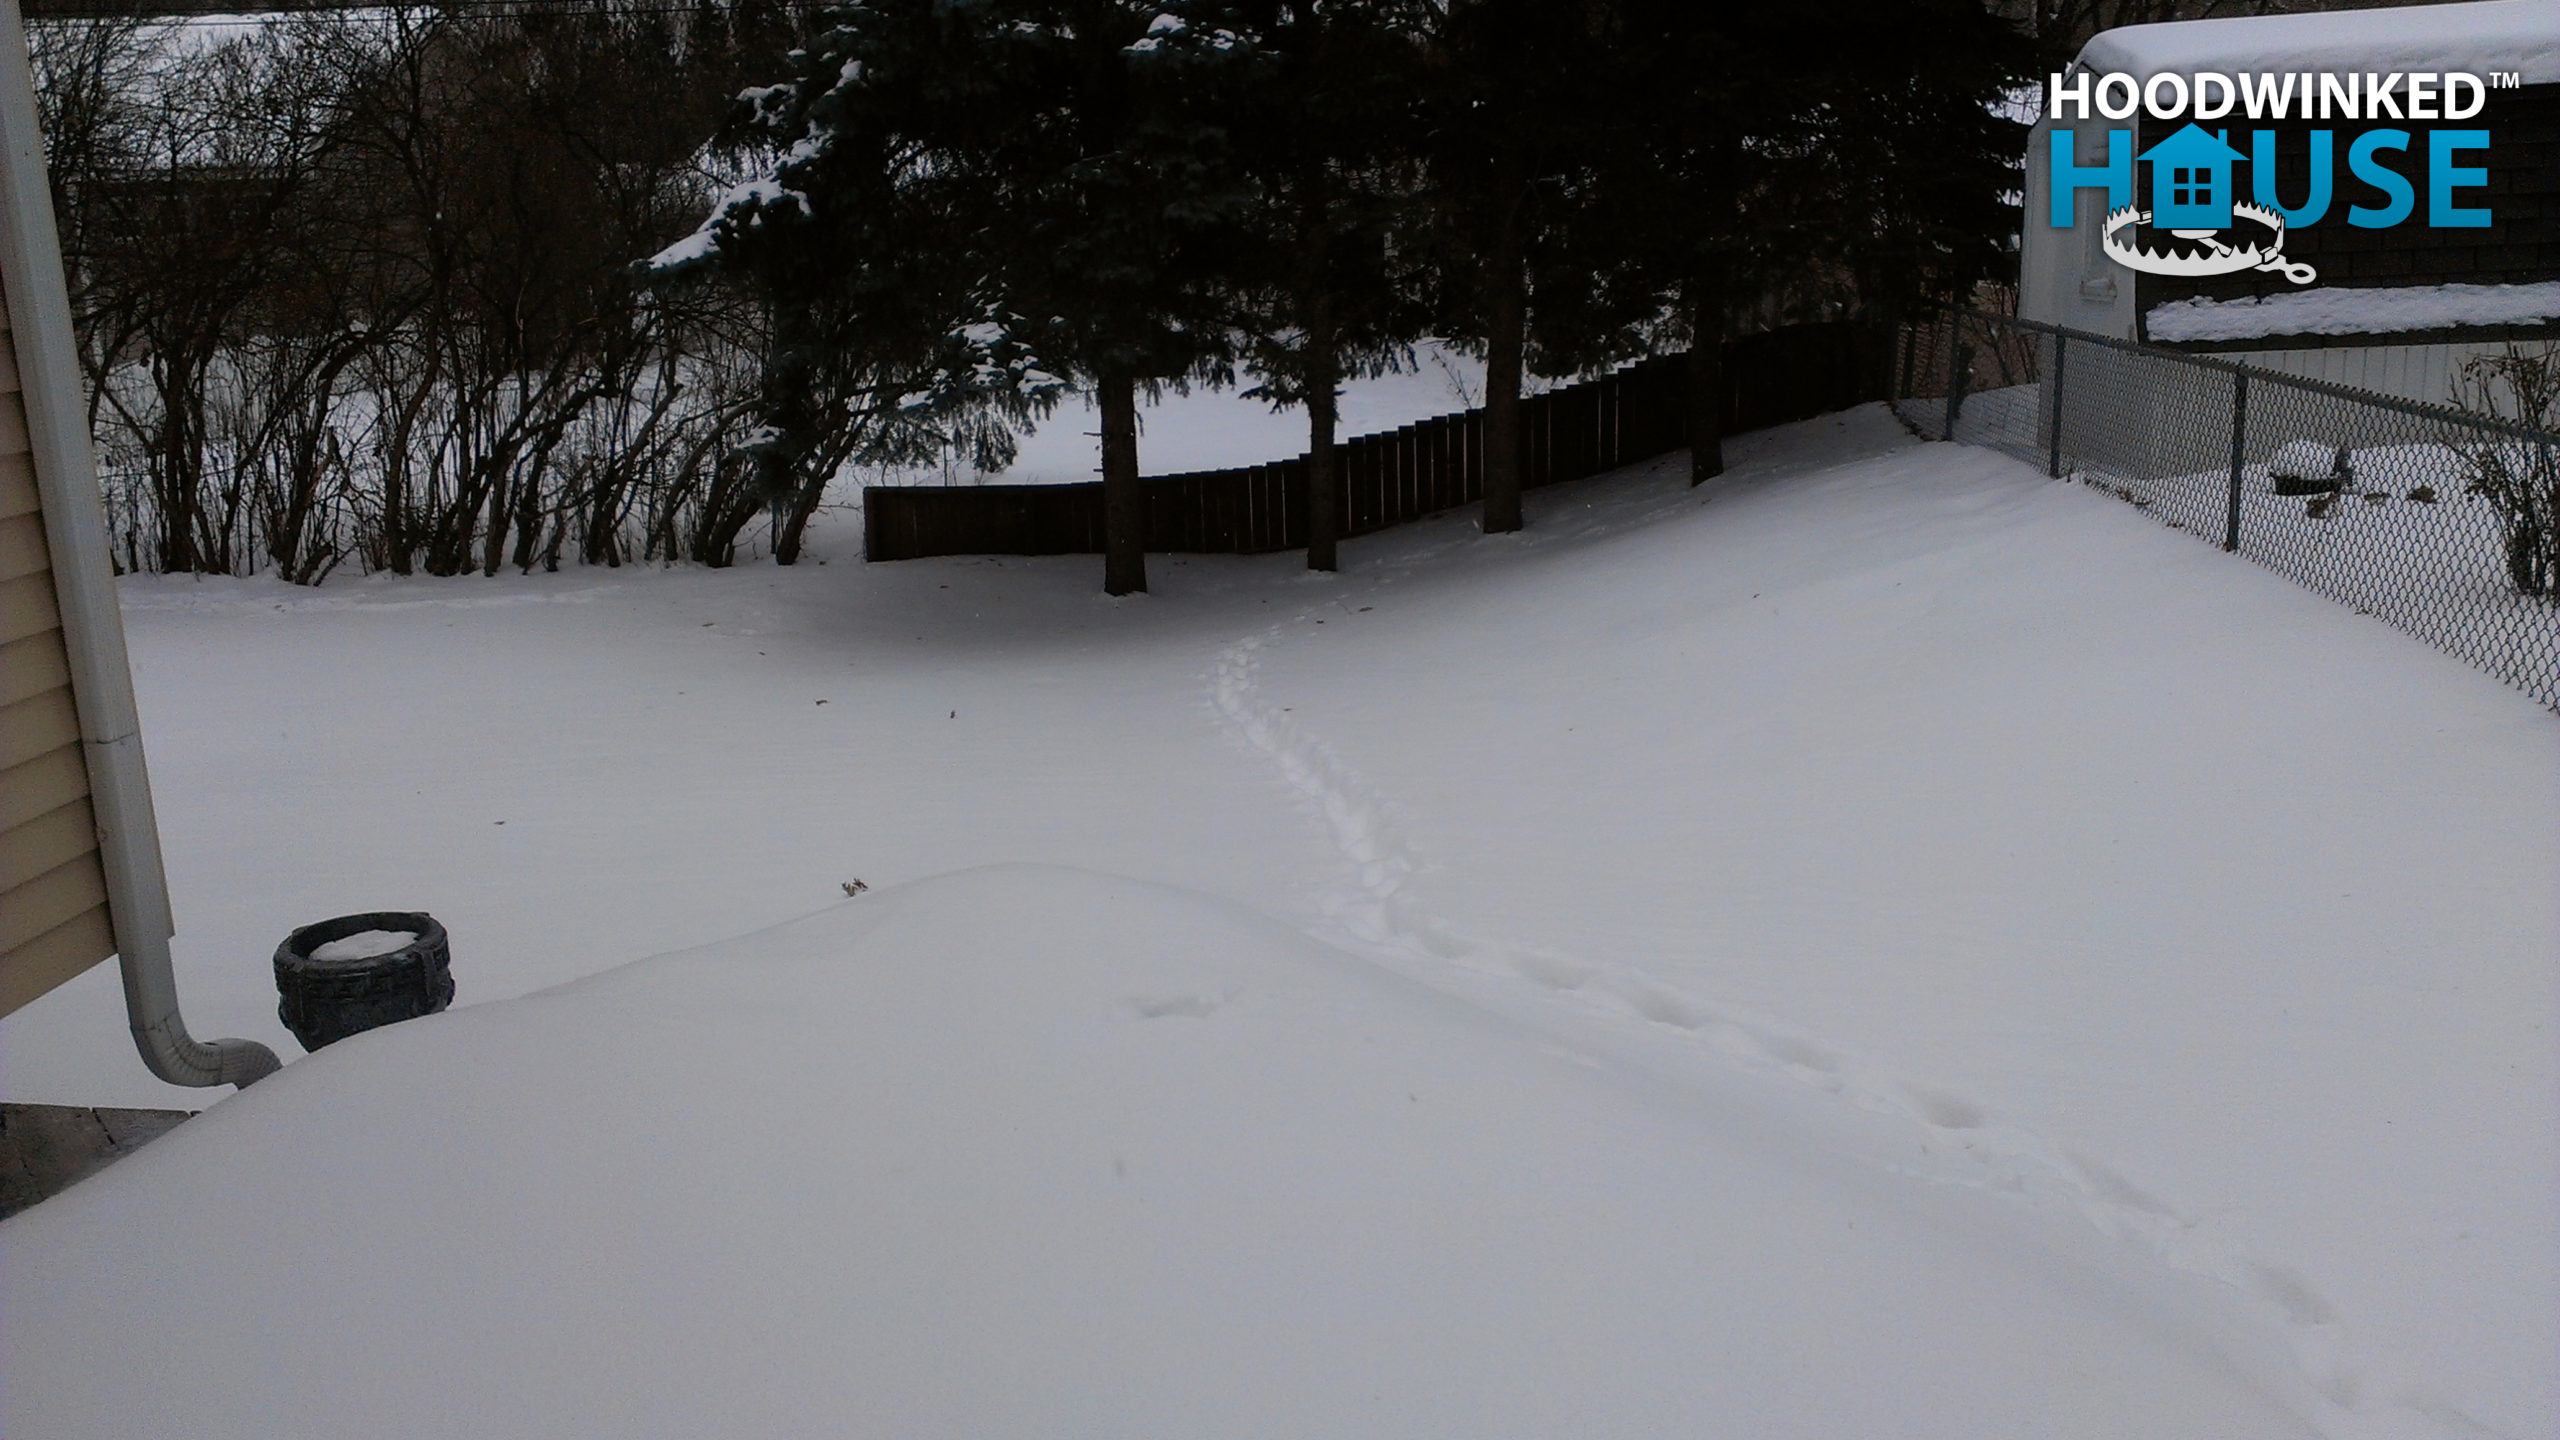
While in the attic, I discover more raccoon feces. I’m unable to tell if this is new or simply overlooked from before. However, I spot tracks from my house to a tree in the back yard, raising my suspicion that the raccoons have returned.
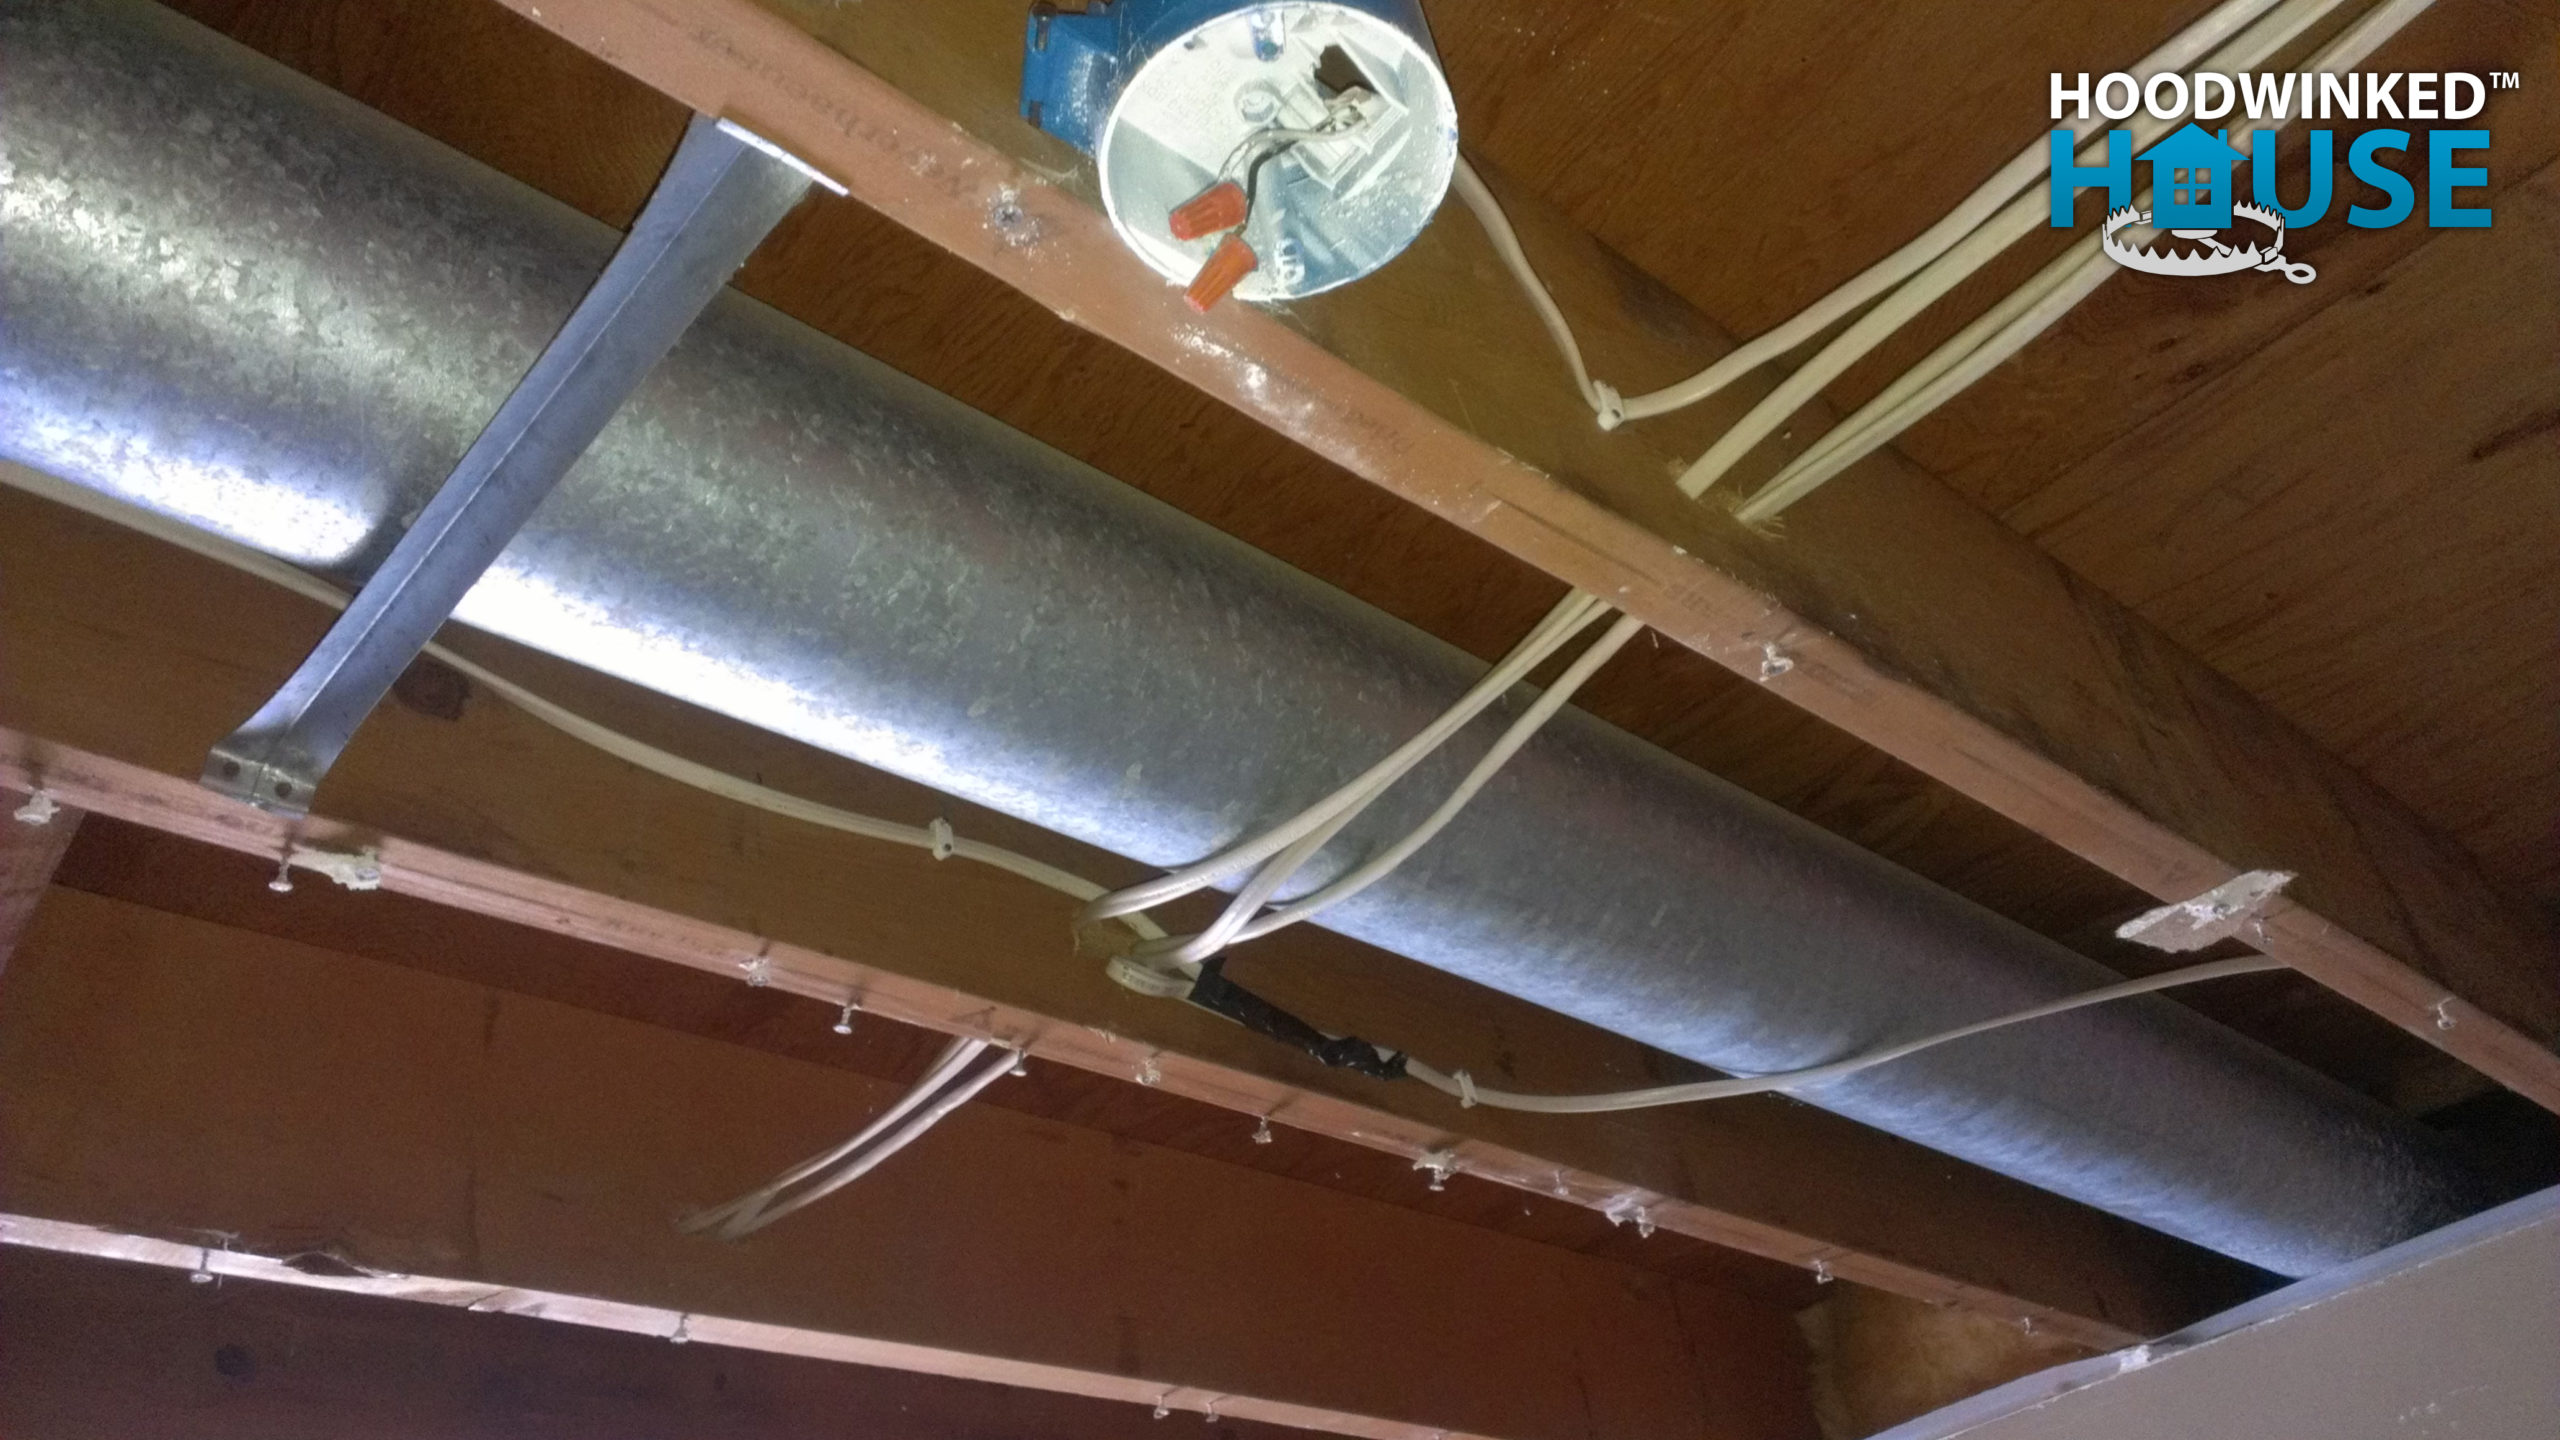
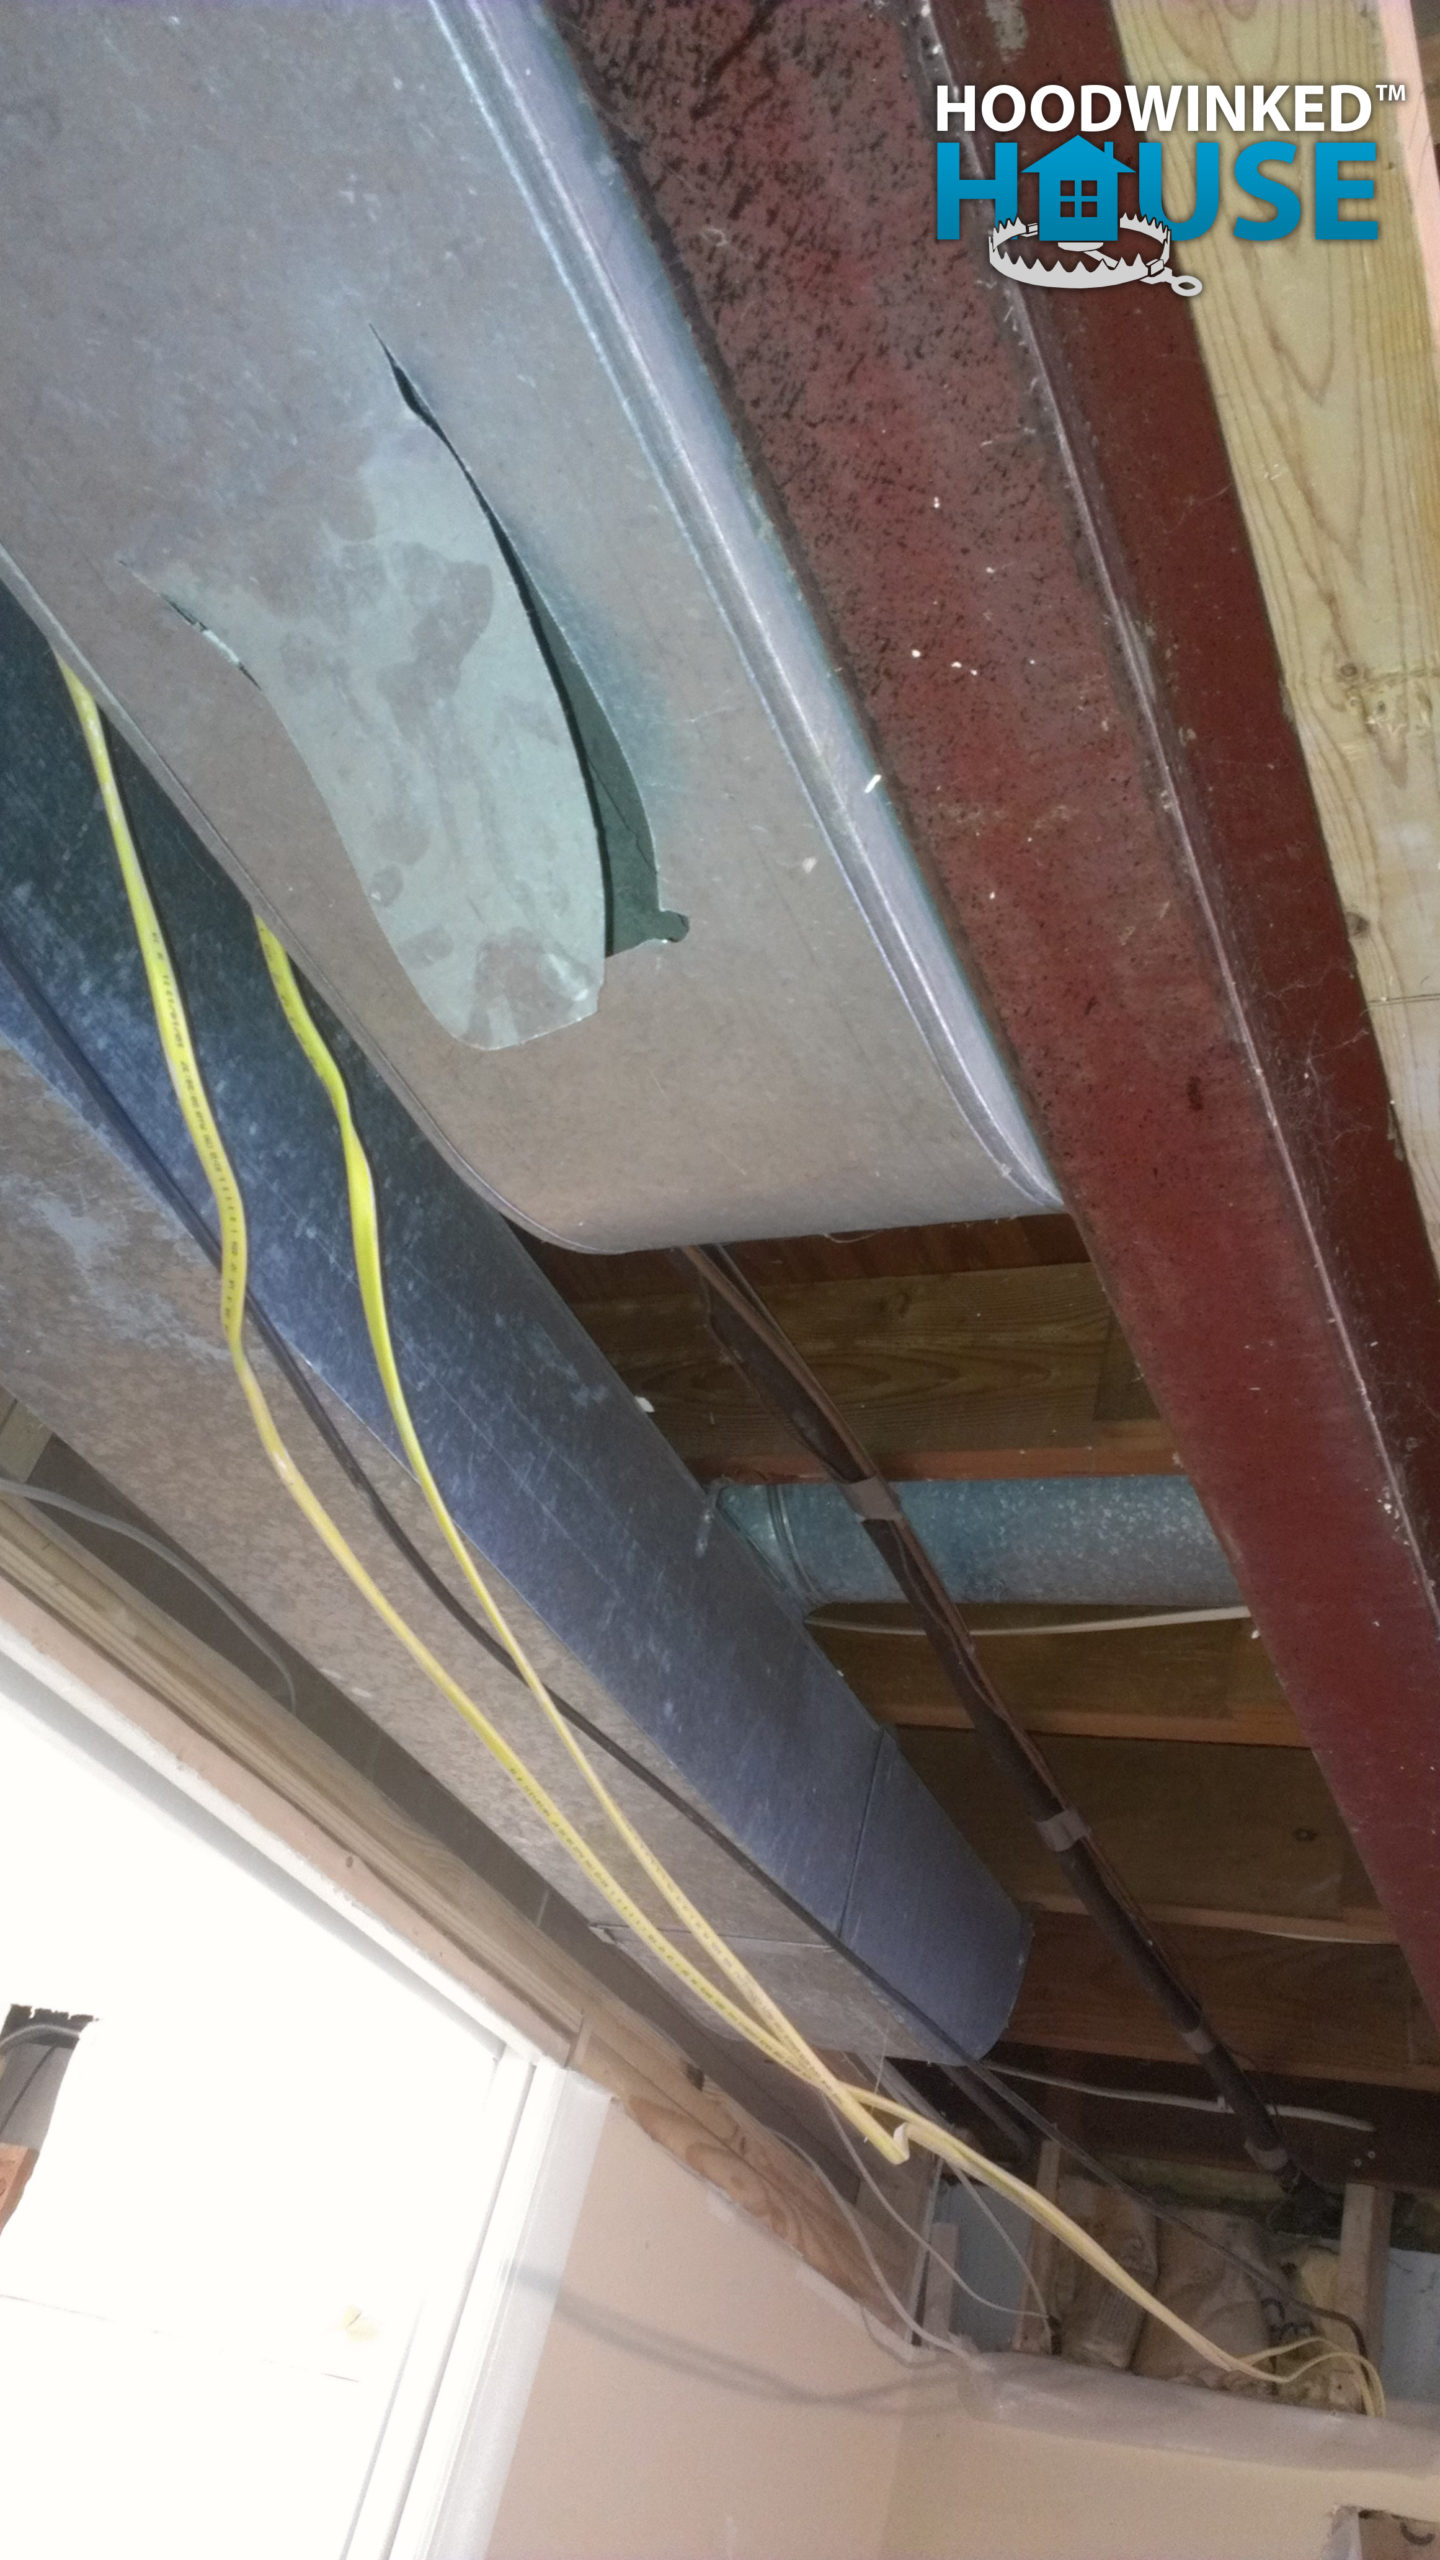
Meanwhile, Walter Sullivan, Harry Sullivan, and Frosty demolish the rest of the master bedroom ceiling.
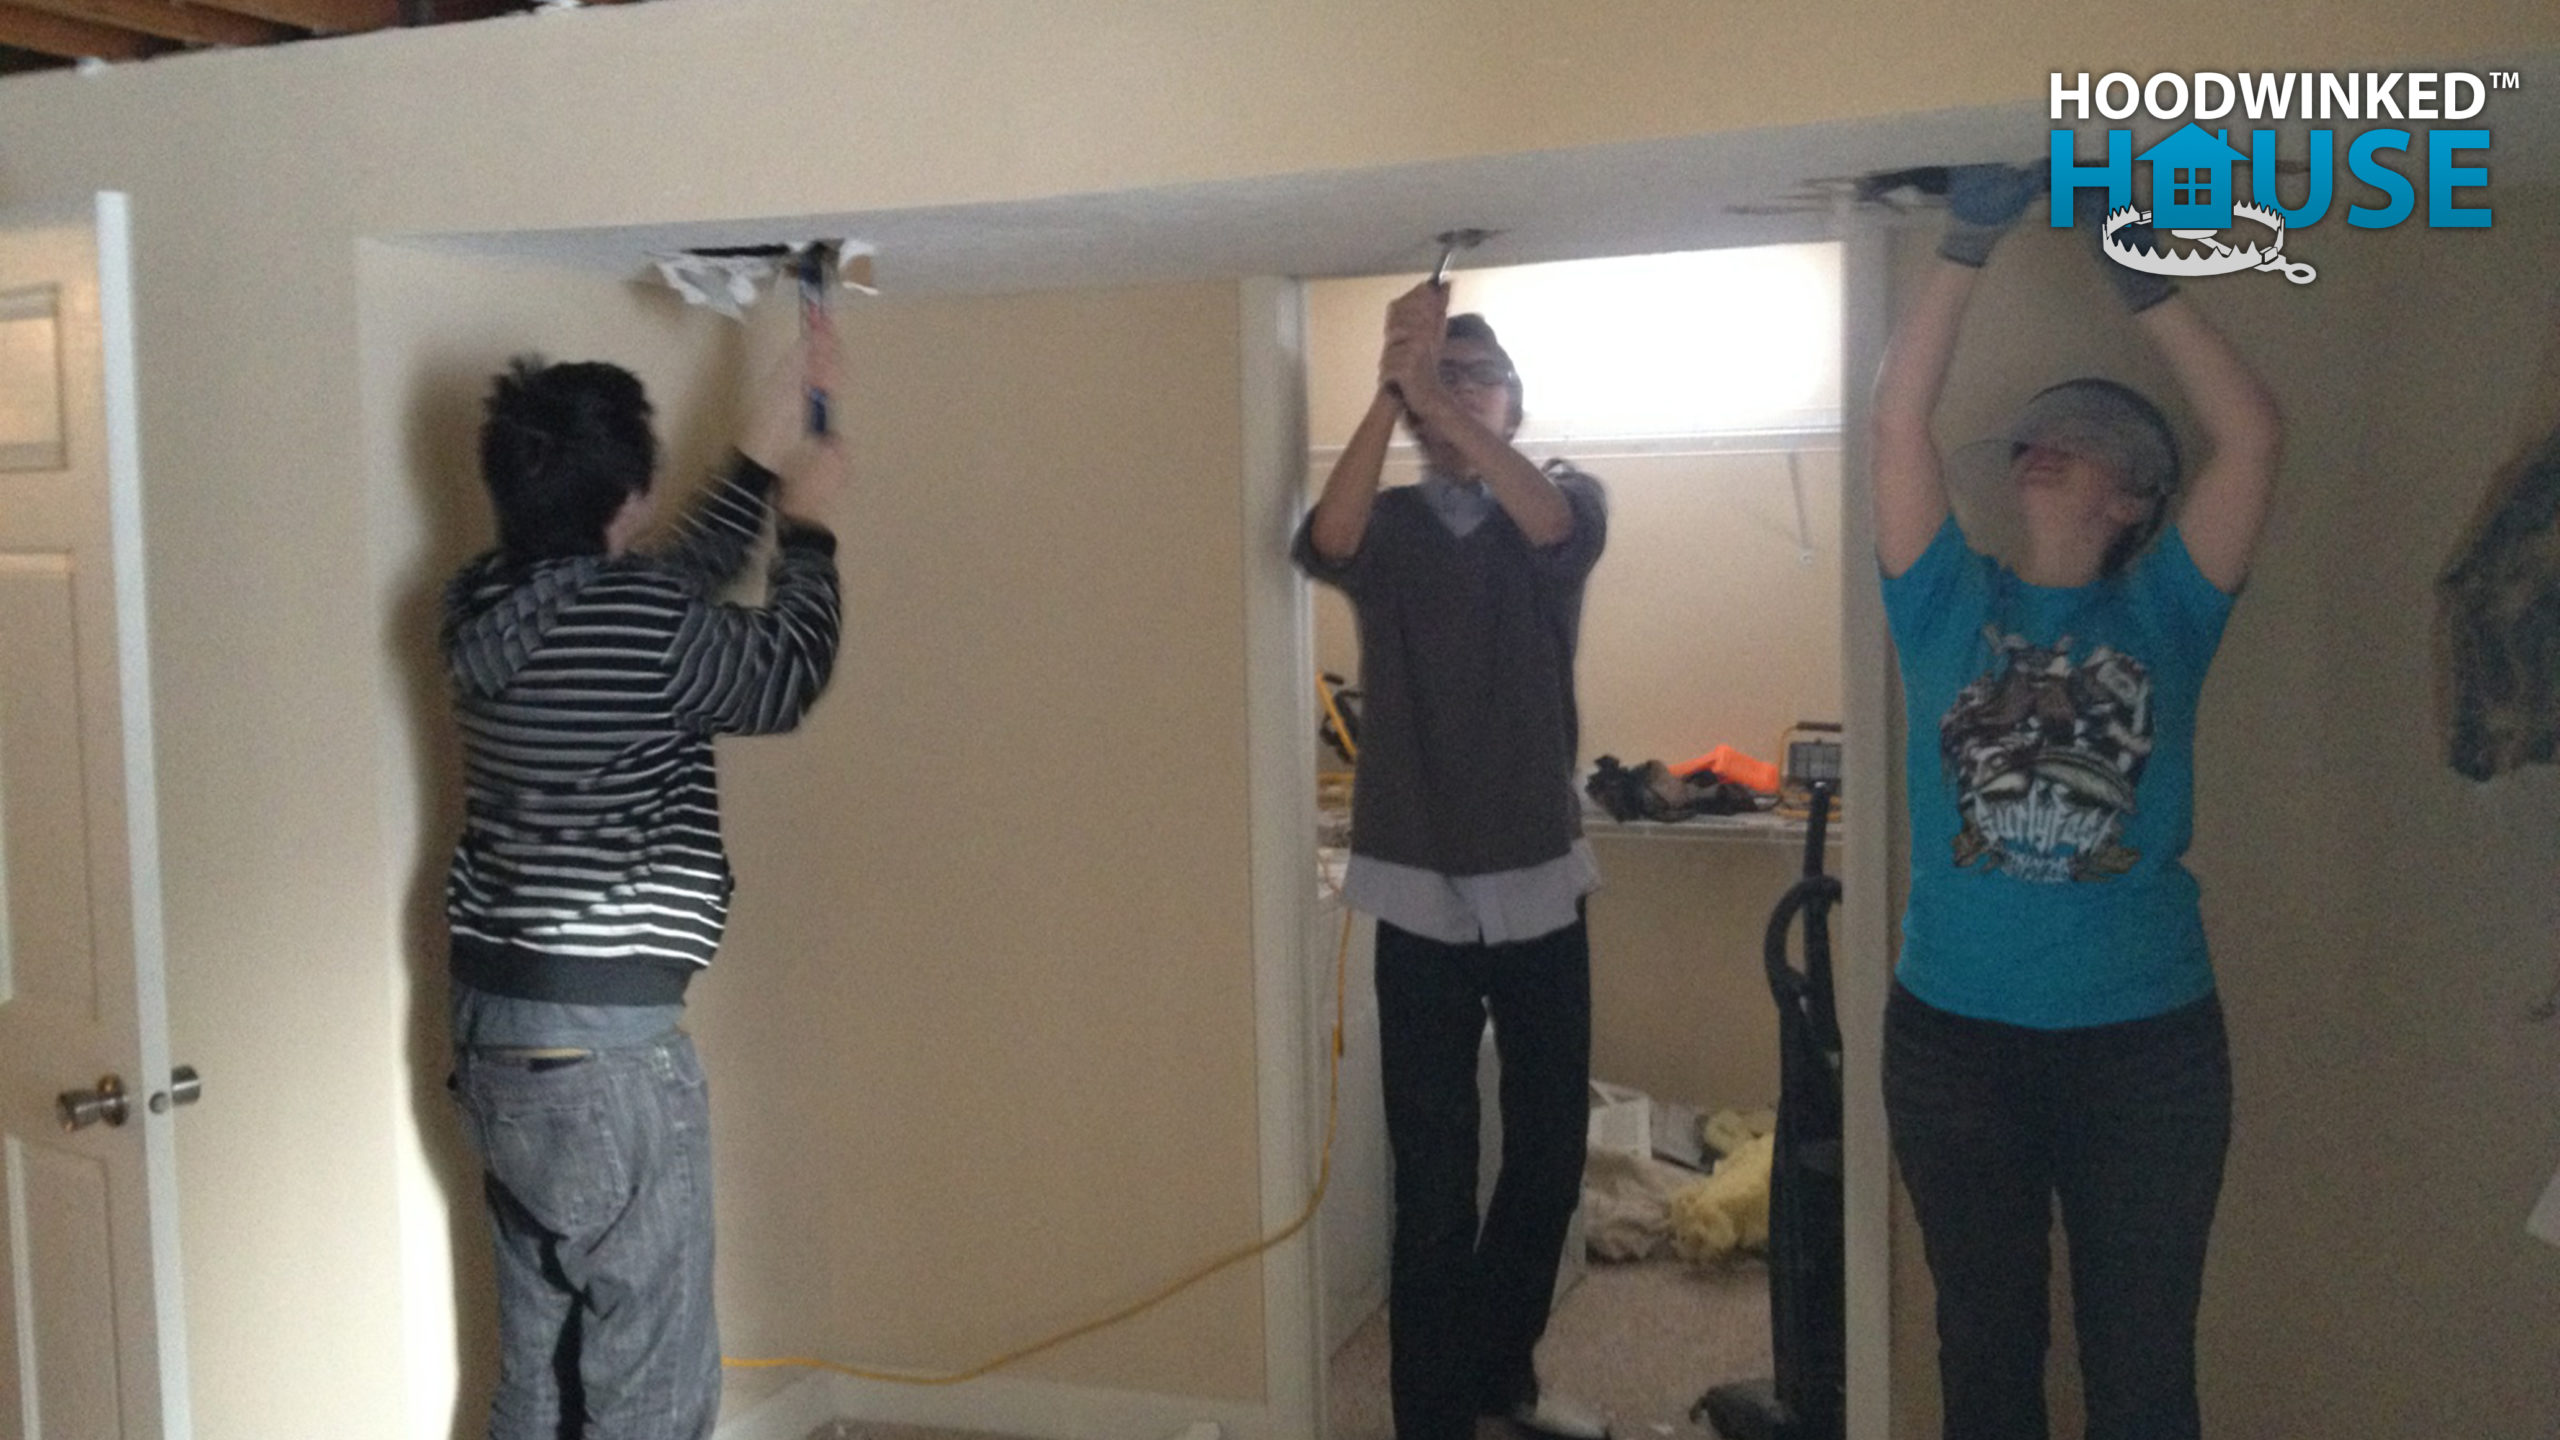
They discover unsecured electrical wires, rickety framing, and find that the main air conditioner line is dripping condensation above the ceiling. The backside of the drywall is covered in mold.
My general contractor works to re-frame areas that were demolished ($211.27). He discovers that the bathroom is out of square, so some very creative framing will have to be done to correct the problem. This also means that the corrected framing will be 2″ too close to the toilet drain, so I’ll have to buy a new toilet with a matching rough-in spec.
The laundry room is re-framed.
The new dryer vent is installed ($87.41).
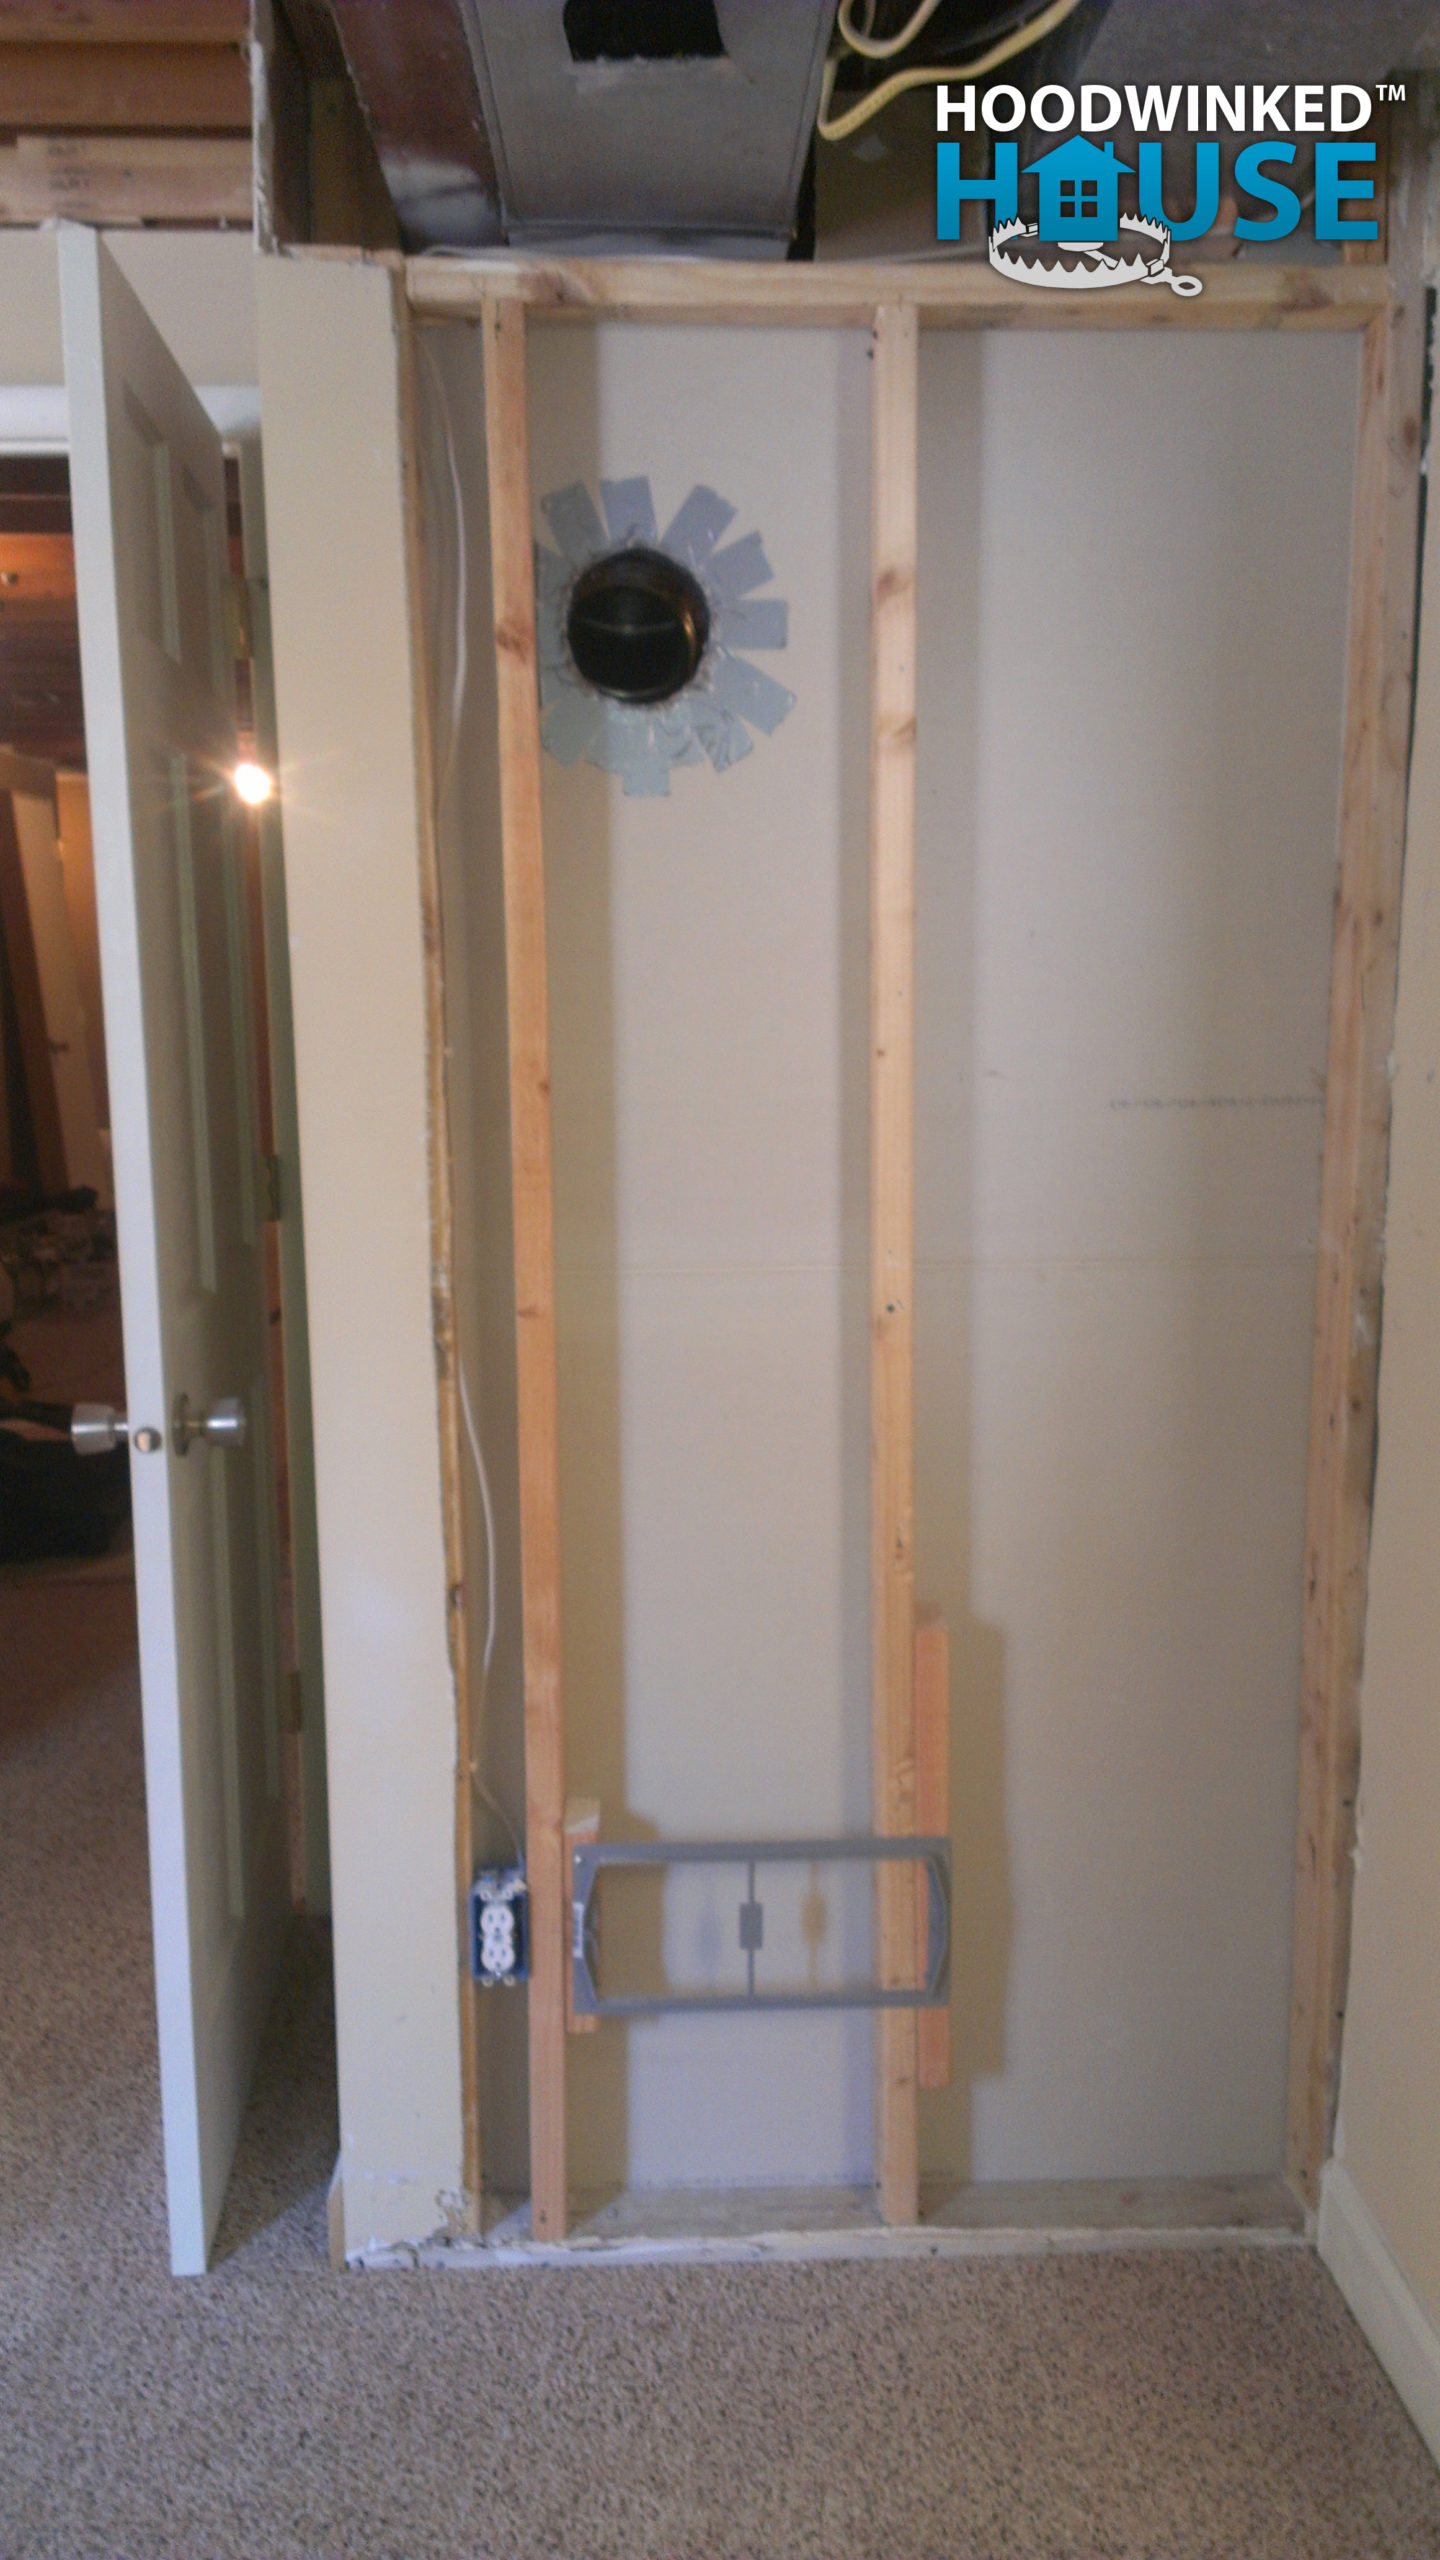
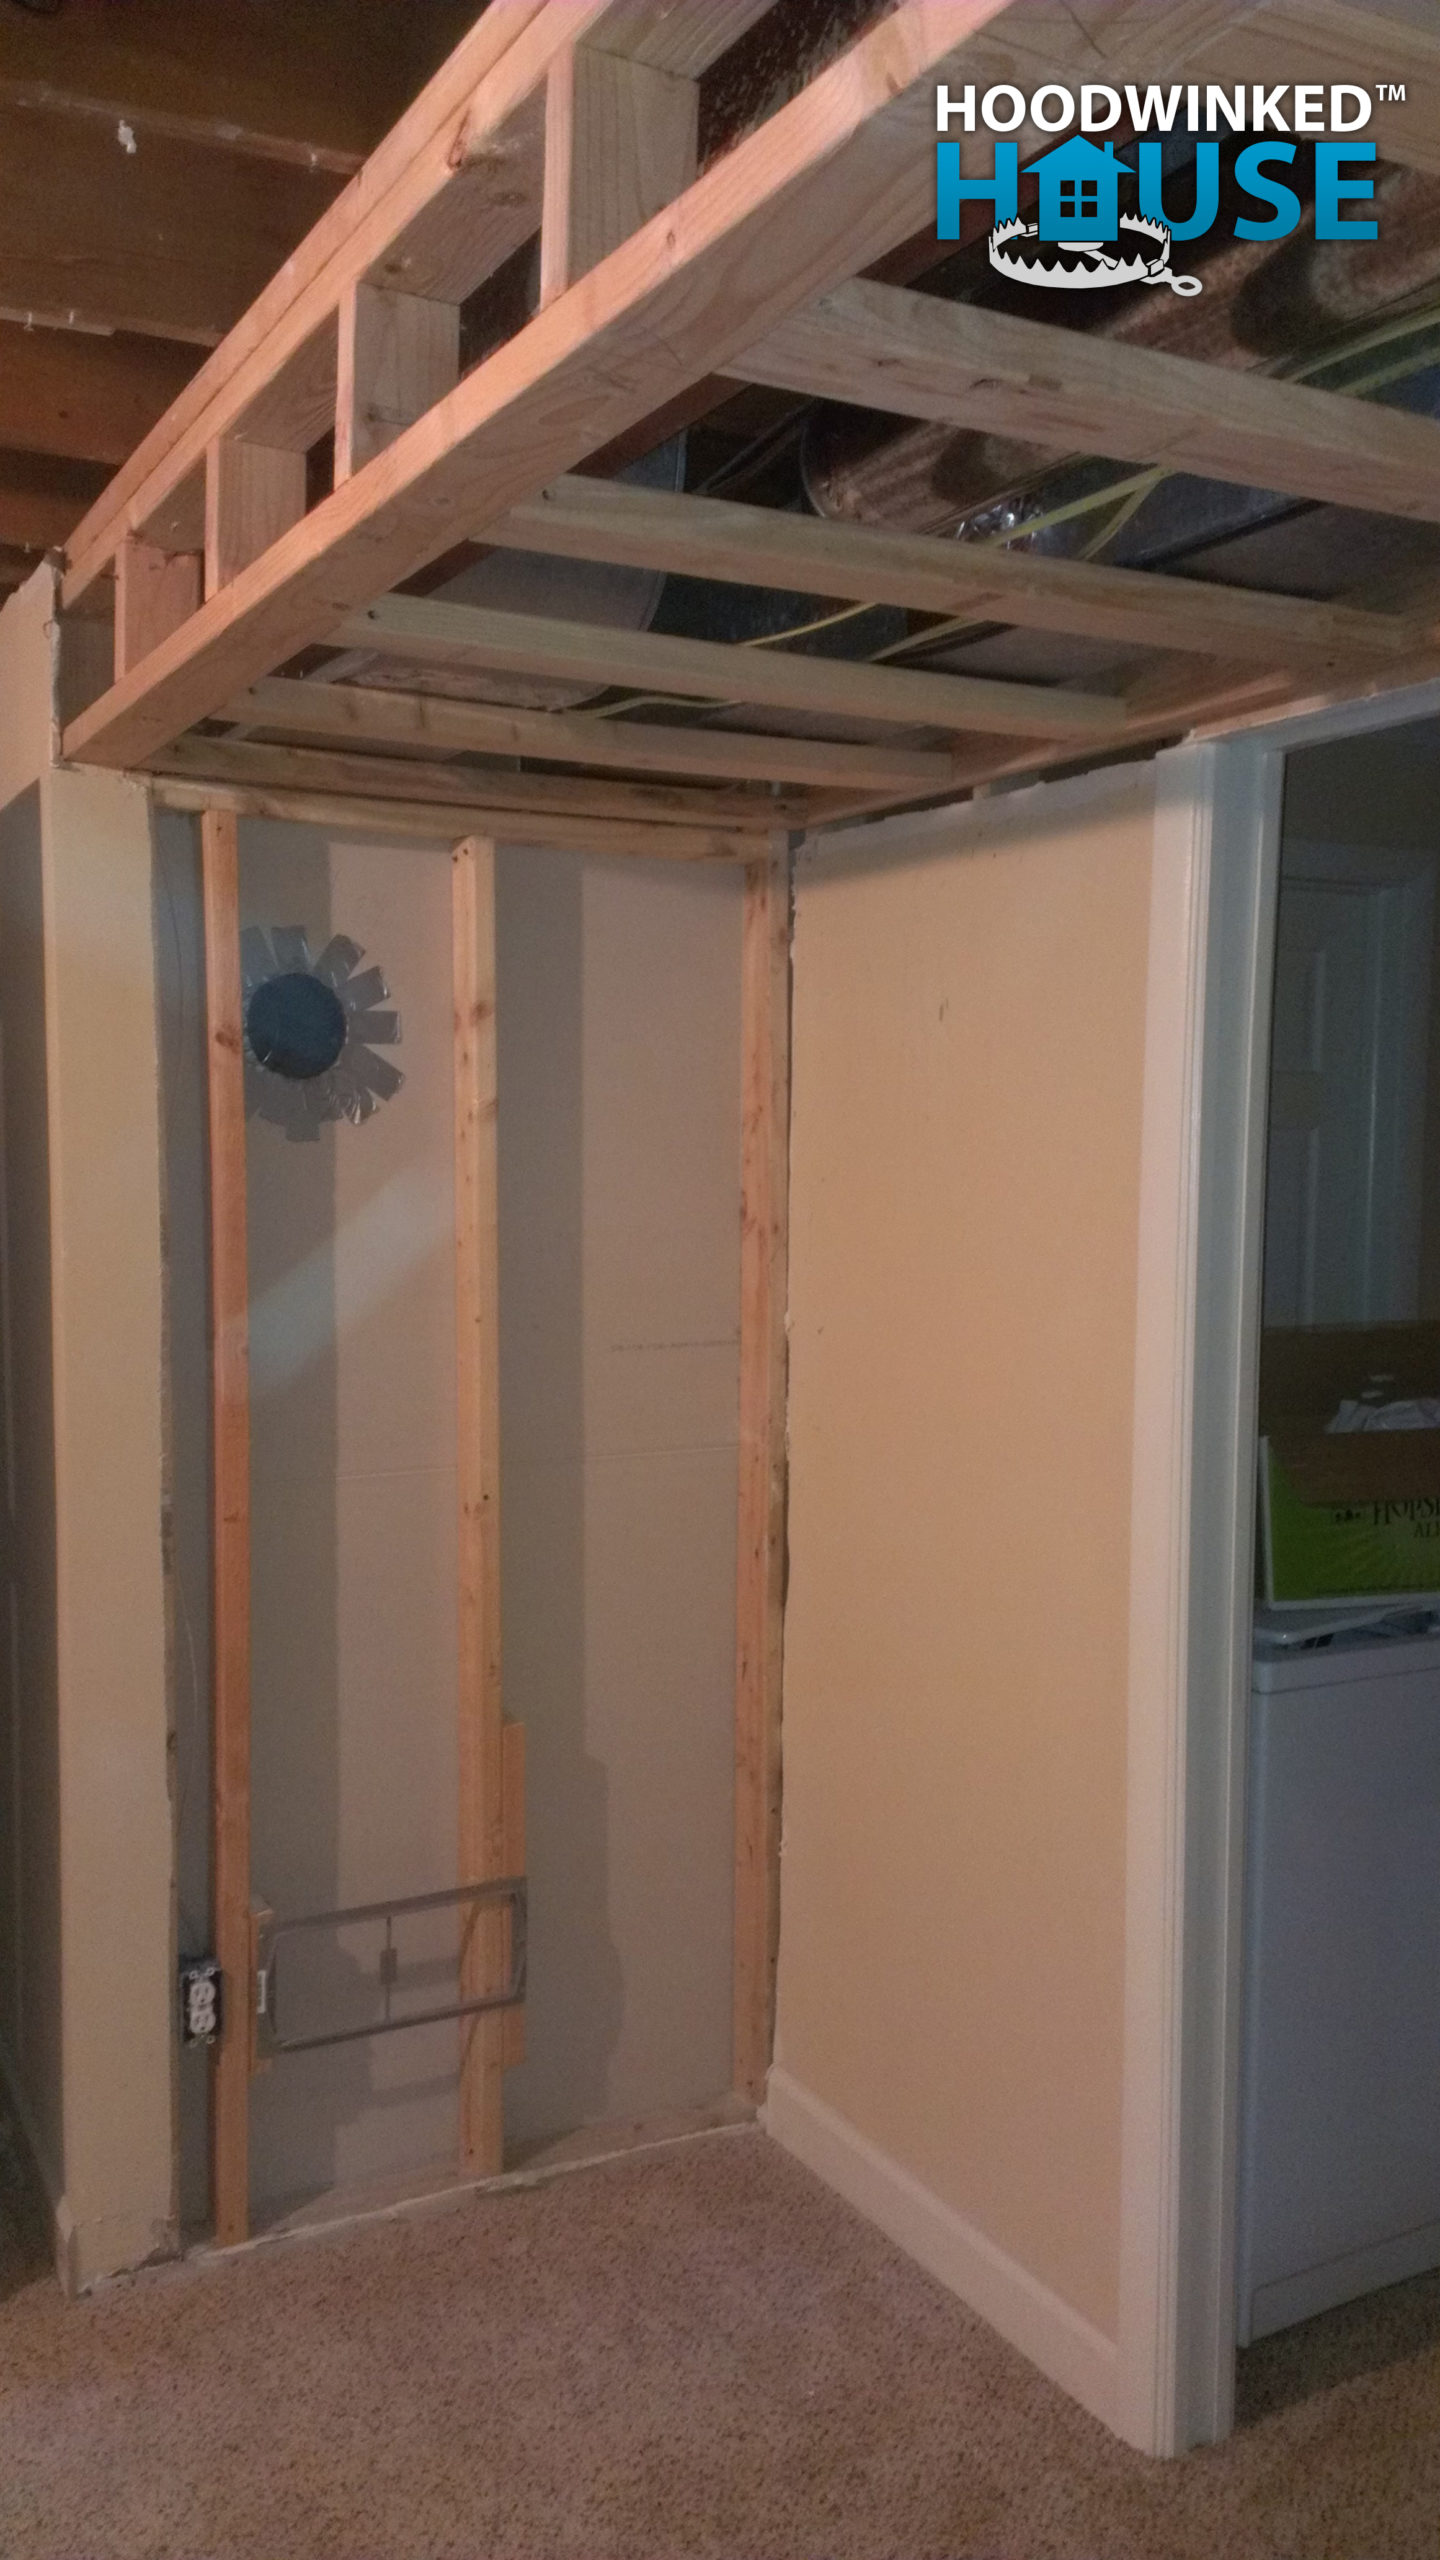
The mechanical room wall is re-framed for bi-fold closet doors.
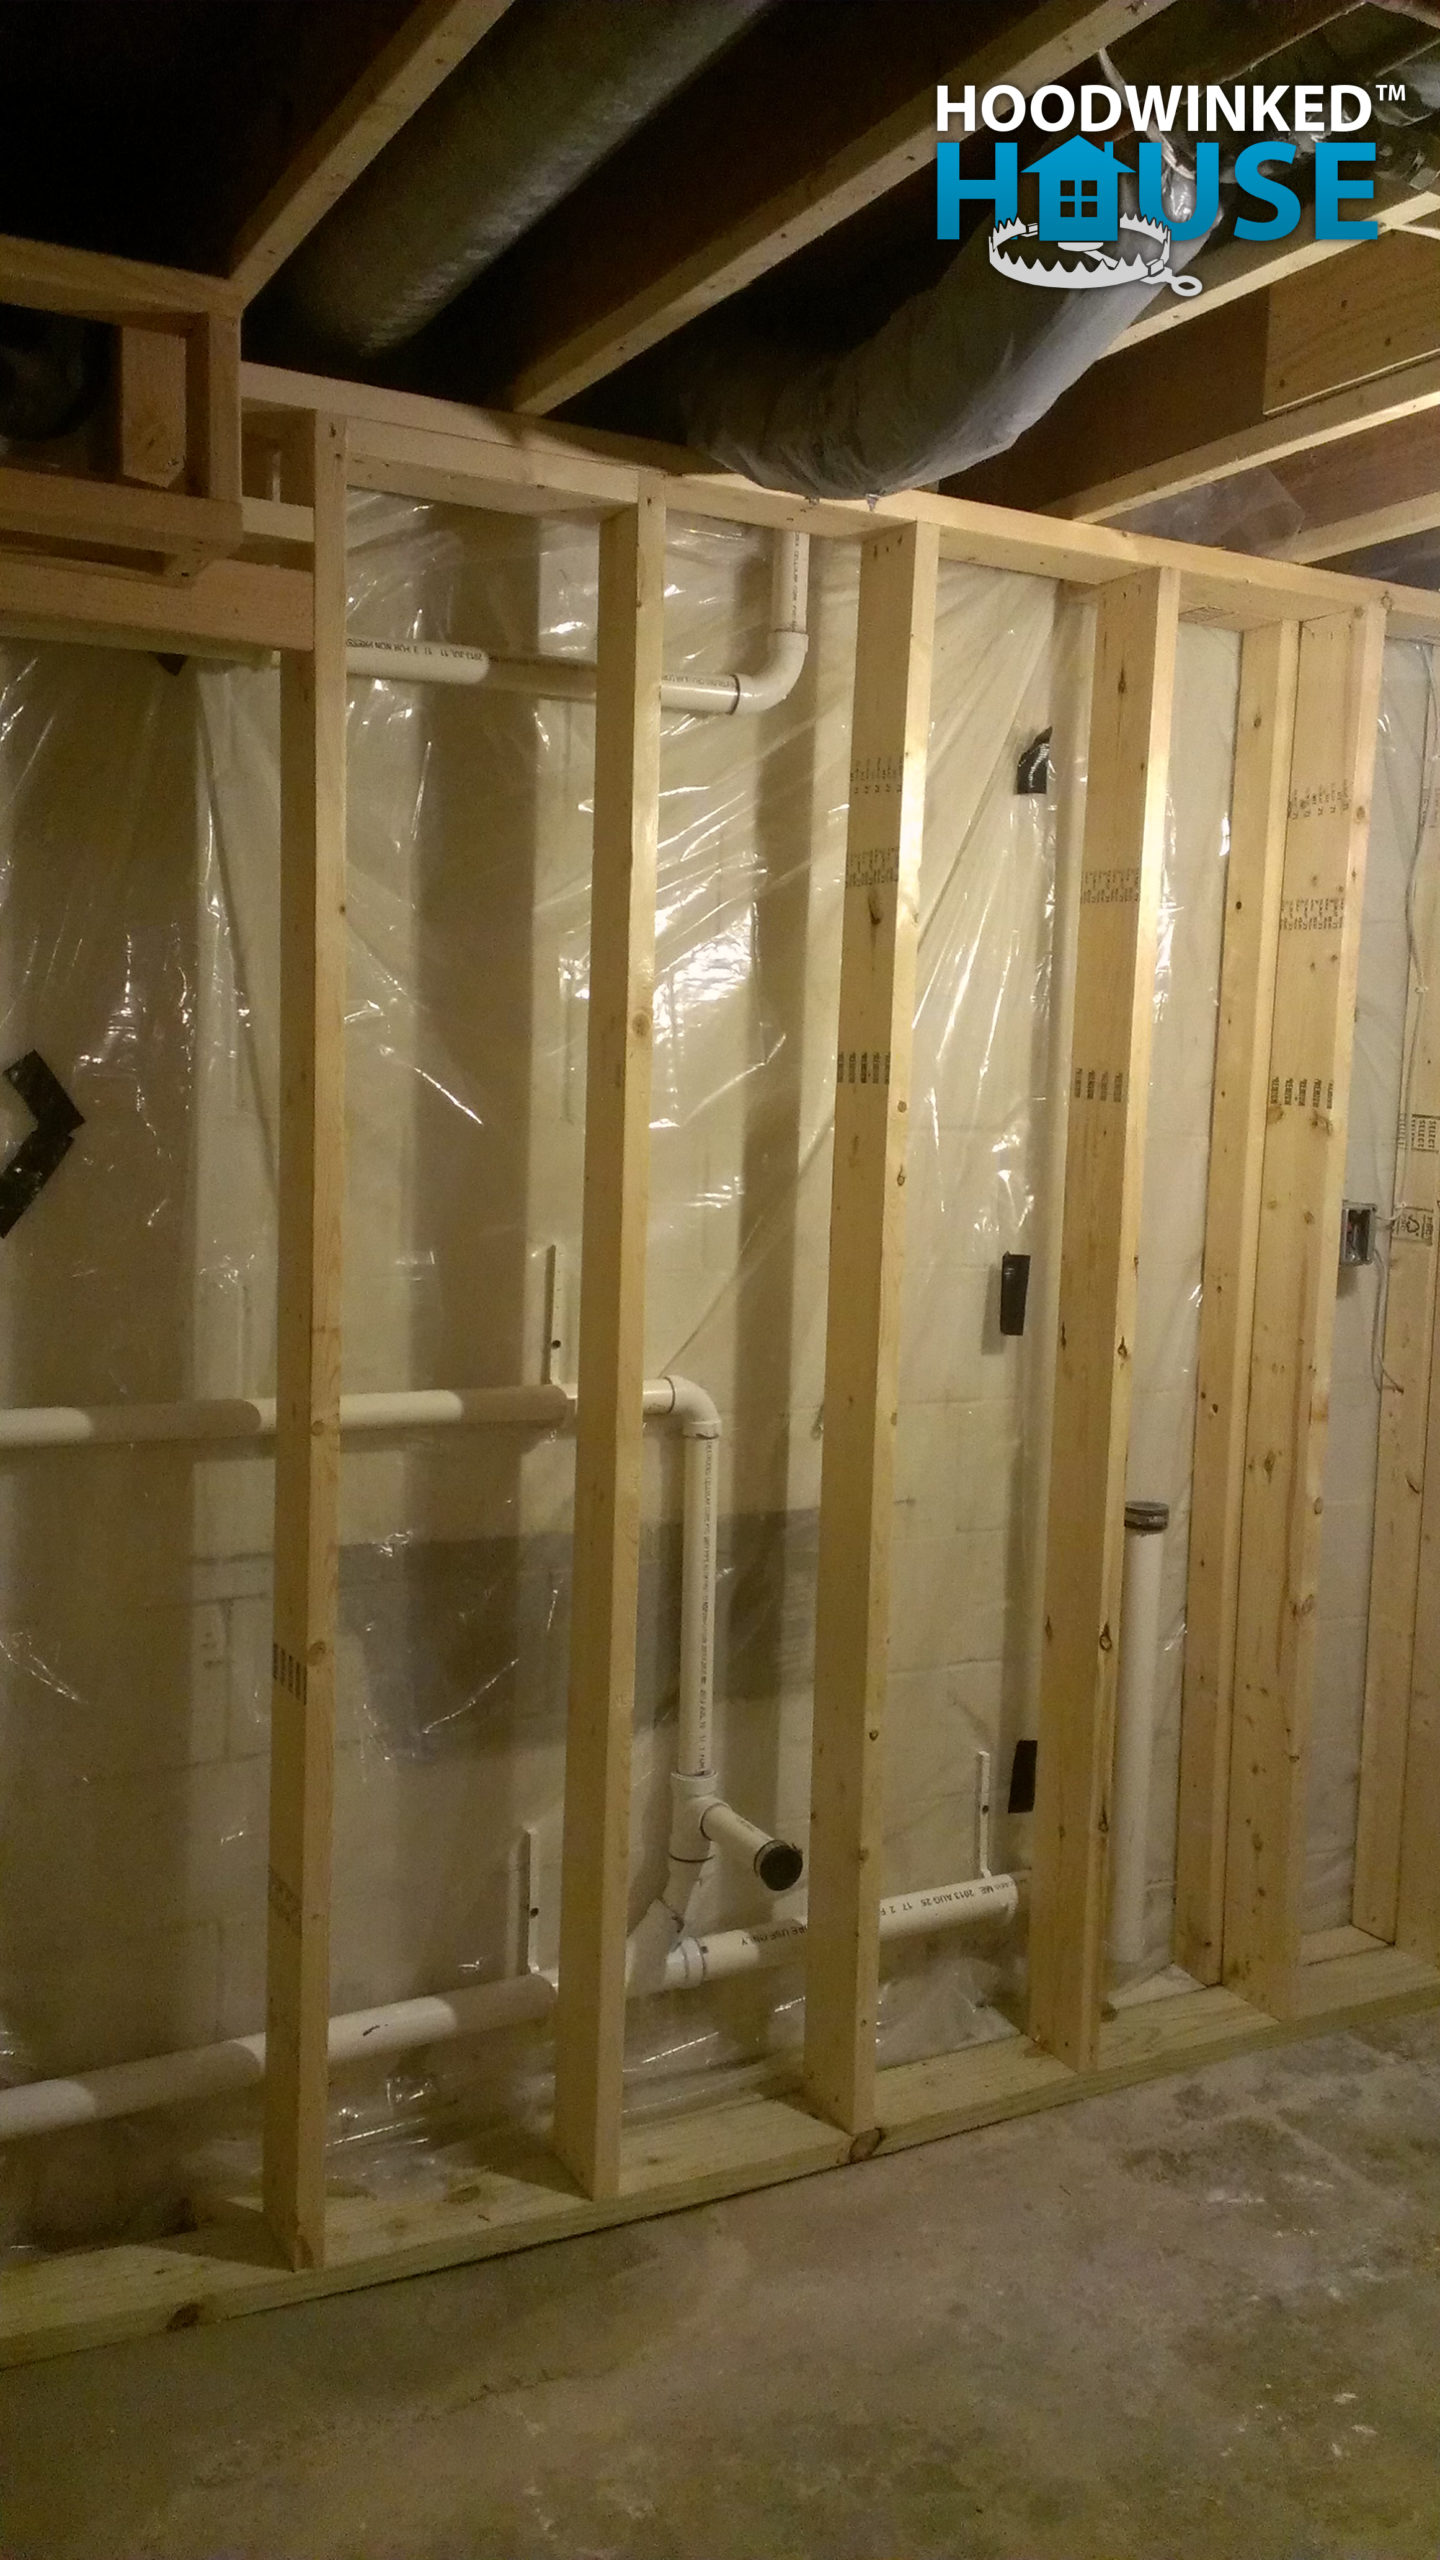
The bathroom wall is re-framed around the new drain pipes.
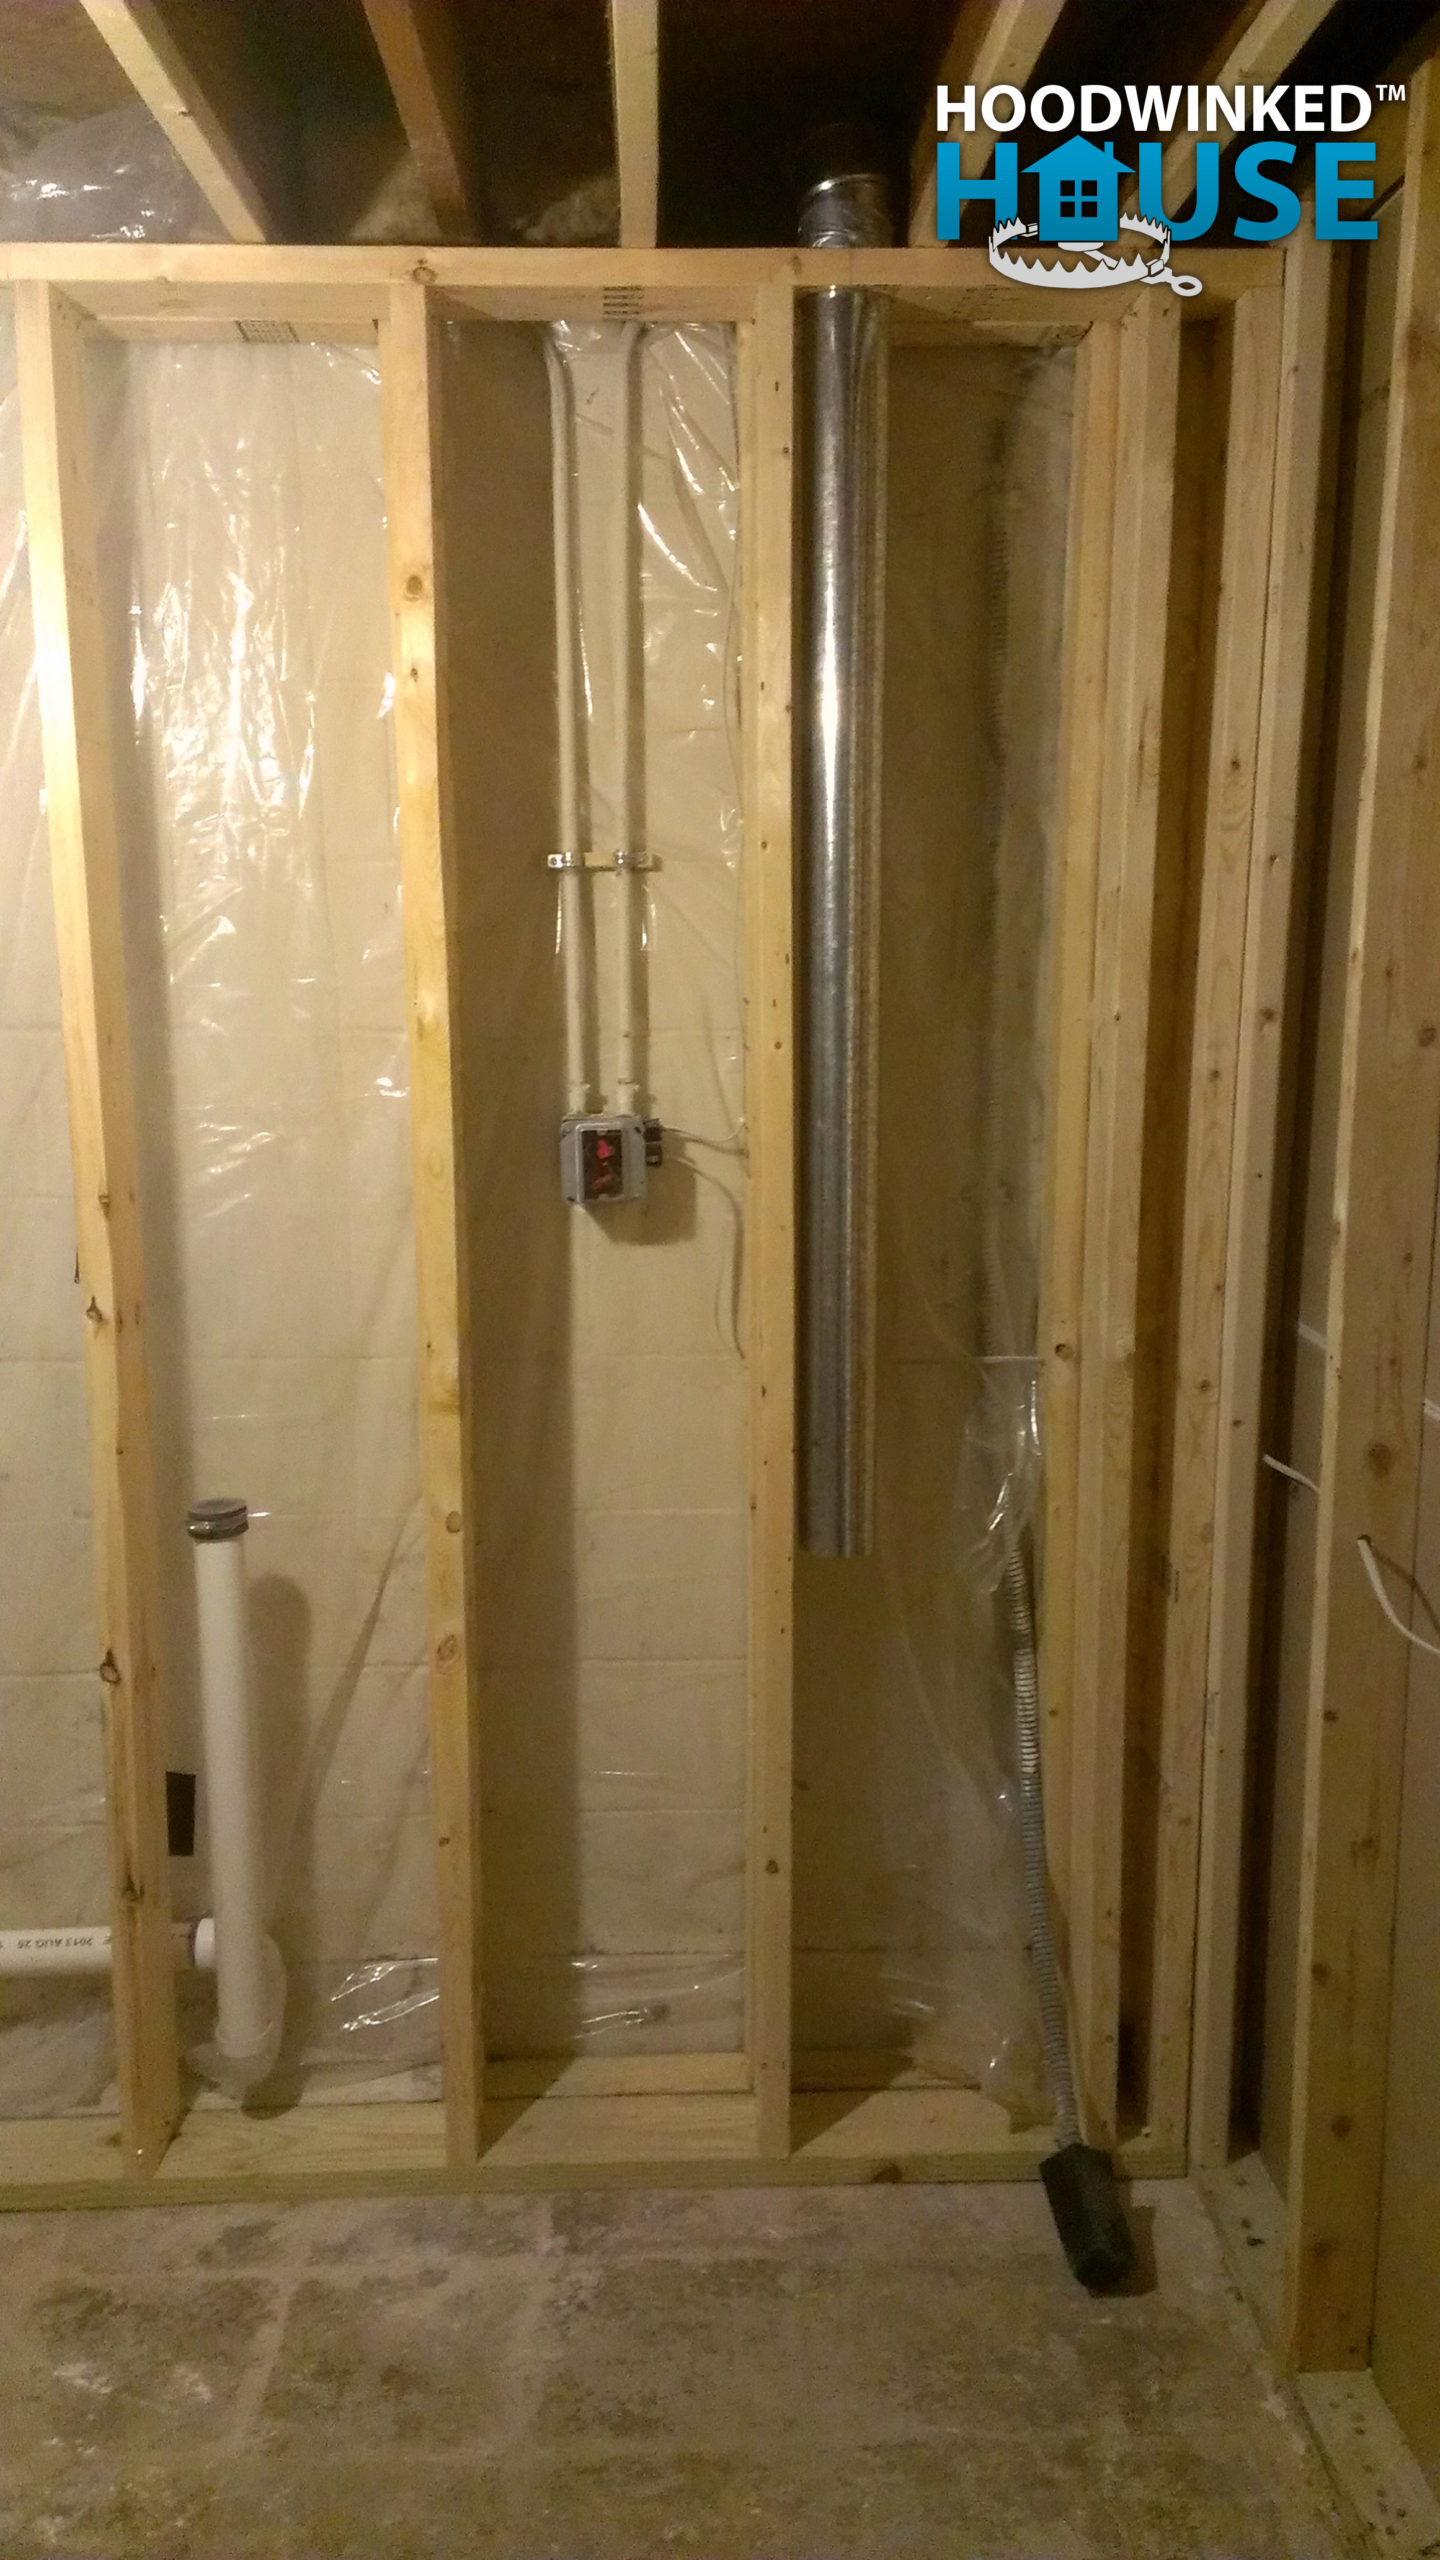
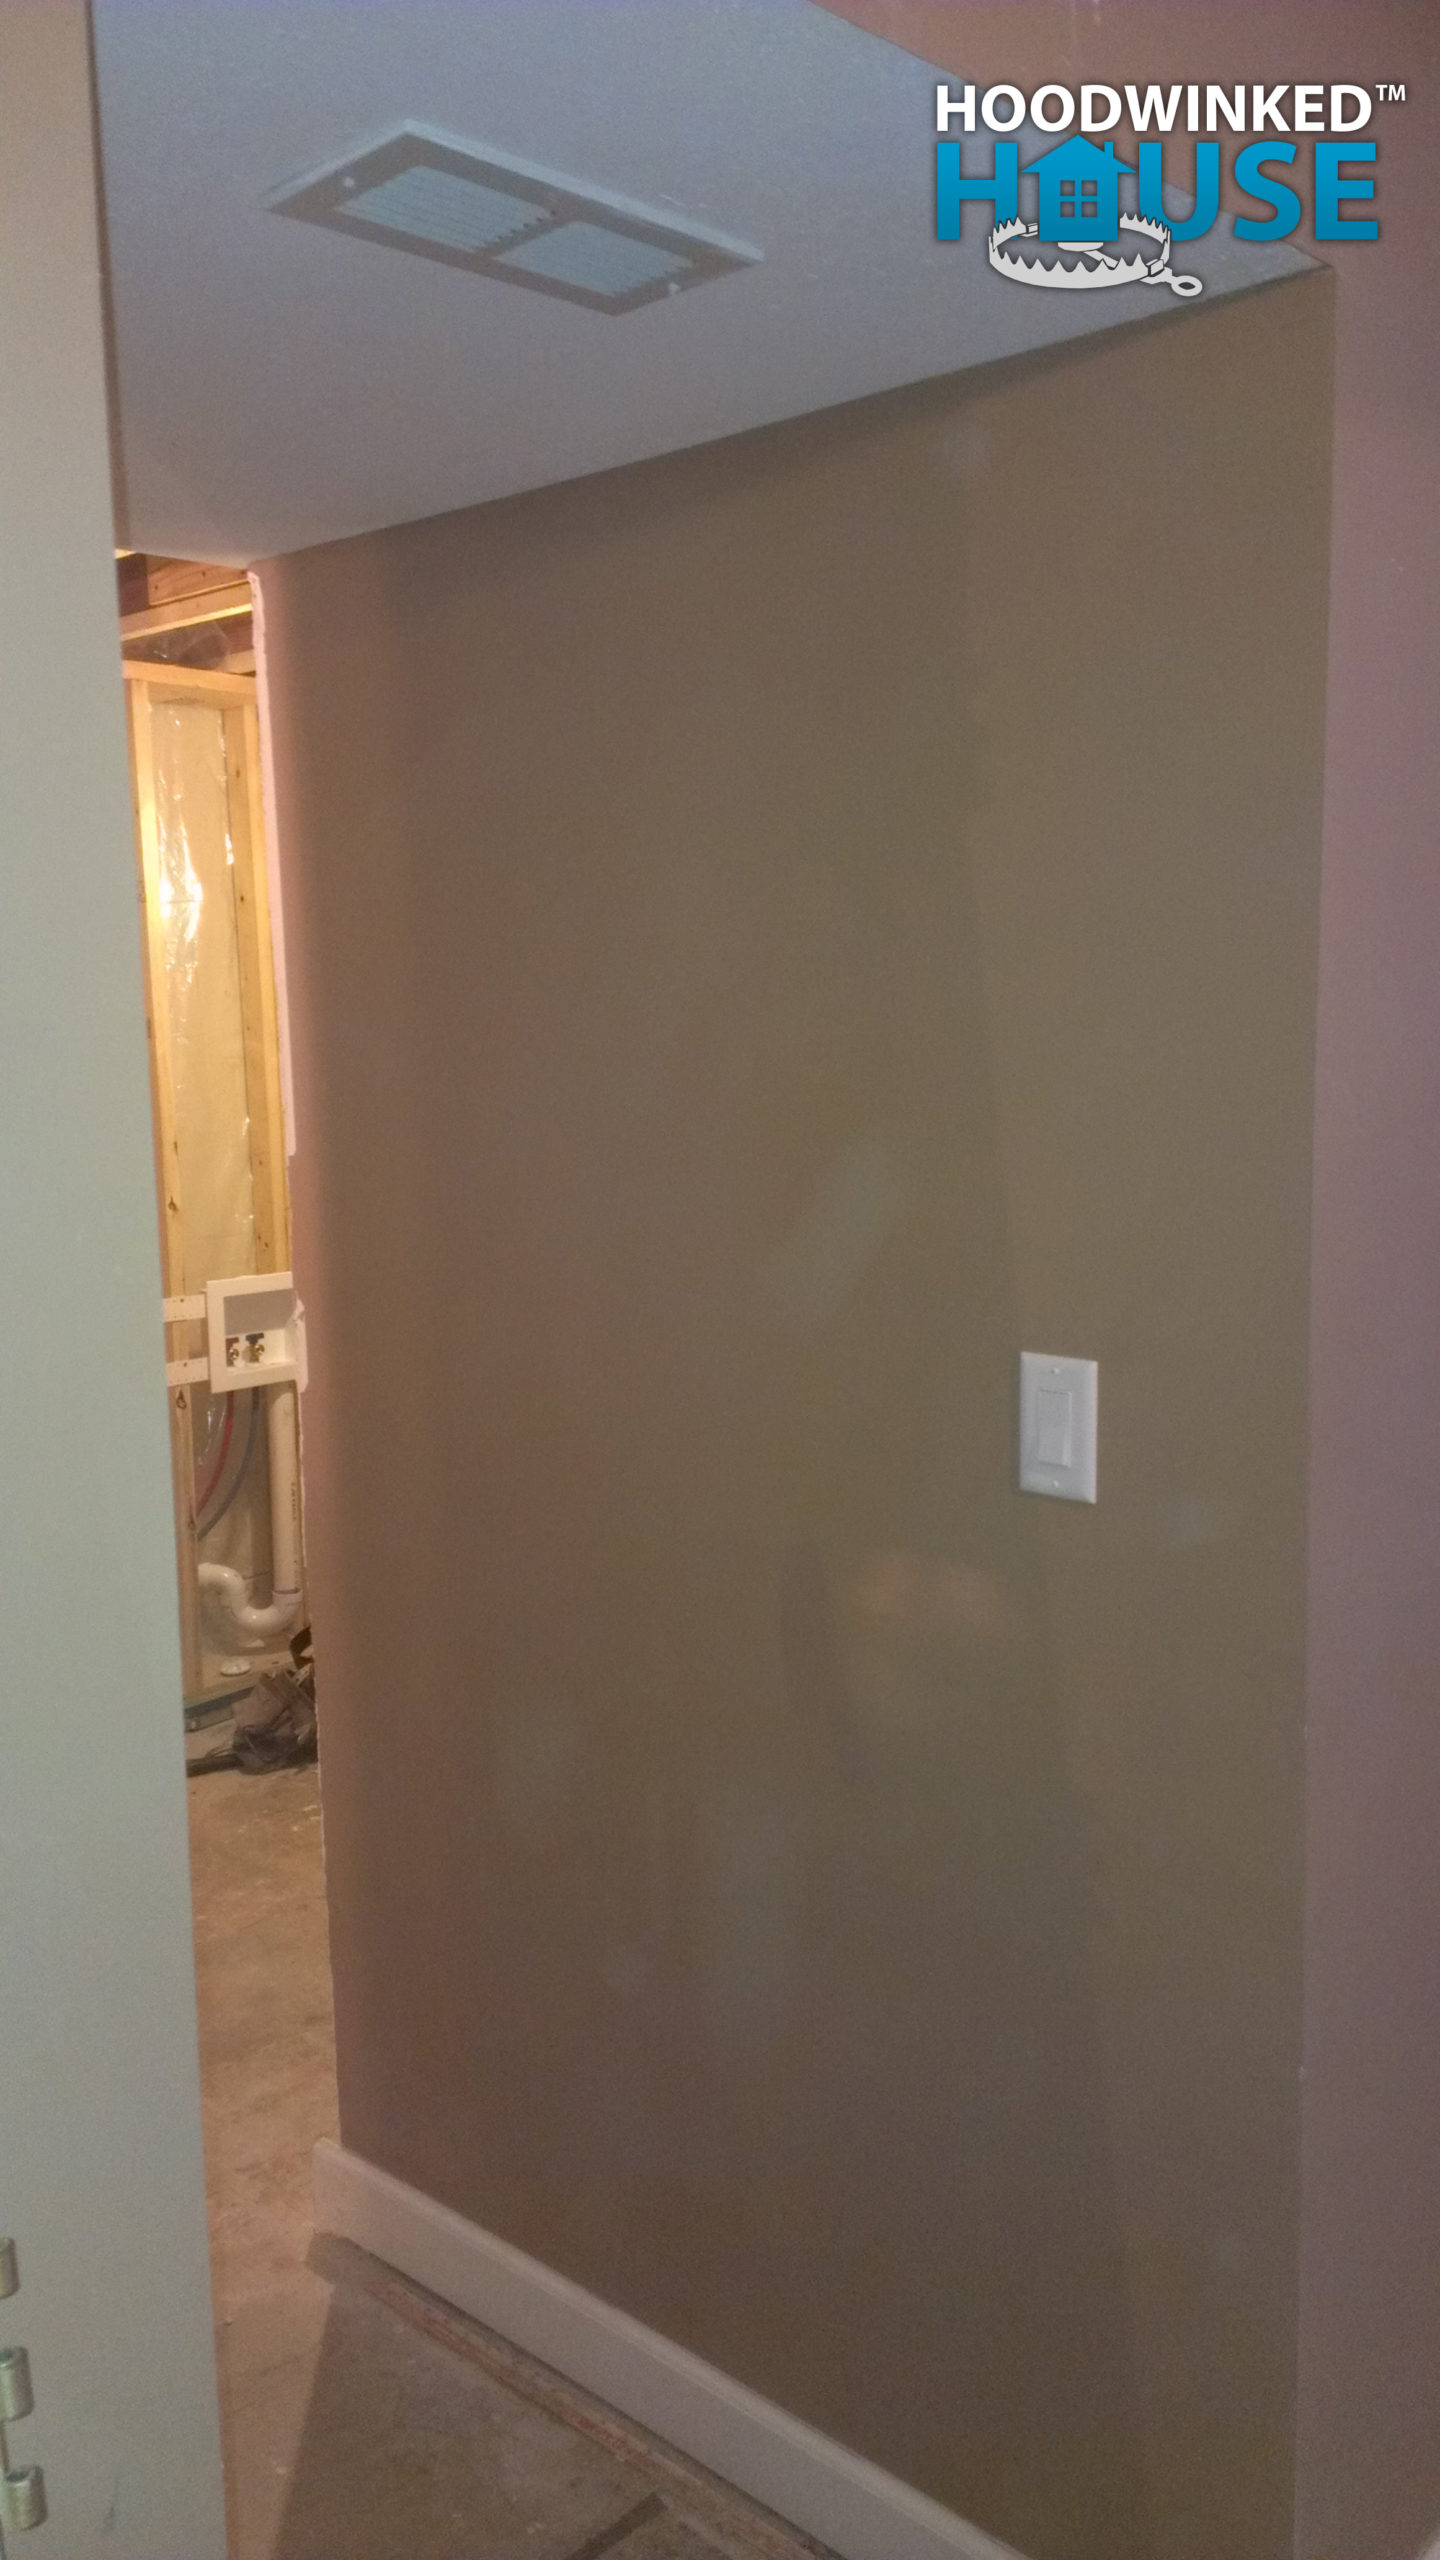
Vent and a switch
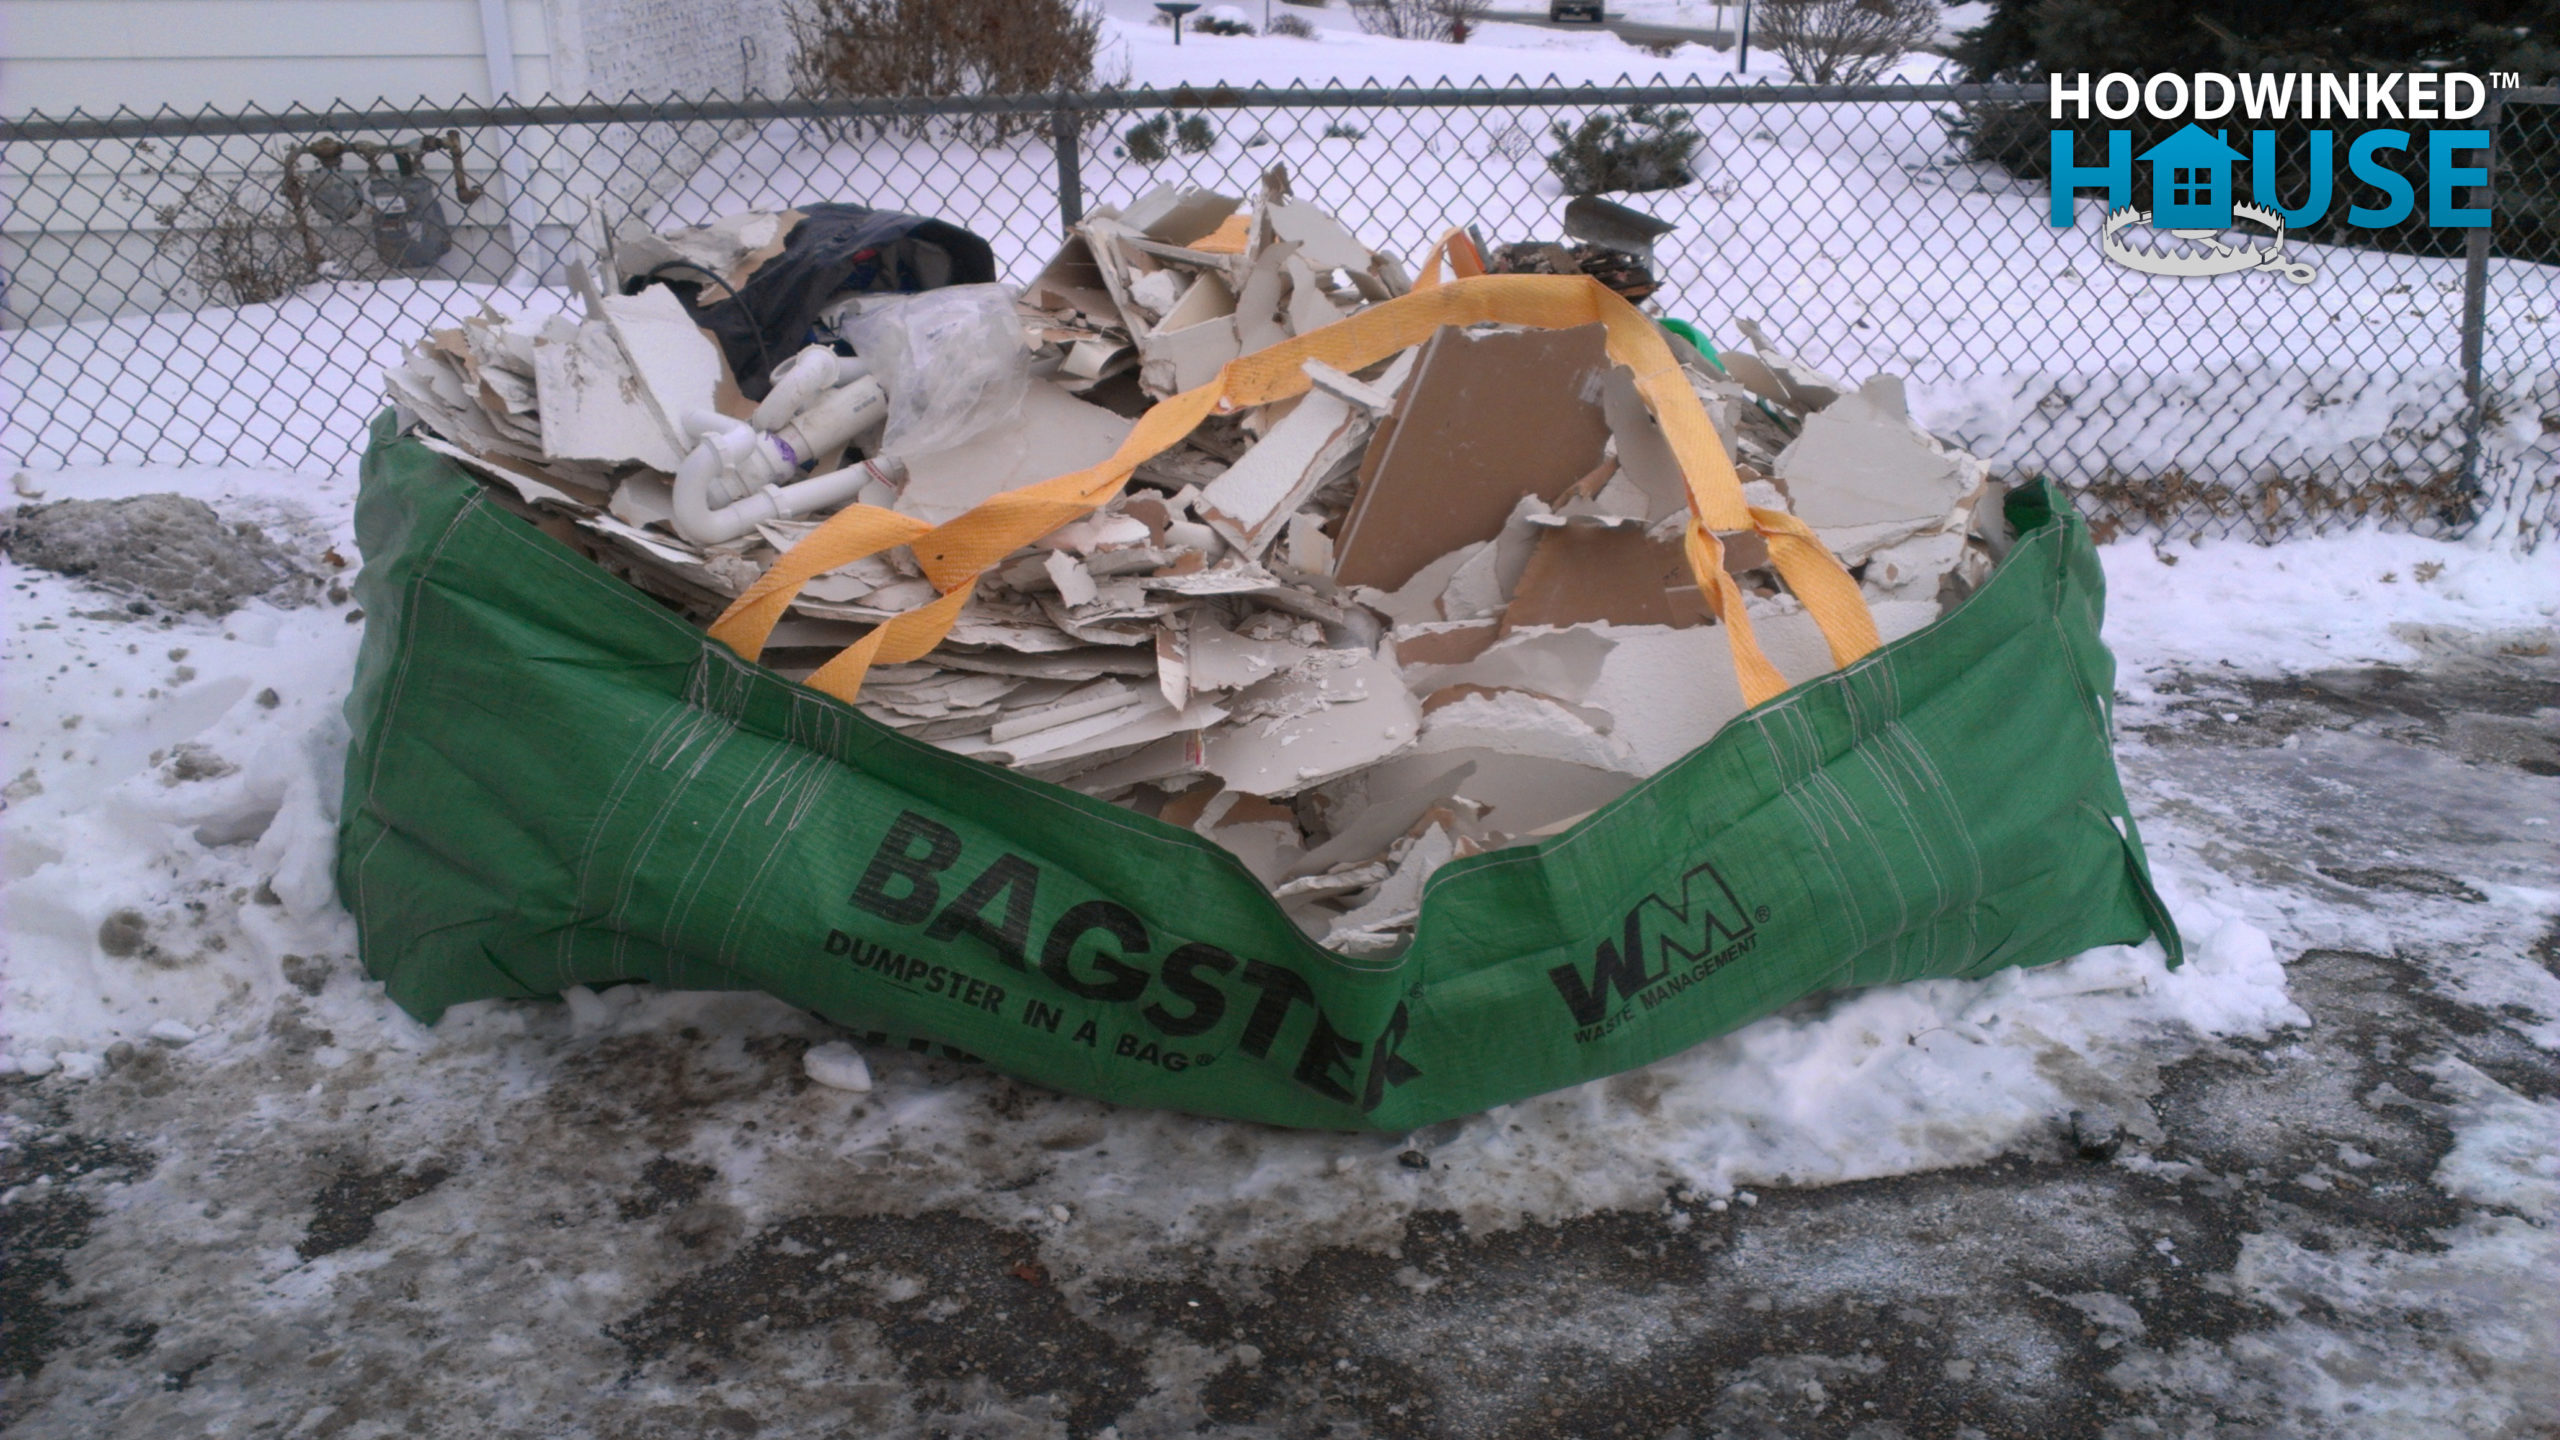
A fourth Bagster full of debris is hauled away ($144.00).
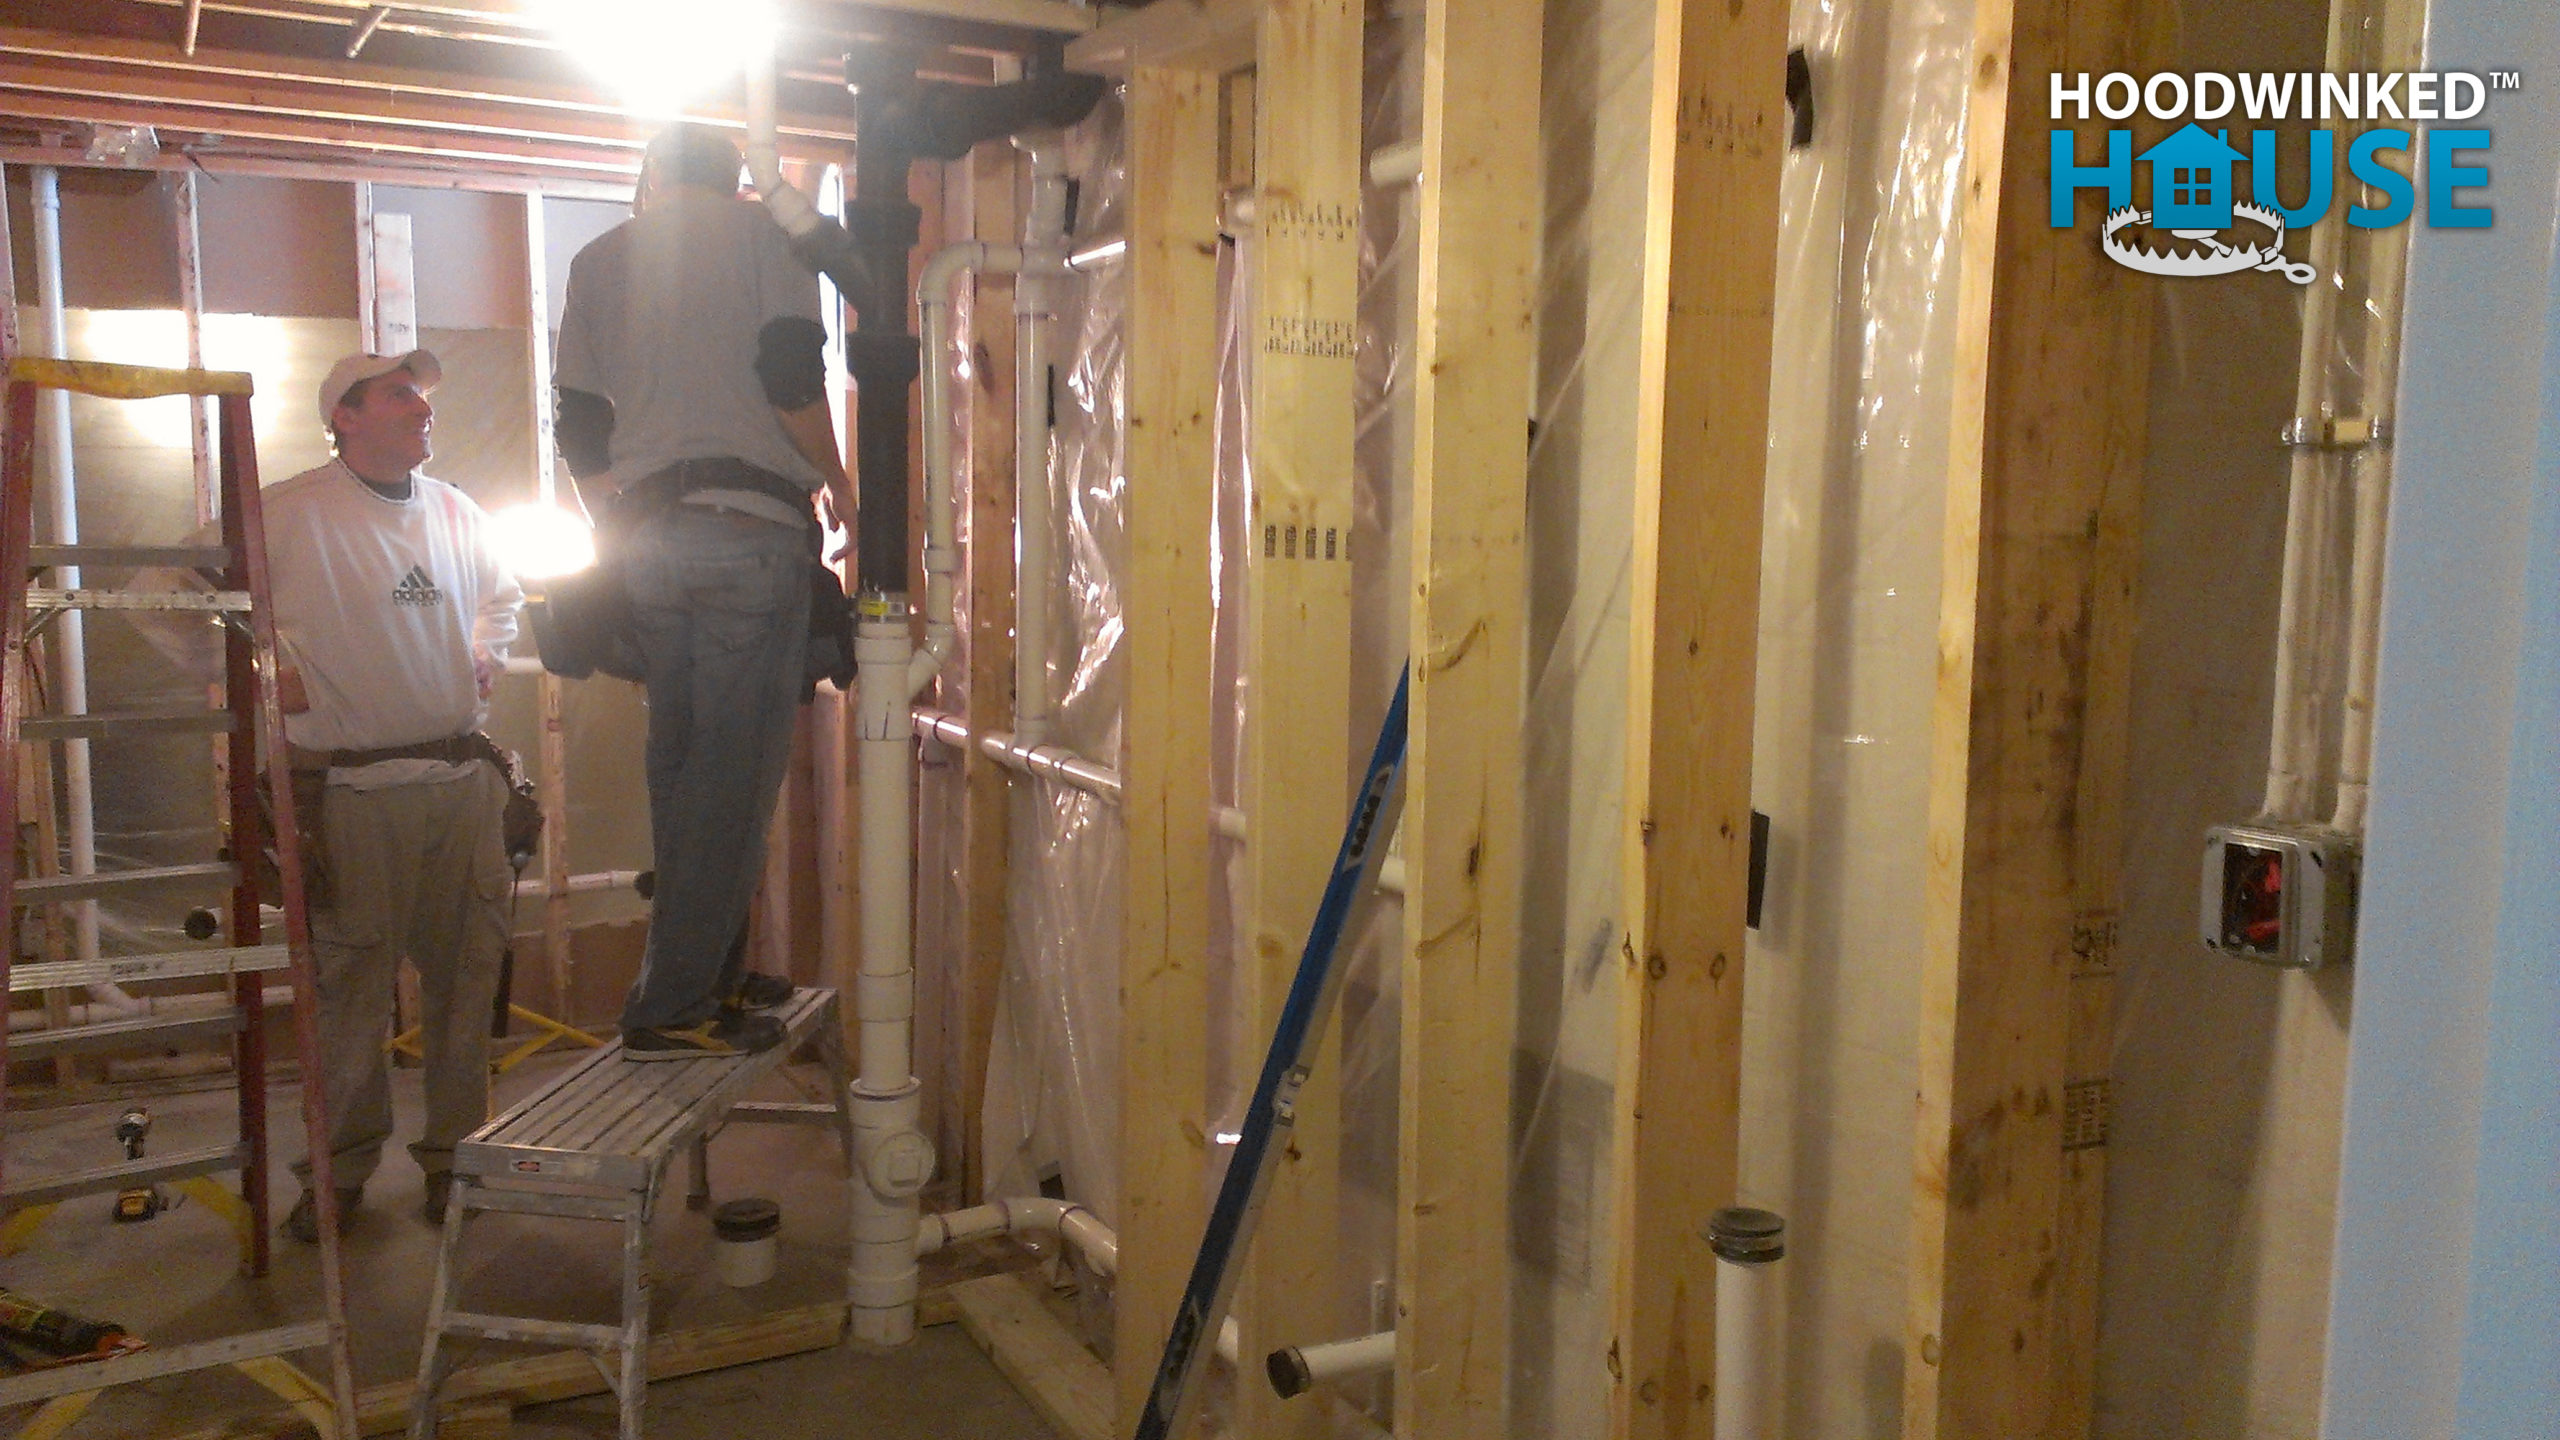
The plumber cuts out the old kitchen drain pipes, replaces them with new drain pipes, and attaches them to the rest of the new drainage system.
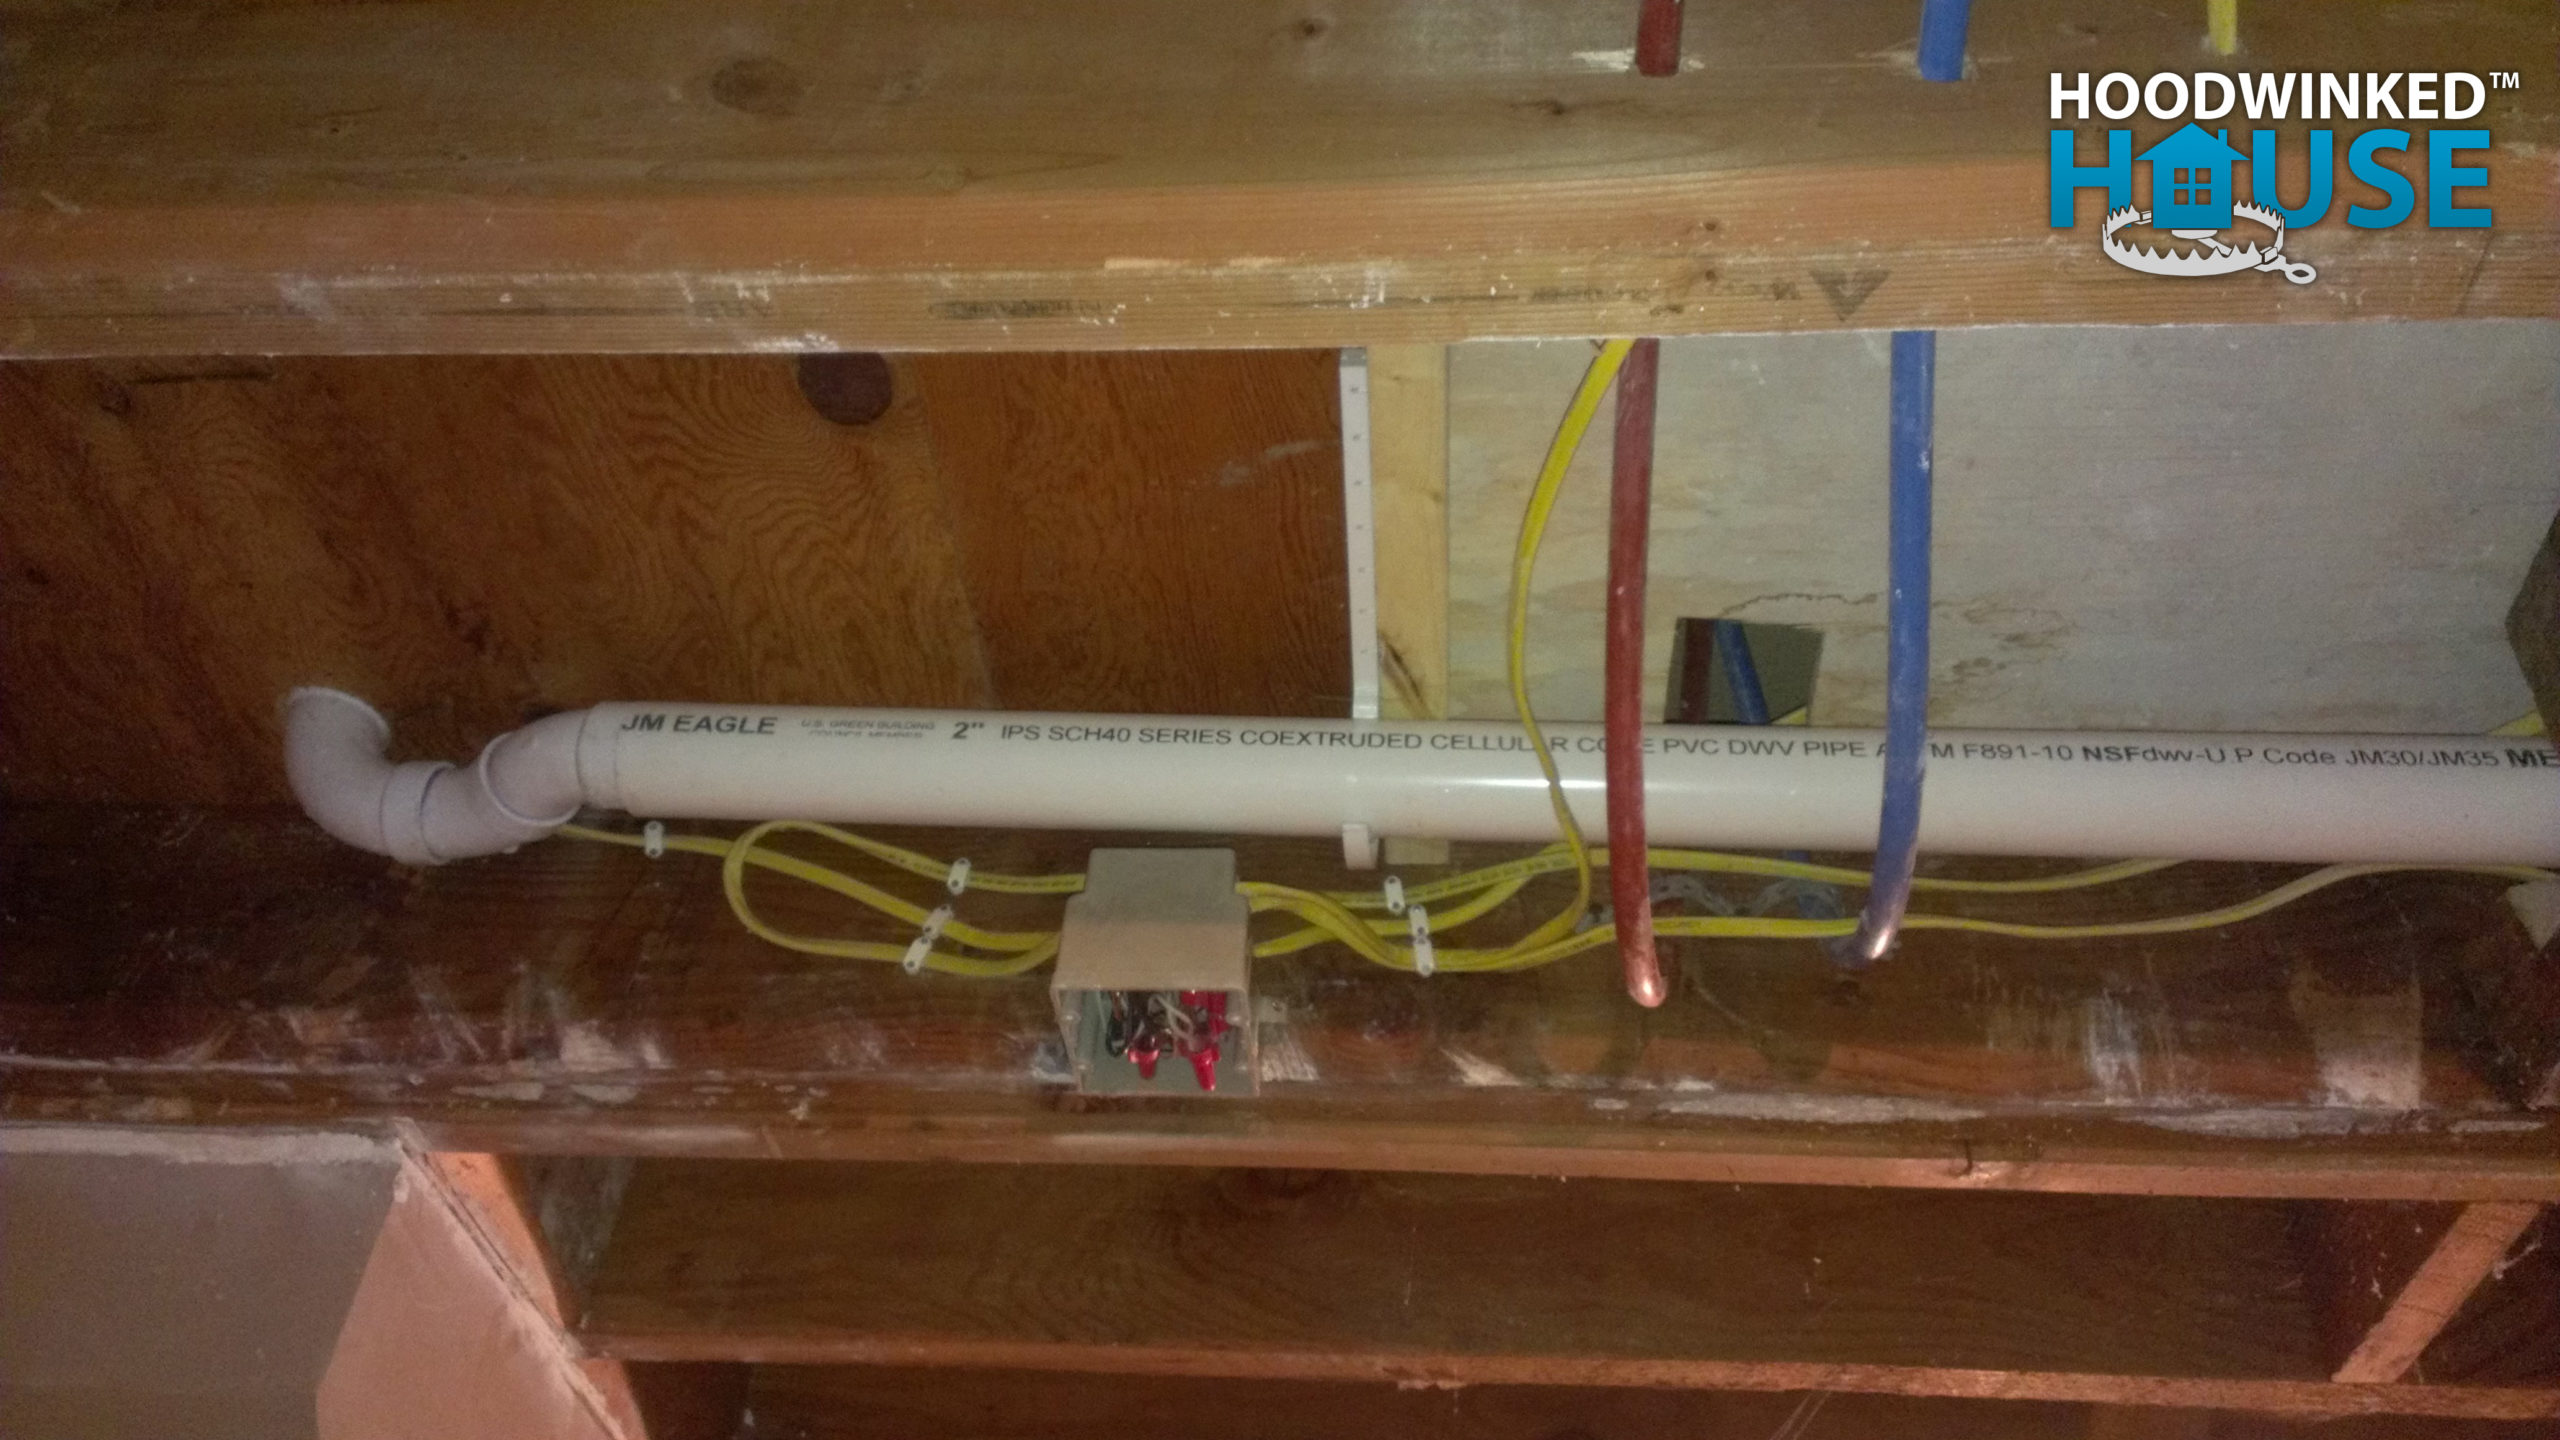
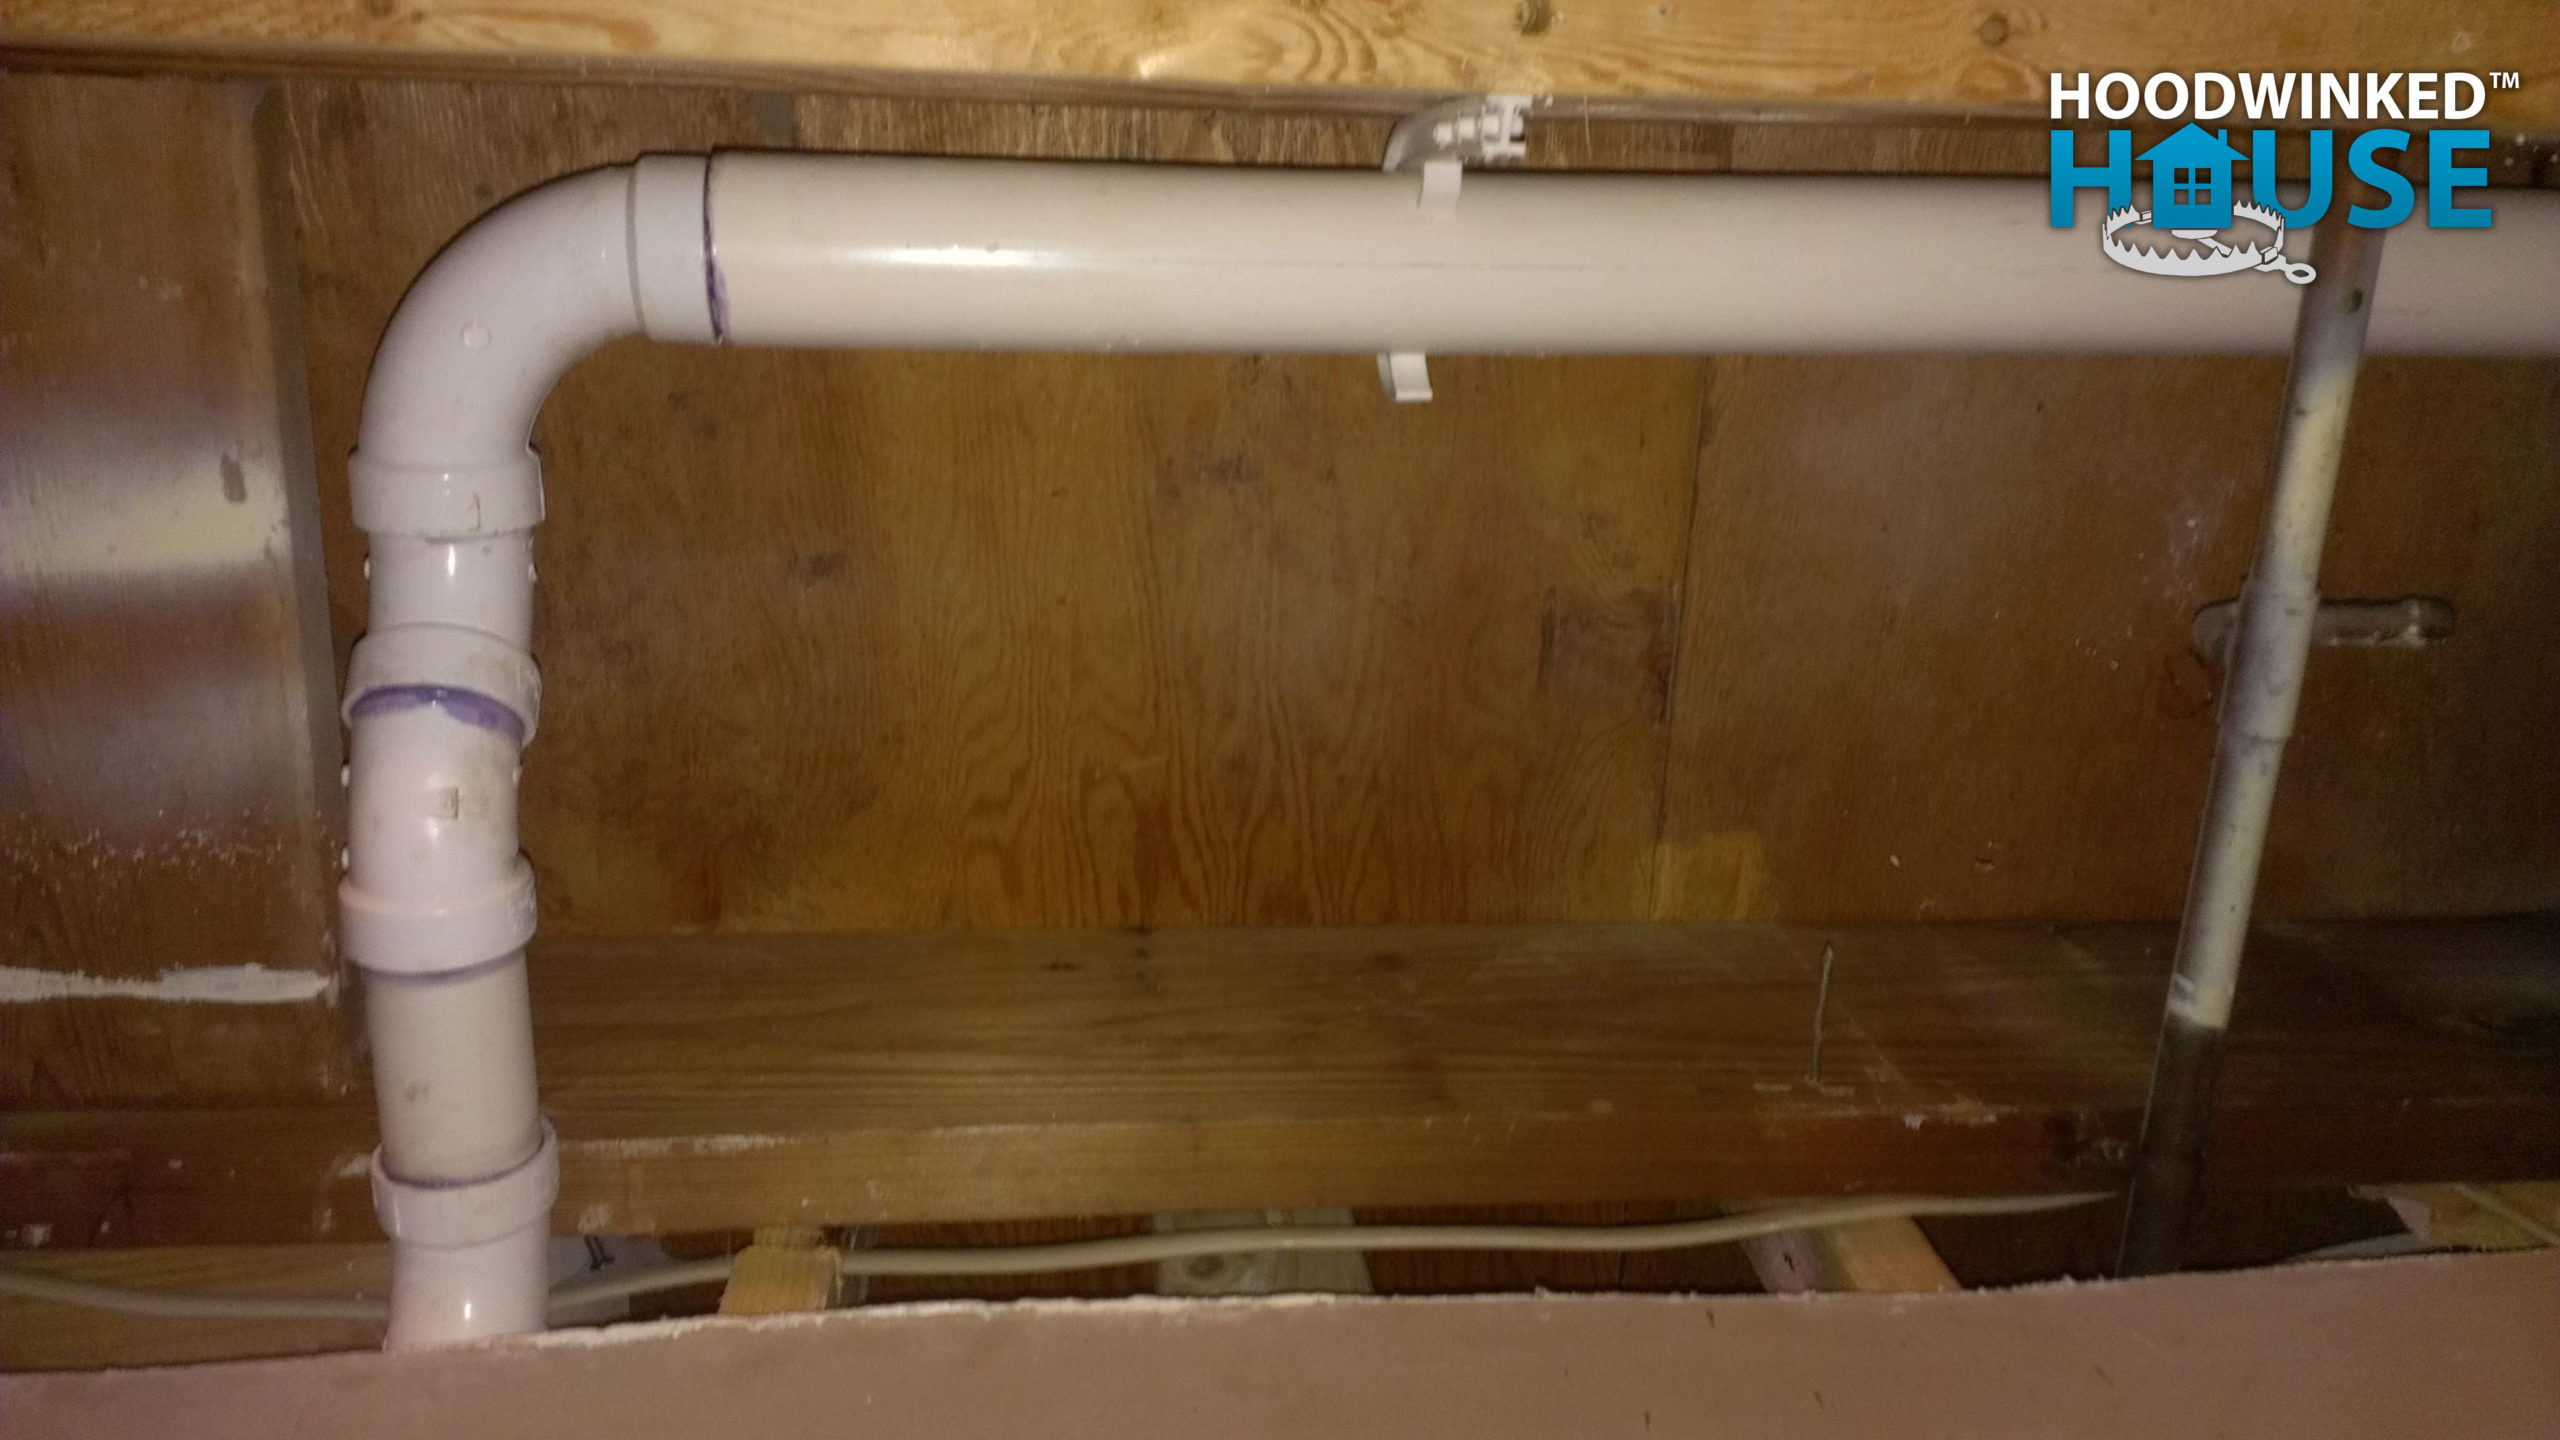
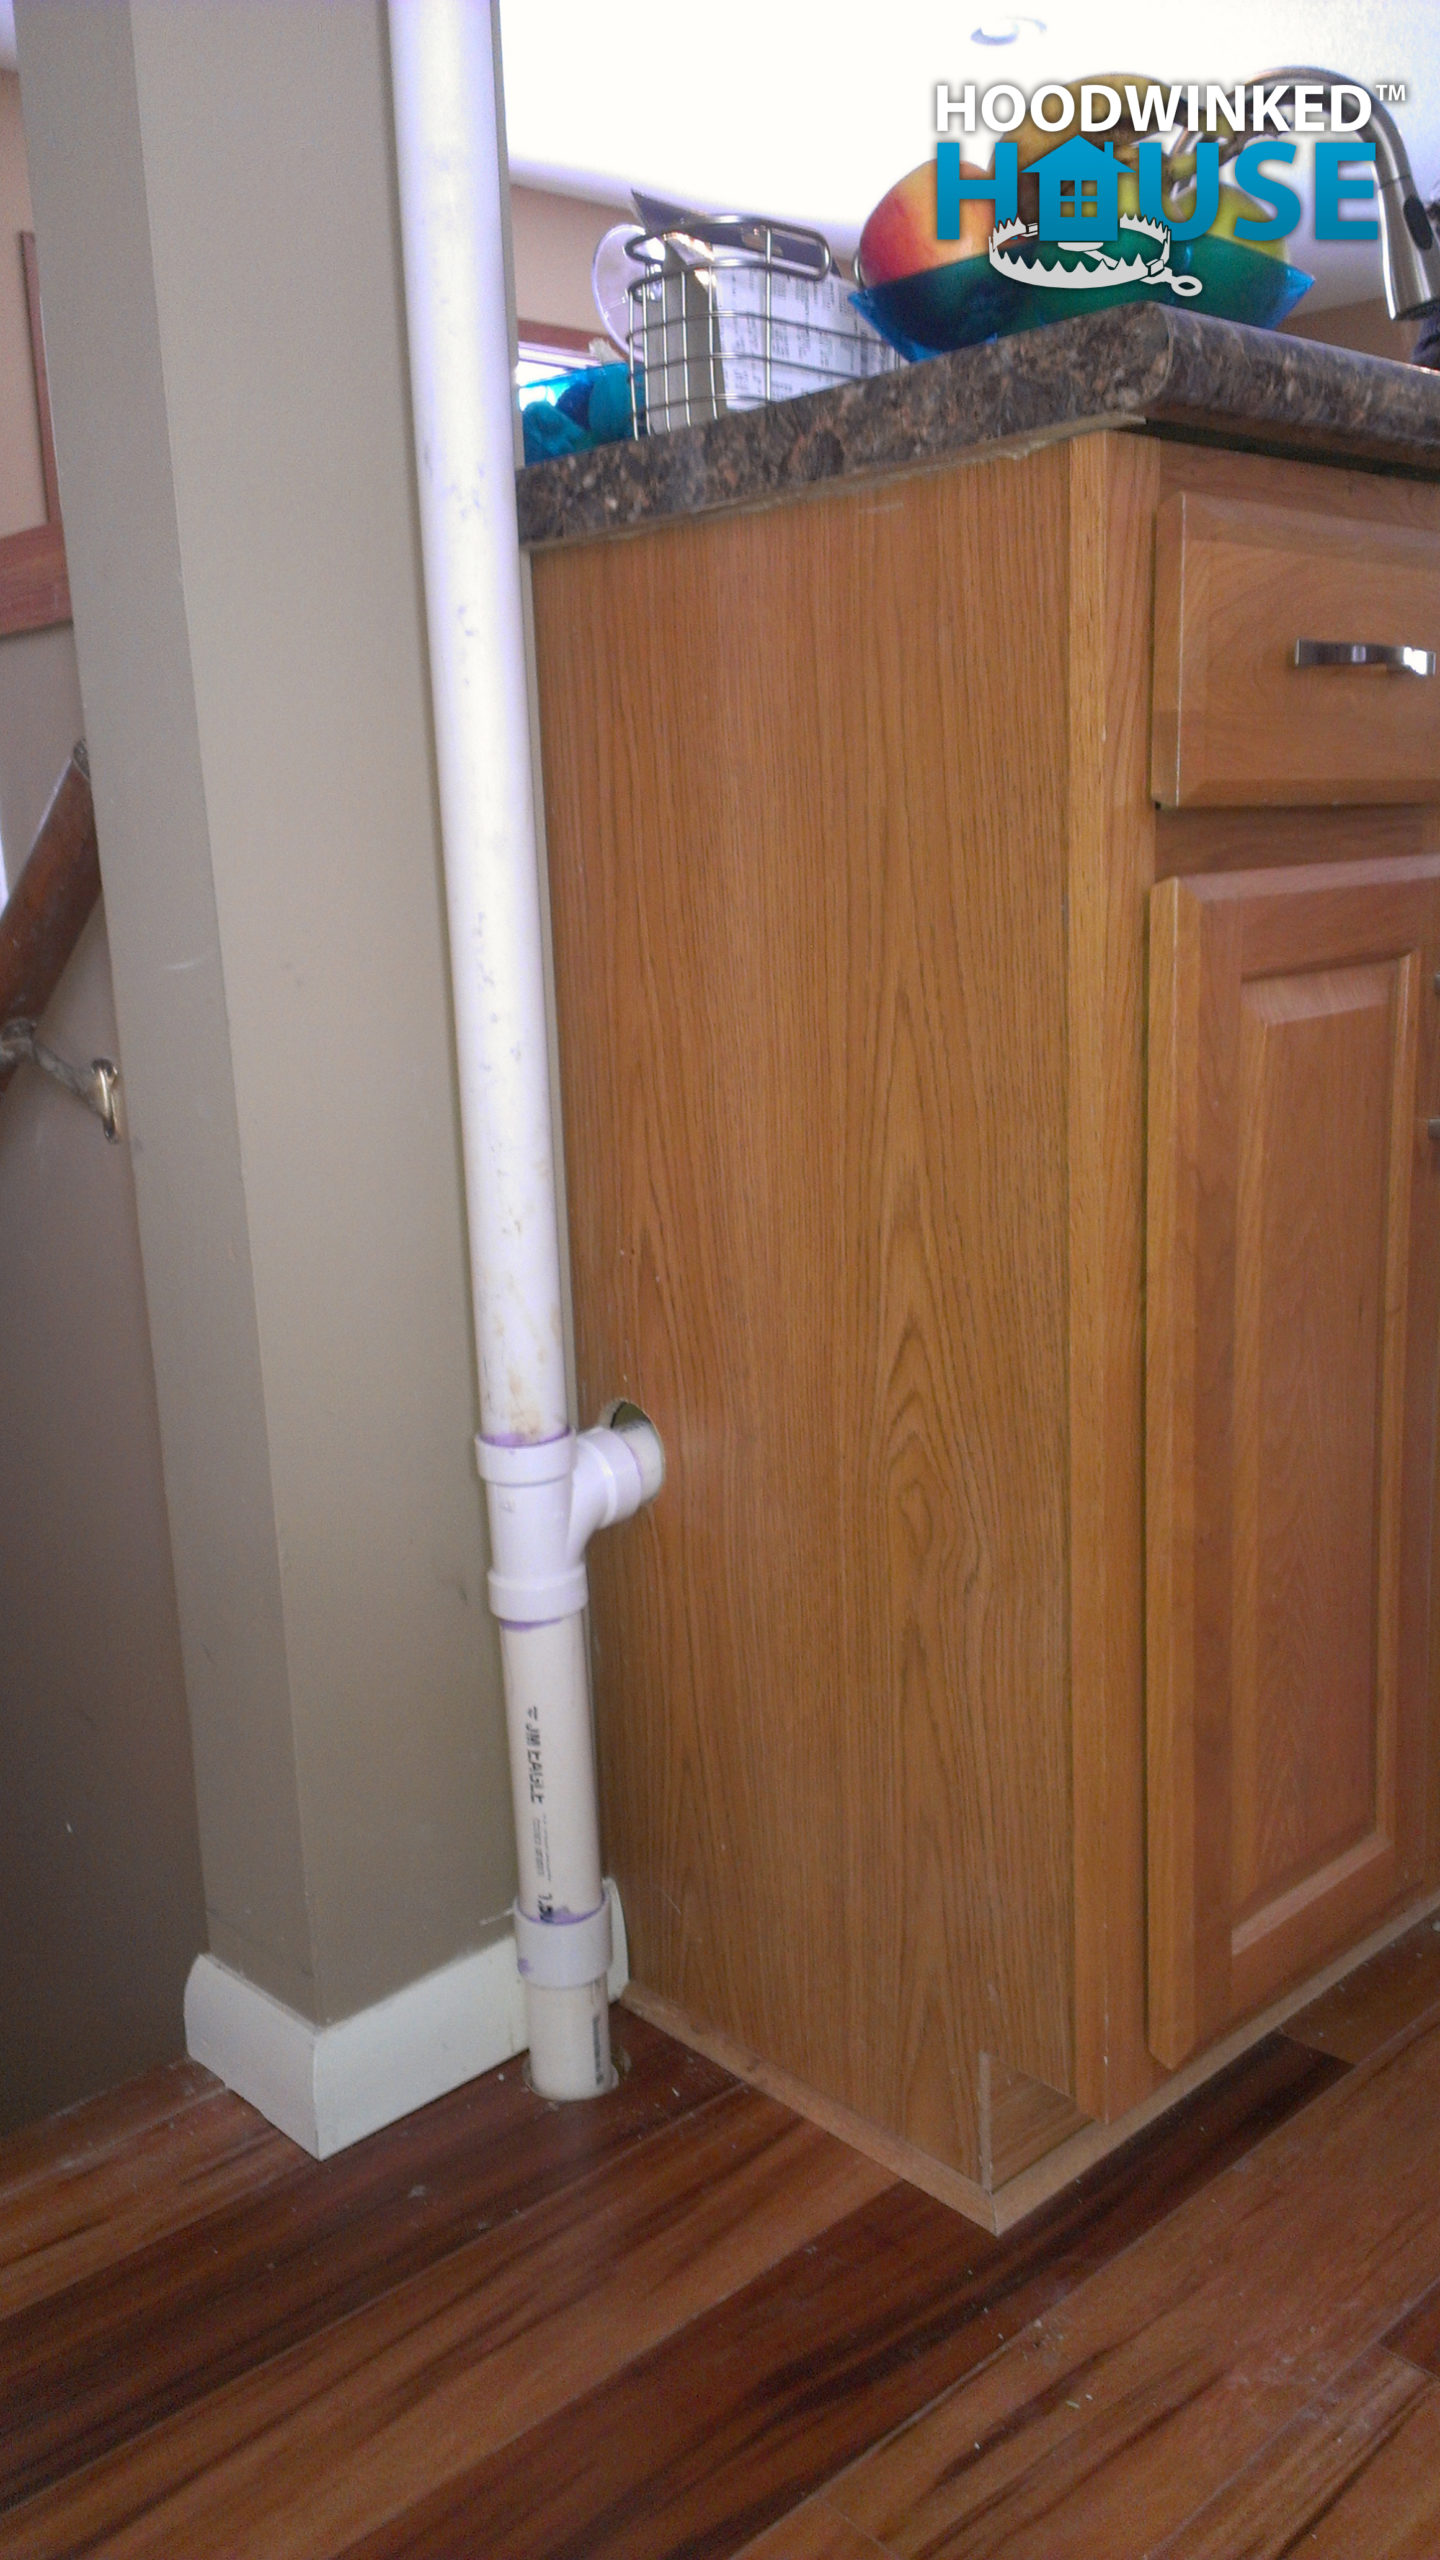
He also installs a vent stack that goes up through the ceiling and into the attic (temporarily, during winter). Eventually this will be extended all the way through the roof, and the stack itself will be boxed in drywall to match the rest of the house. This venting finally allows the kitchen sink and dishwasher to drain properly.
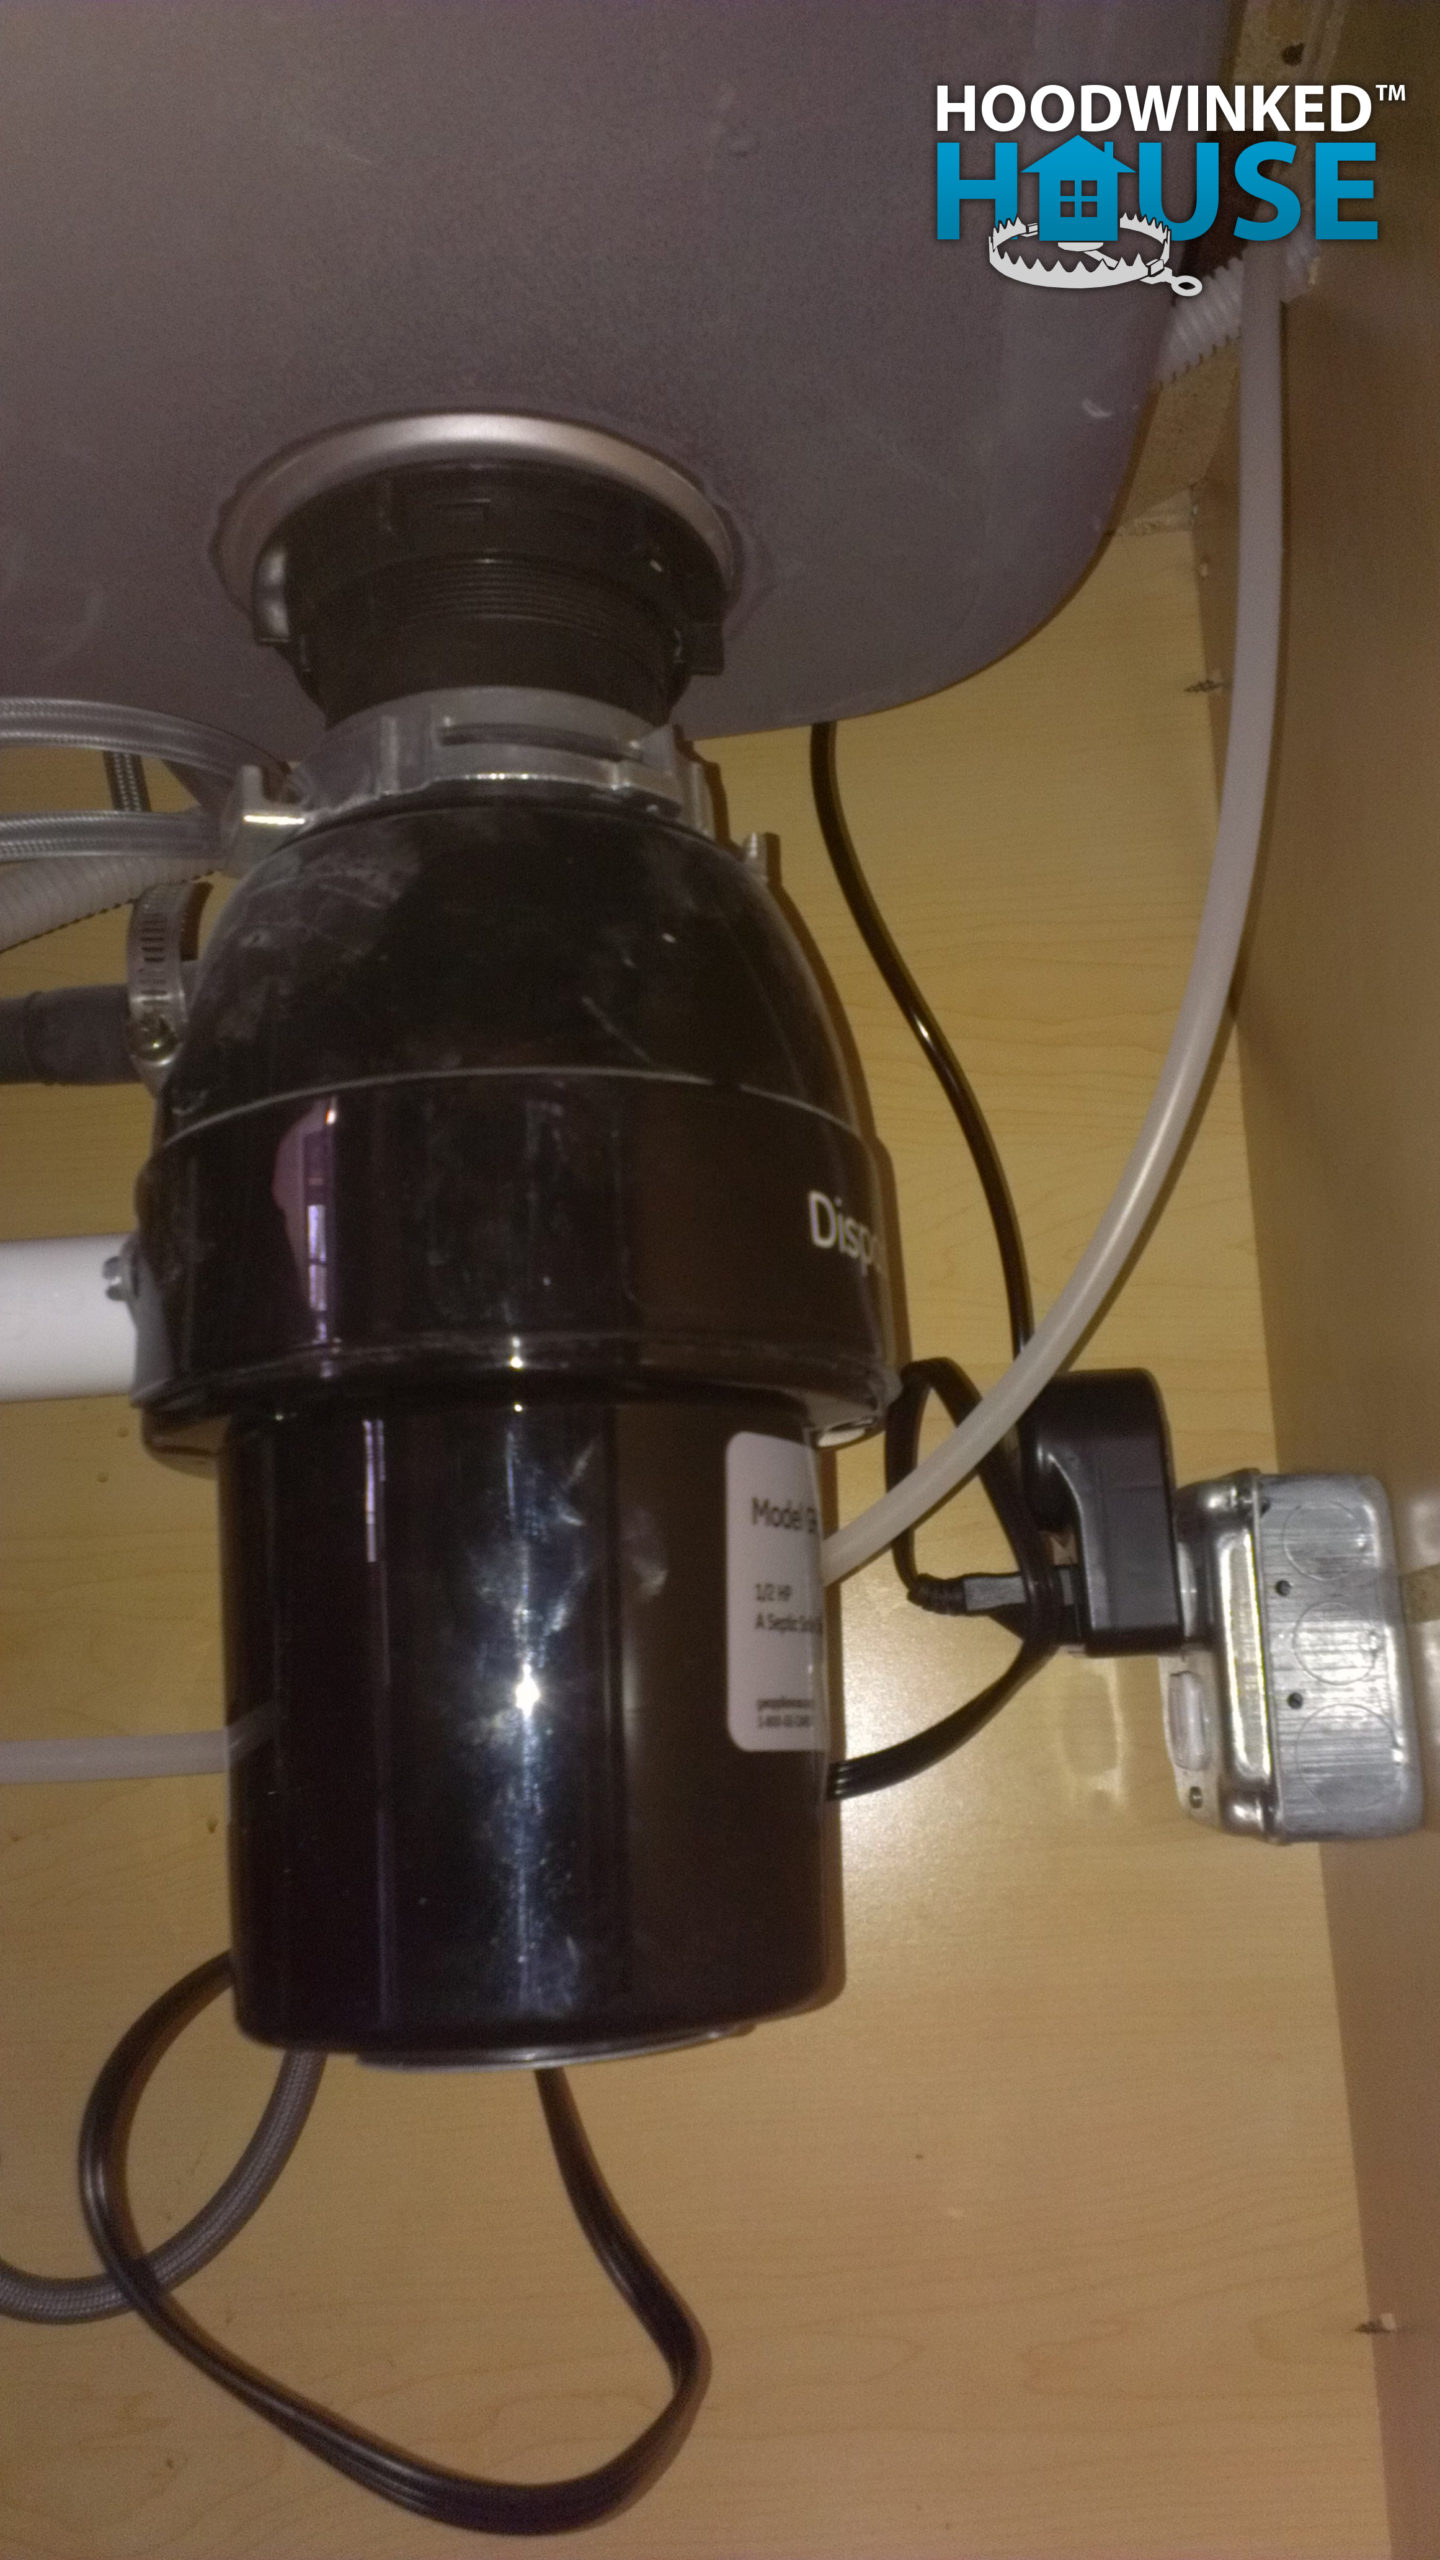
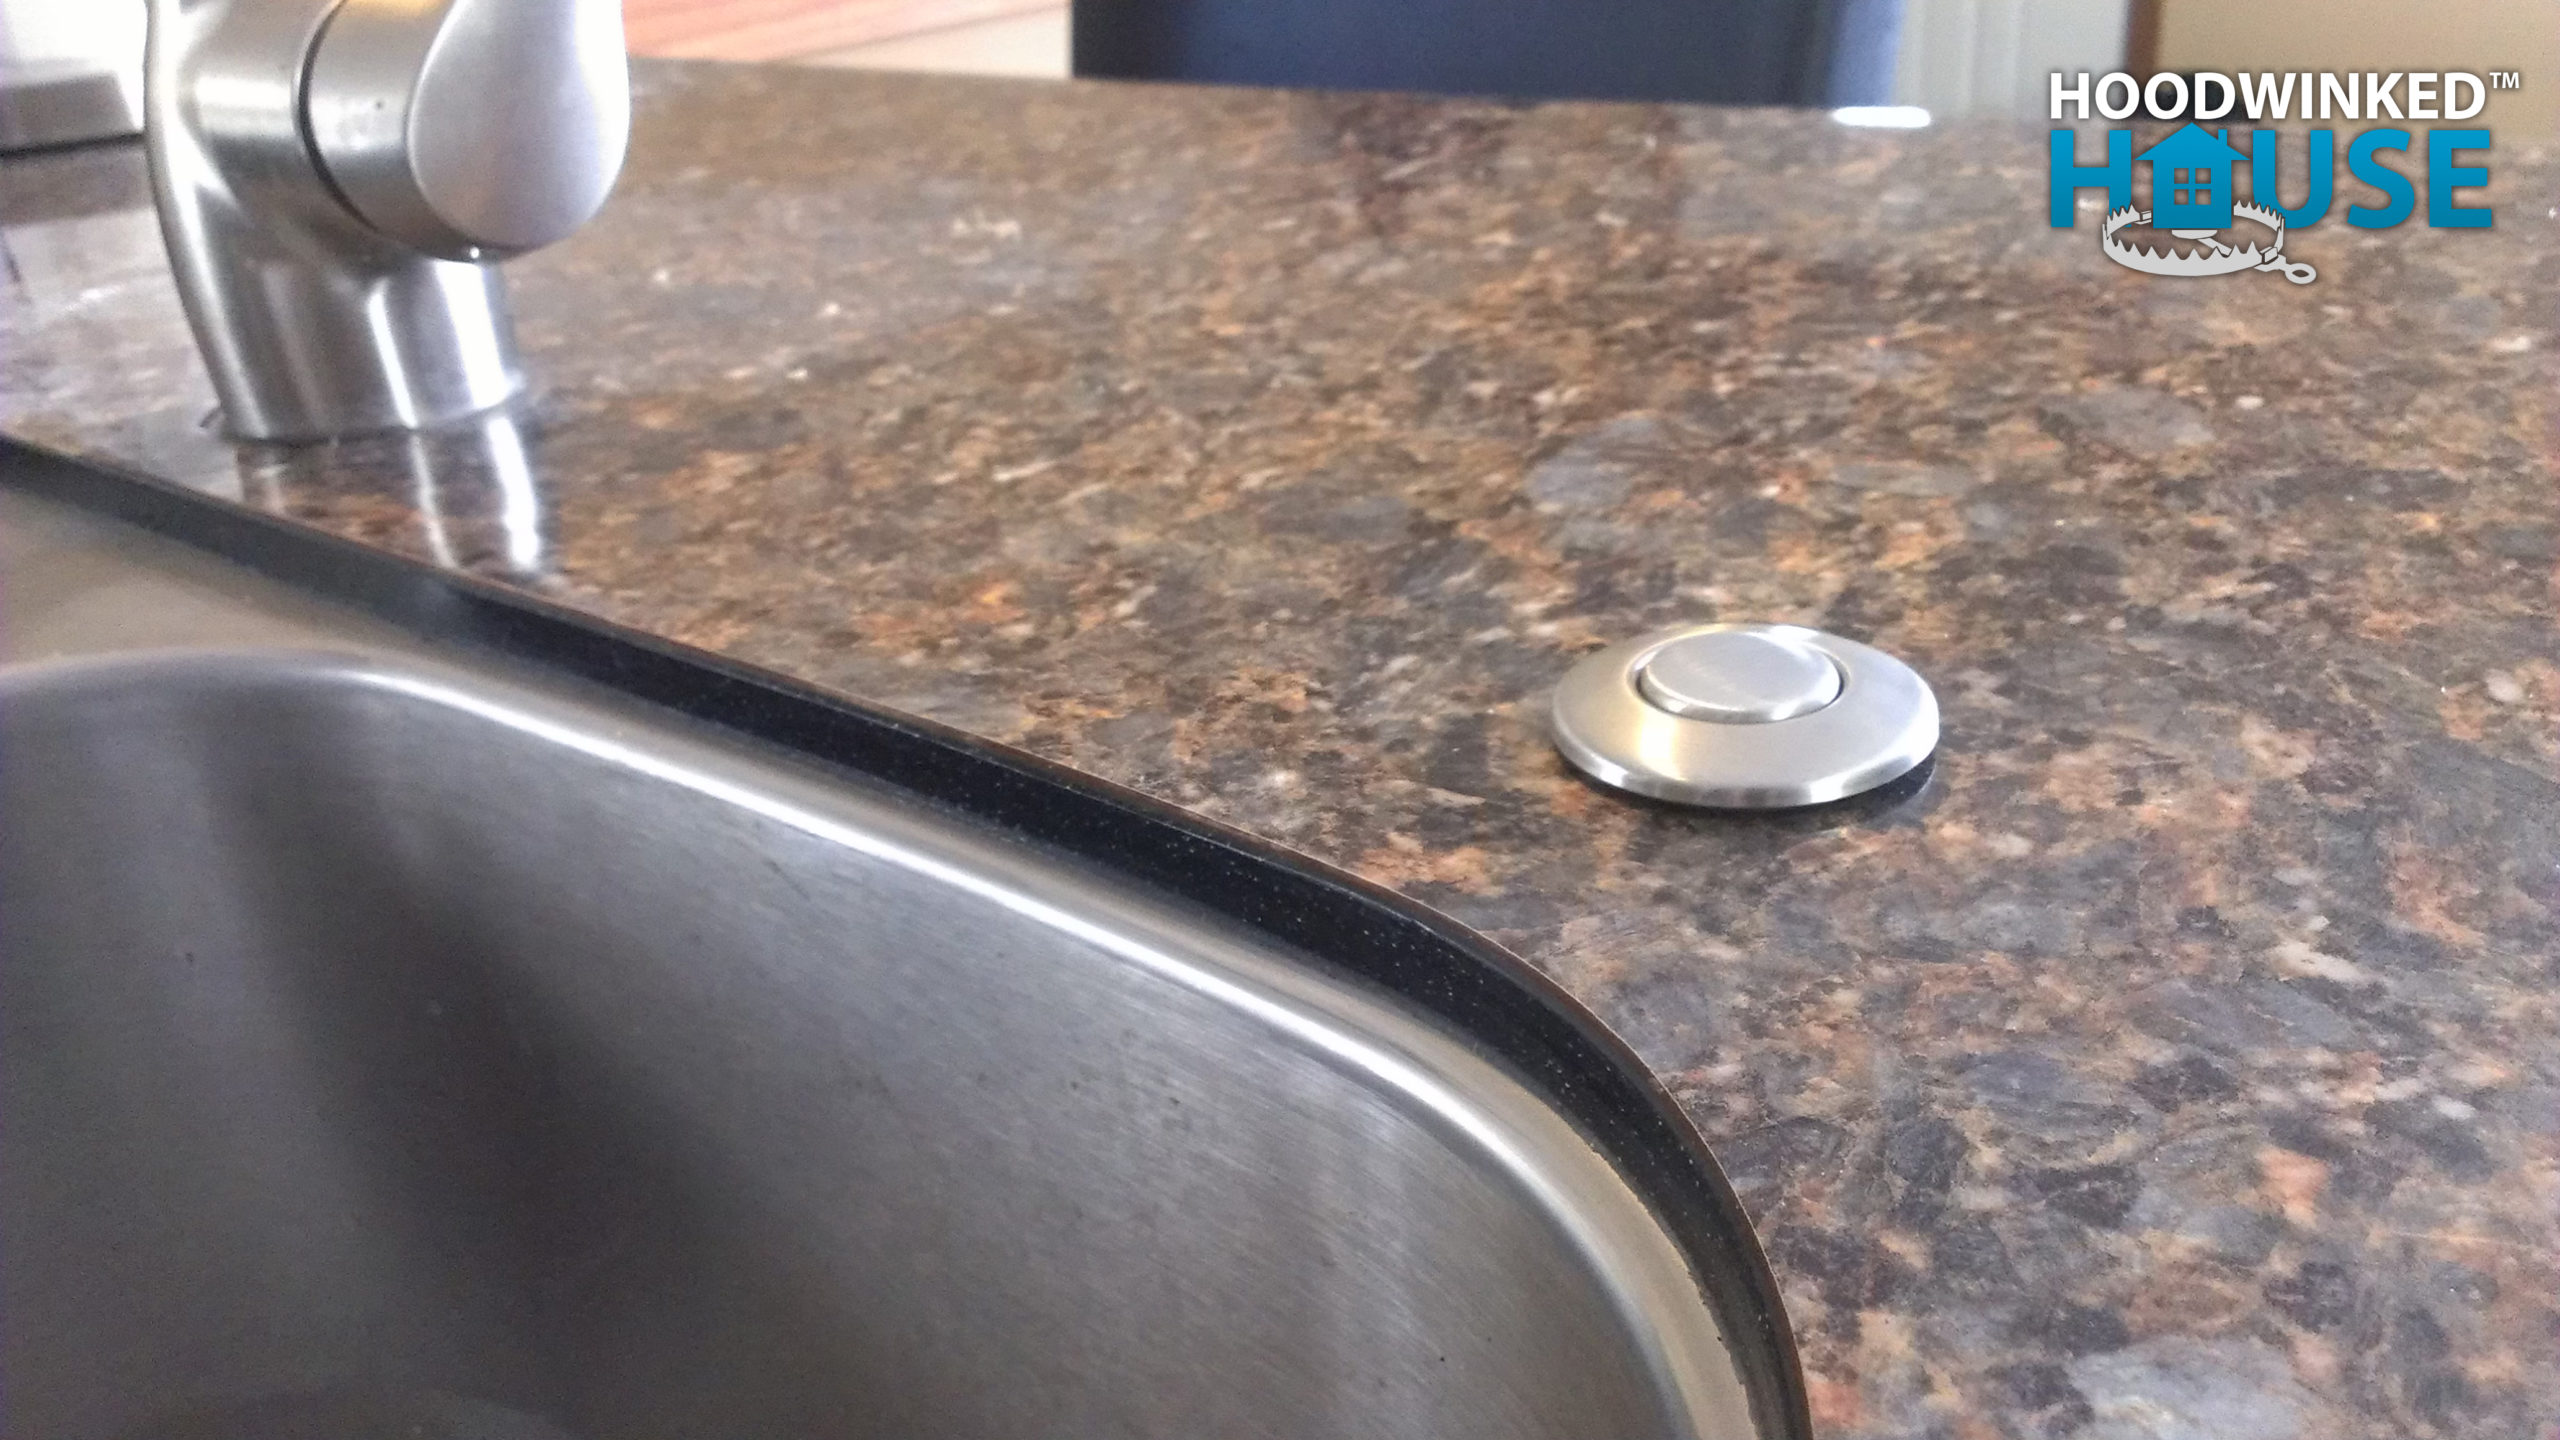
Meanwhile, I reconfigure the electrical under the sink, install an outlet in the existing junction box, and re-wire the garbage disposal with an AC cord. This is activated by an air switch that I installed in the counter top. ($94.22)
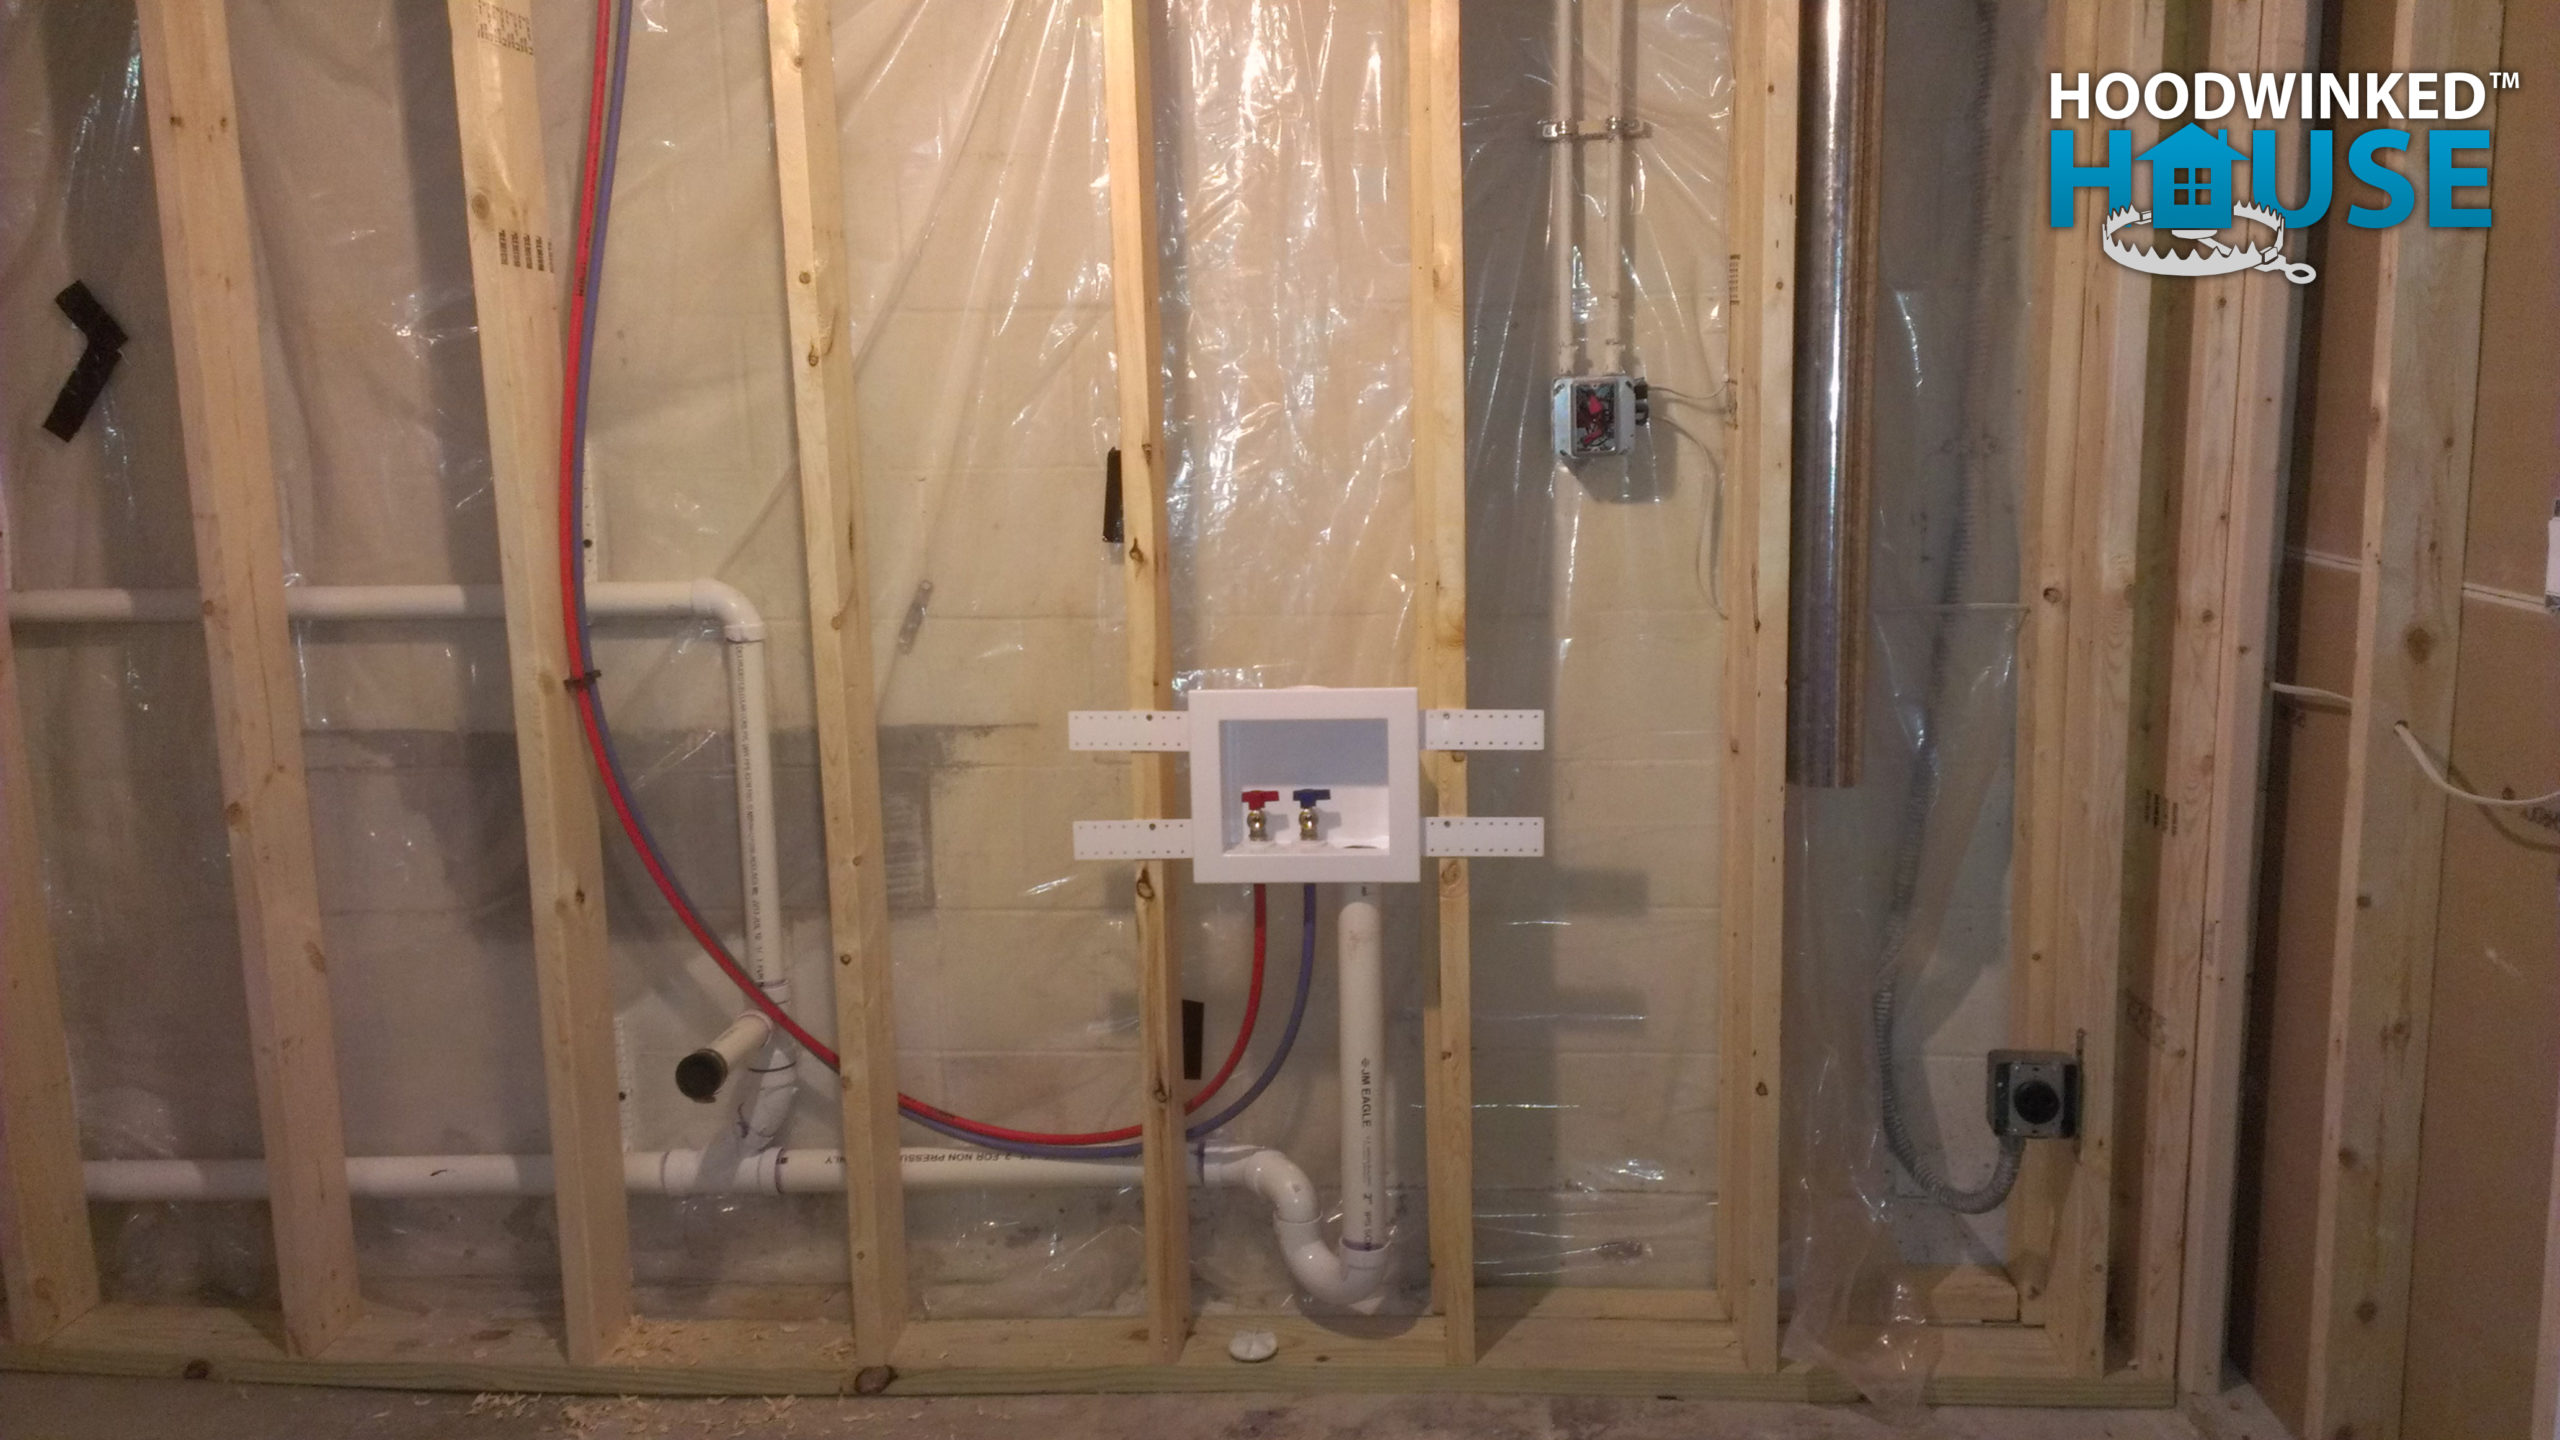
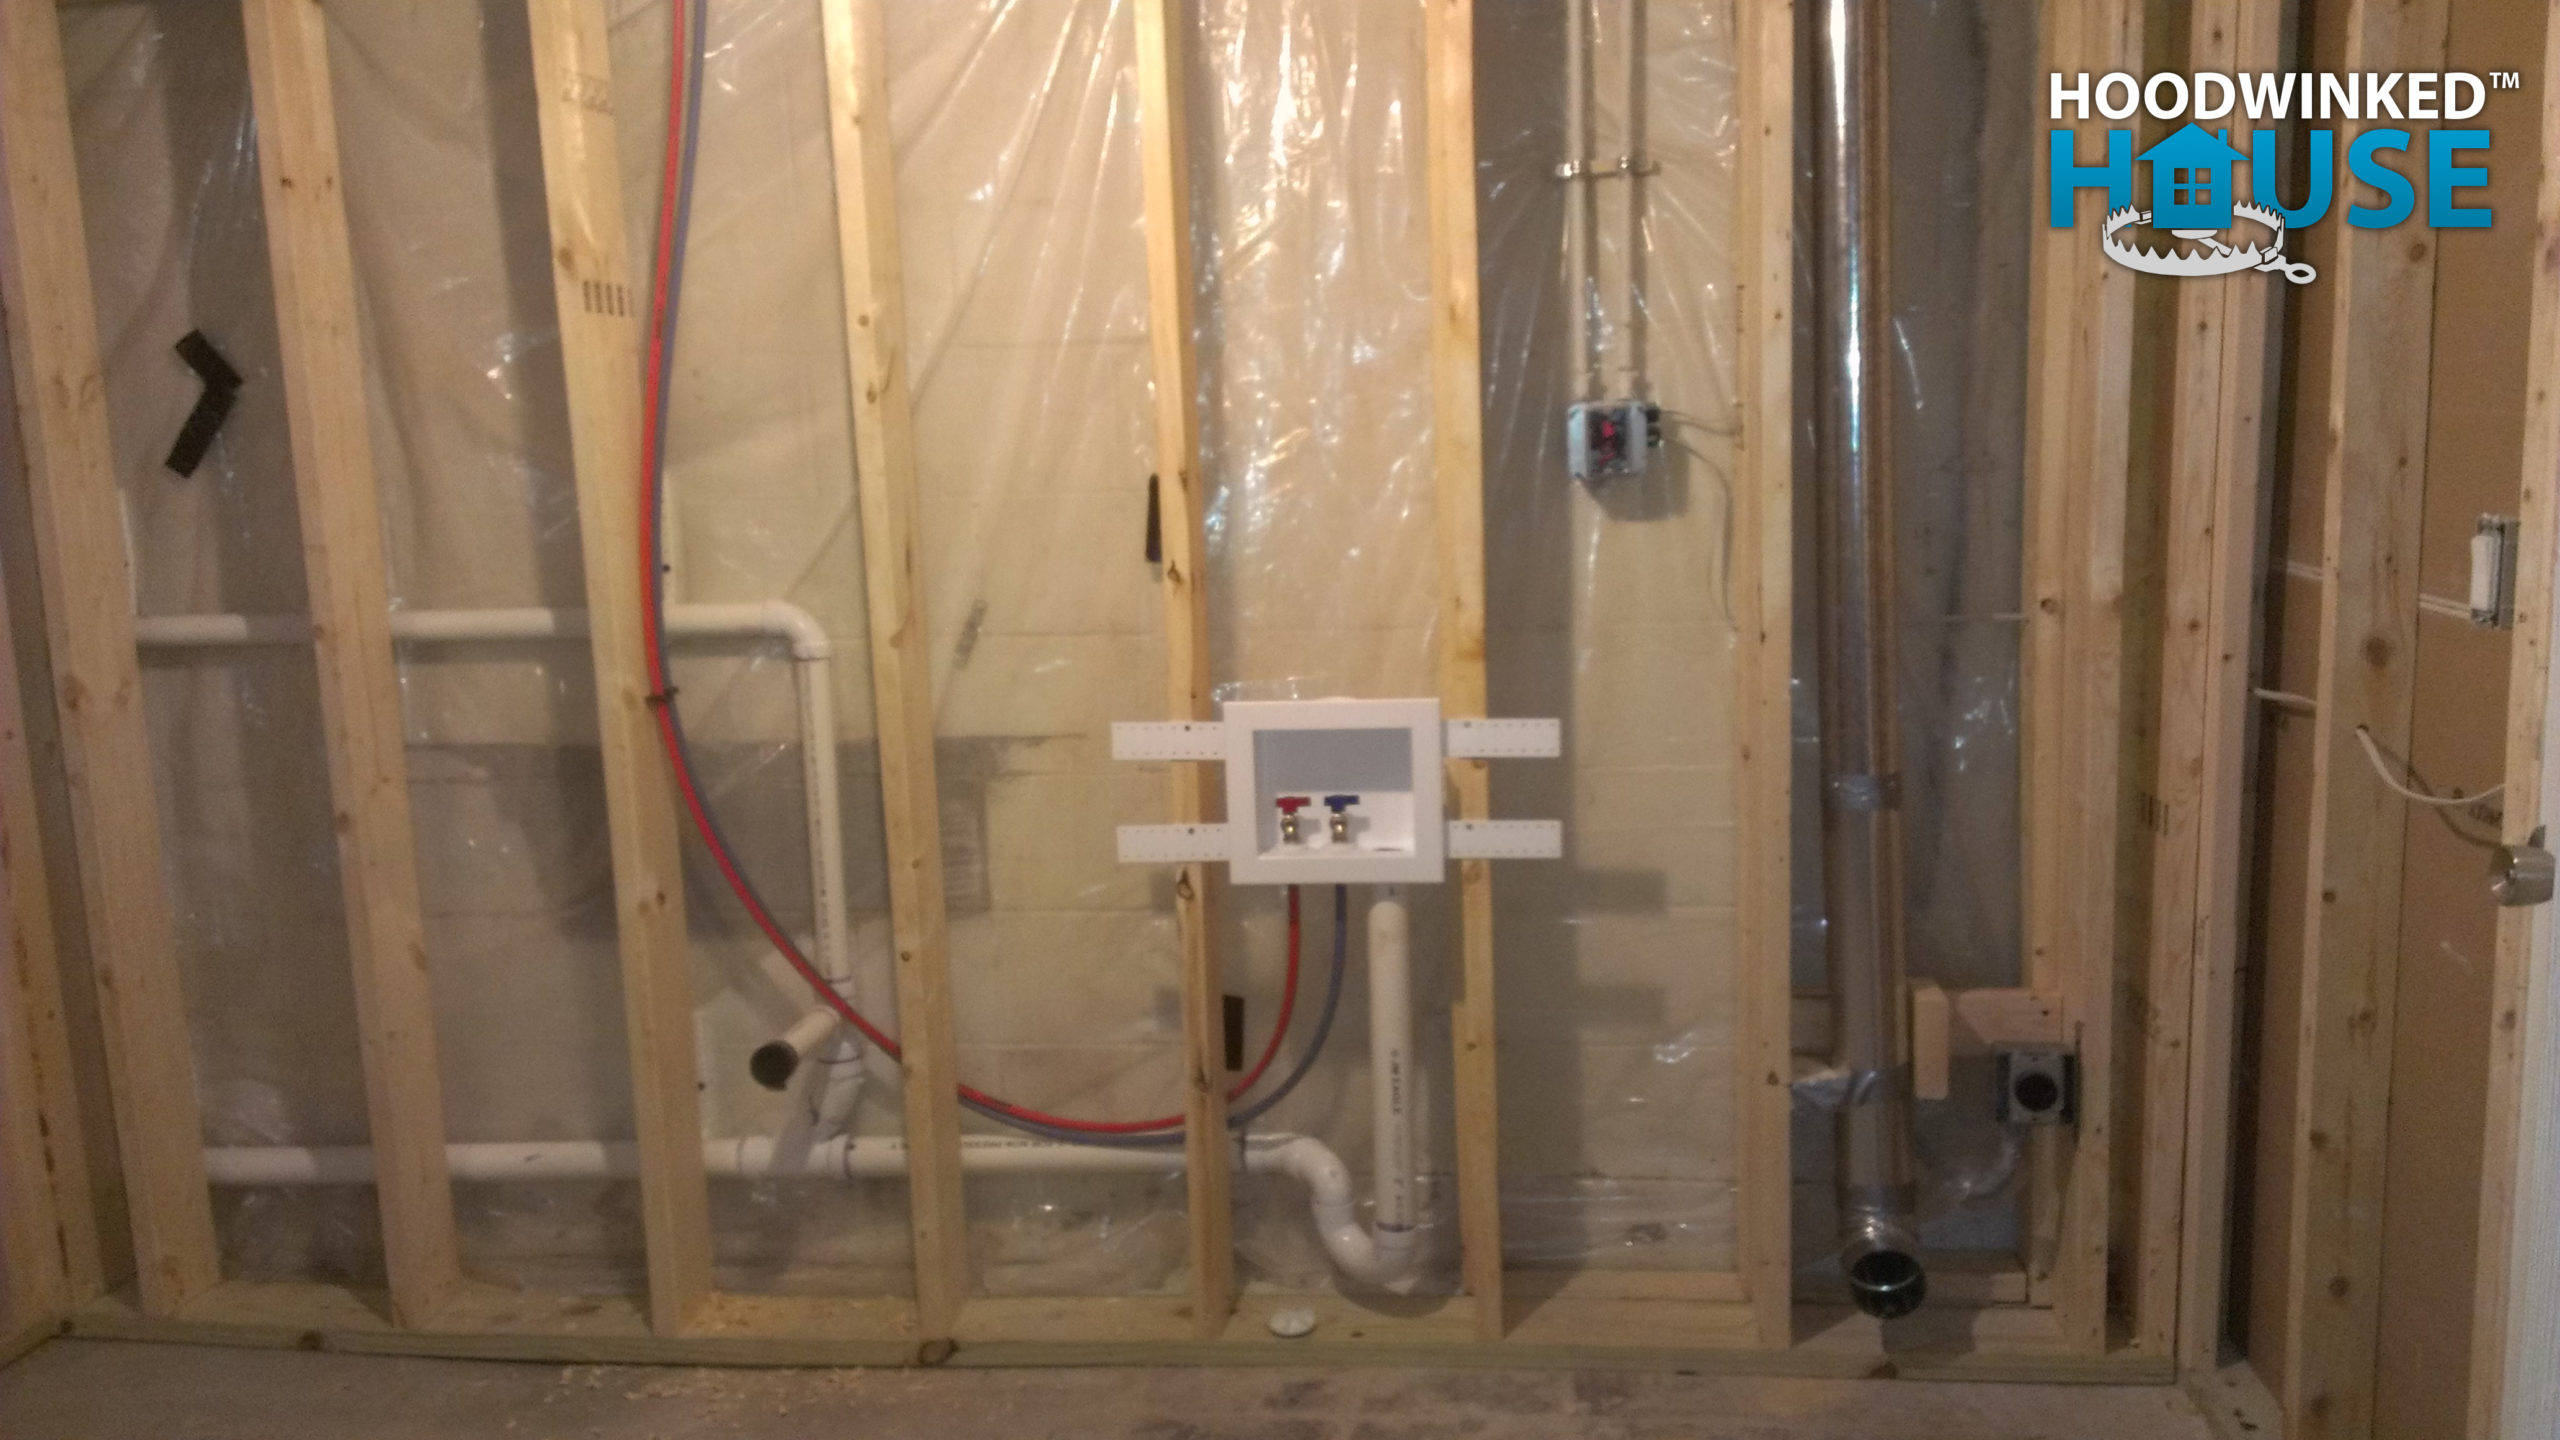
Later, the plumber hooks up (temporary) water lines for the washing machine, and I install a flush-mount dryer outlet.
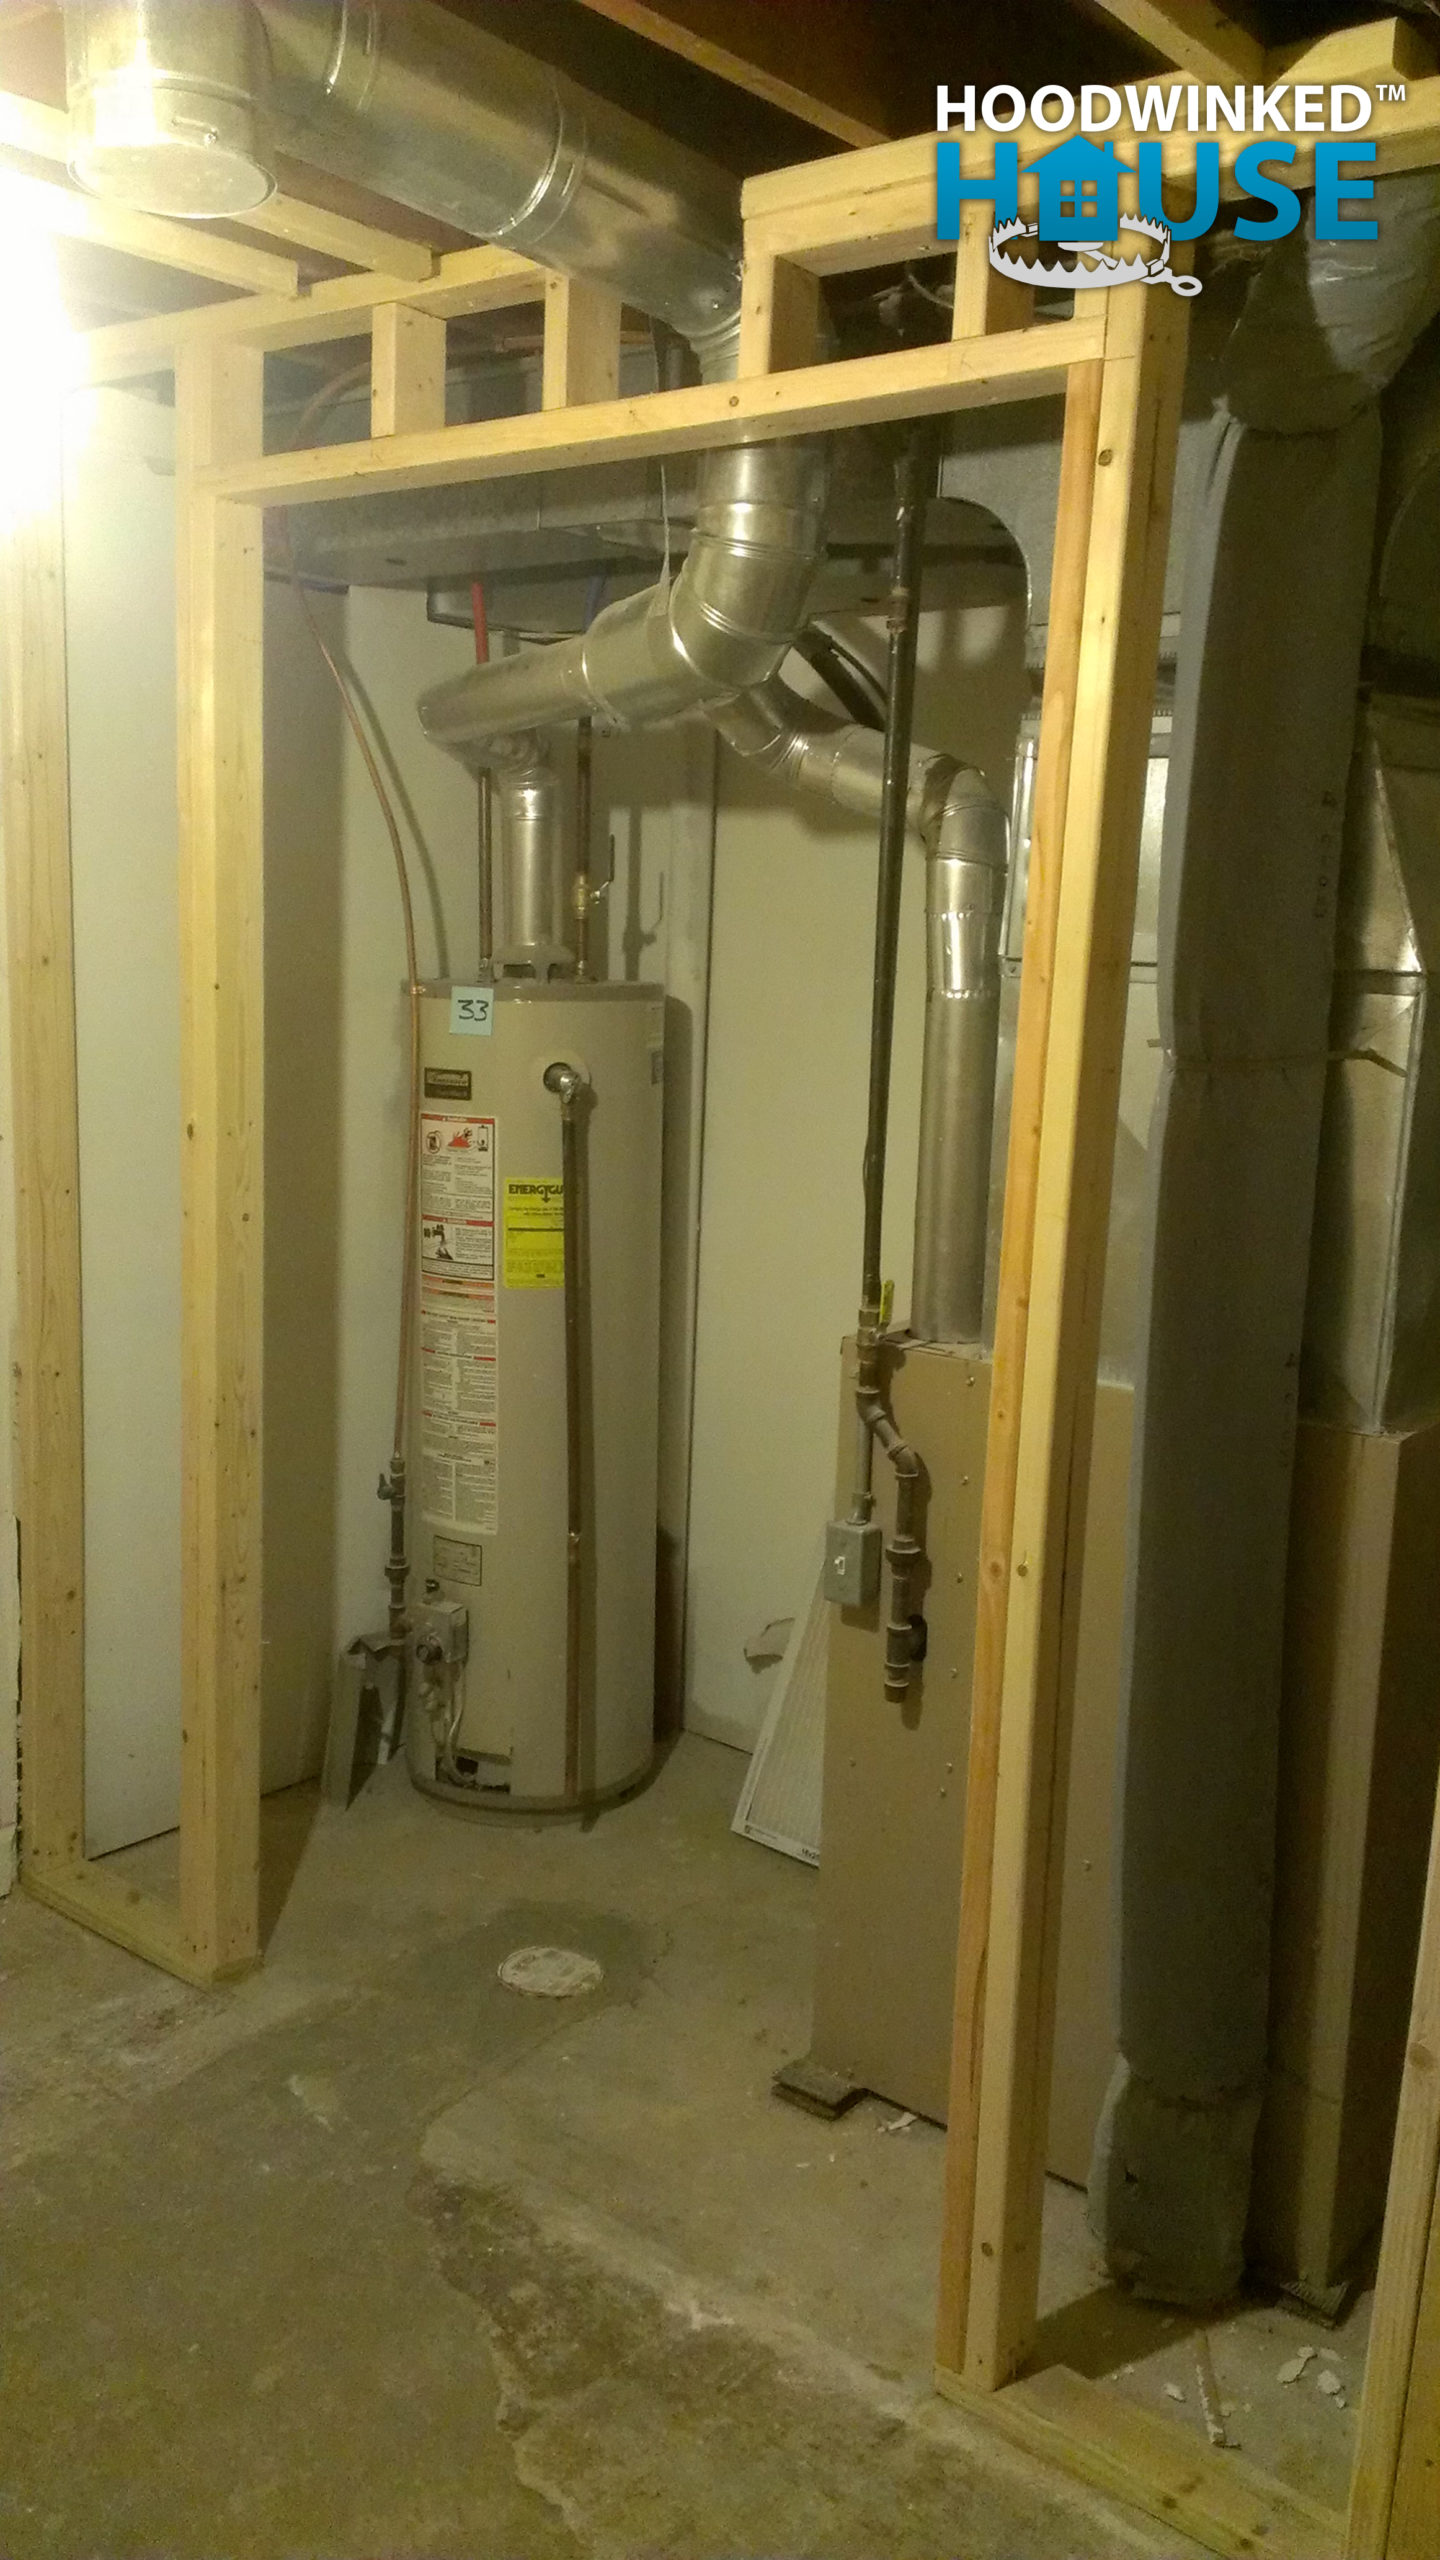
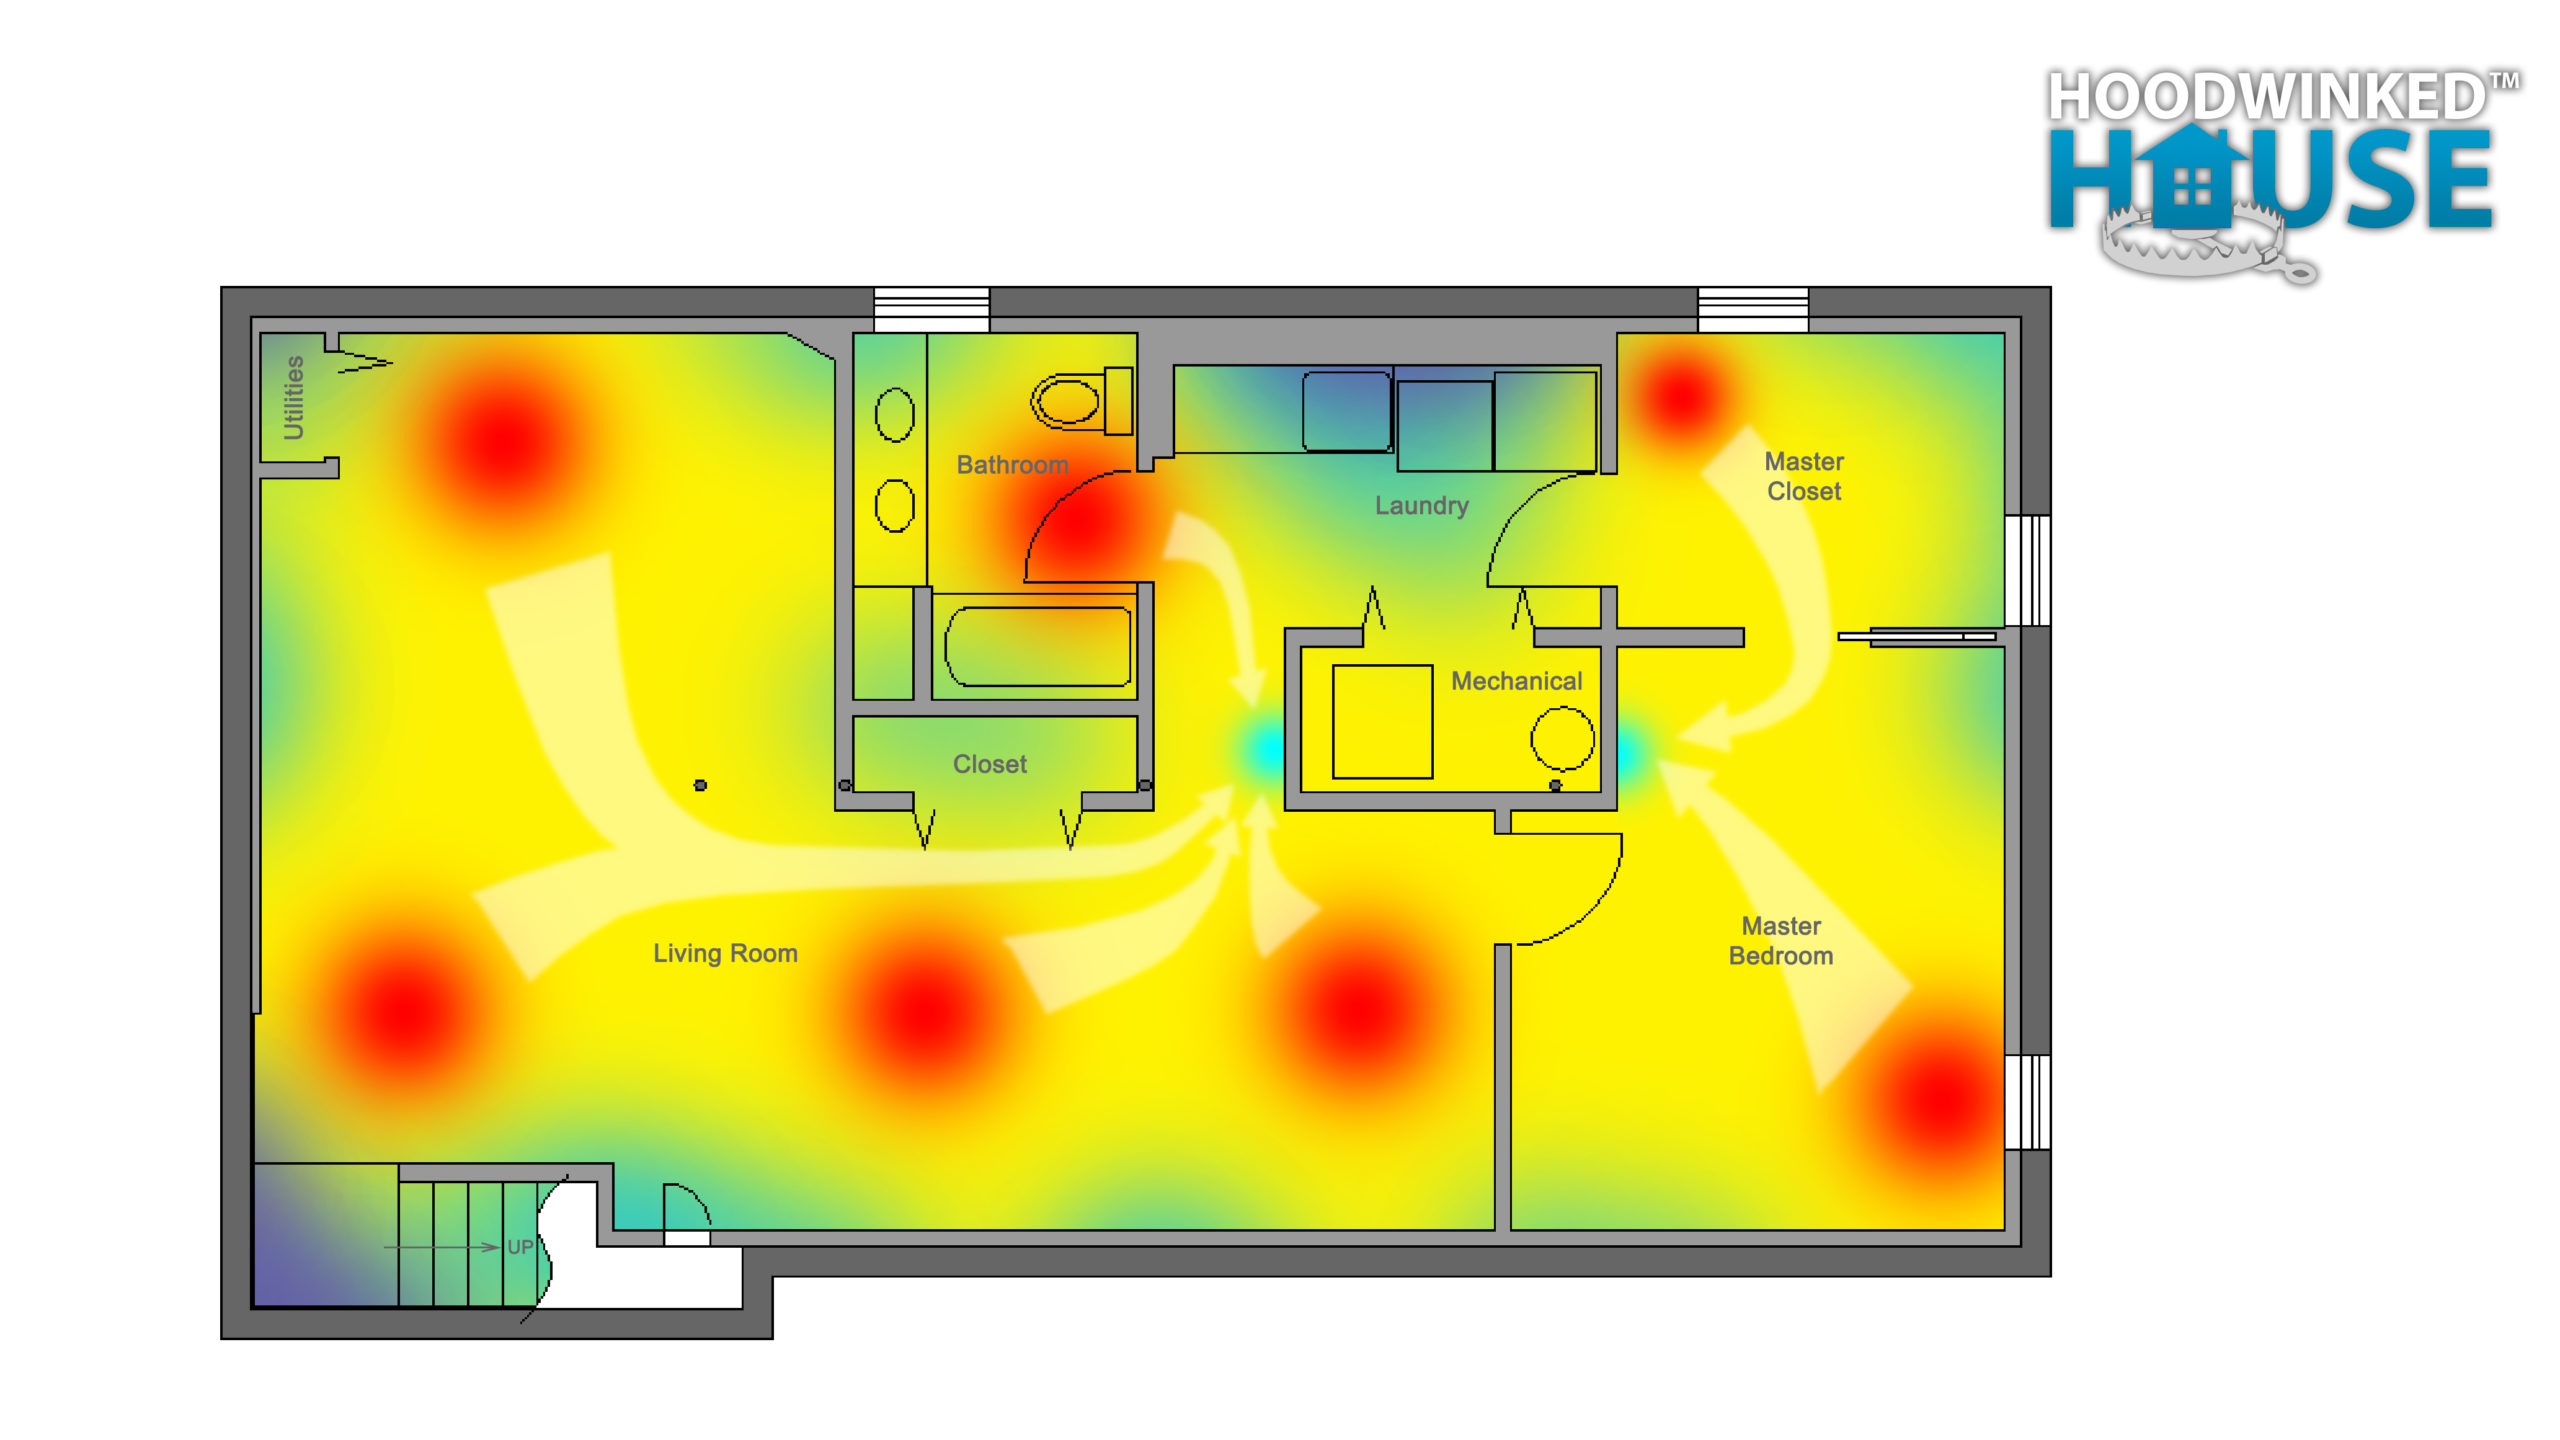
Poor heat distribution
My general contractor discovers more illegal wiring in the soffit in the master bedroom. I fix this myself.
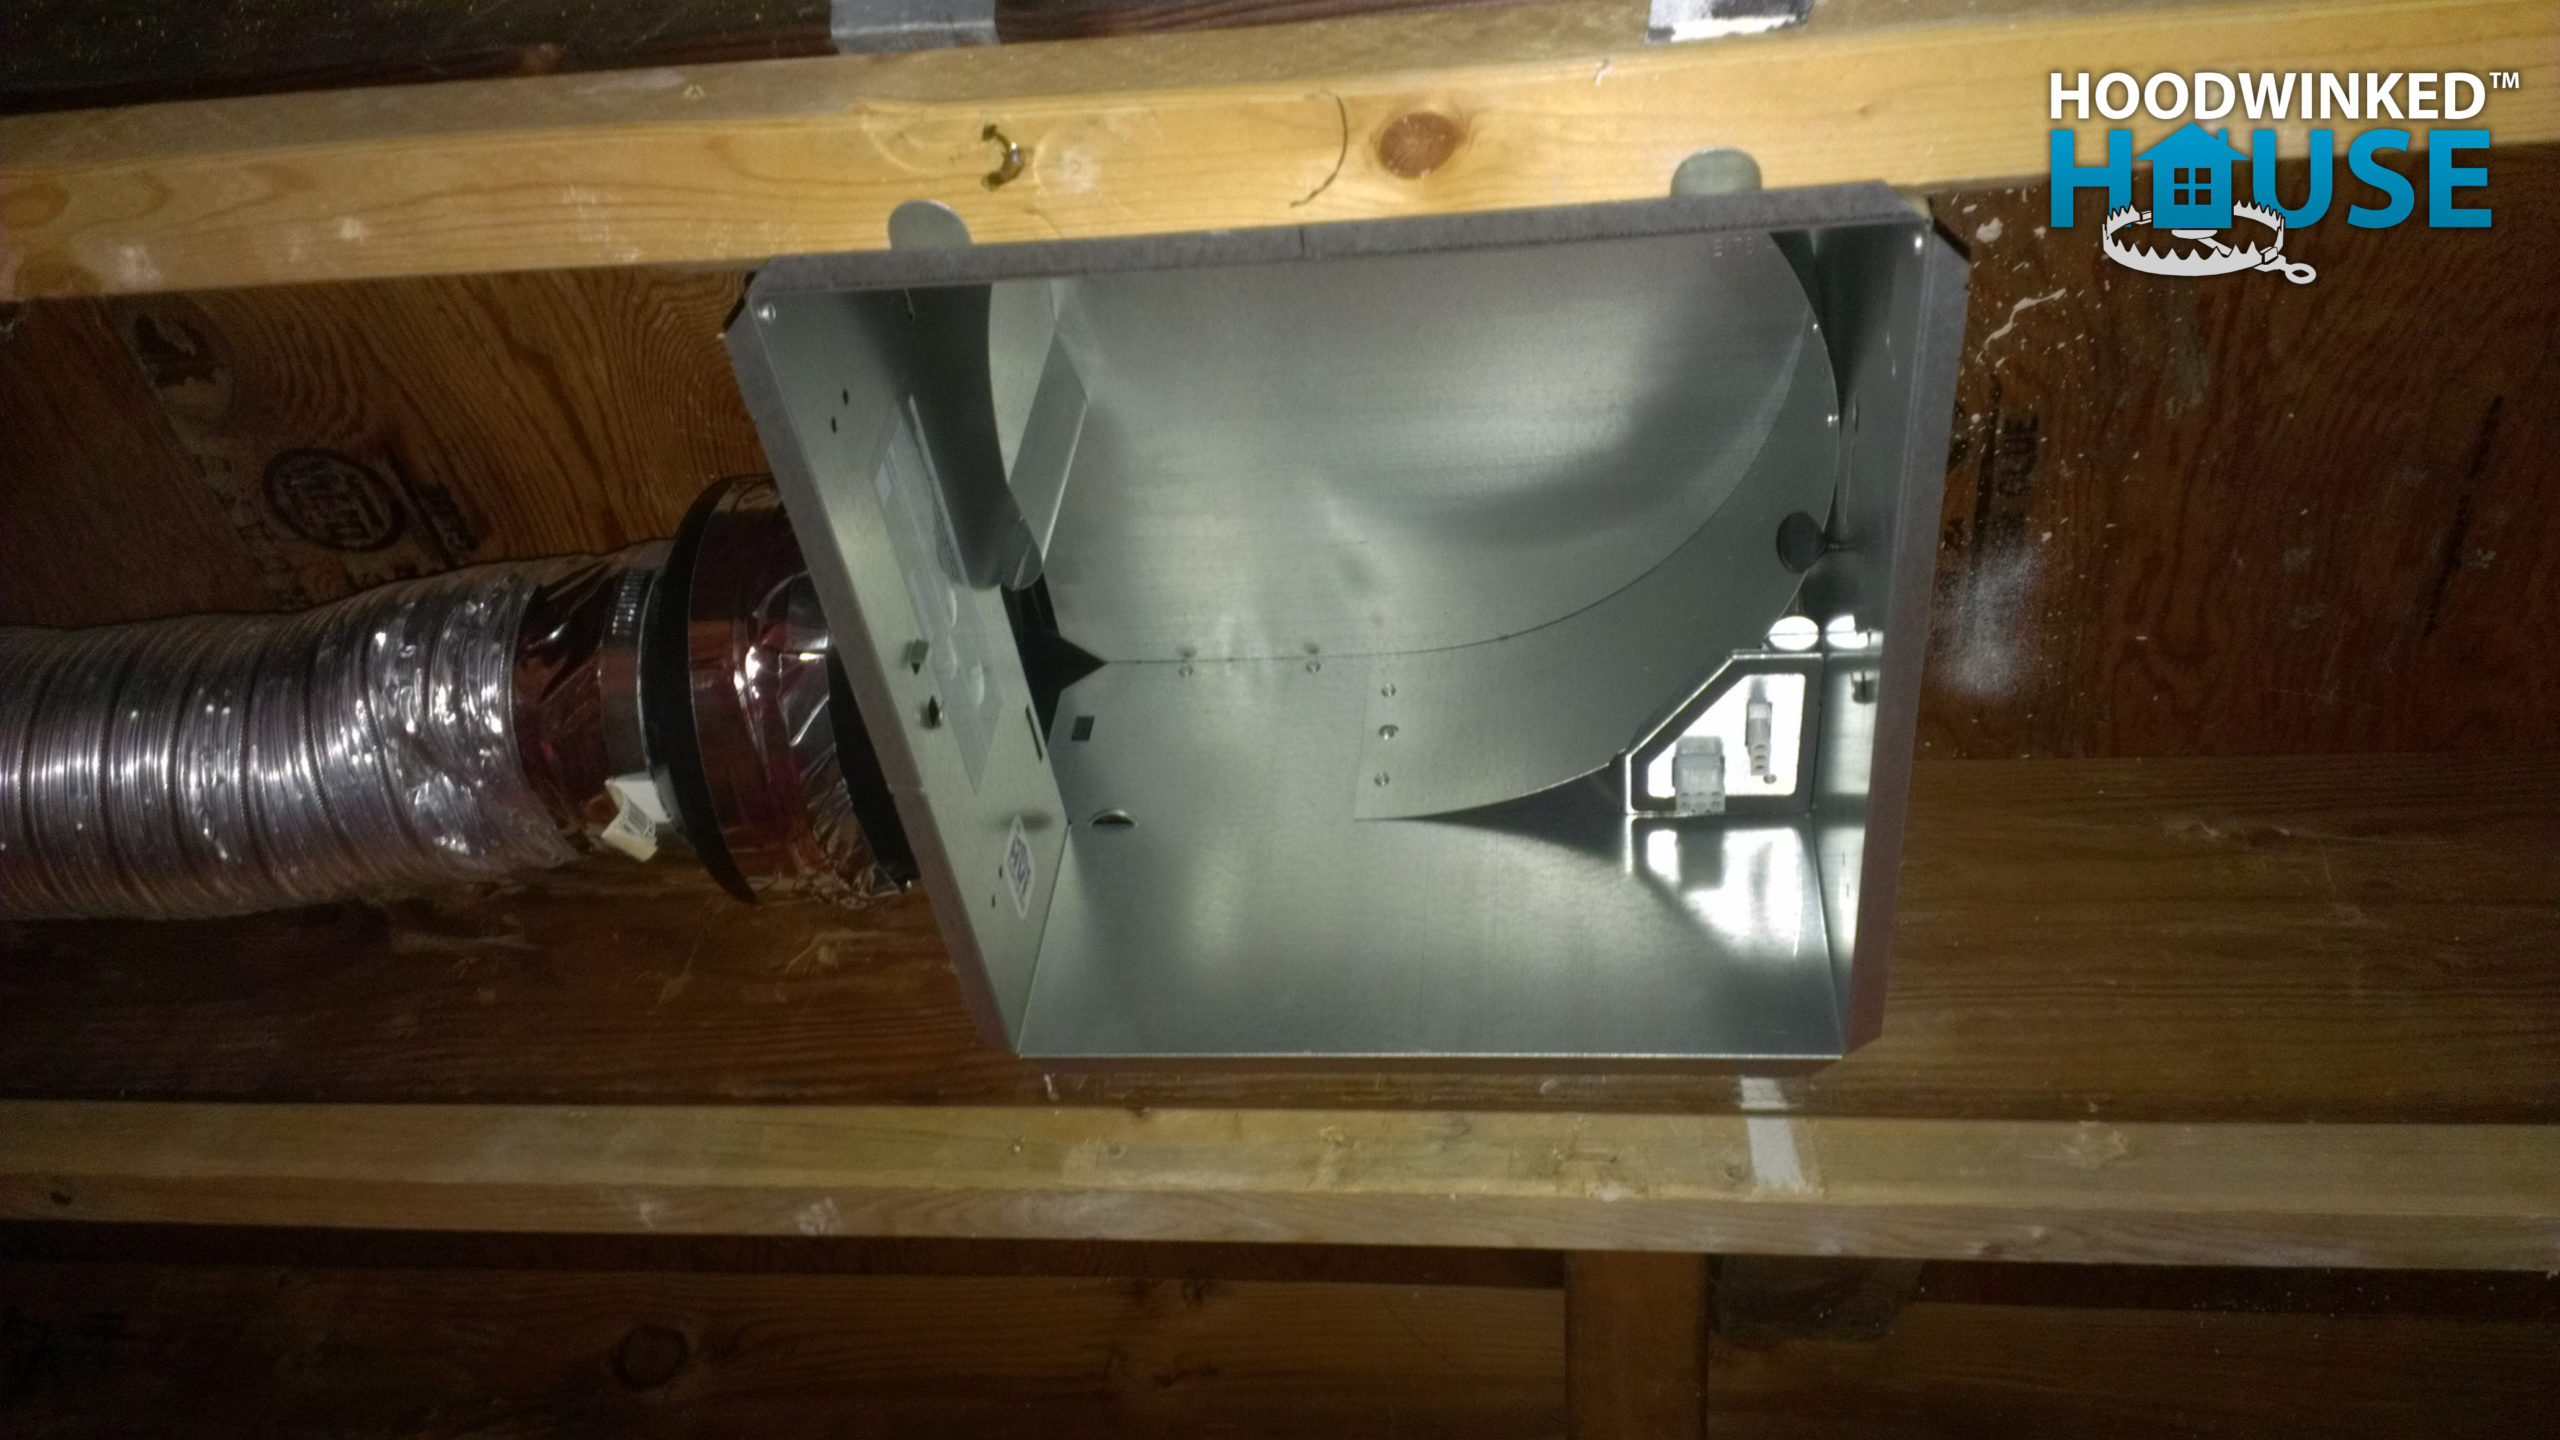
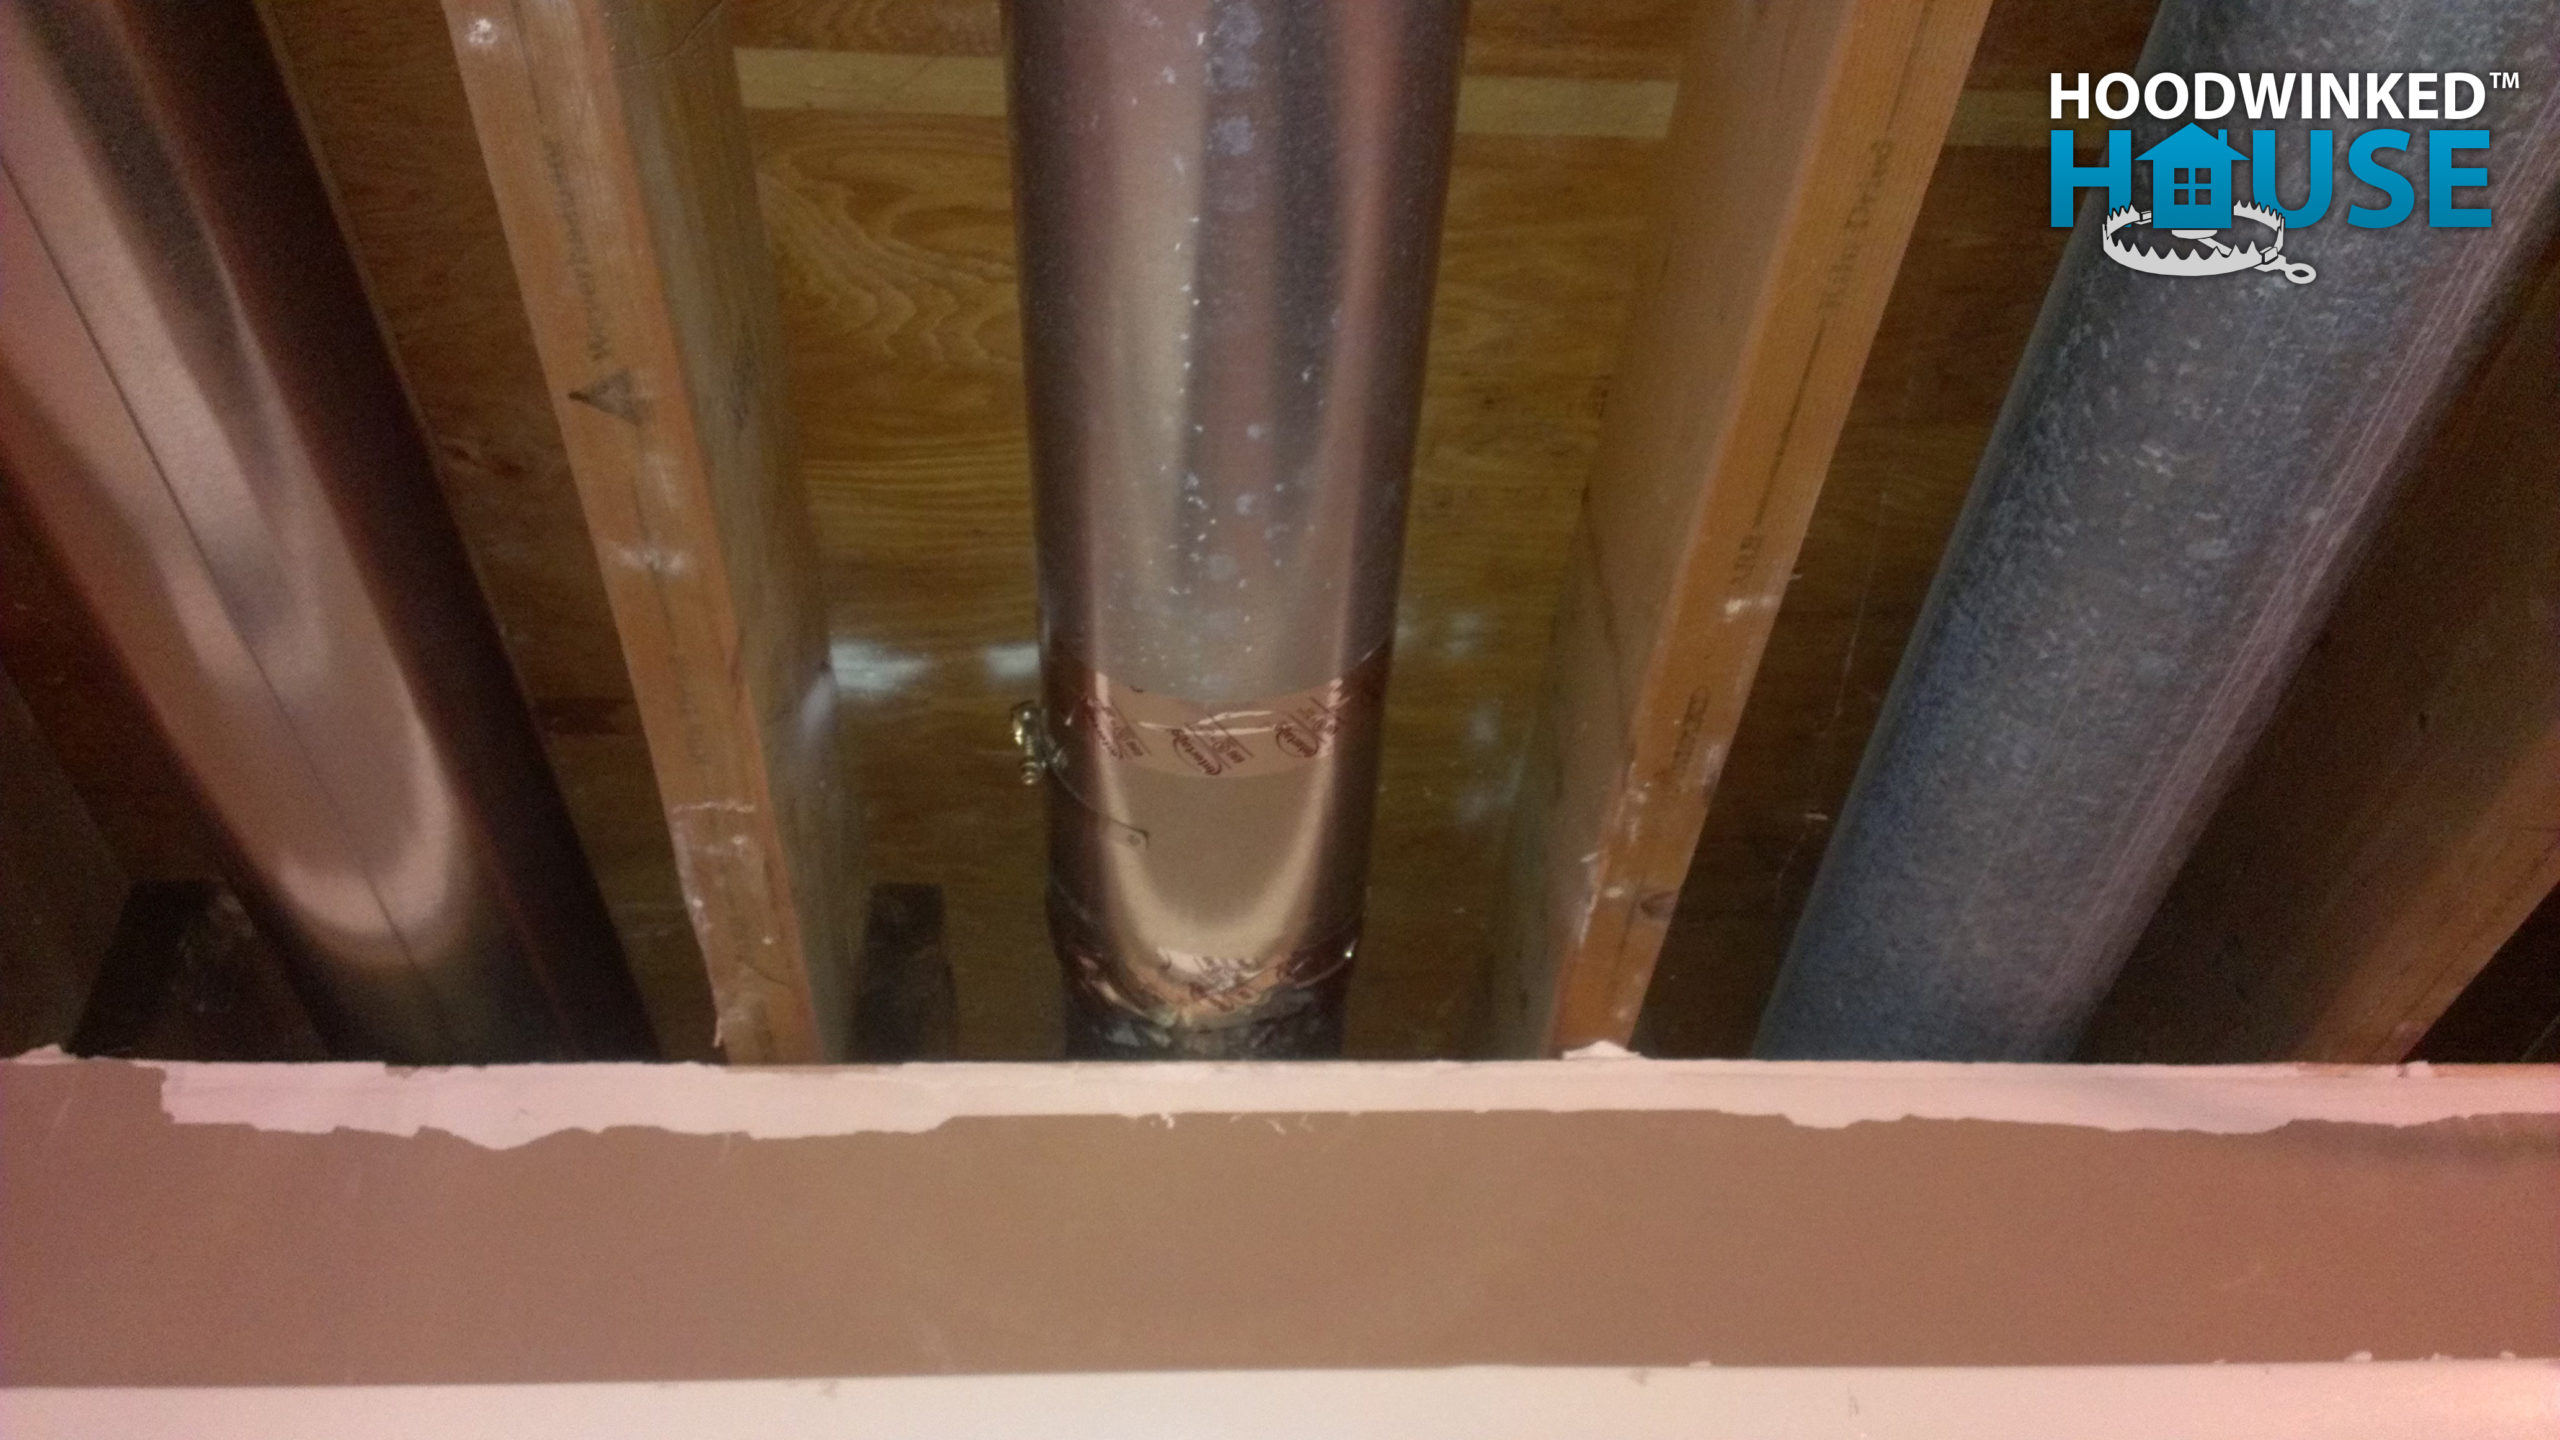
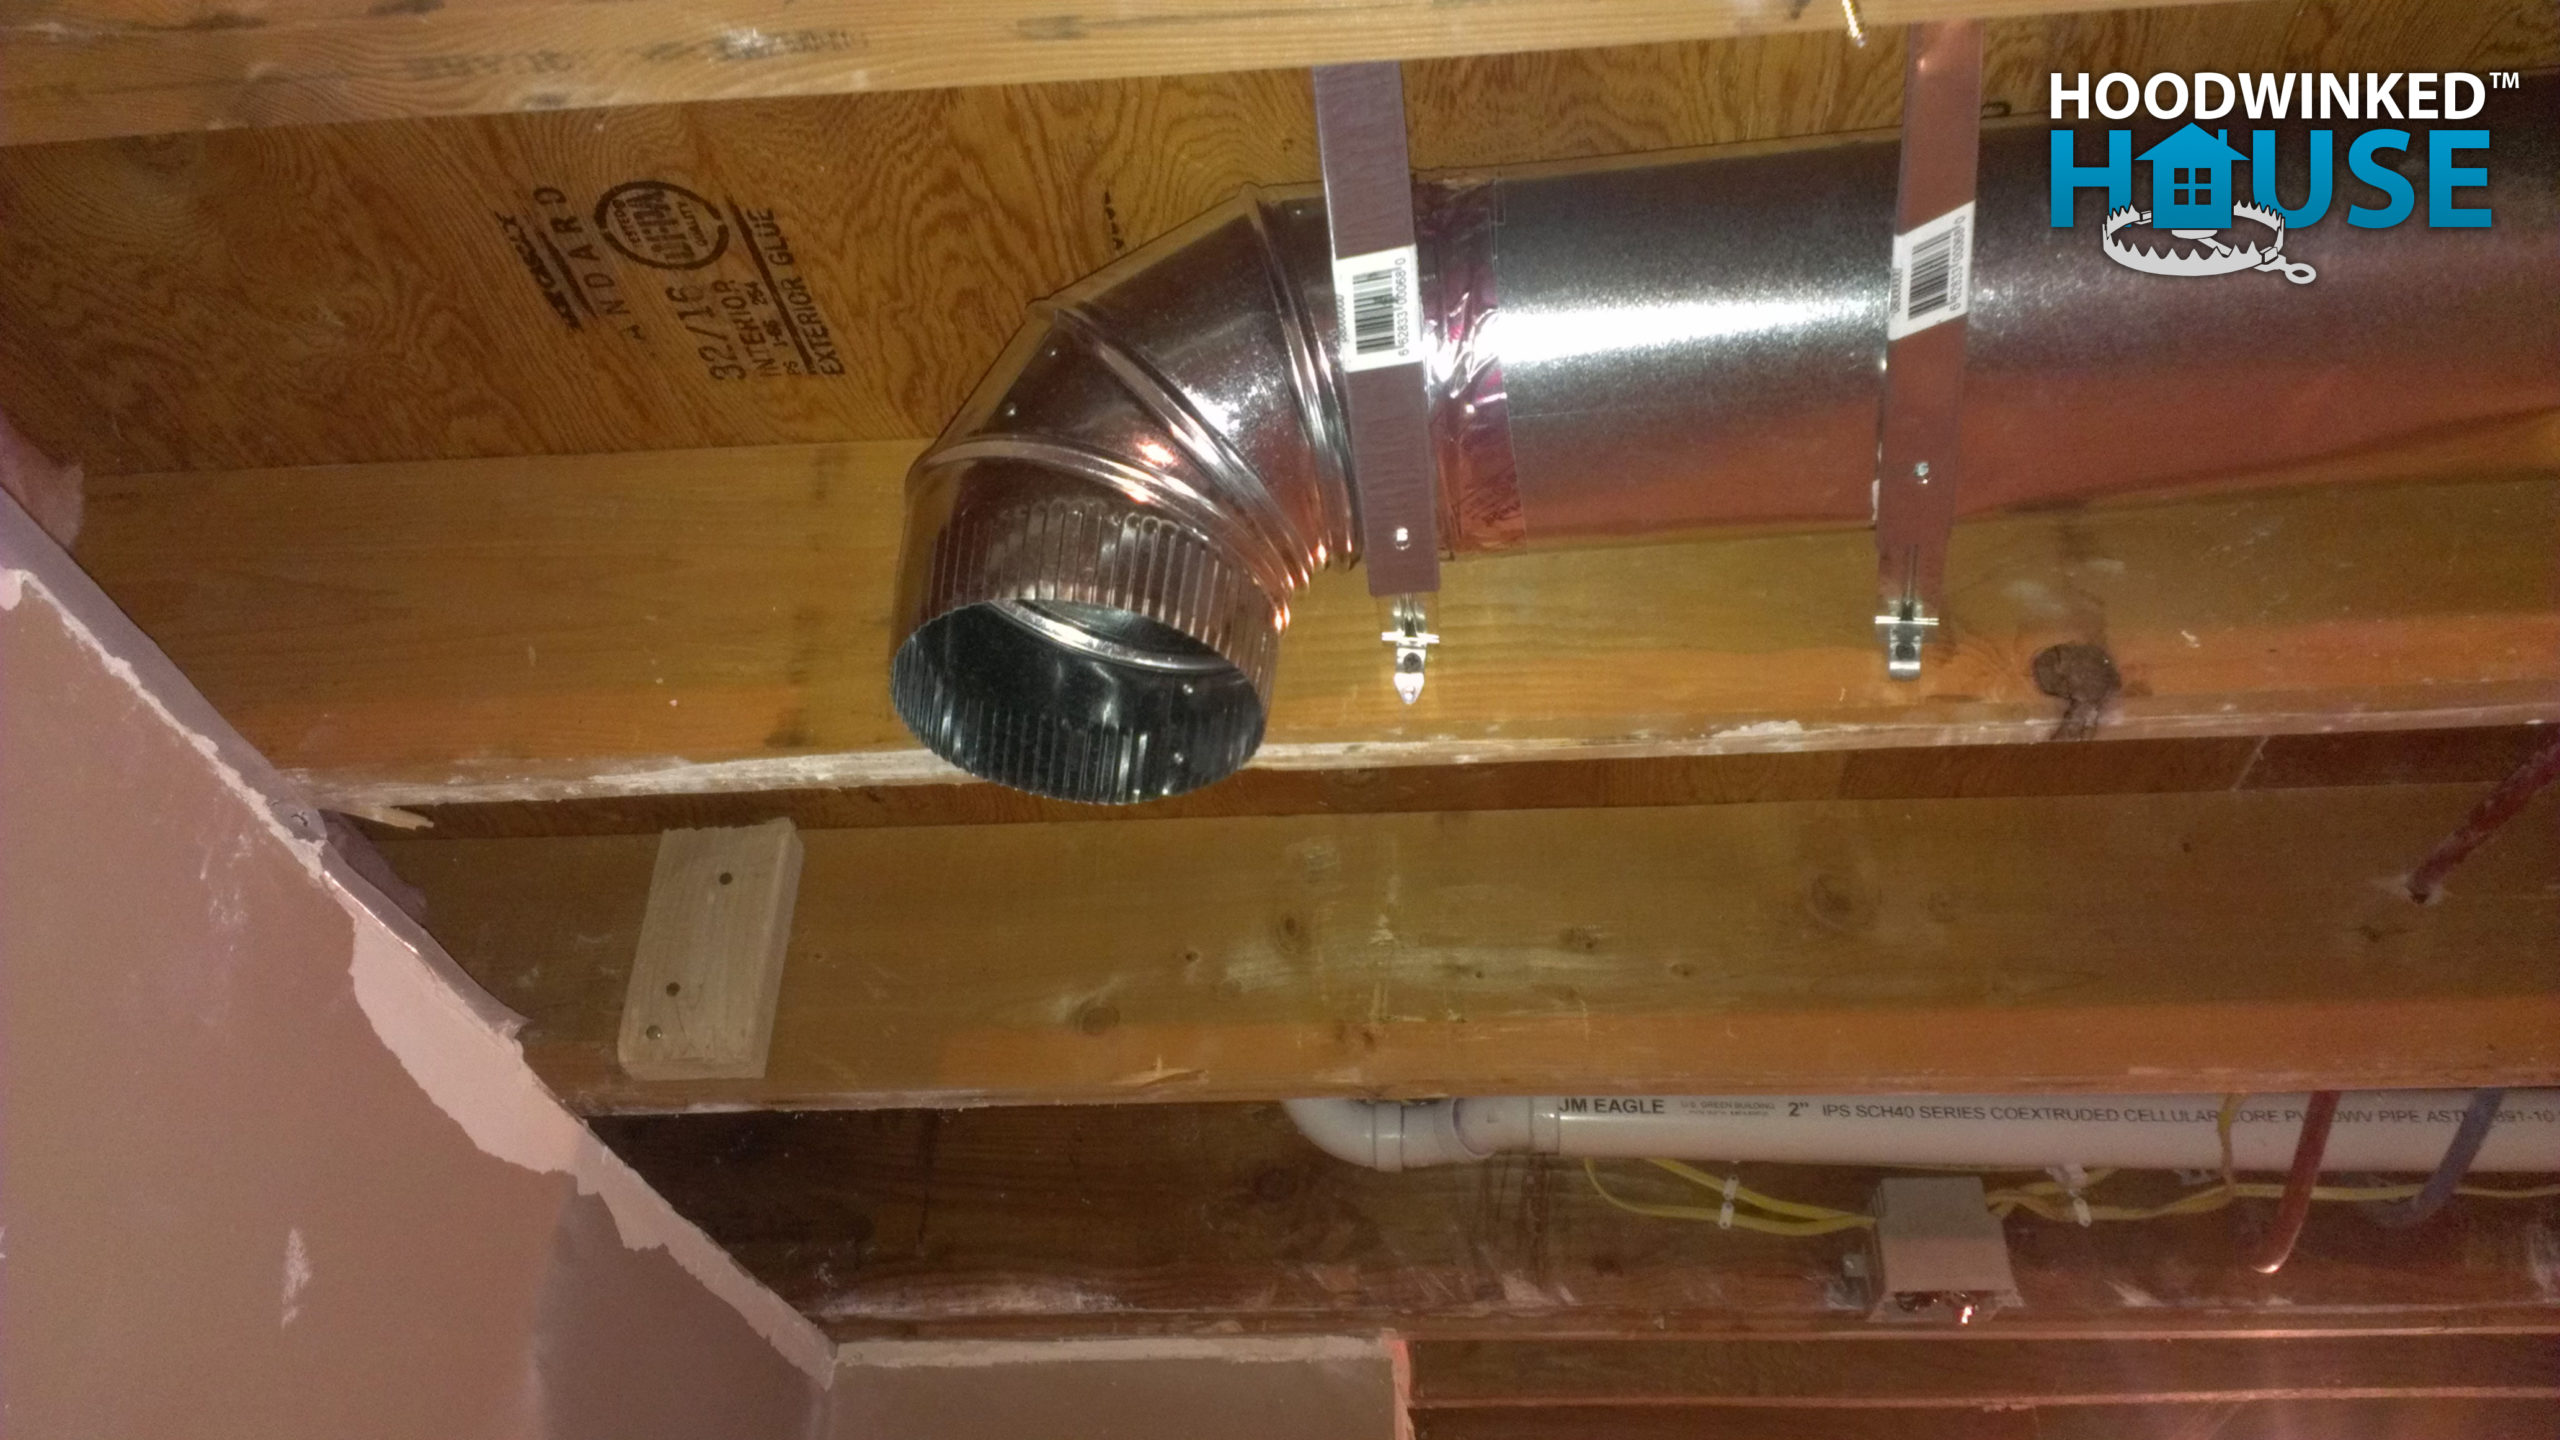
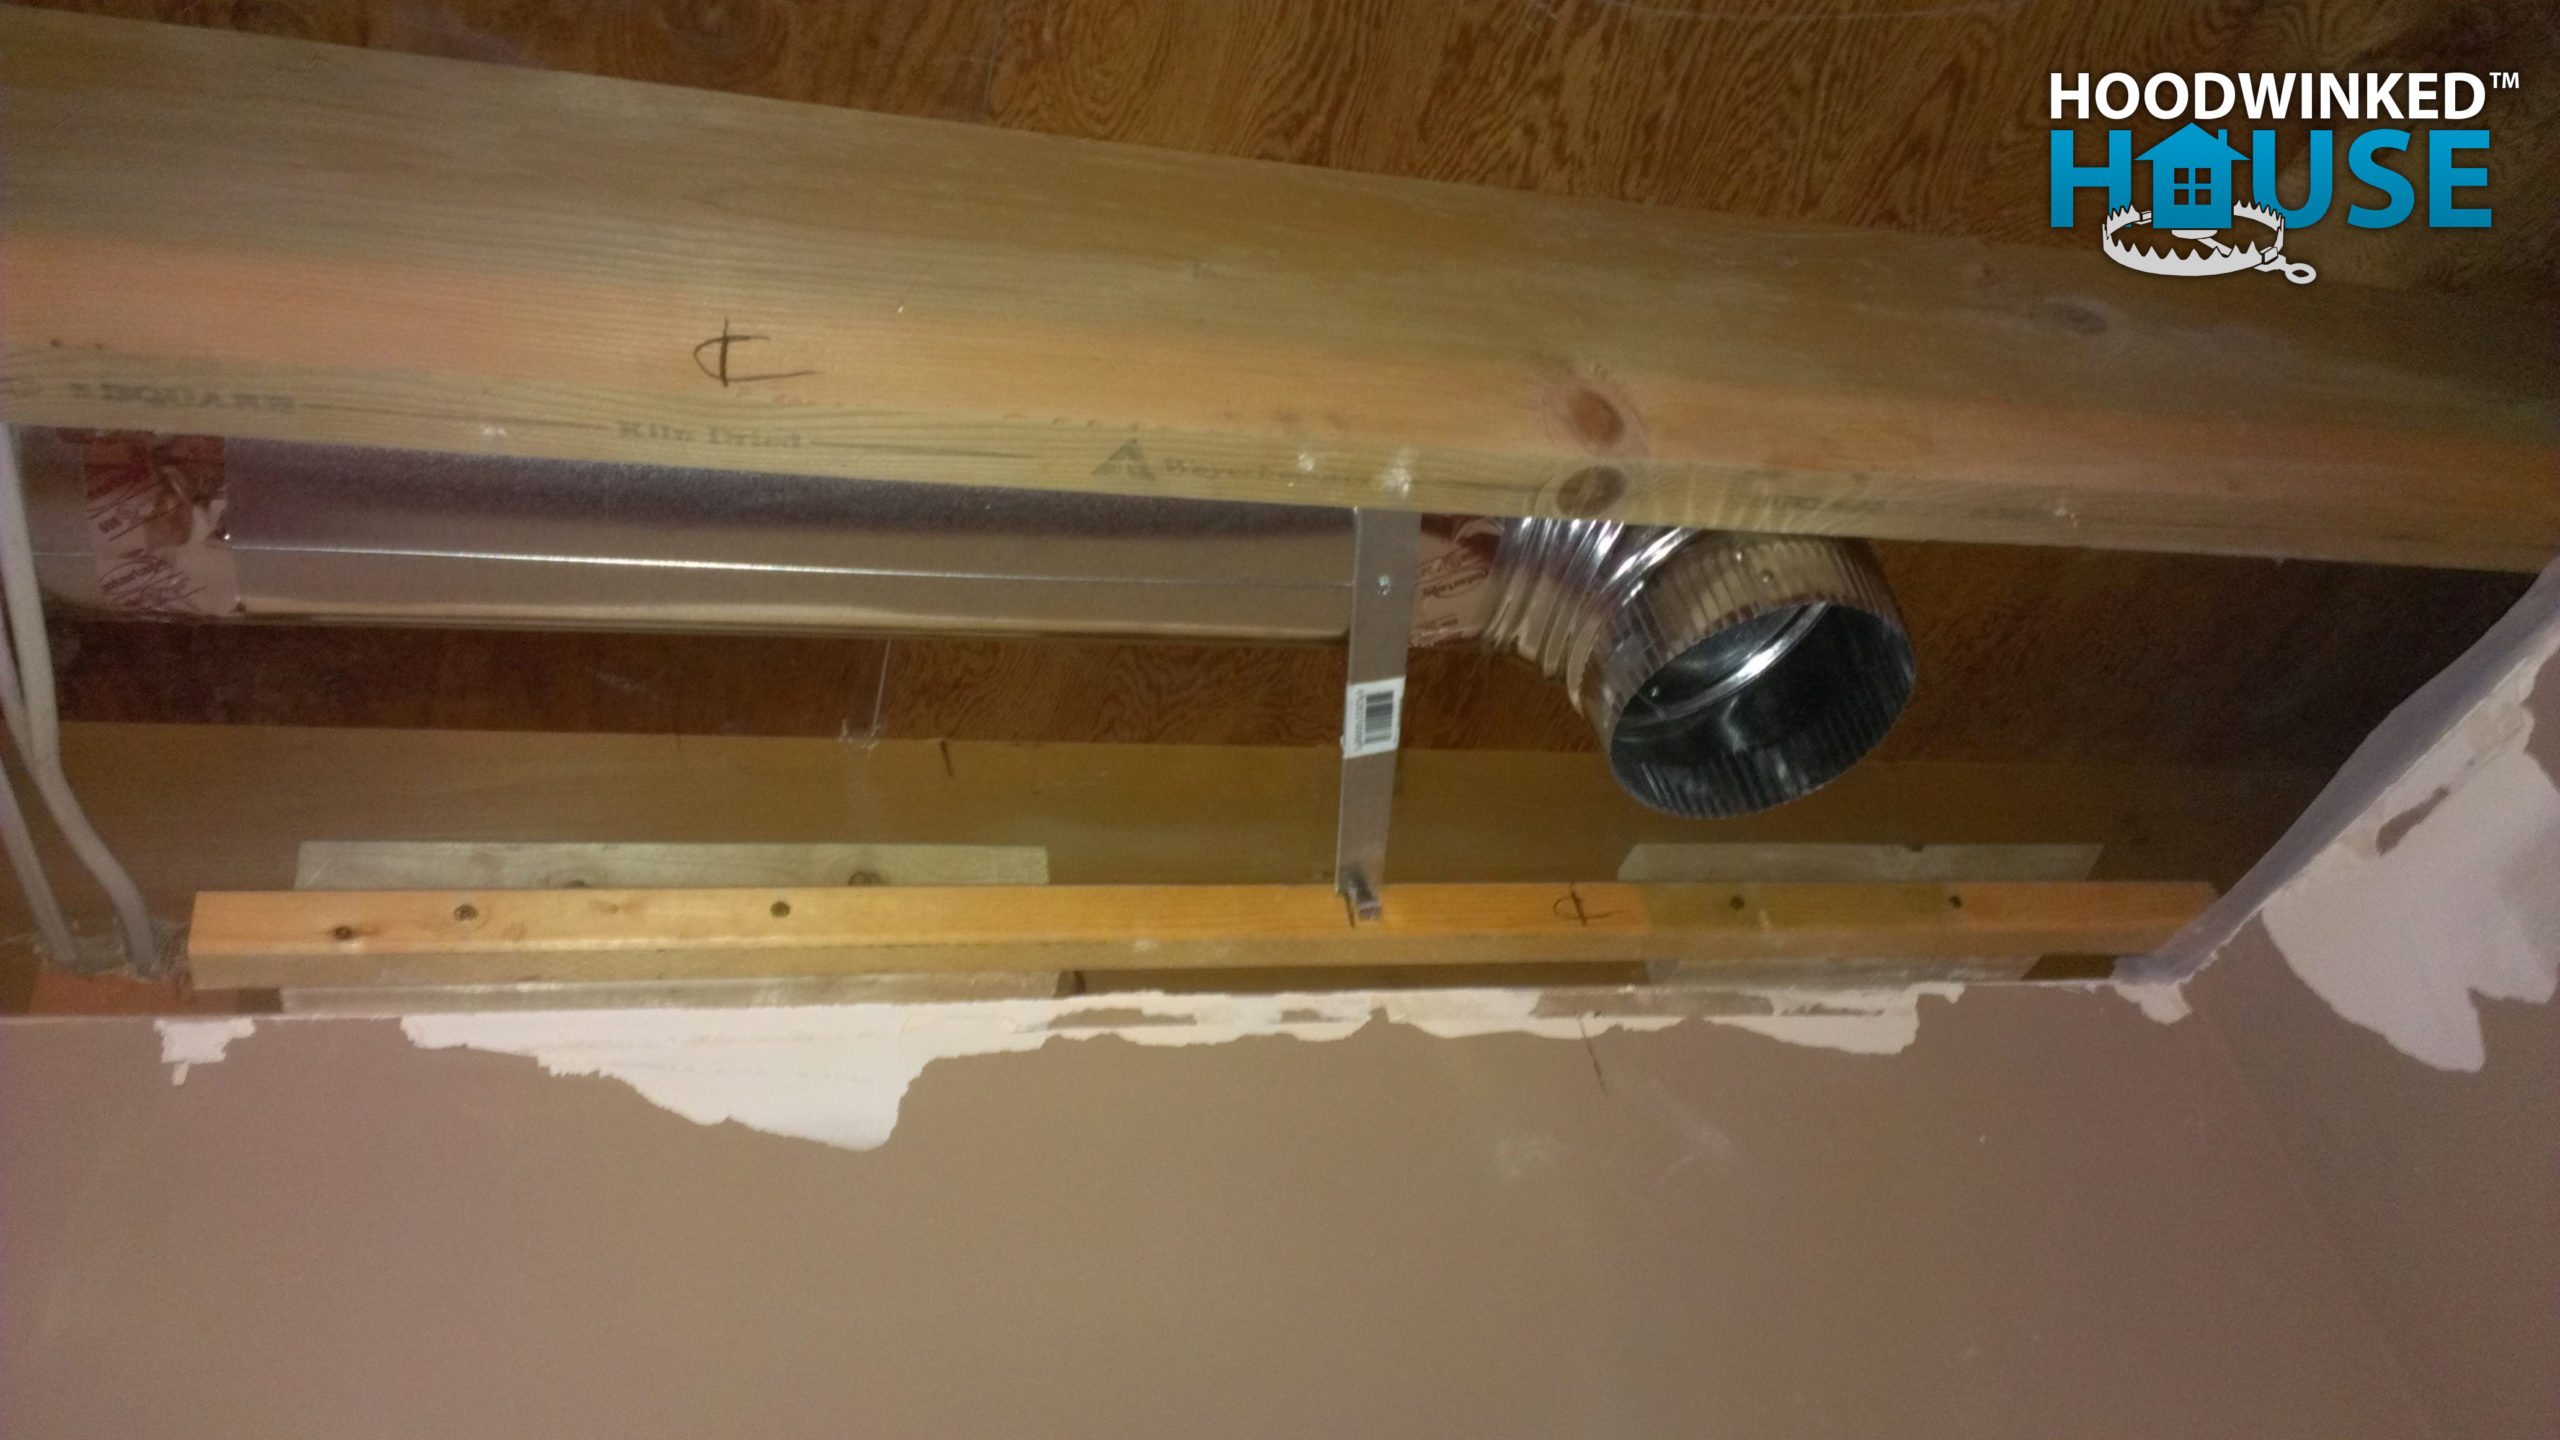
My contractor installs a new bathroom fan housing ($189.24) and connects it to the existing duct.
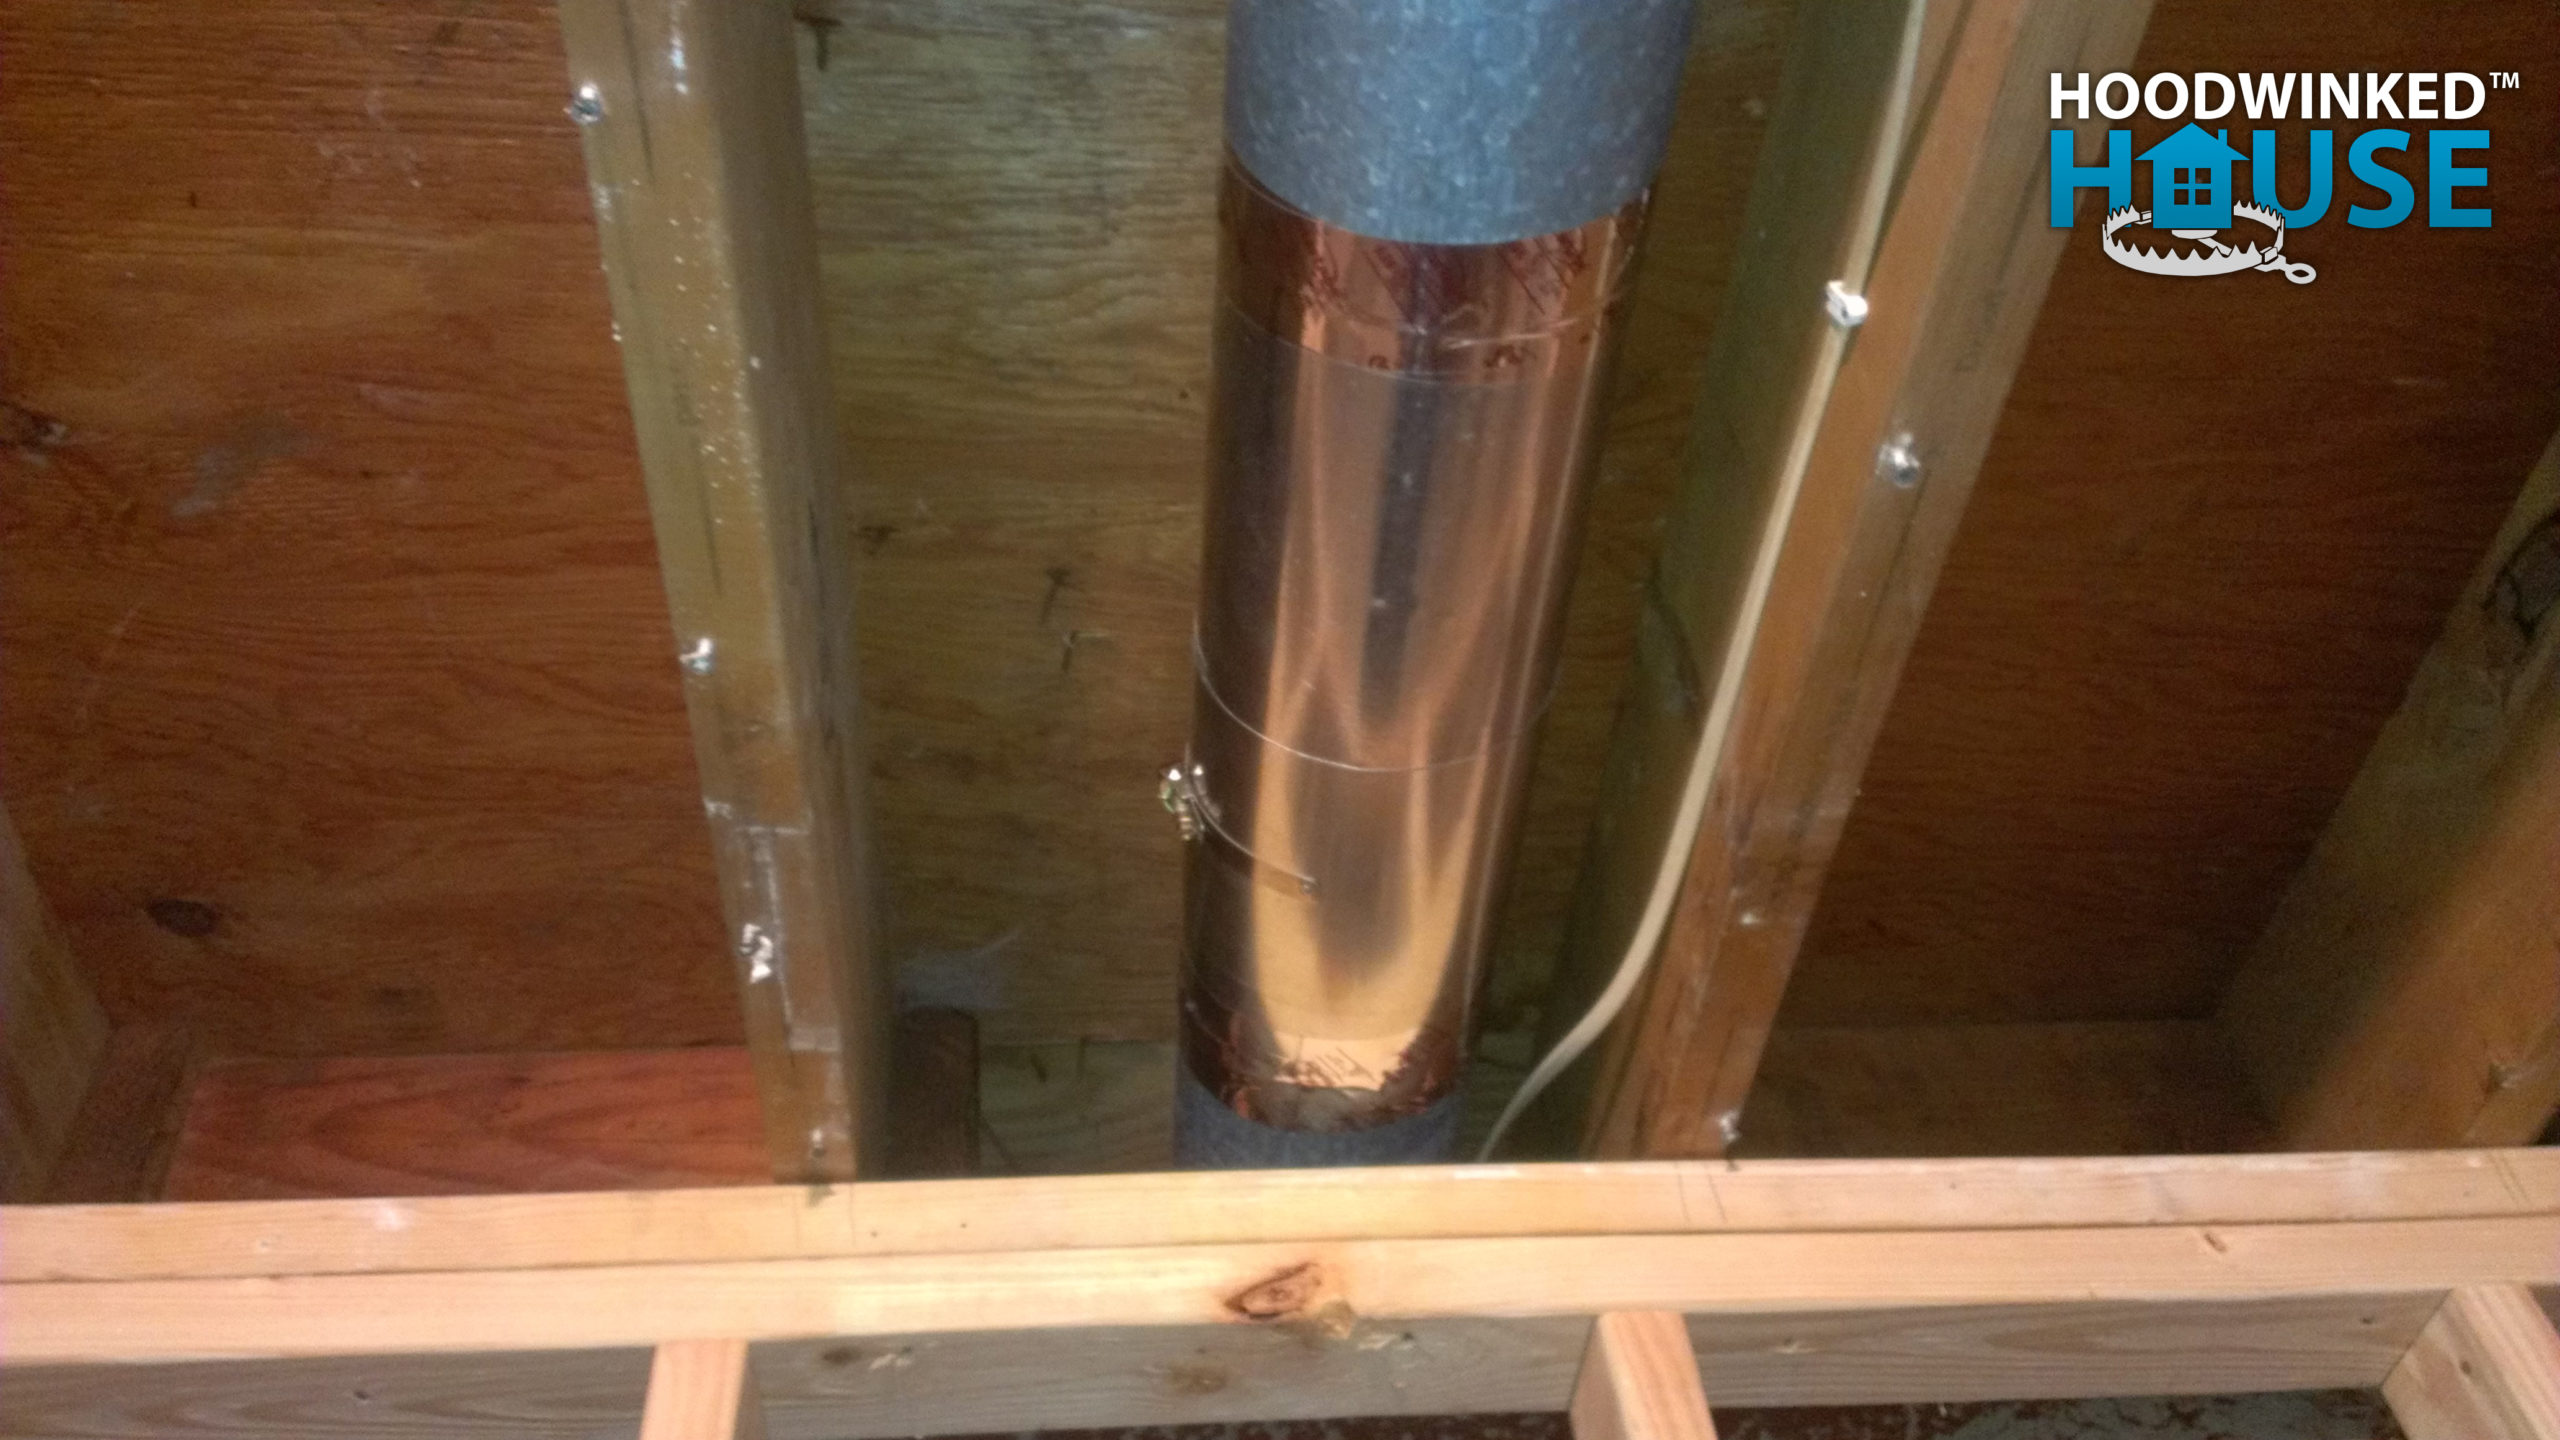
He also completes installation of the dryer duct, extending it all the way to the floor.
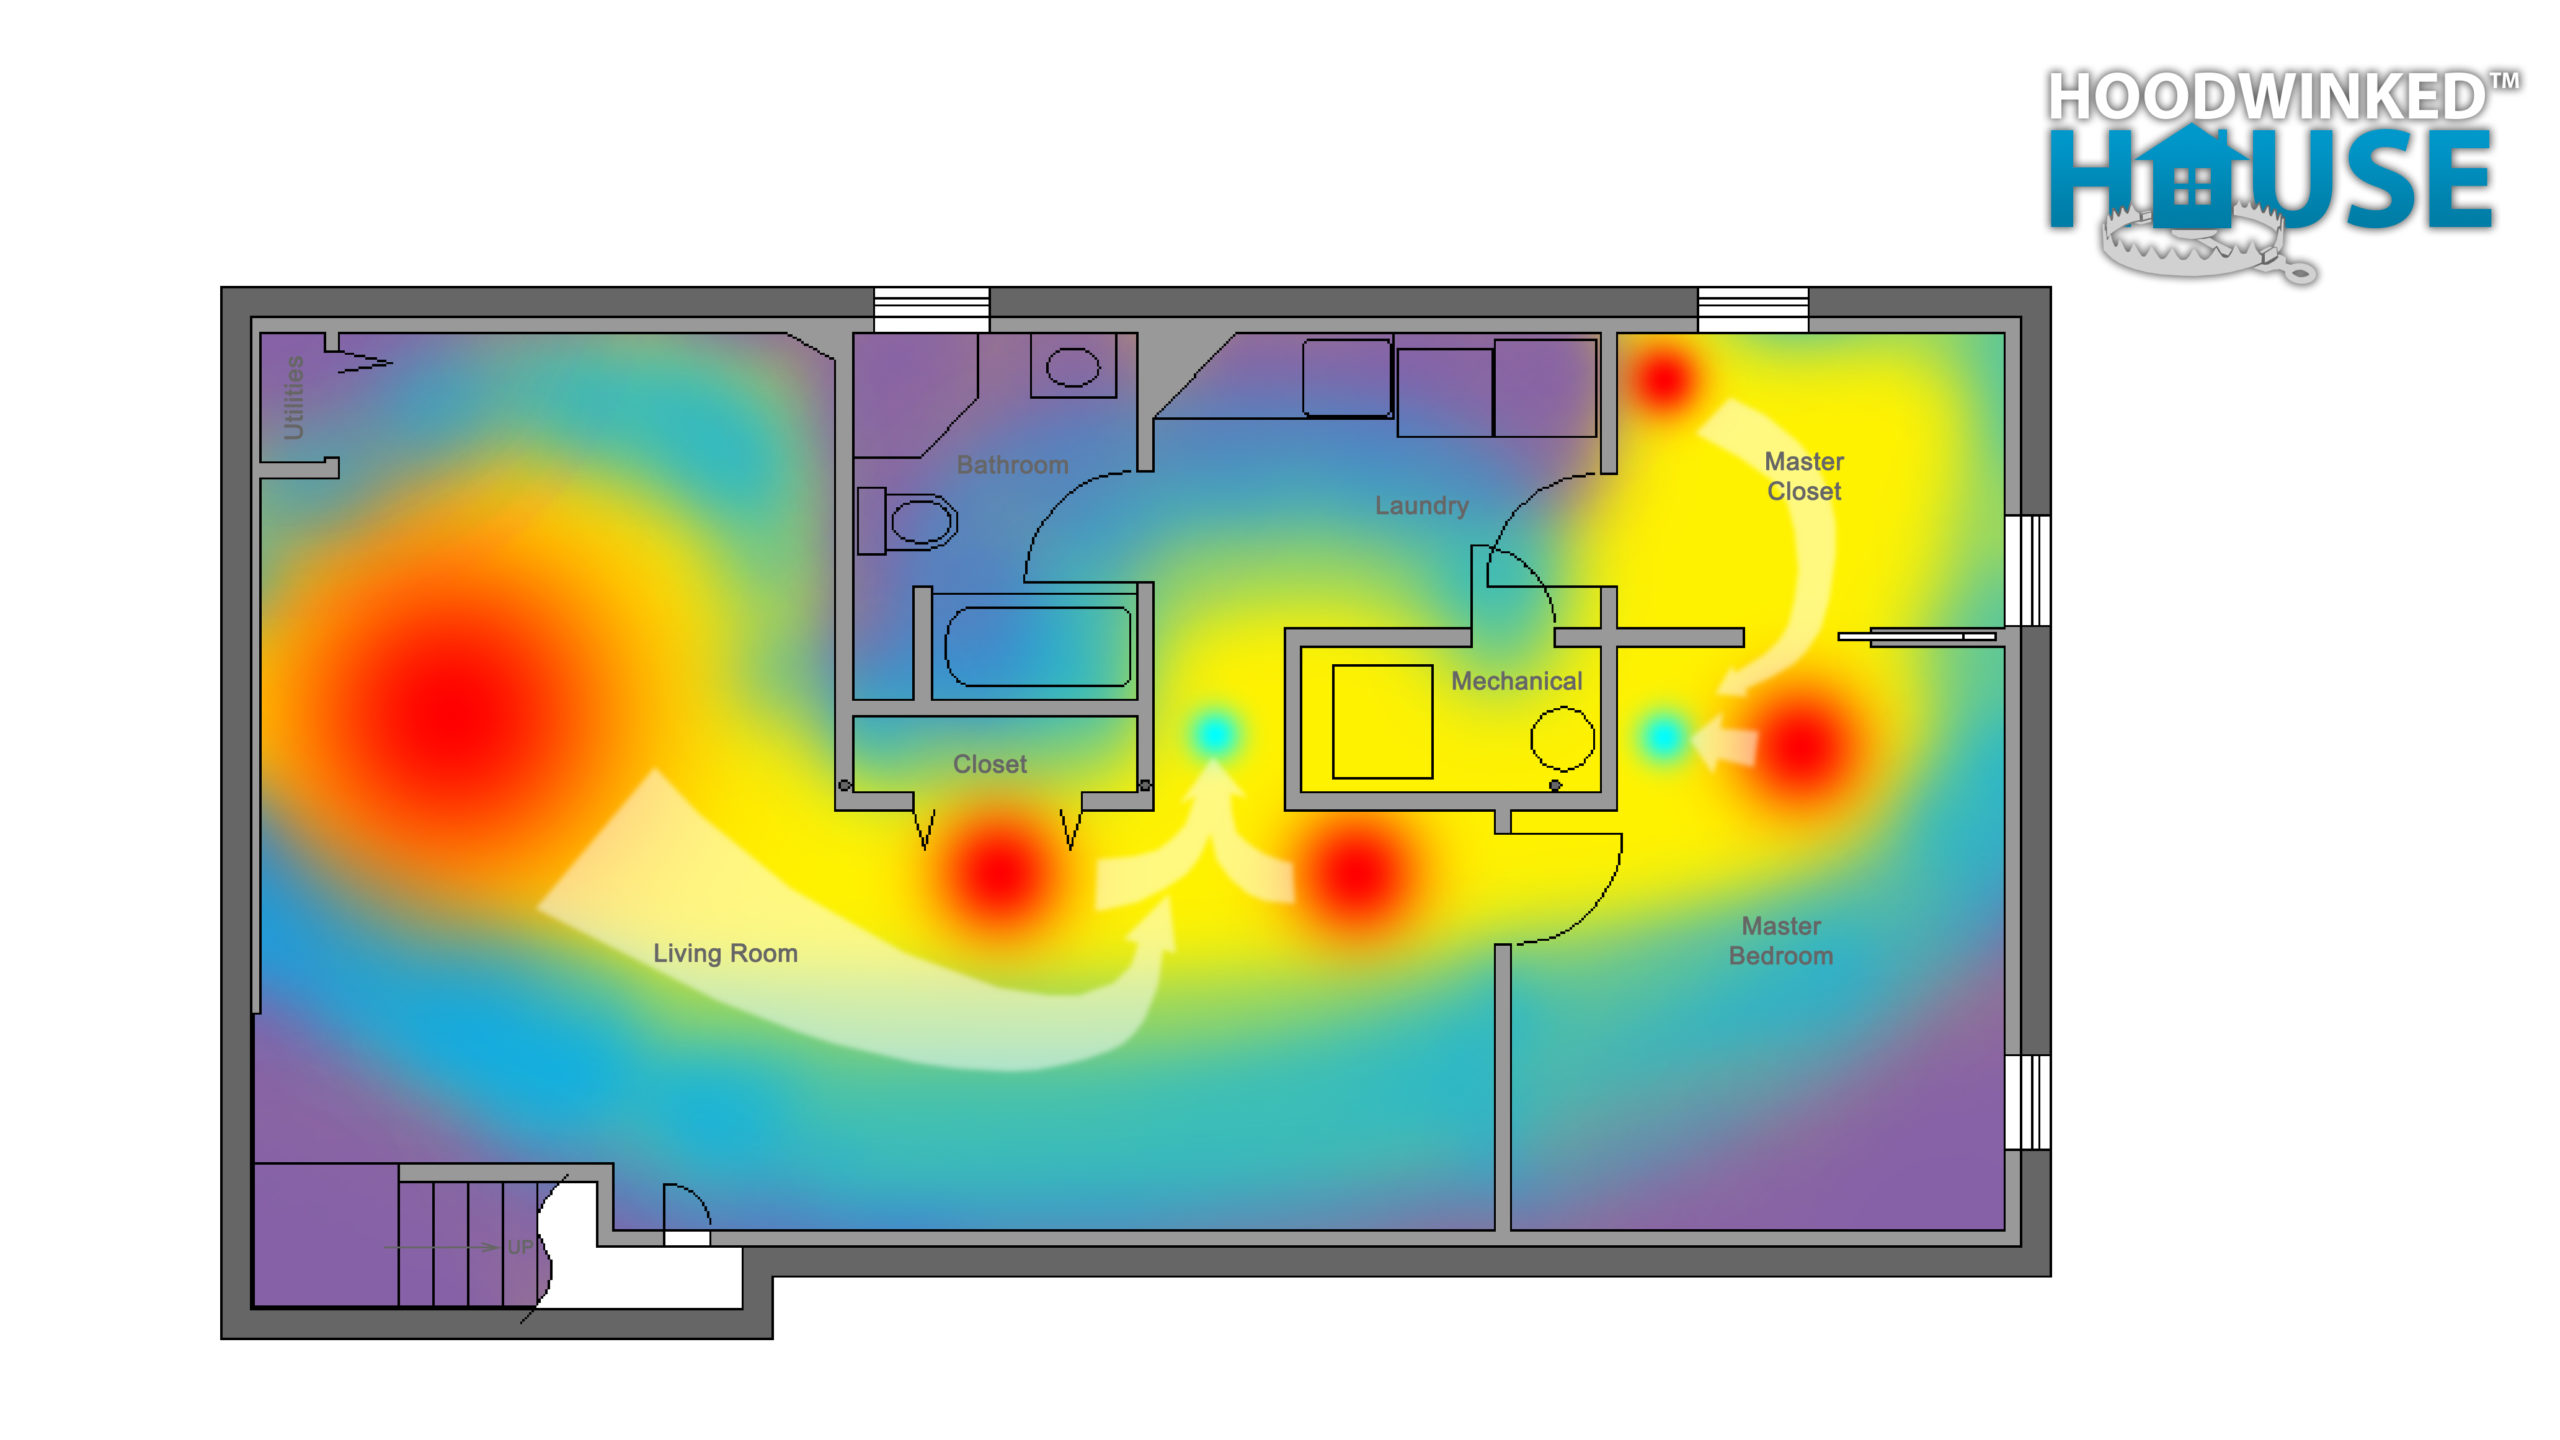
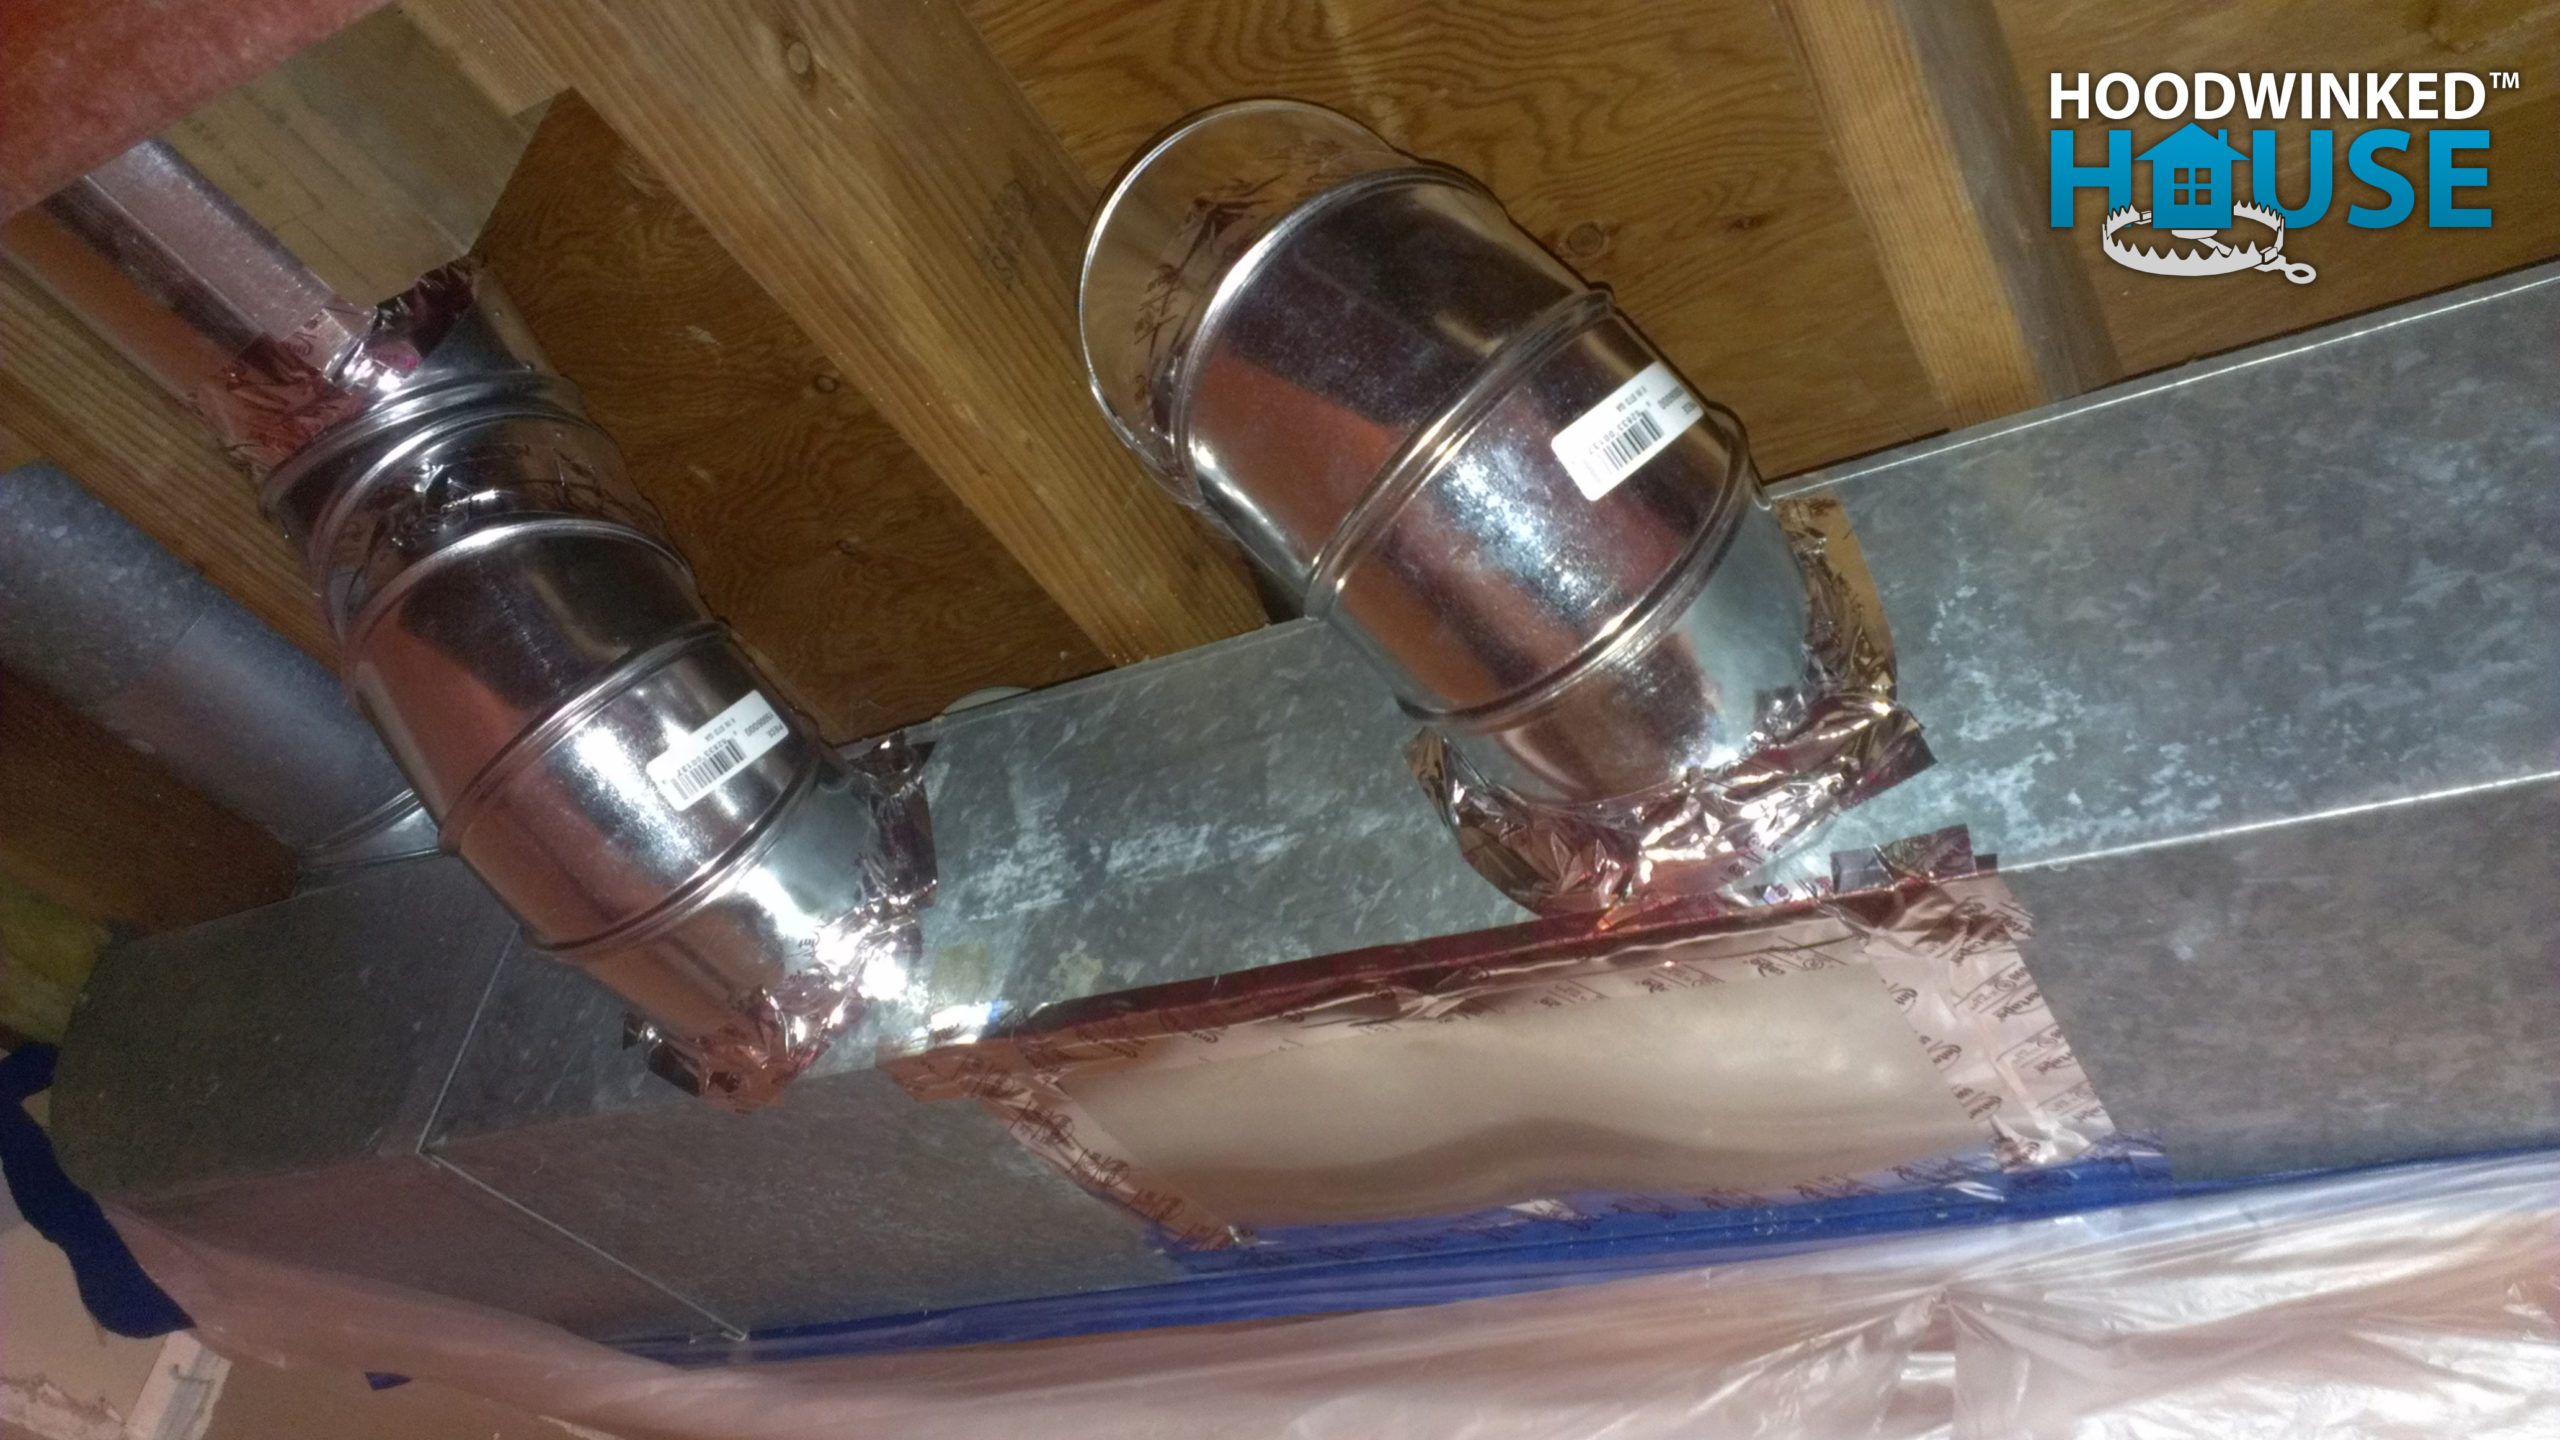
My contractor points out that all of my heating distribution is wrong. Instead of running smaller duct branches to perimeter of the basement heat, the flippers cut large holes into the central main duct. This means that the system is robbed of pressure, blowing most of the heat into the center of the basement while the walls and upper level are incredibly colder. Some of the ducts are even positioned adjacent to a cold air return.
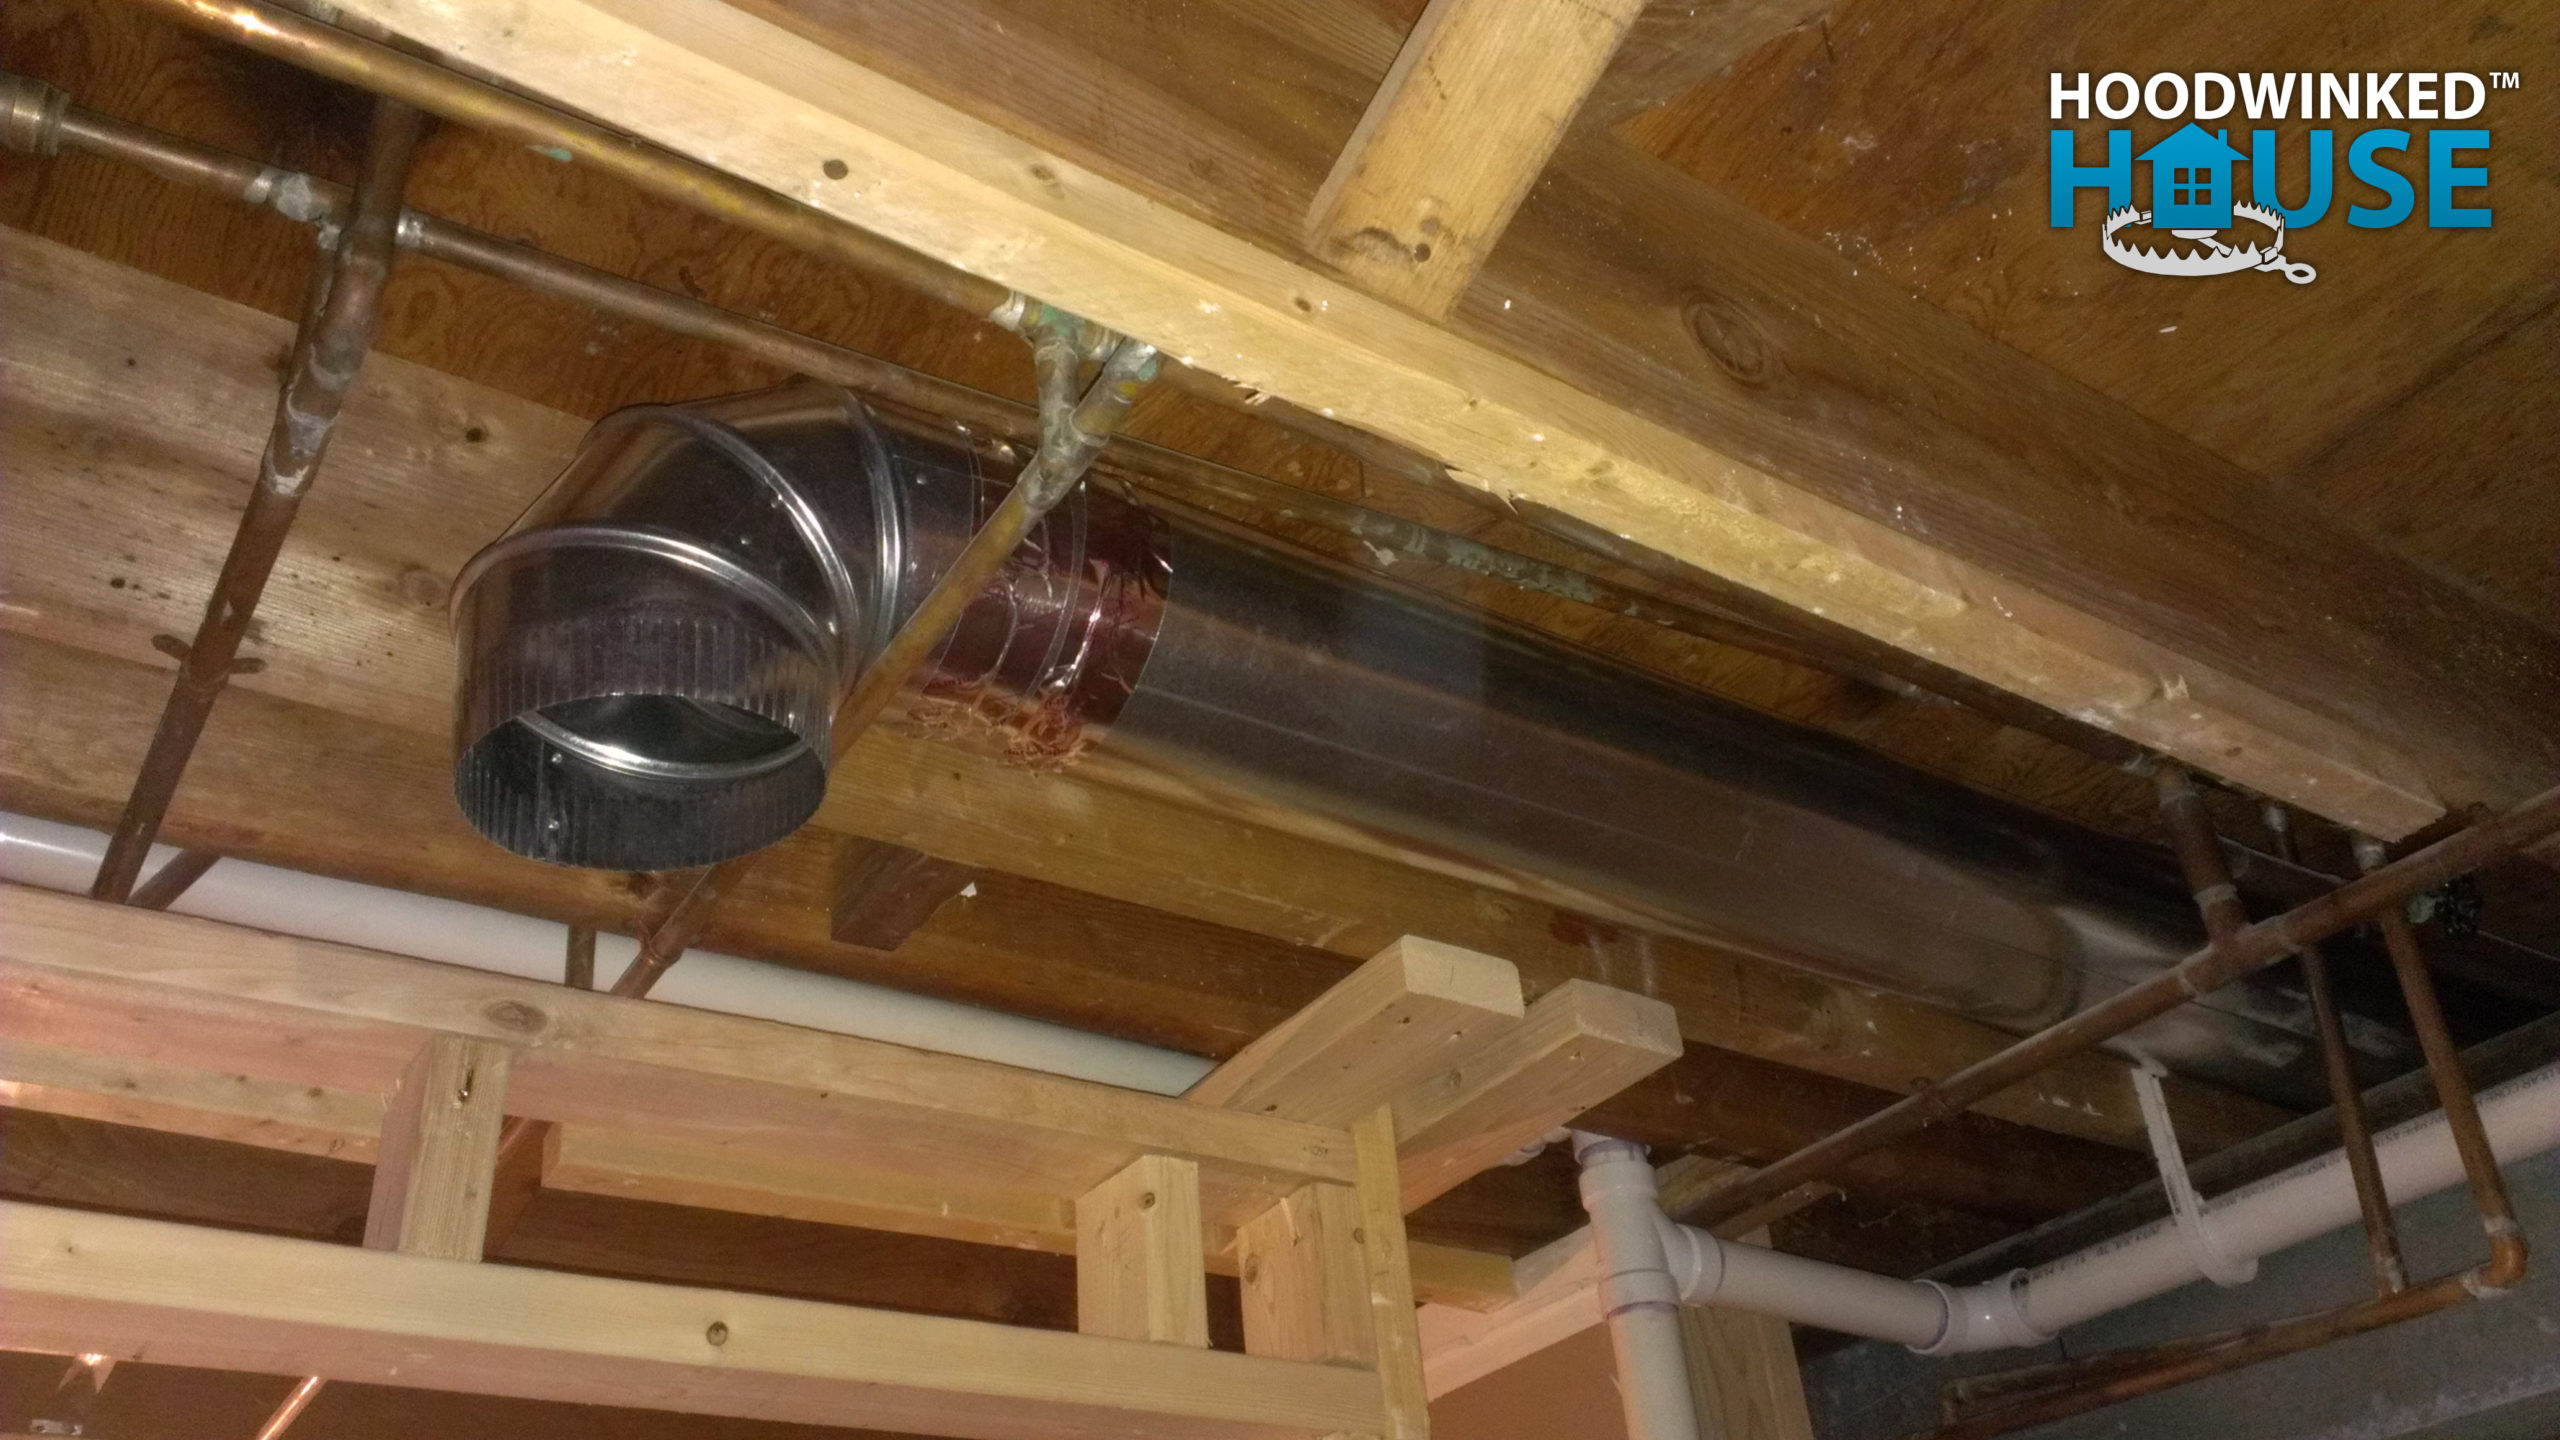
I give my general contractor approval to repair and re-work the HVAC properly. The existing master bedroom heat duct is repaired.
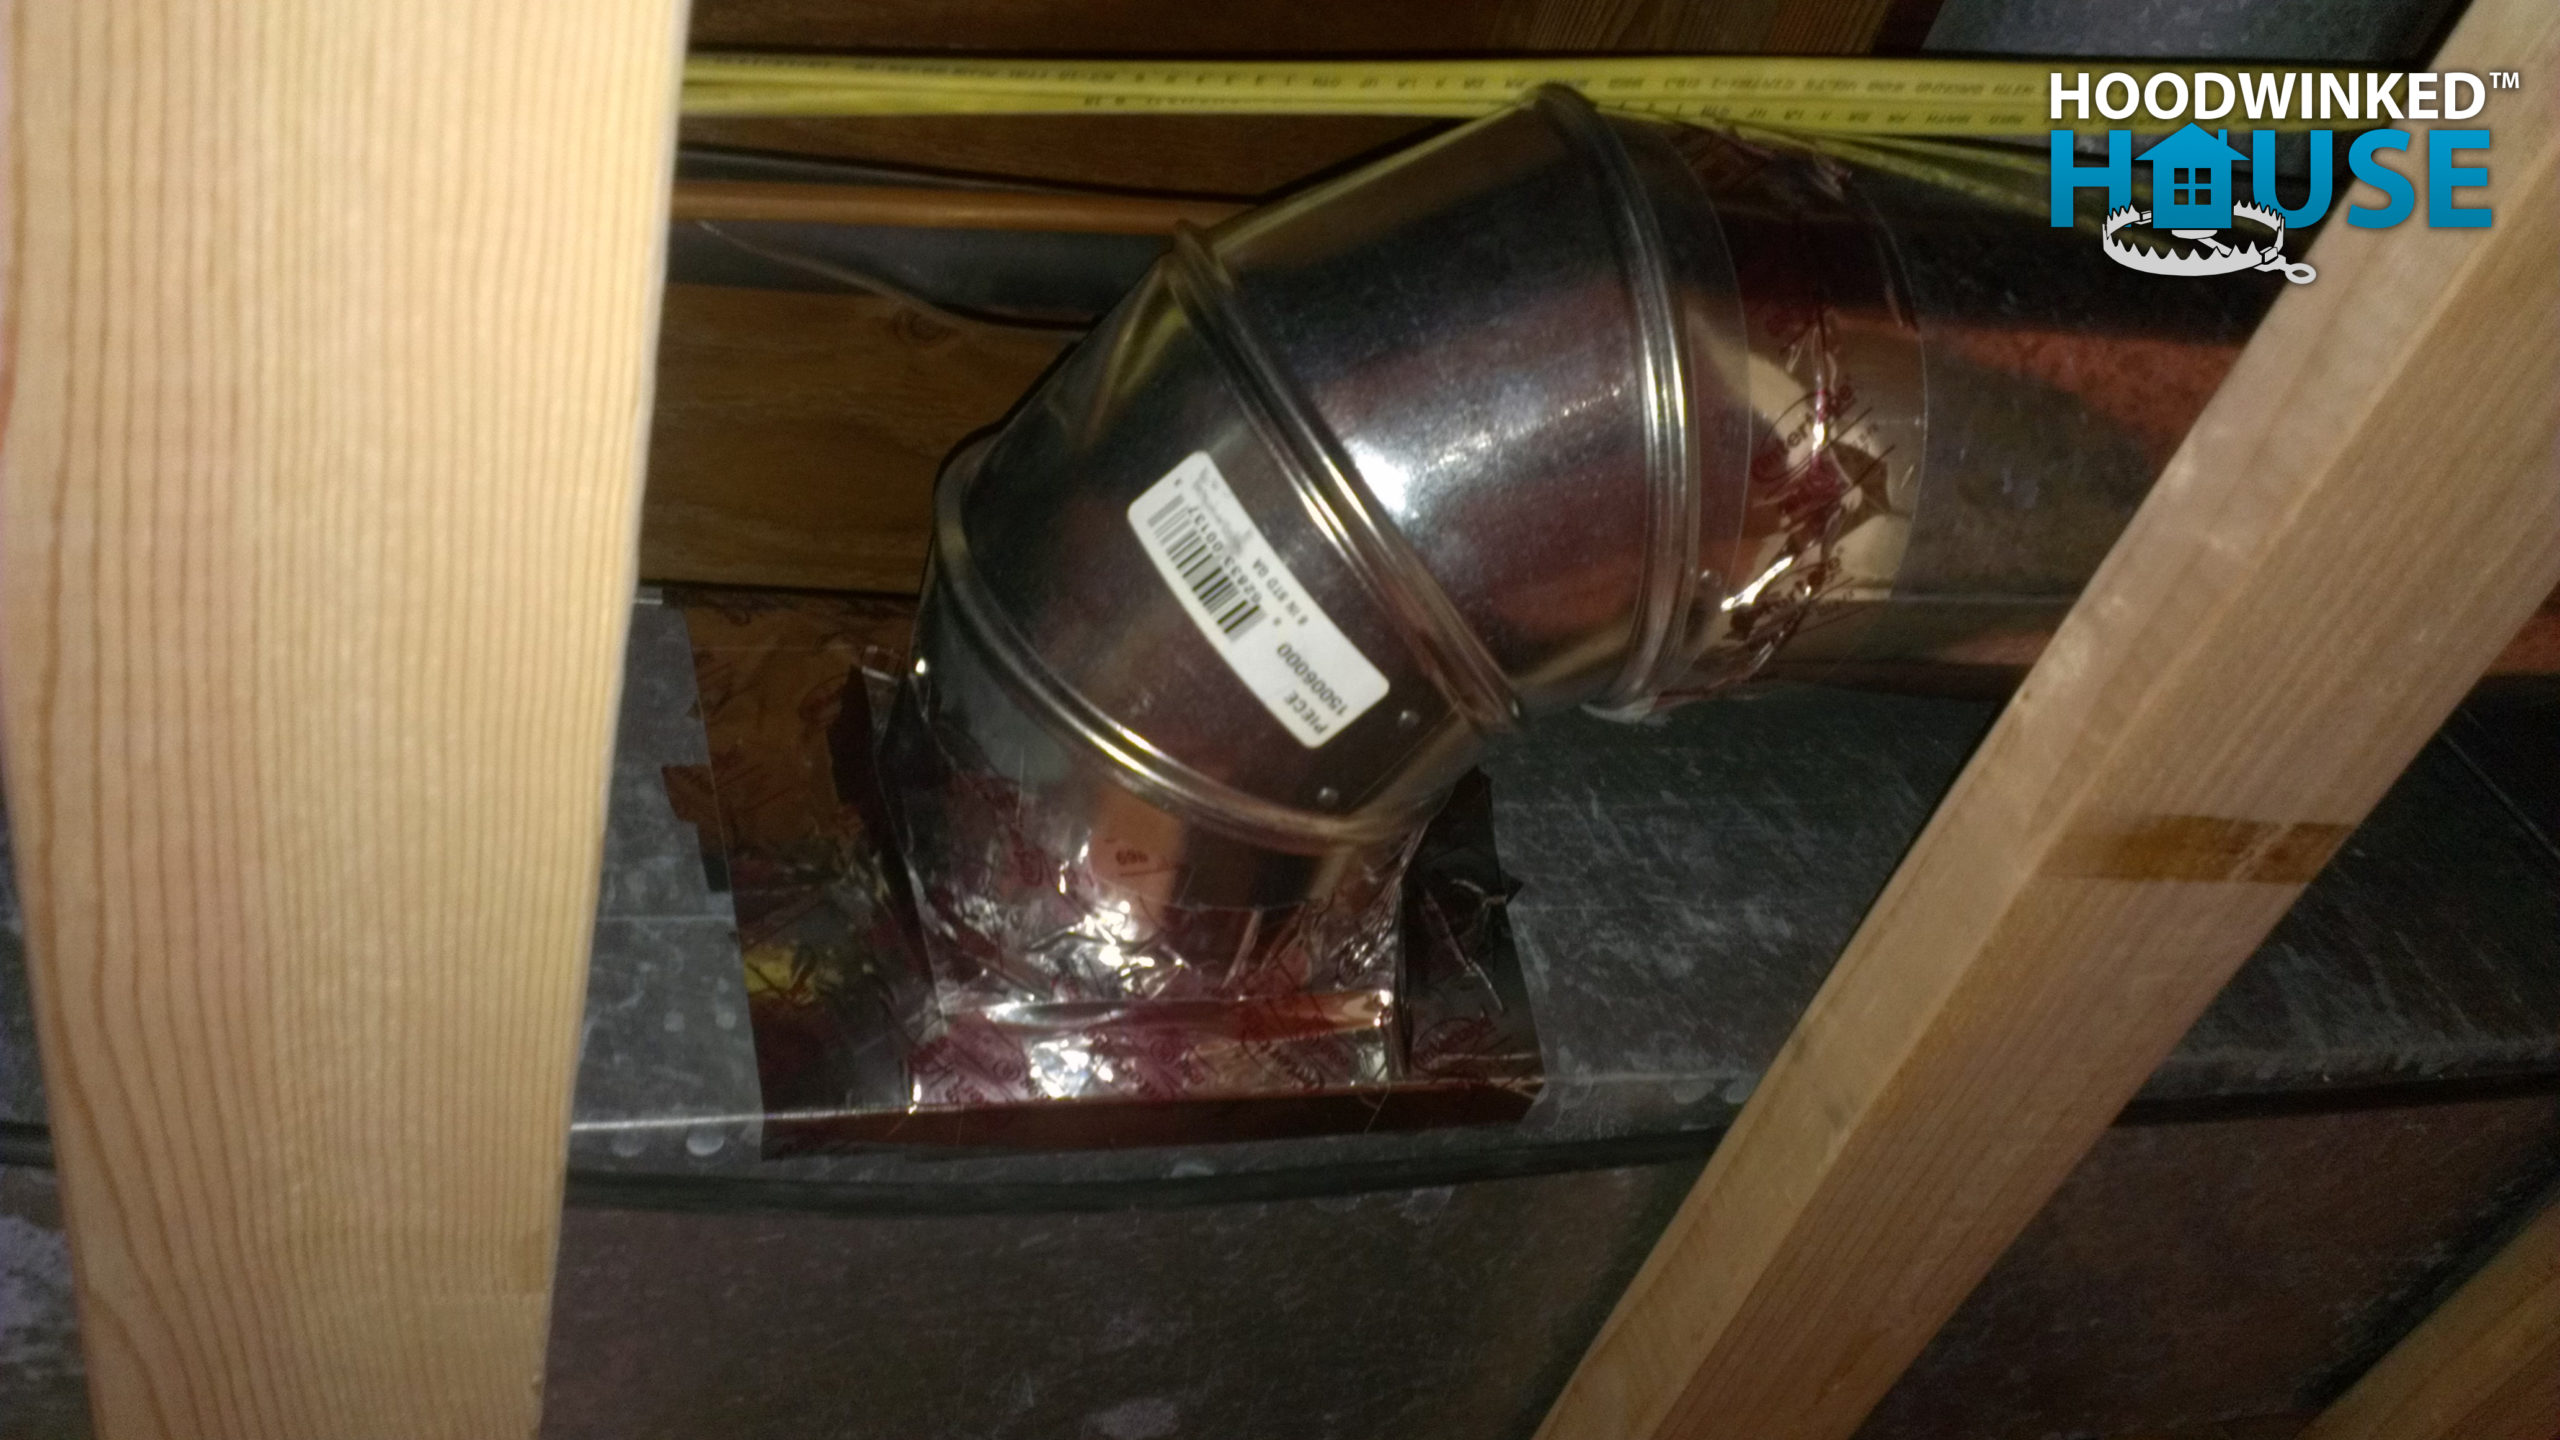
A new branch is added to the main heating duct in the master bedroom, and properly outputs near the bedroom window.
My general contractor repairs the hole cut in the main cold air duct and properly installs one that runs through the walls down to the floor. The master bedroom soffit is also rebuilt.
All of this day’s HVAC and carpentry work costs $216.65 in materials.
Finally, enough heat for every room
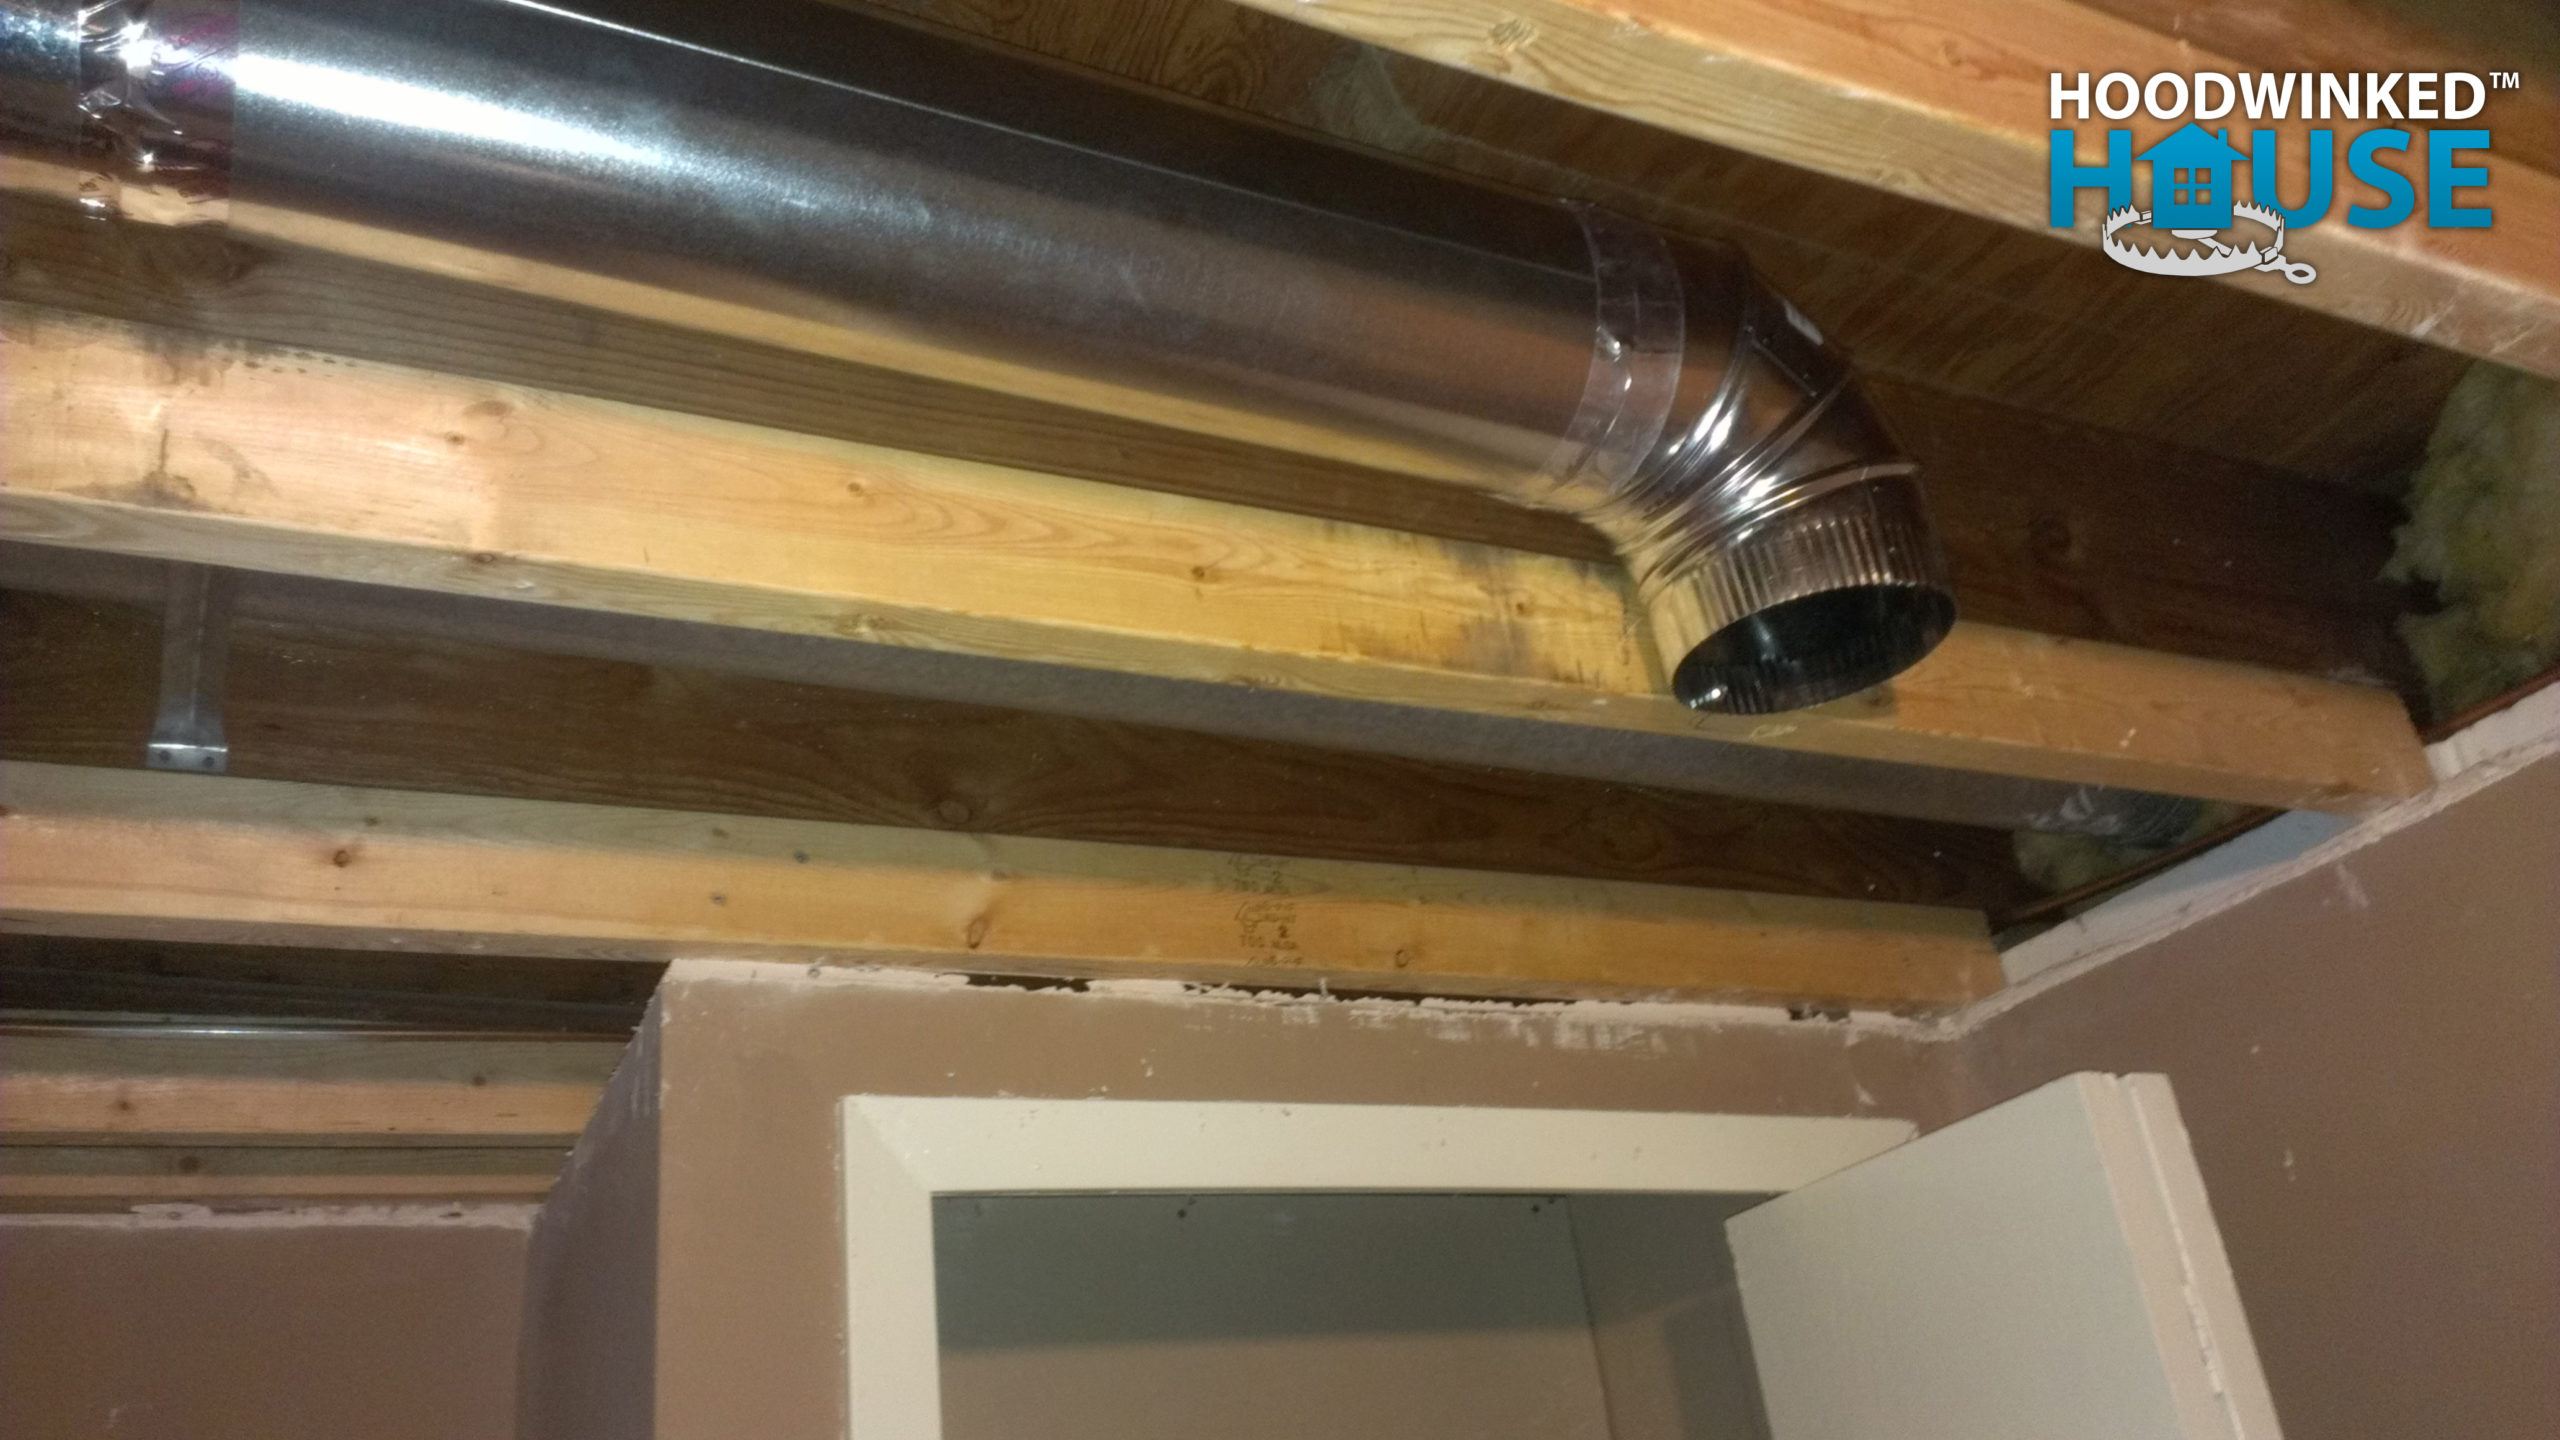
My contractor spends all day repairing the holes in the existing ducts…

… and adding new branches off the main heating duct.
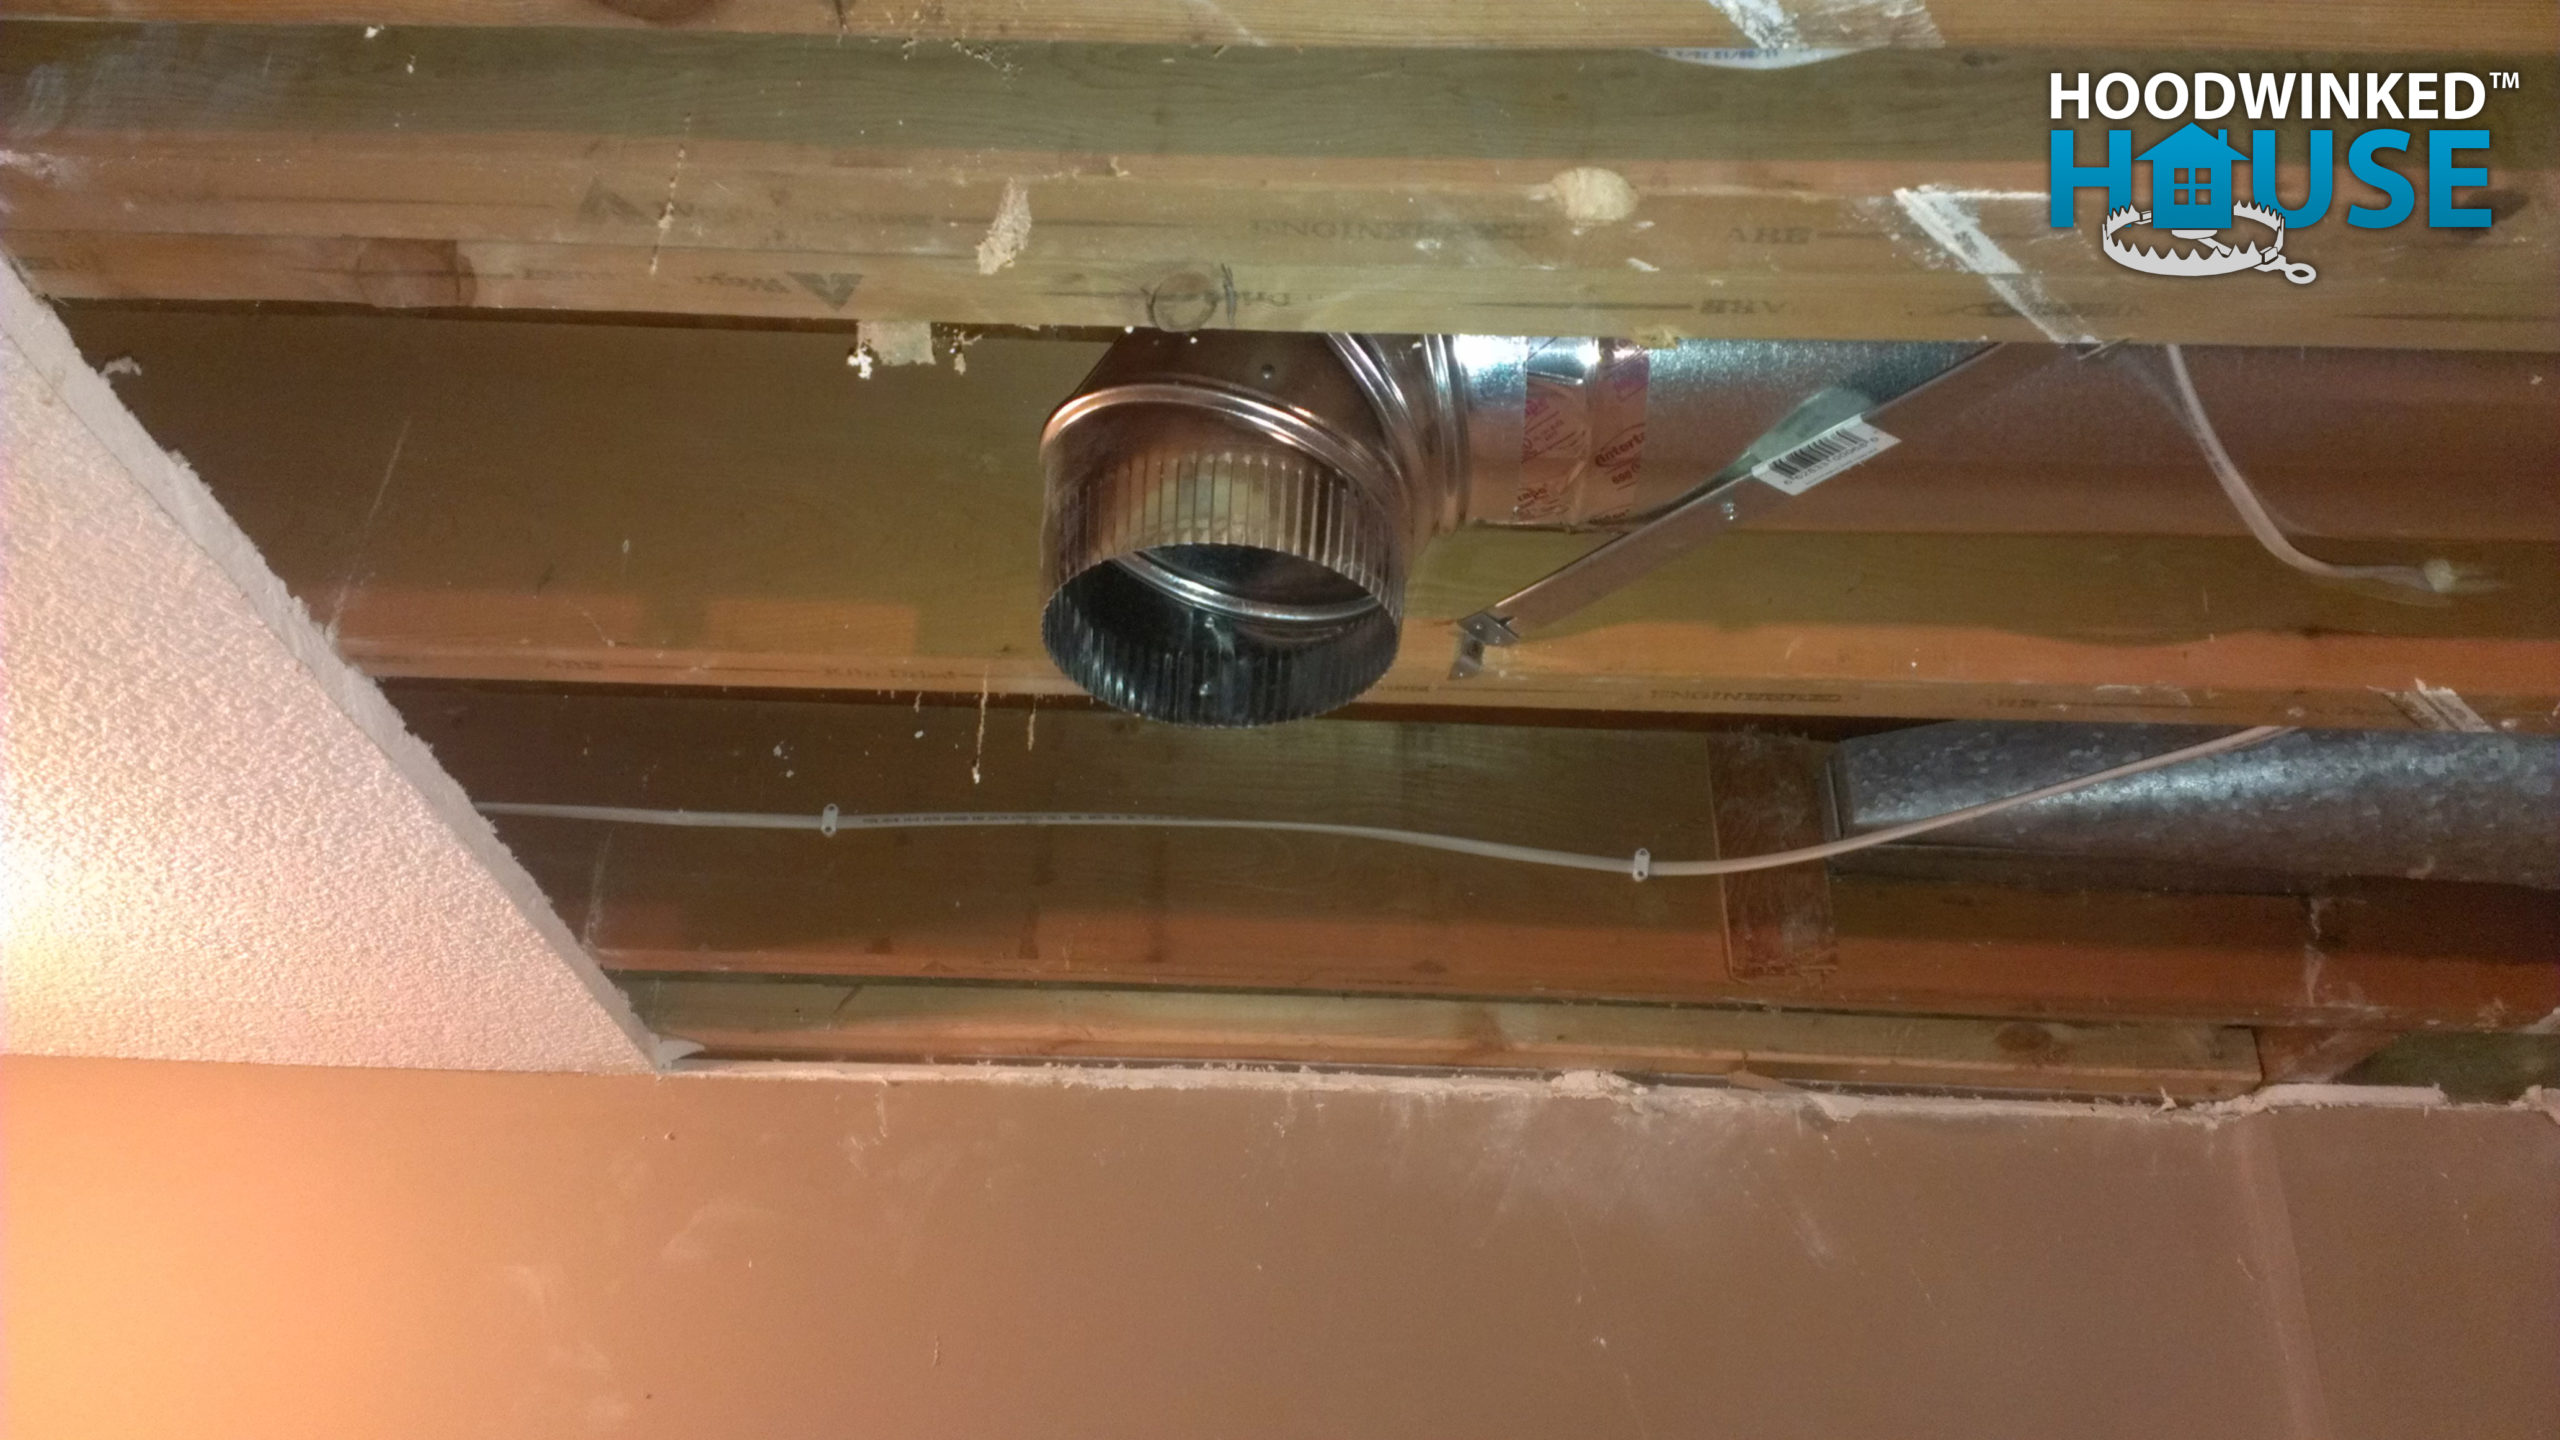
He also moves a cold air return that was improperly cut into the main return, and properly runs it through the wall and down to the floor.
Rebuilding the HVAC has an immediate effect on the air pressure. The basement level has a much more even distribution of heat and airflow, and the main level heat and airflow is elevated to proper levels ($124.10).
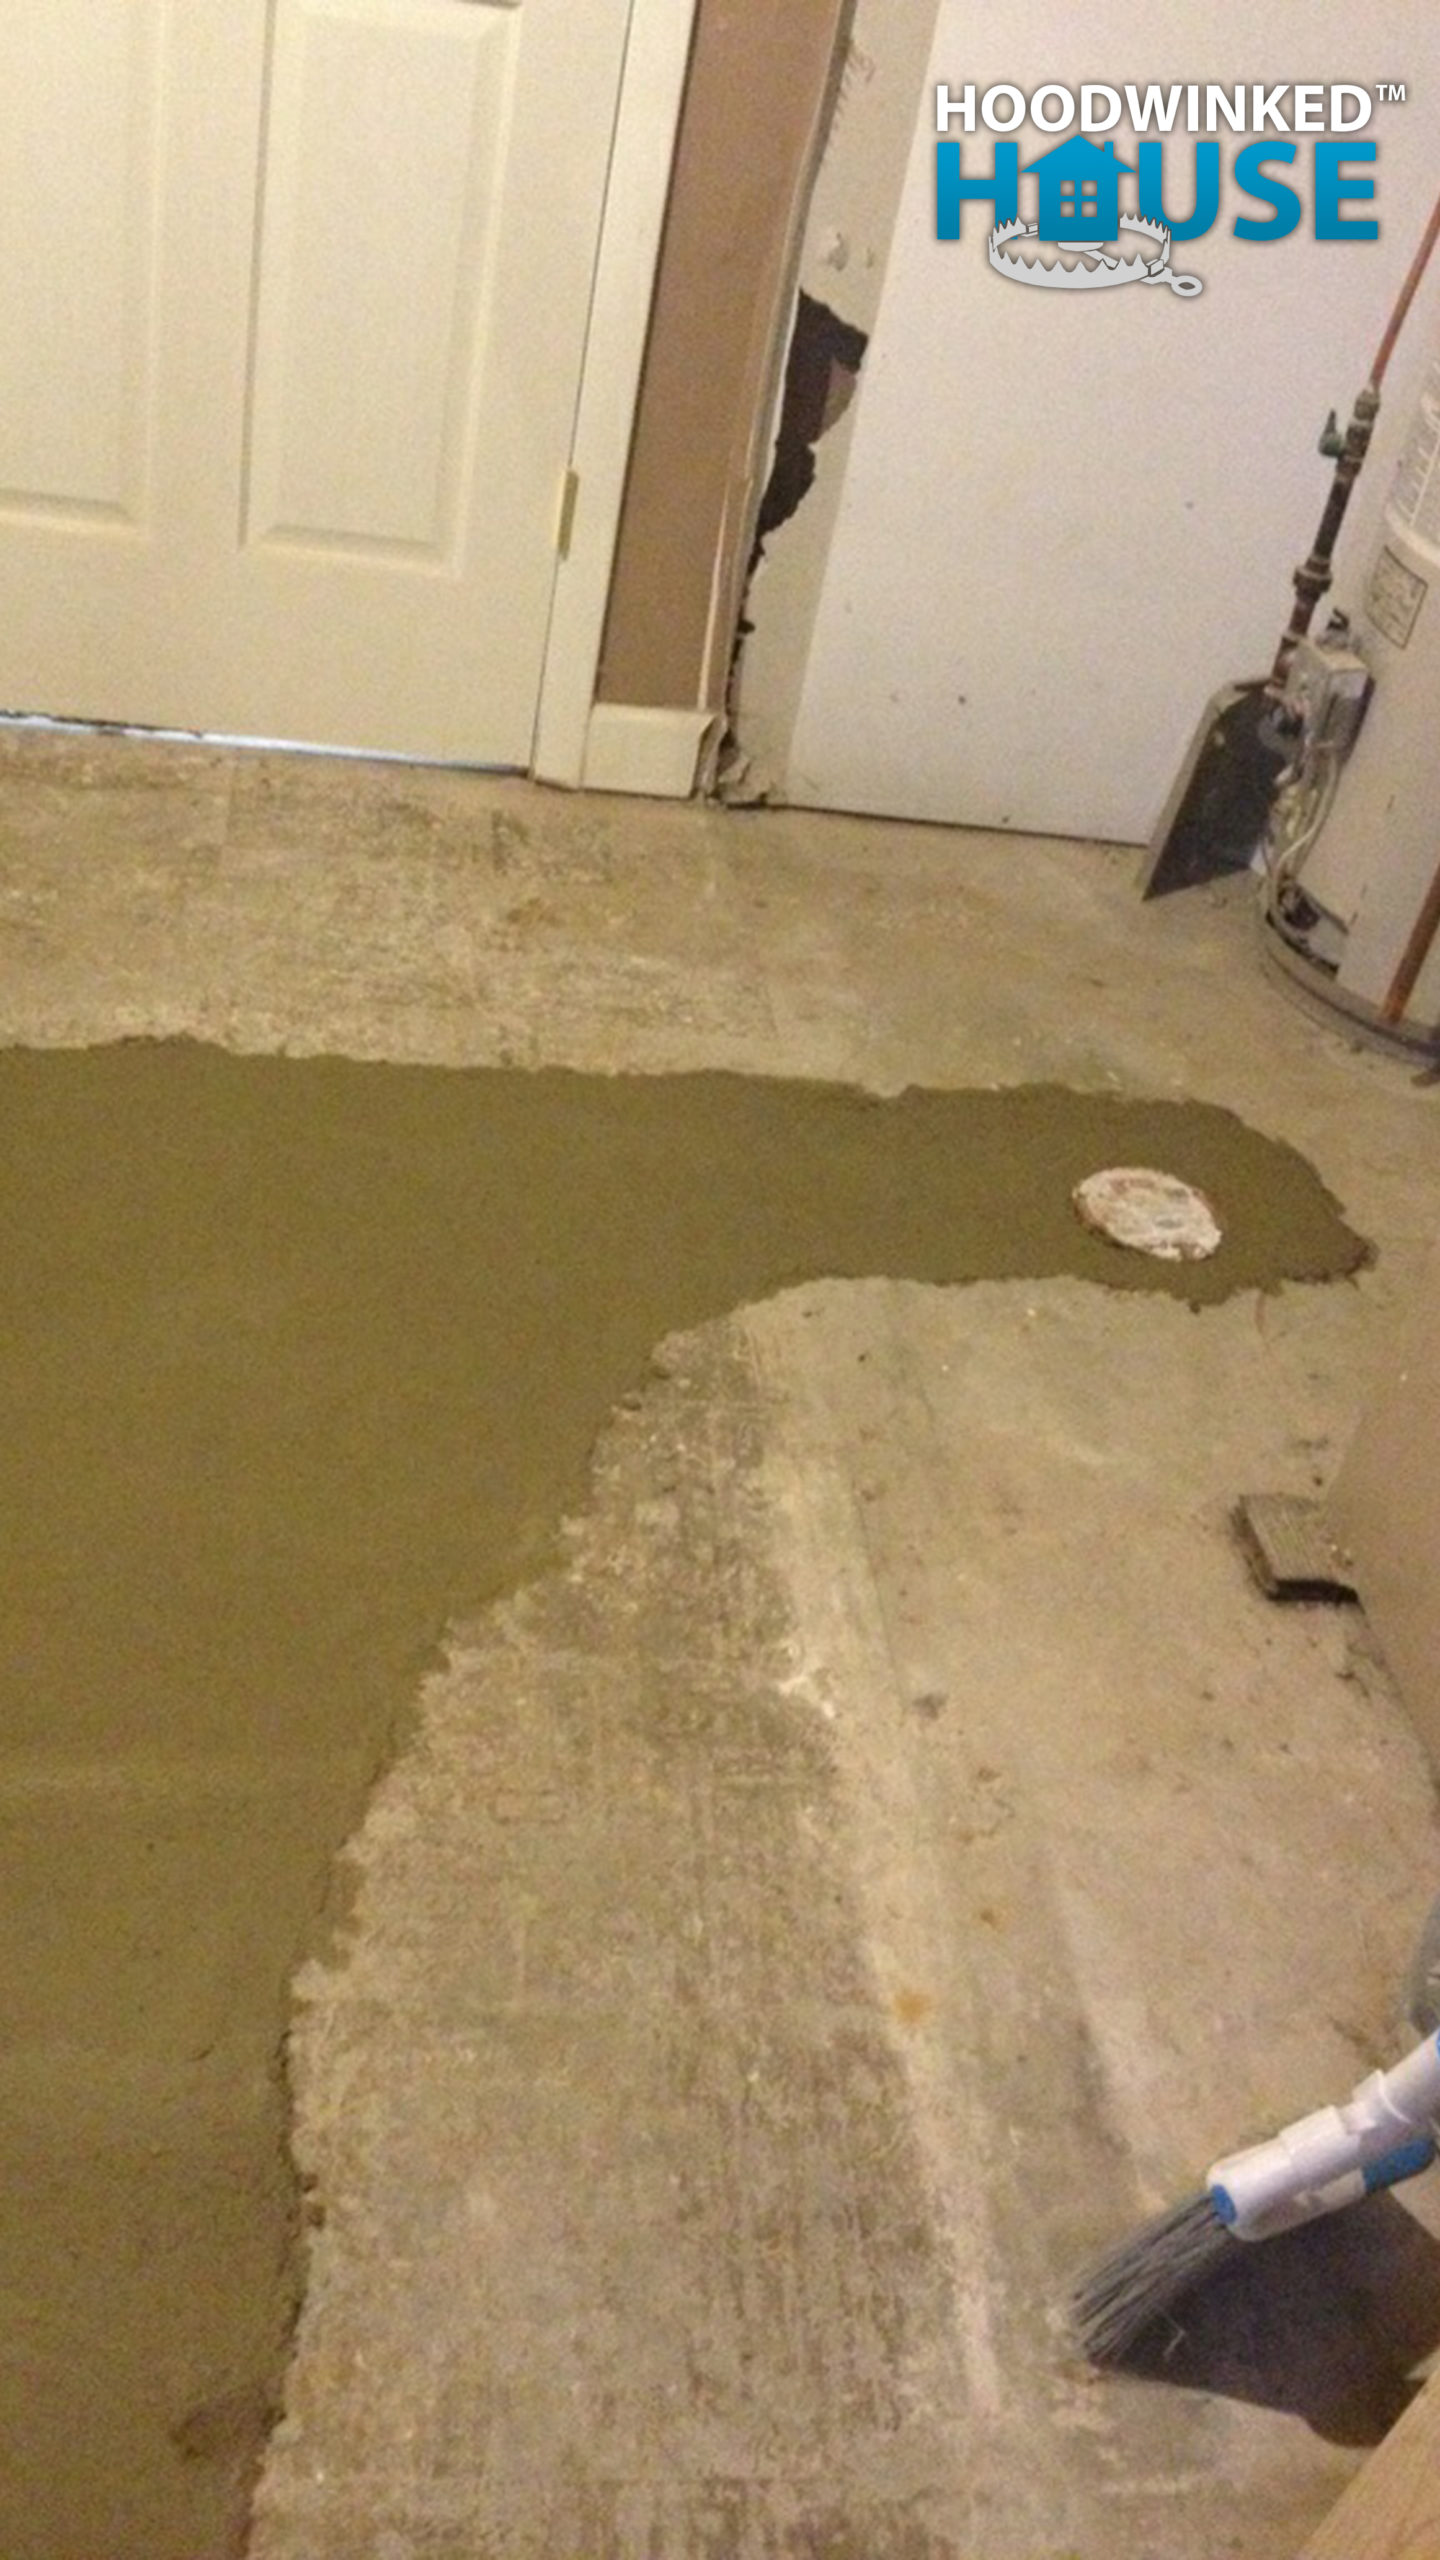
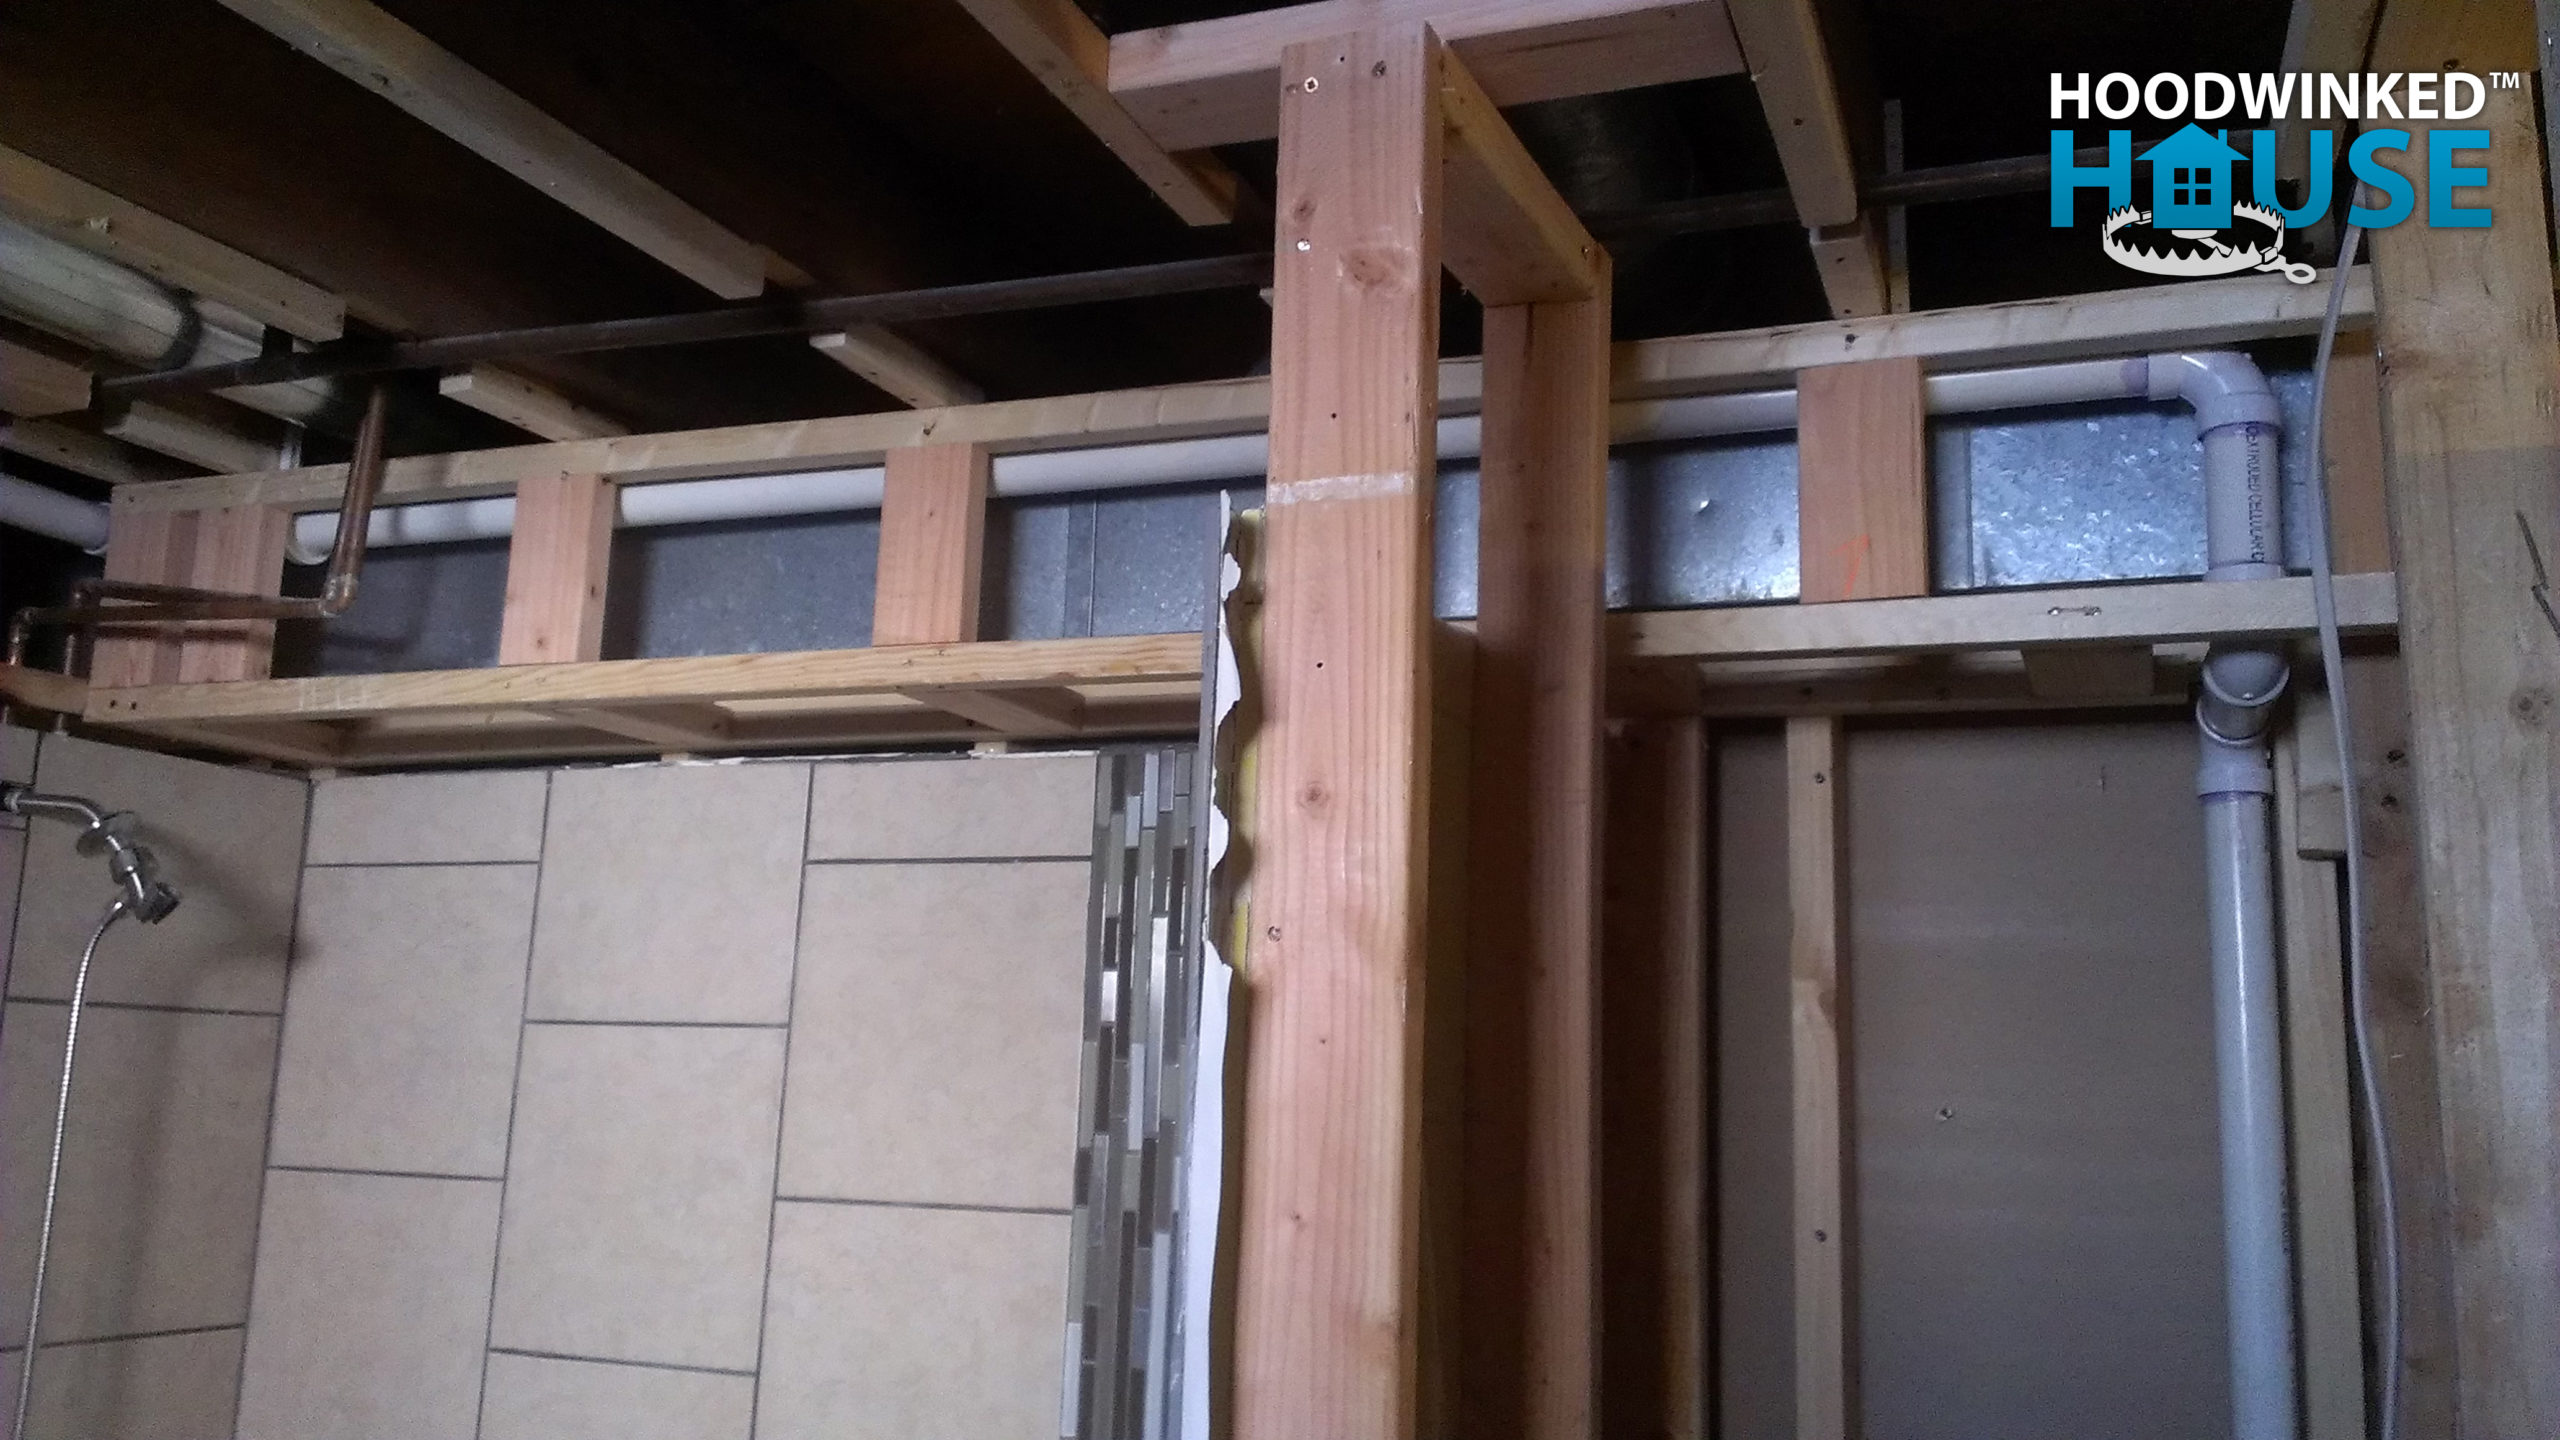
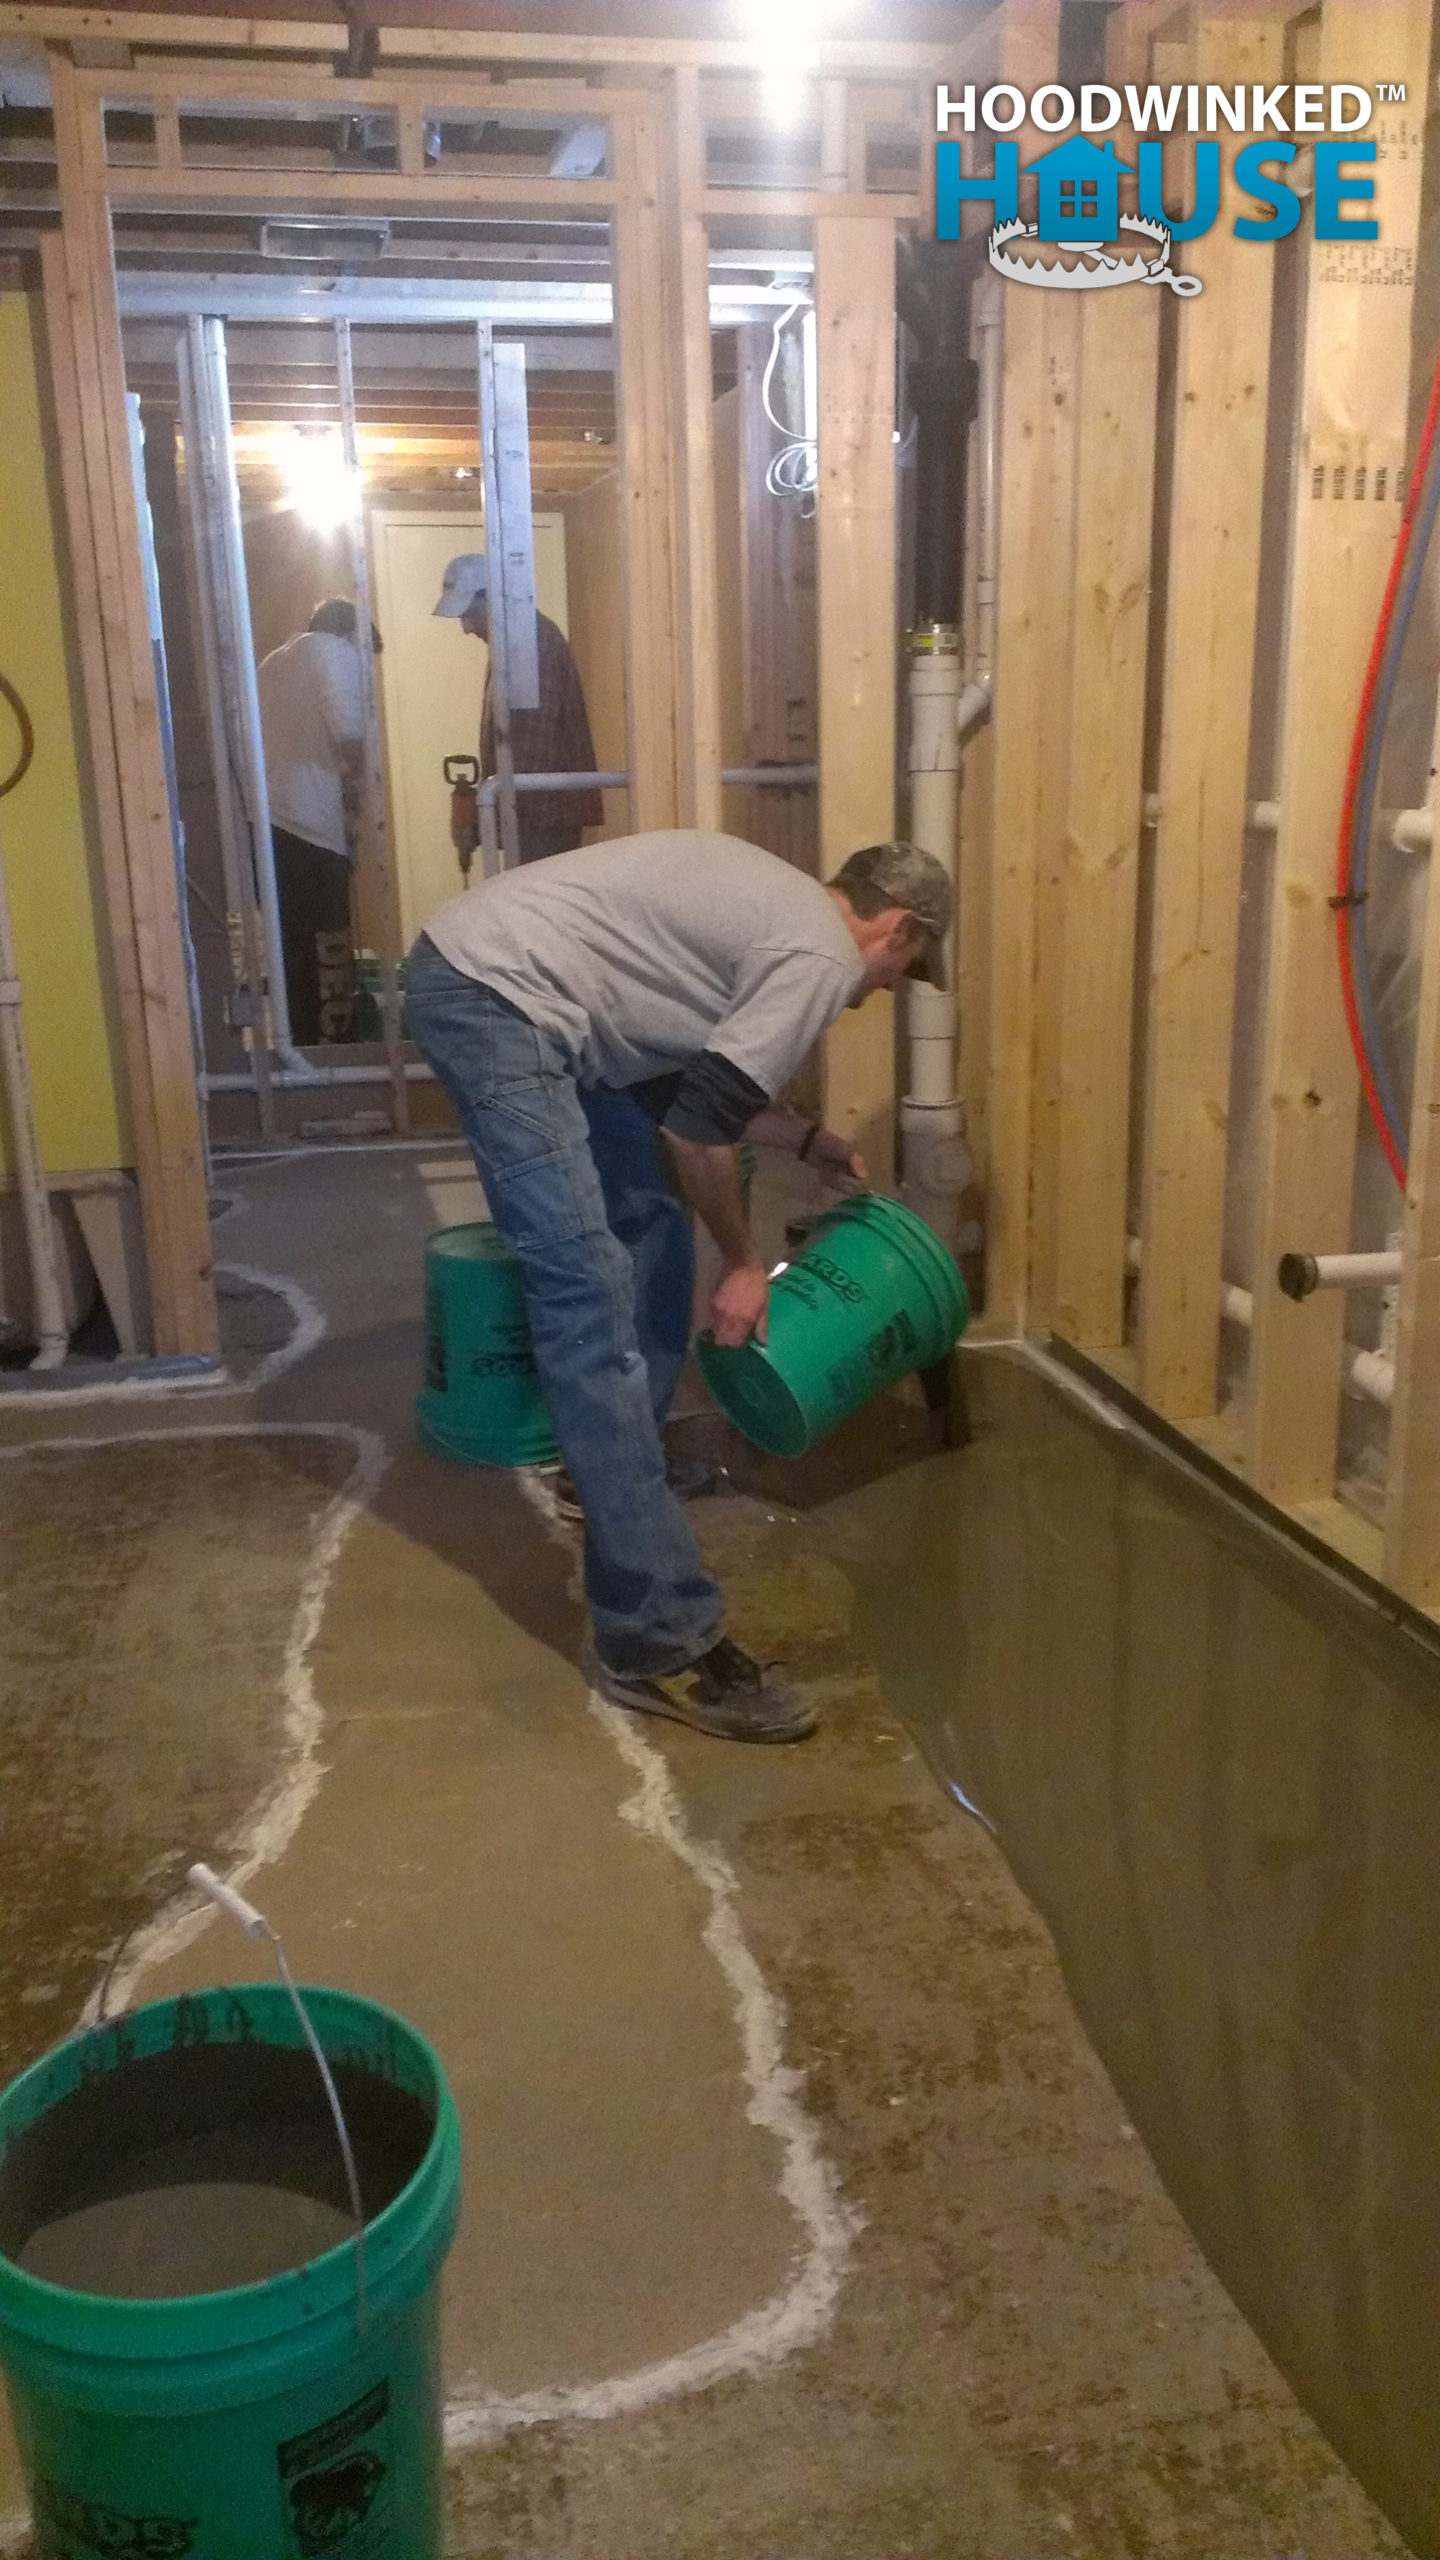
Leveling the floor
My general contractor builds a new soffit in the master bathroom above the tub, and properly finishes the end wall framing, attaching it to the joists.
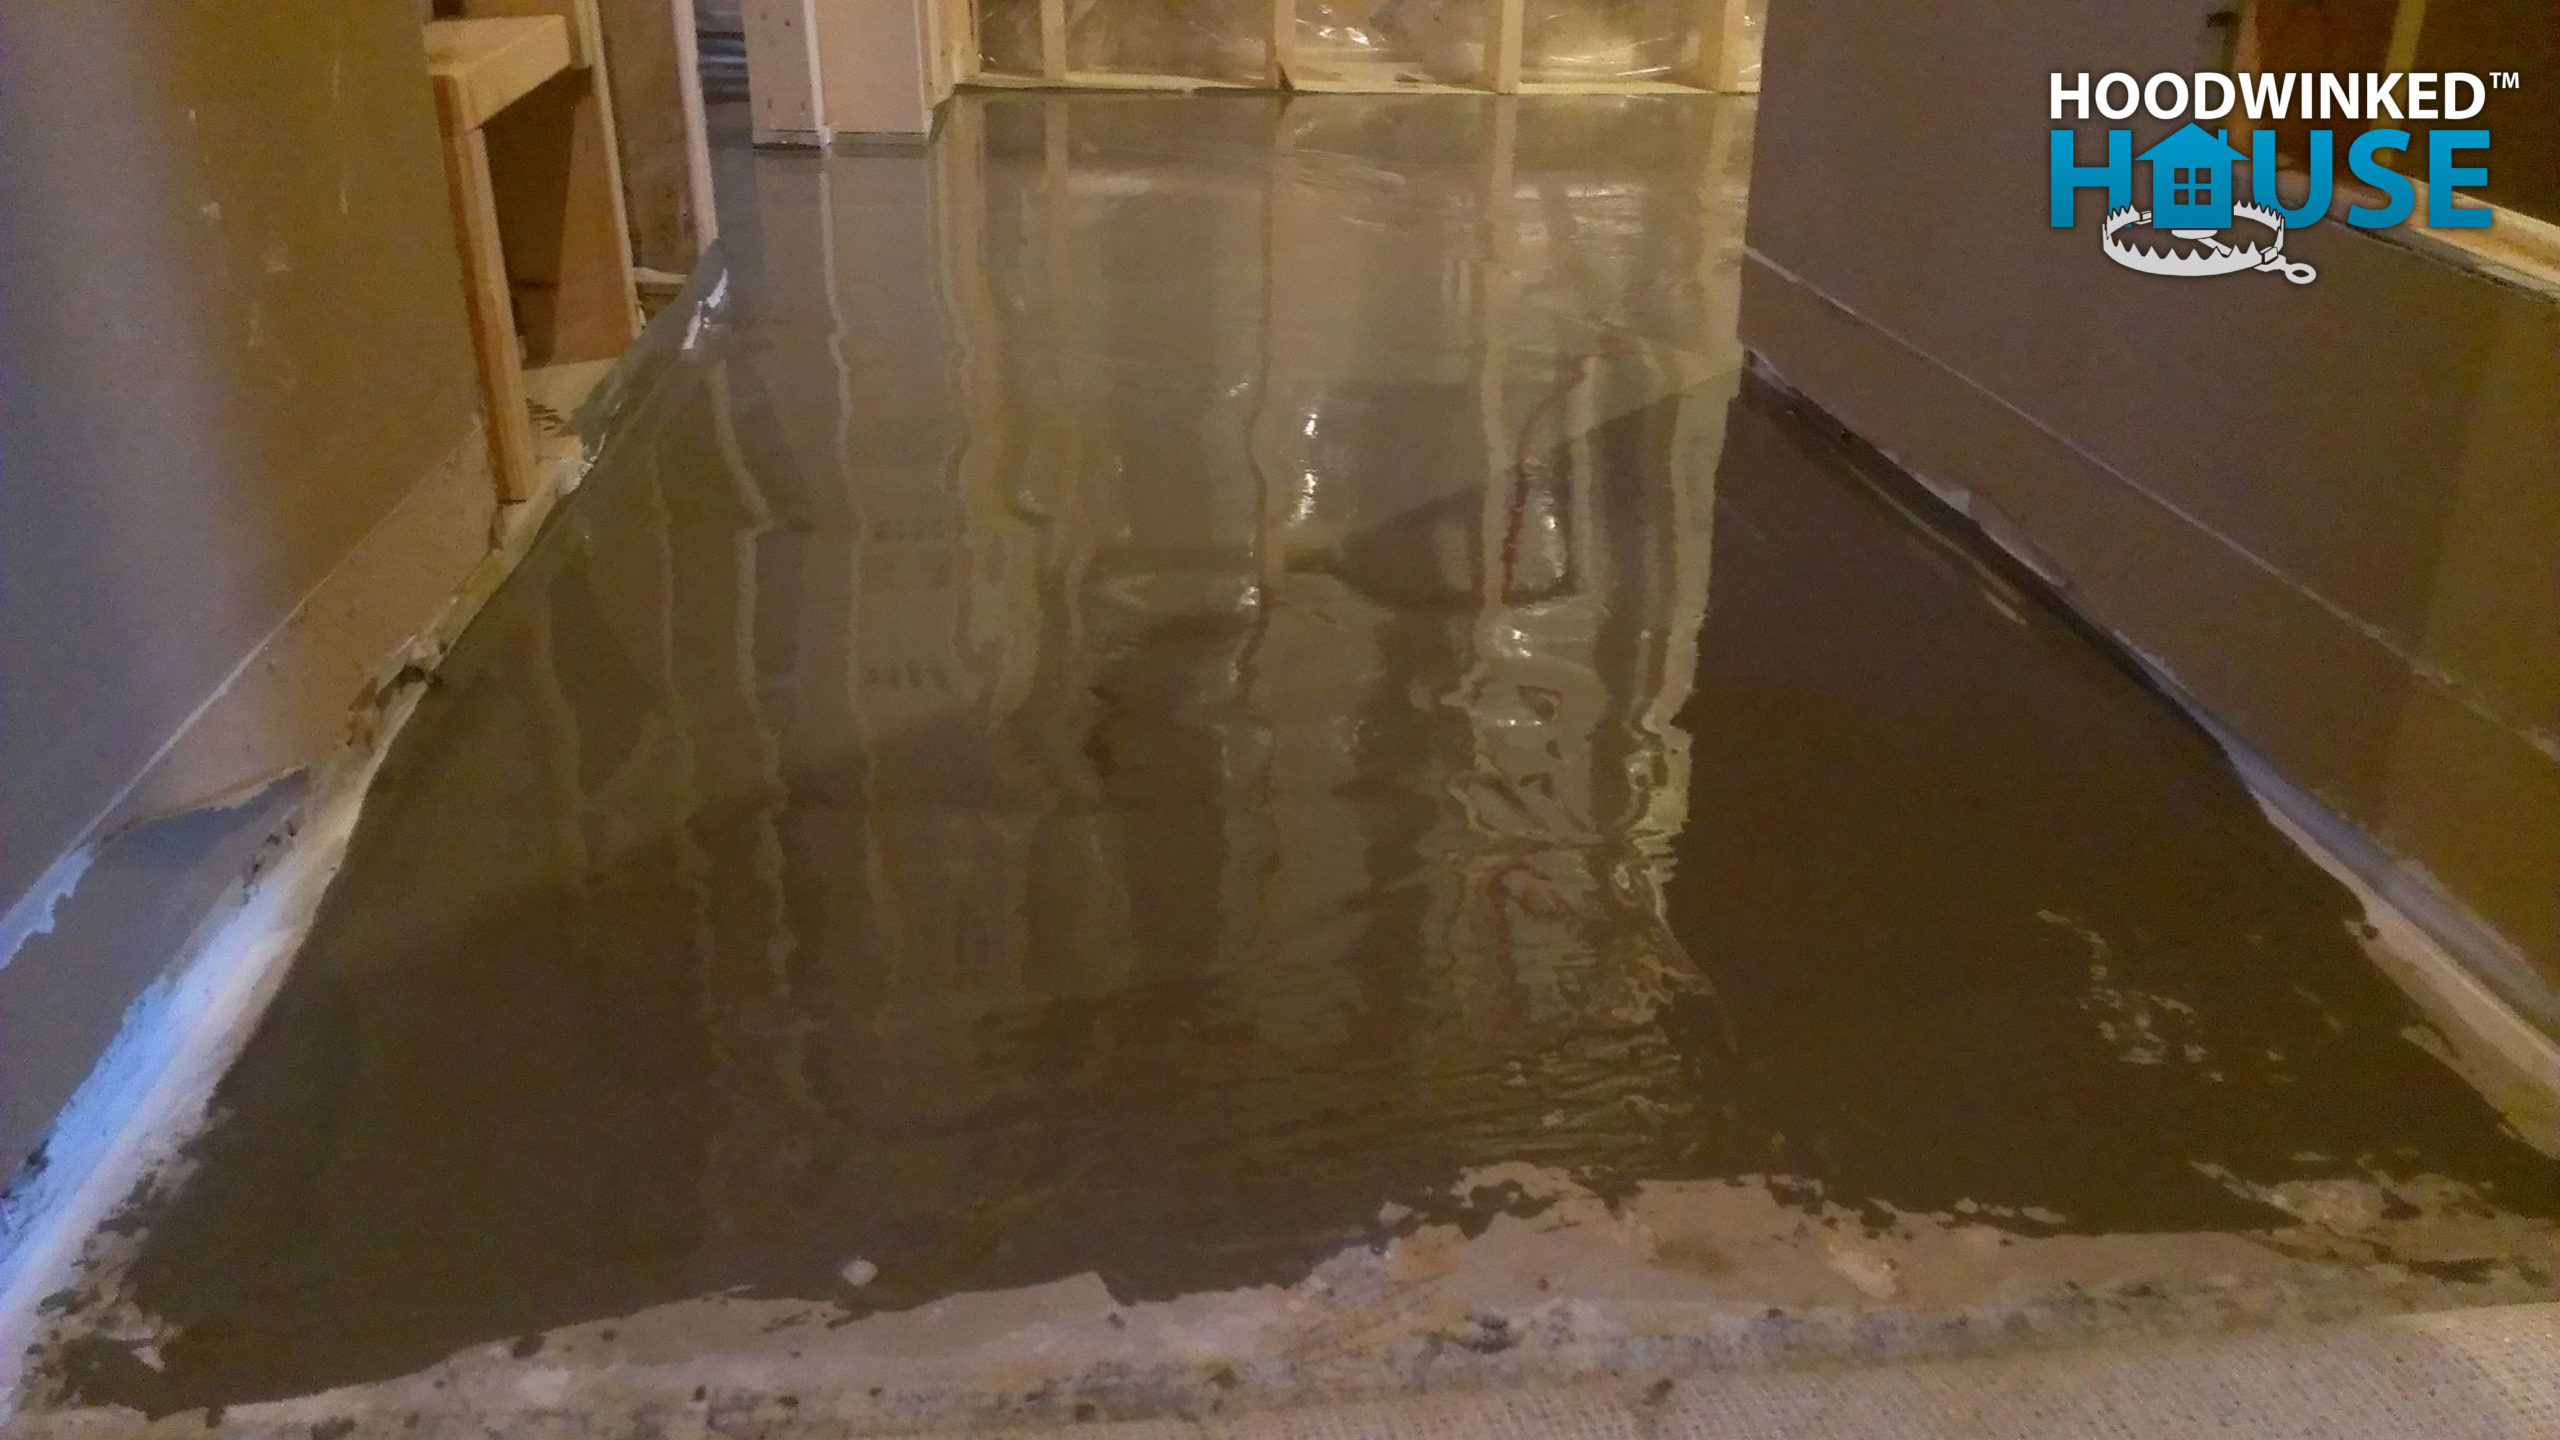
A large batch of self-leveling concrete is mixed ($176.54).

The surface of the existing floor (with new filled drain trenches) is prepared with a bonding agent. The self-leveling concrete is poured into the laundry room and master bathroom.

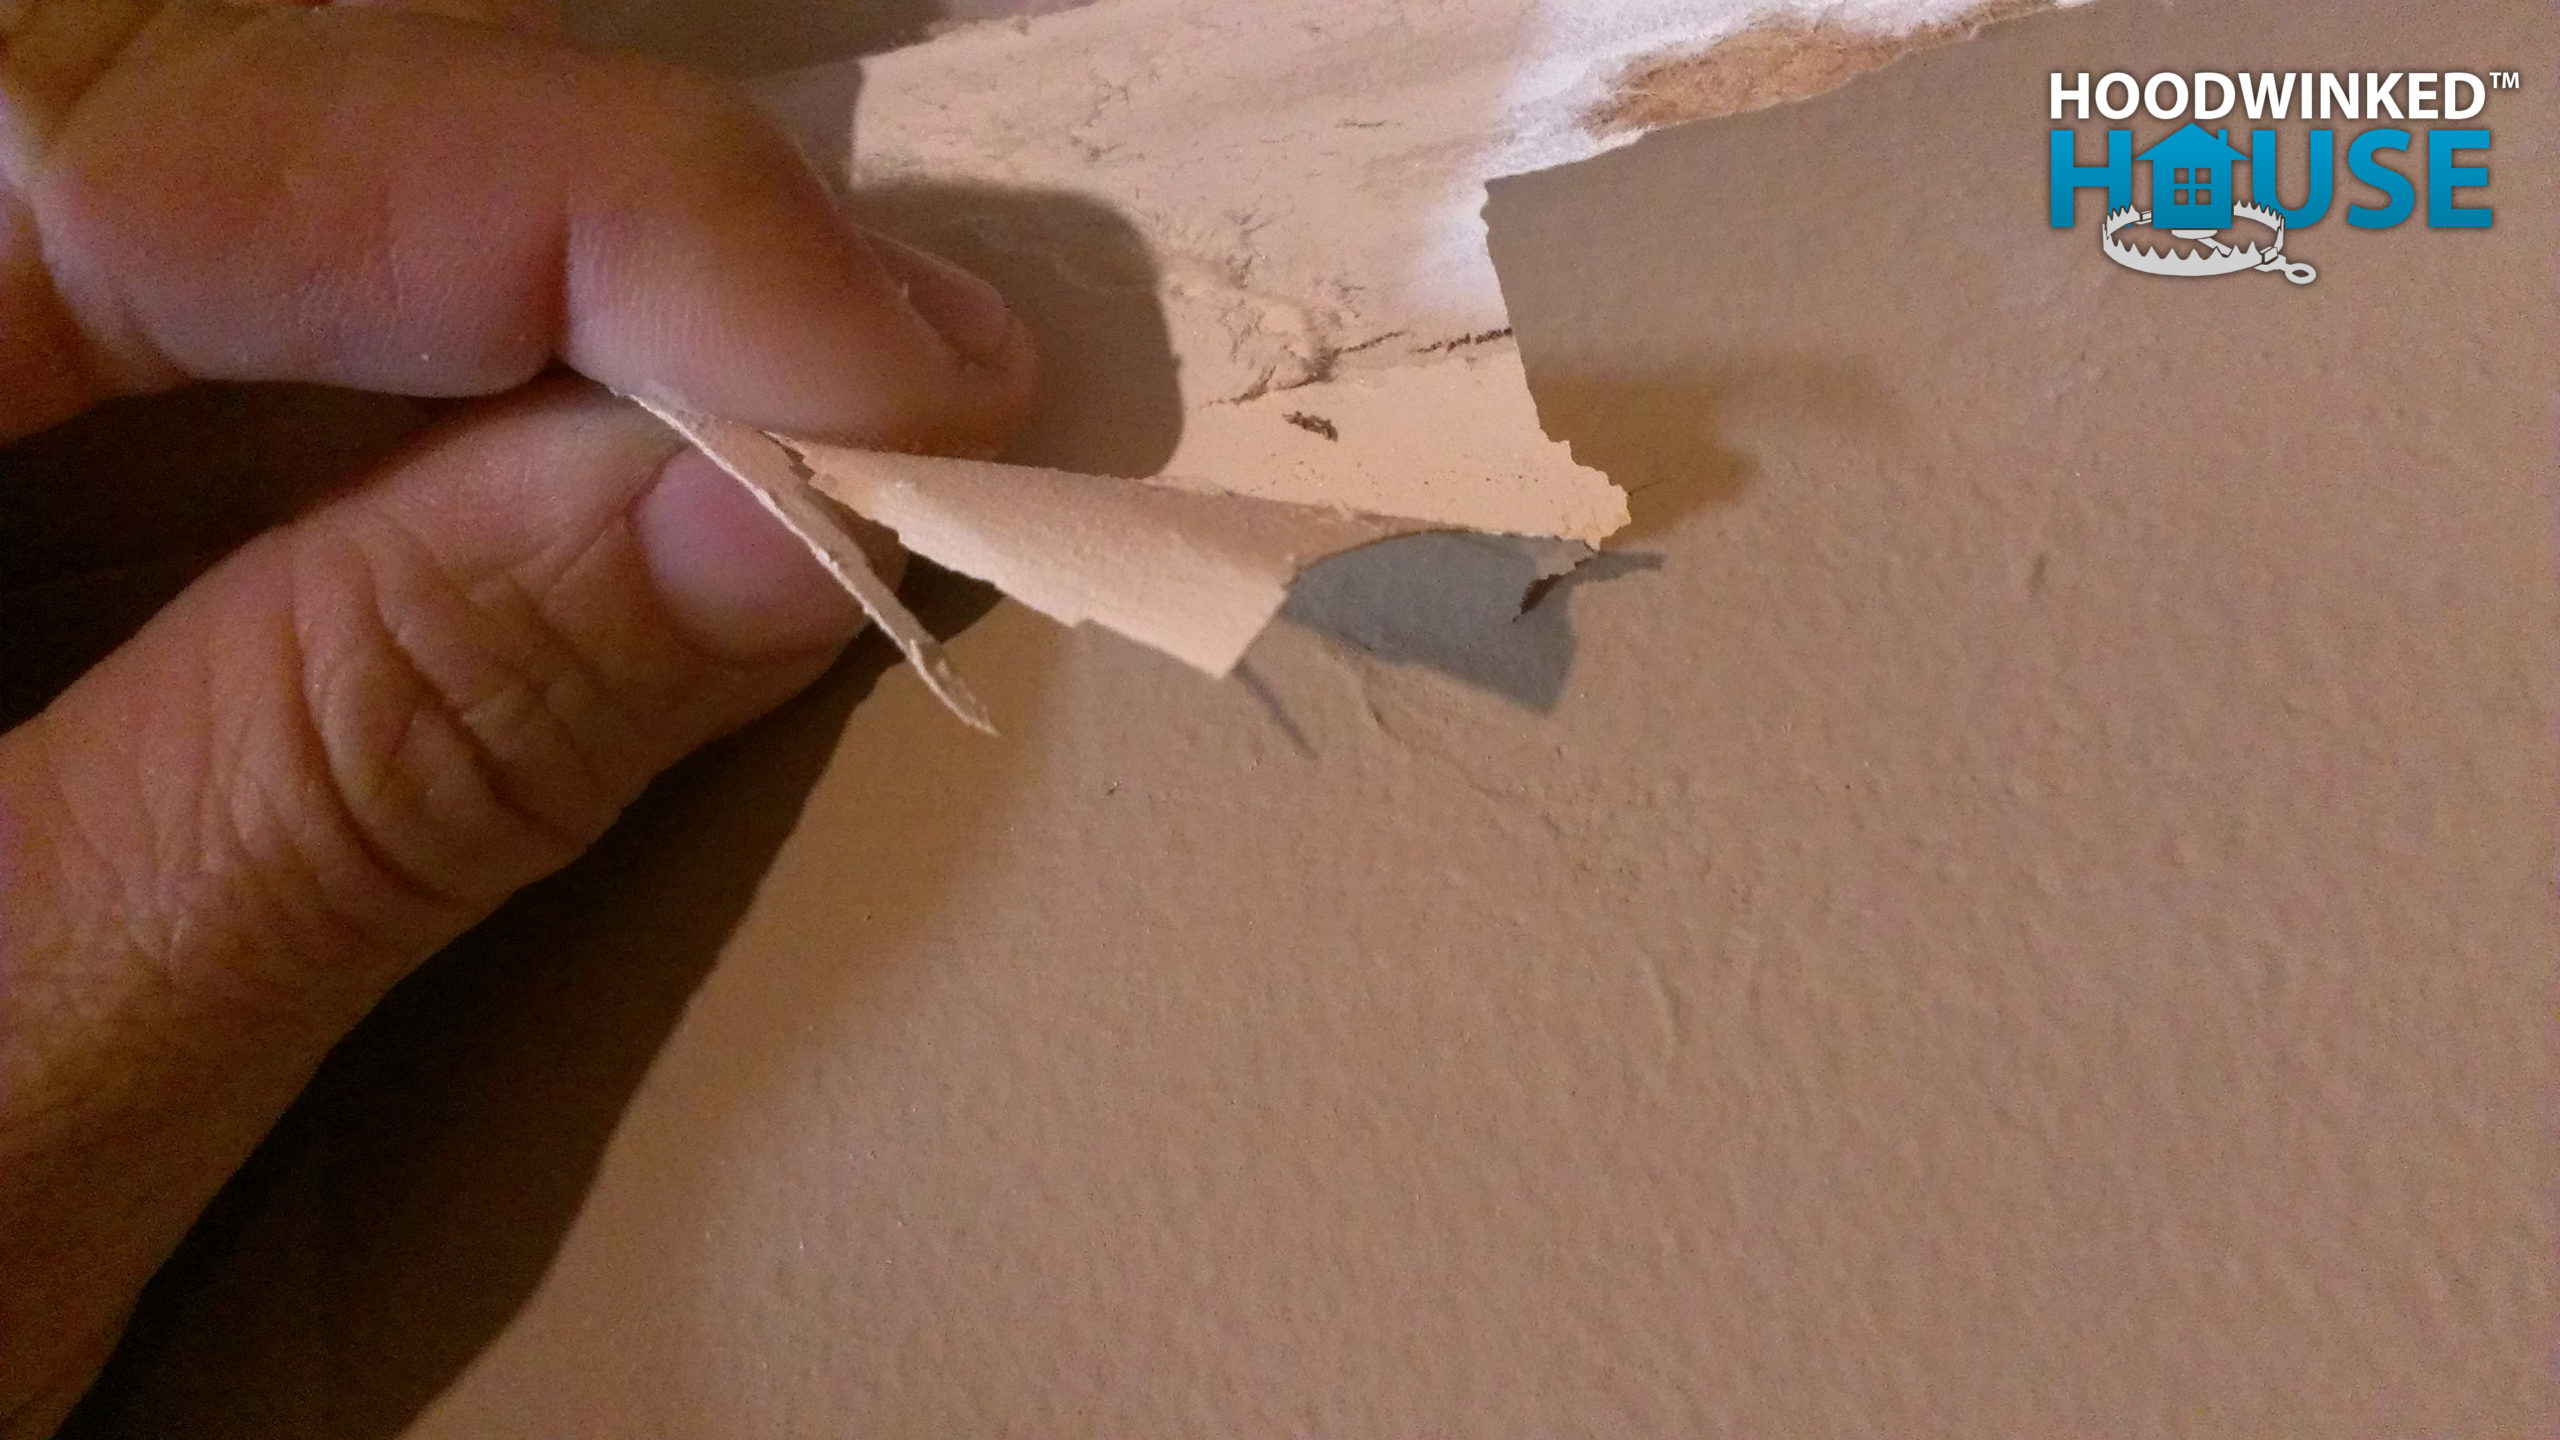
My general contractor’s work is finished. But before he leaves, he points out that I have another major problem: None of the drywall was primed, and cheap paint was applied directly with a sprayer. It flakes off easily in large sheets.
I also receive an invoice for my general contractor’s labor: $3,880.00.
No more financing options

As this is our first house, we have no equity yet, so we do not qualify for a home equity loan for the repairs. Instead, we have maxed-out two credit cards at a total of $16,000. With our credit limit reached, we have no more financing available for big projects.
We have decided to use our limited cash flow to:
- work on small projects ourselves
- save up for emergencies, and
- pay down our recovery debt over the next decade.