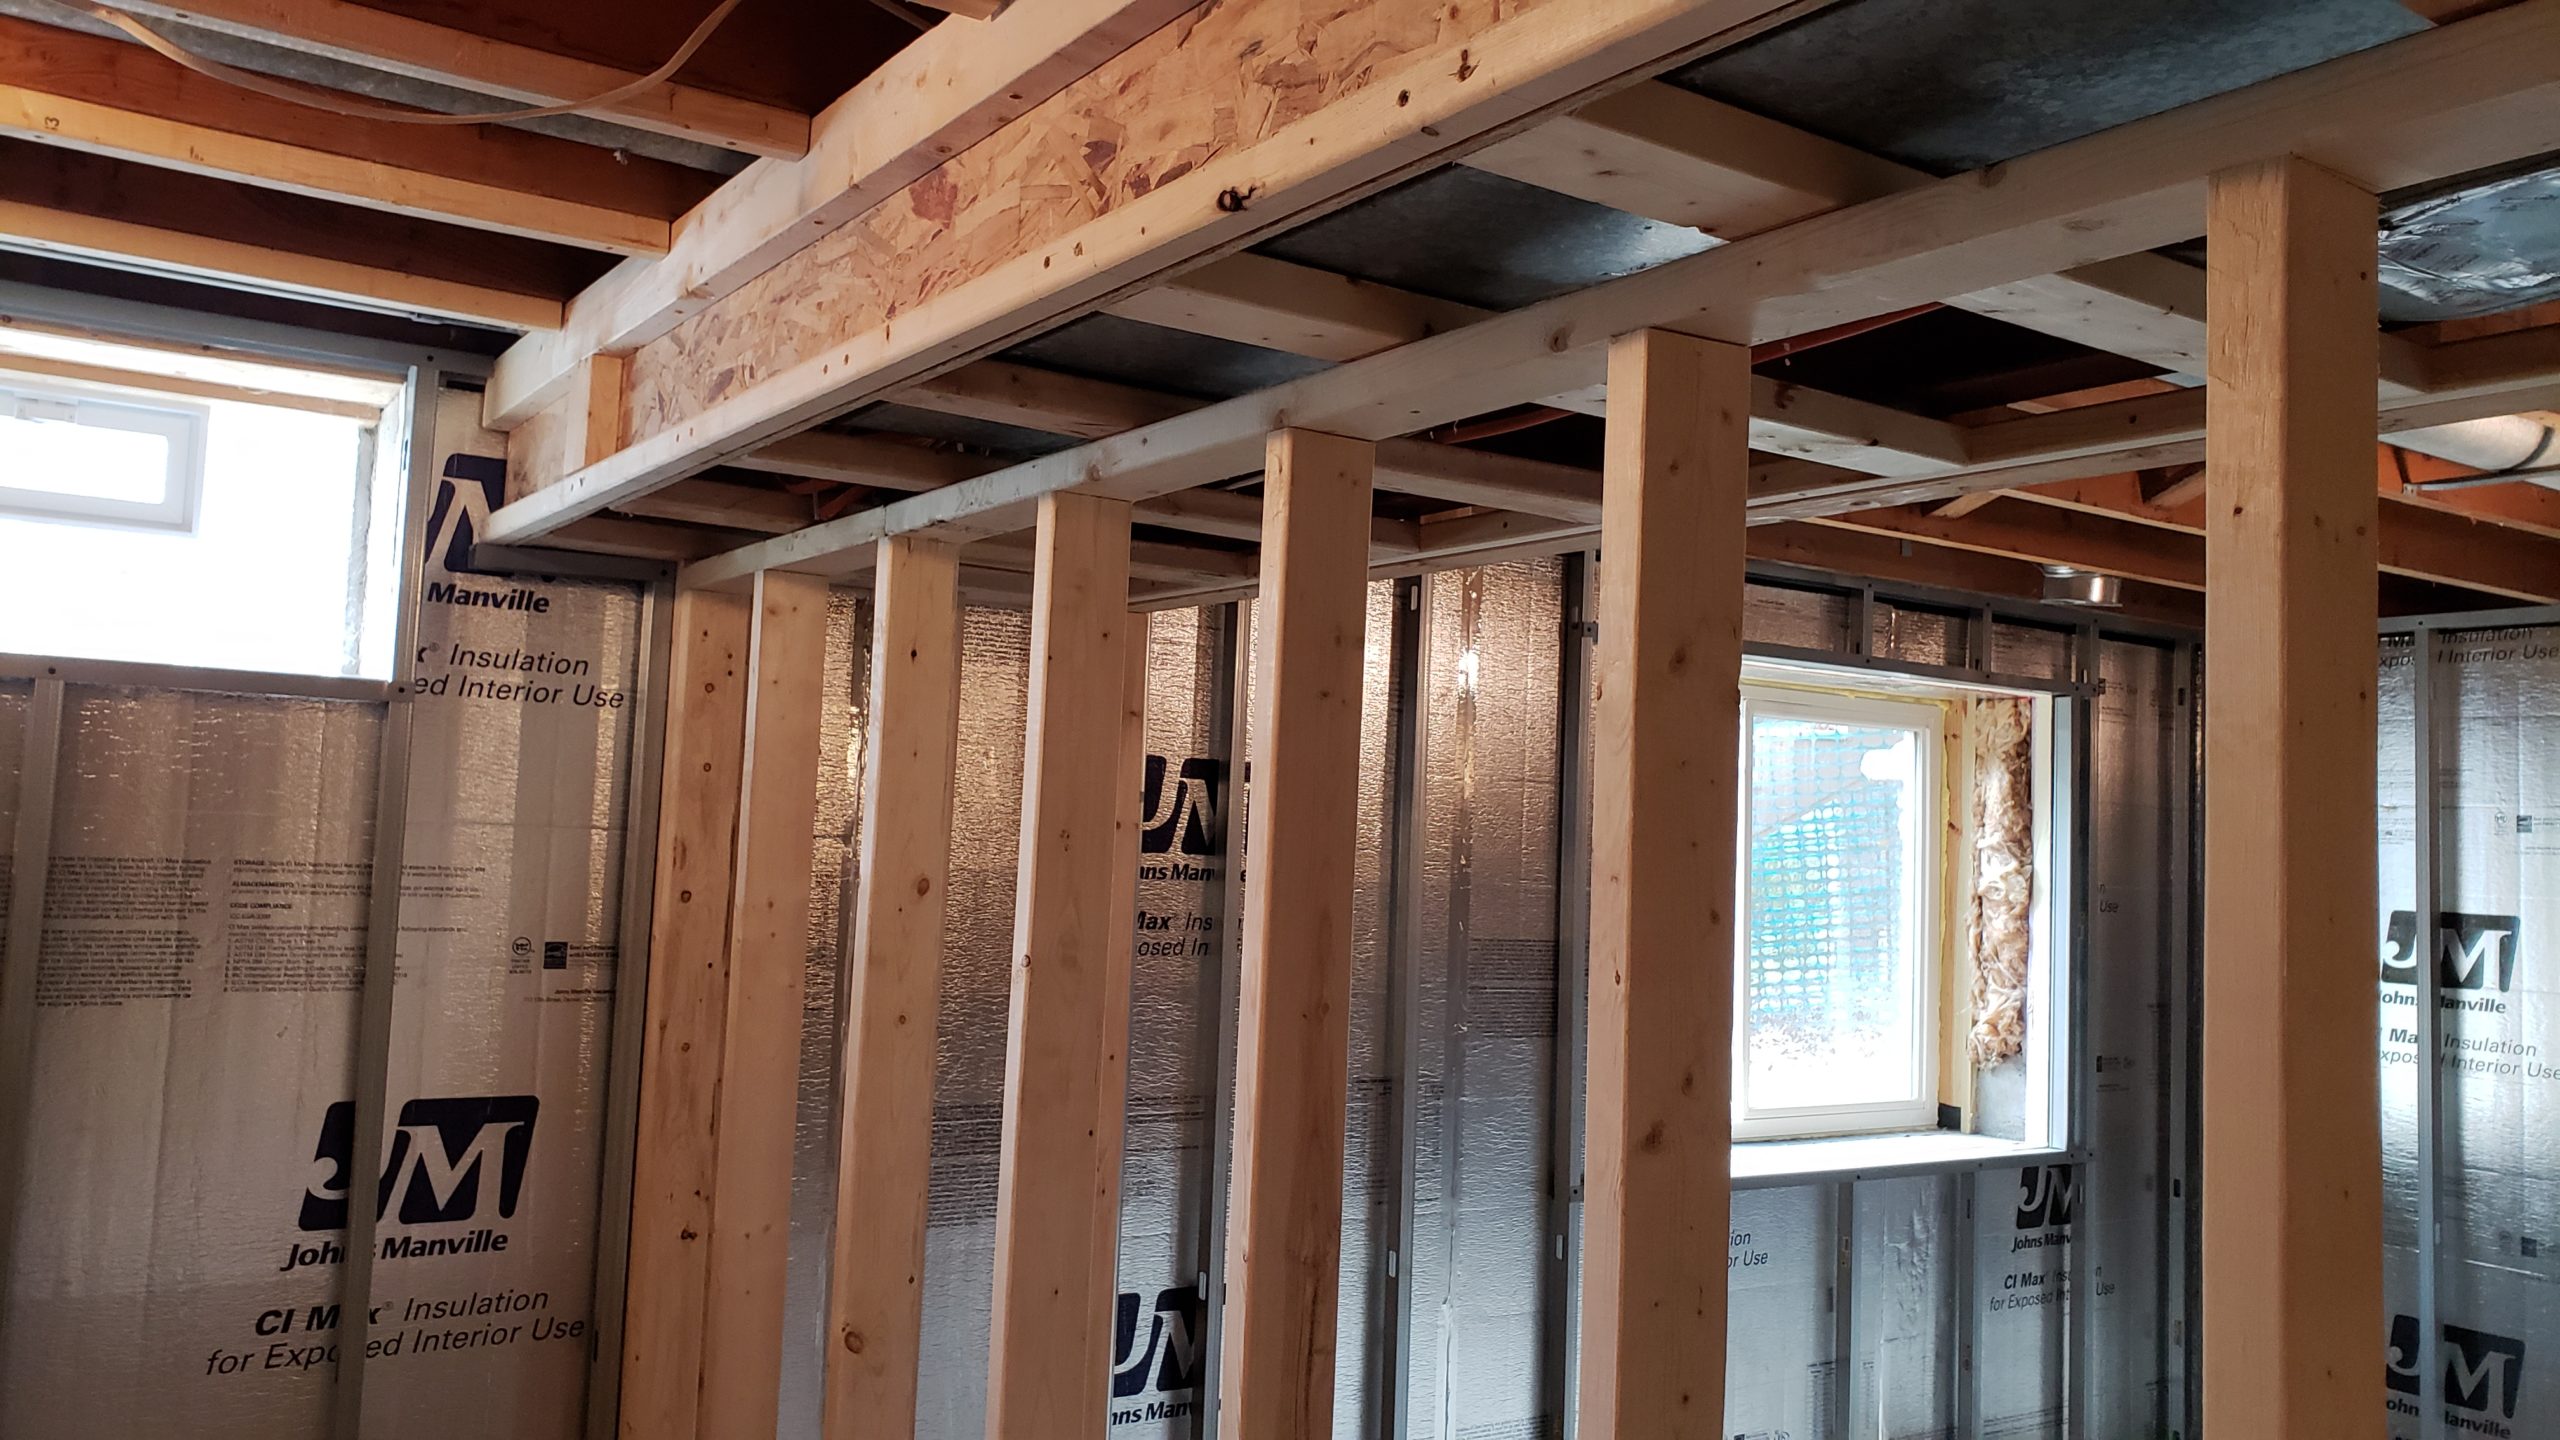
I work long hours into the night to finish off the last of the foamboard insulation and the metal stud walls around the perimeter of the basement.
Another new stud wall goes up
This stud wall is shared by the laundry room on one side, and the master bedroom closet on the other. Things are moving fast now.
Framing the master bedroom wall
This is the last big framing that needs to be done. The new bedroom wall will have double French doors.
Framing closets and other odds and ends
I complete framing both of the closets in the two bedrooms. I also add nailer strips in corners and everywhere else that is appropriate.
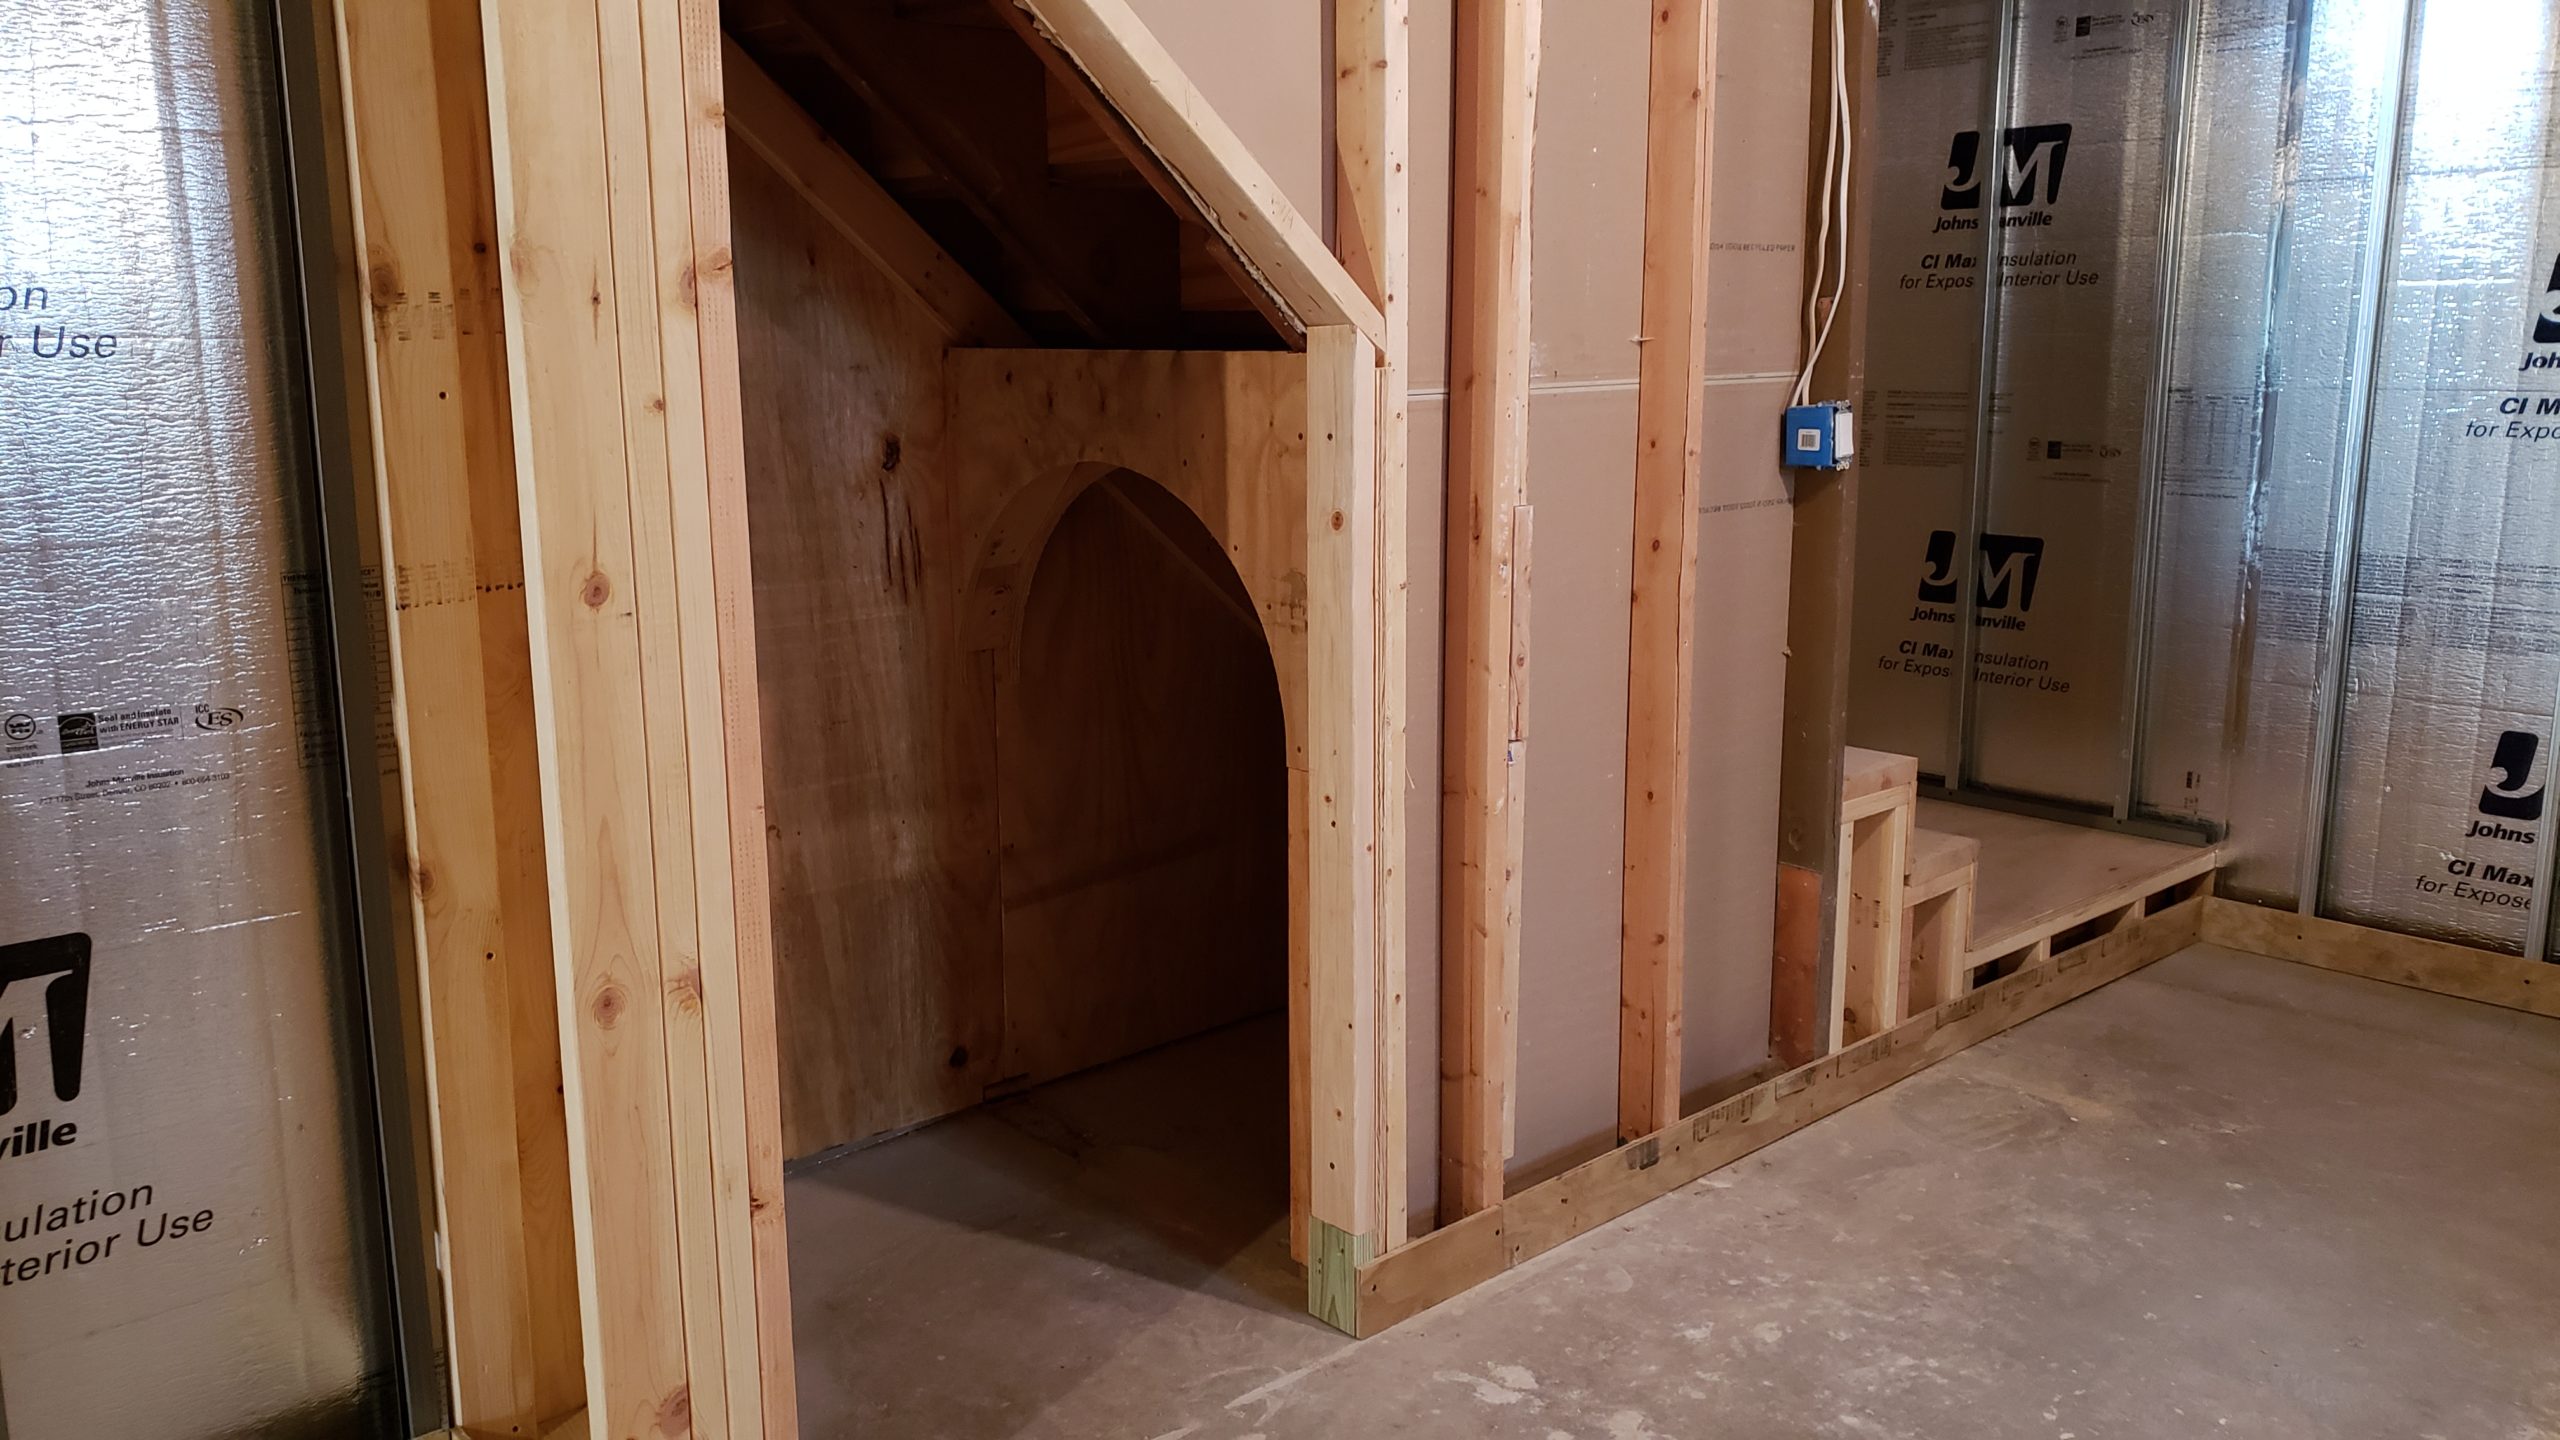
Special framing under the stairs
Amáda asked for a special design under the stairs. There was already a stud wall holding up the middle of the stringers. I replaced that support with a custom made arch. Also, the framing outside of the stairs needed to line up with a few other parts of the new basement layout.
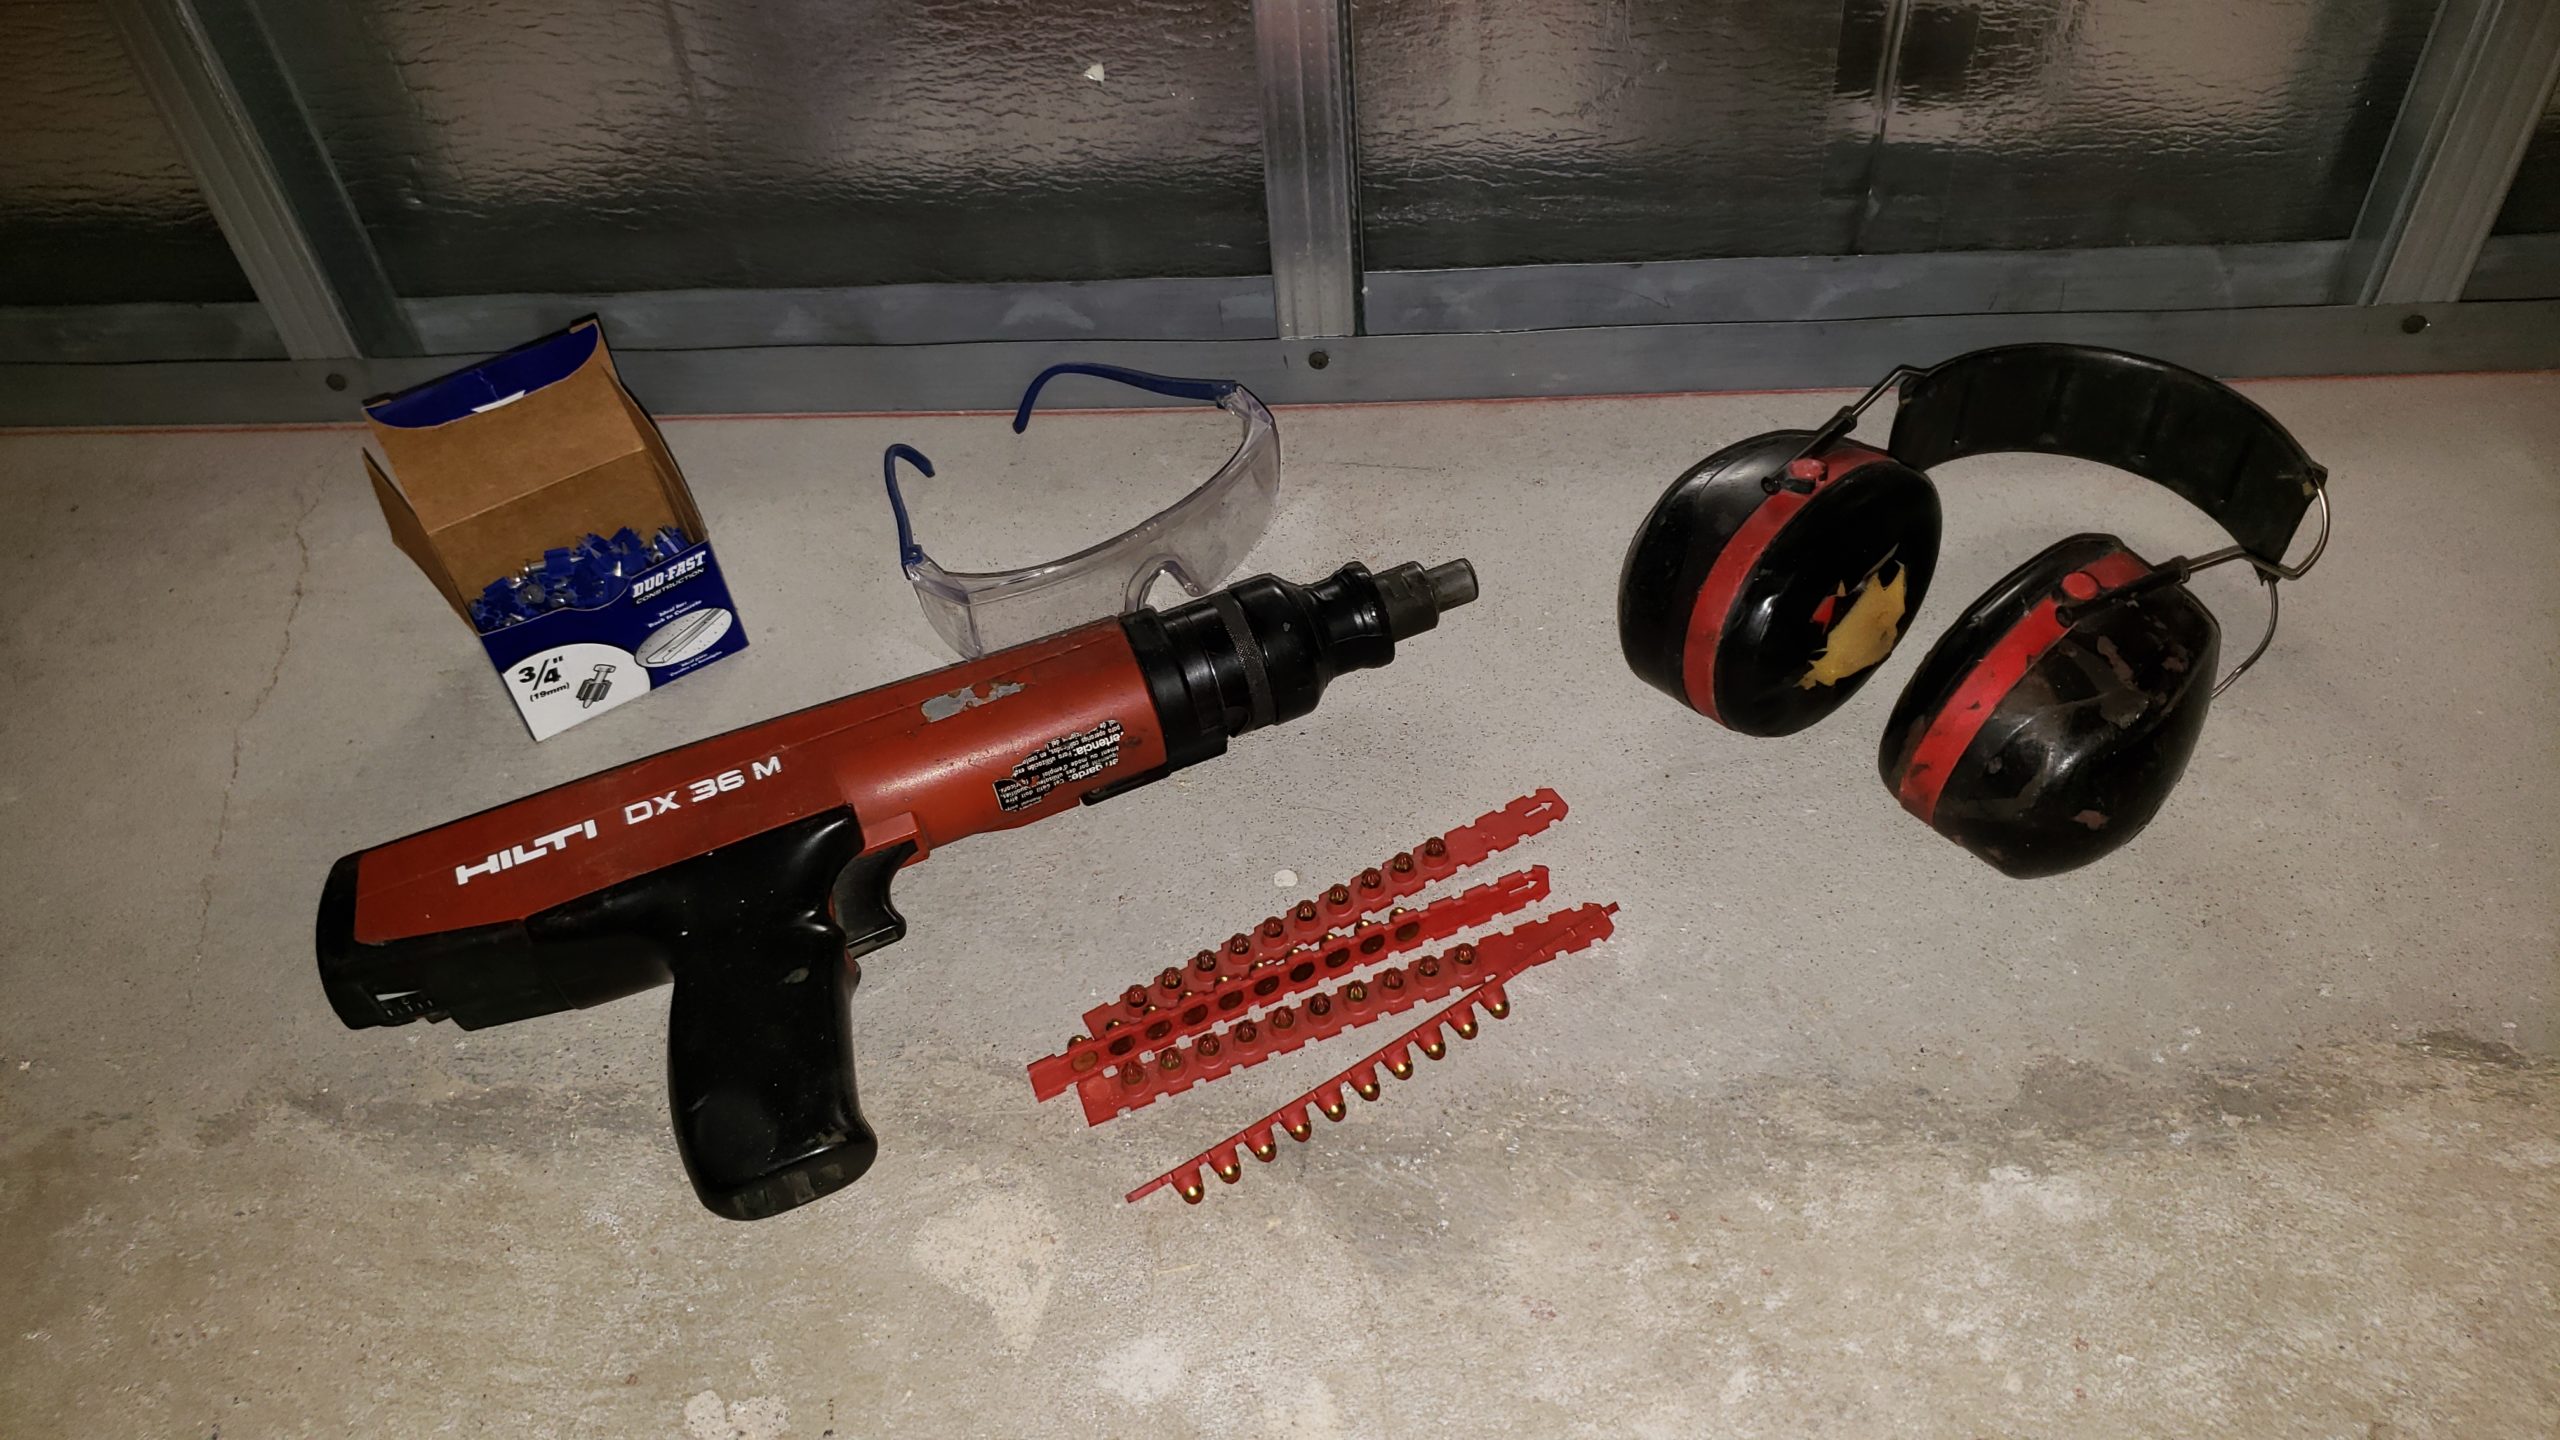
Anchoring the stud walls to the basement floor
I use a ramset concrete nail gun to anchor a few of the stud walls. I use short nails for steel framing, and longer ones for wood.
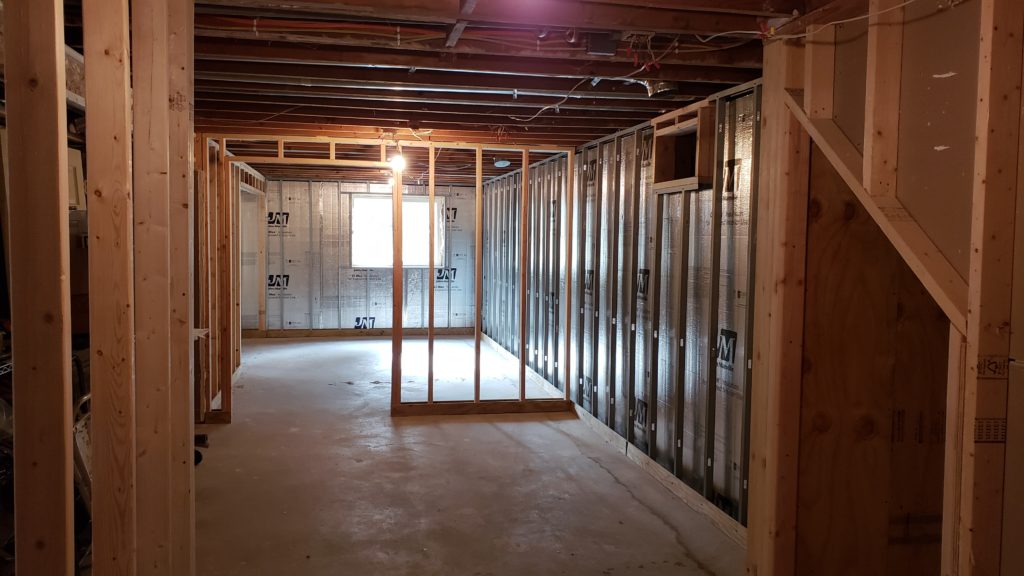
Baseboard nailers added. Framing finished!
My dad volunteers to help me install baseboard nailers around all of the walls. There are so many pieces, it’s almost like adding real baseboards.
Framing inspection comes with a nice compliment
Today this basement finishing project passed framing inspection! Considering how many years it took to get to this point, this is a huge milestone.
What’s more, the city building official gave me a nice compliment:
“I just have to say that you are doing really incredible work. You say you don’t do this for a living, but I’ve never seen professional carpentry of this quality. Really superb precision and craftsmanship. Very nice. Excellent job!”
Luke, Building Official, City of Columbia Heights
All that remains is electrical, drywall, paint, flooring, and trim carpentry.
Who sprays foam insulation over a junction box?
With plumbing and framing done, the next step is electrical work. Today I traced a circuit into the attic. Underneath some blown-in insulation, I found this. The flipper had used spray foam insulation on a junction box!

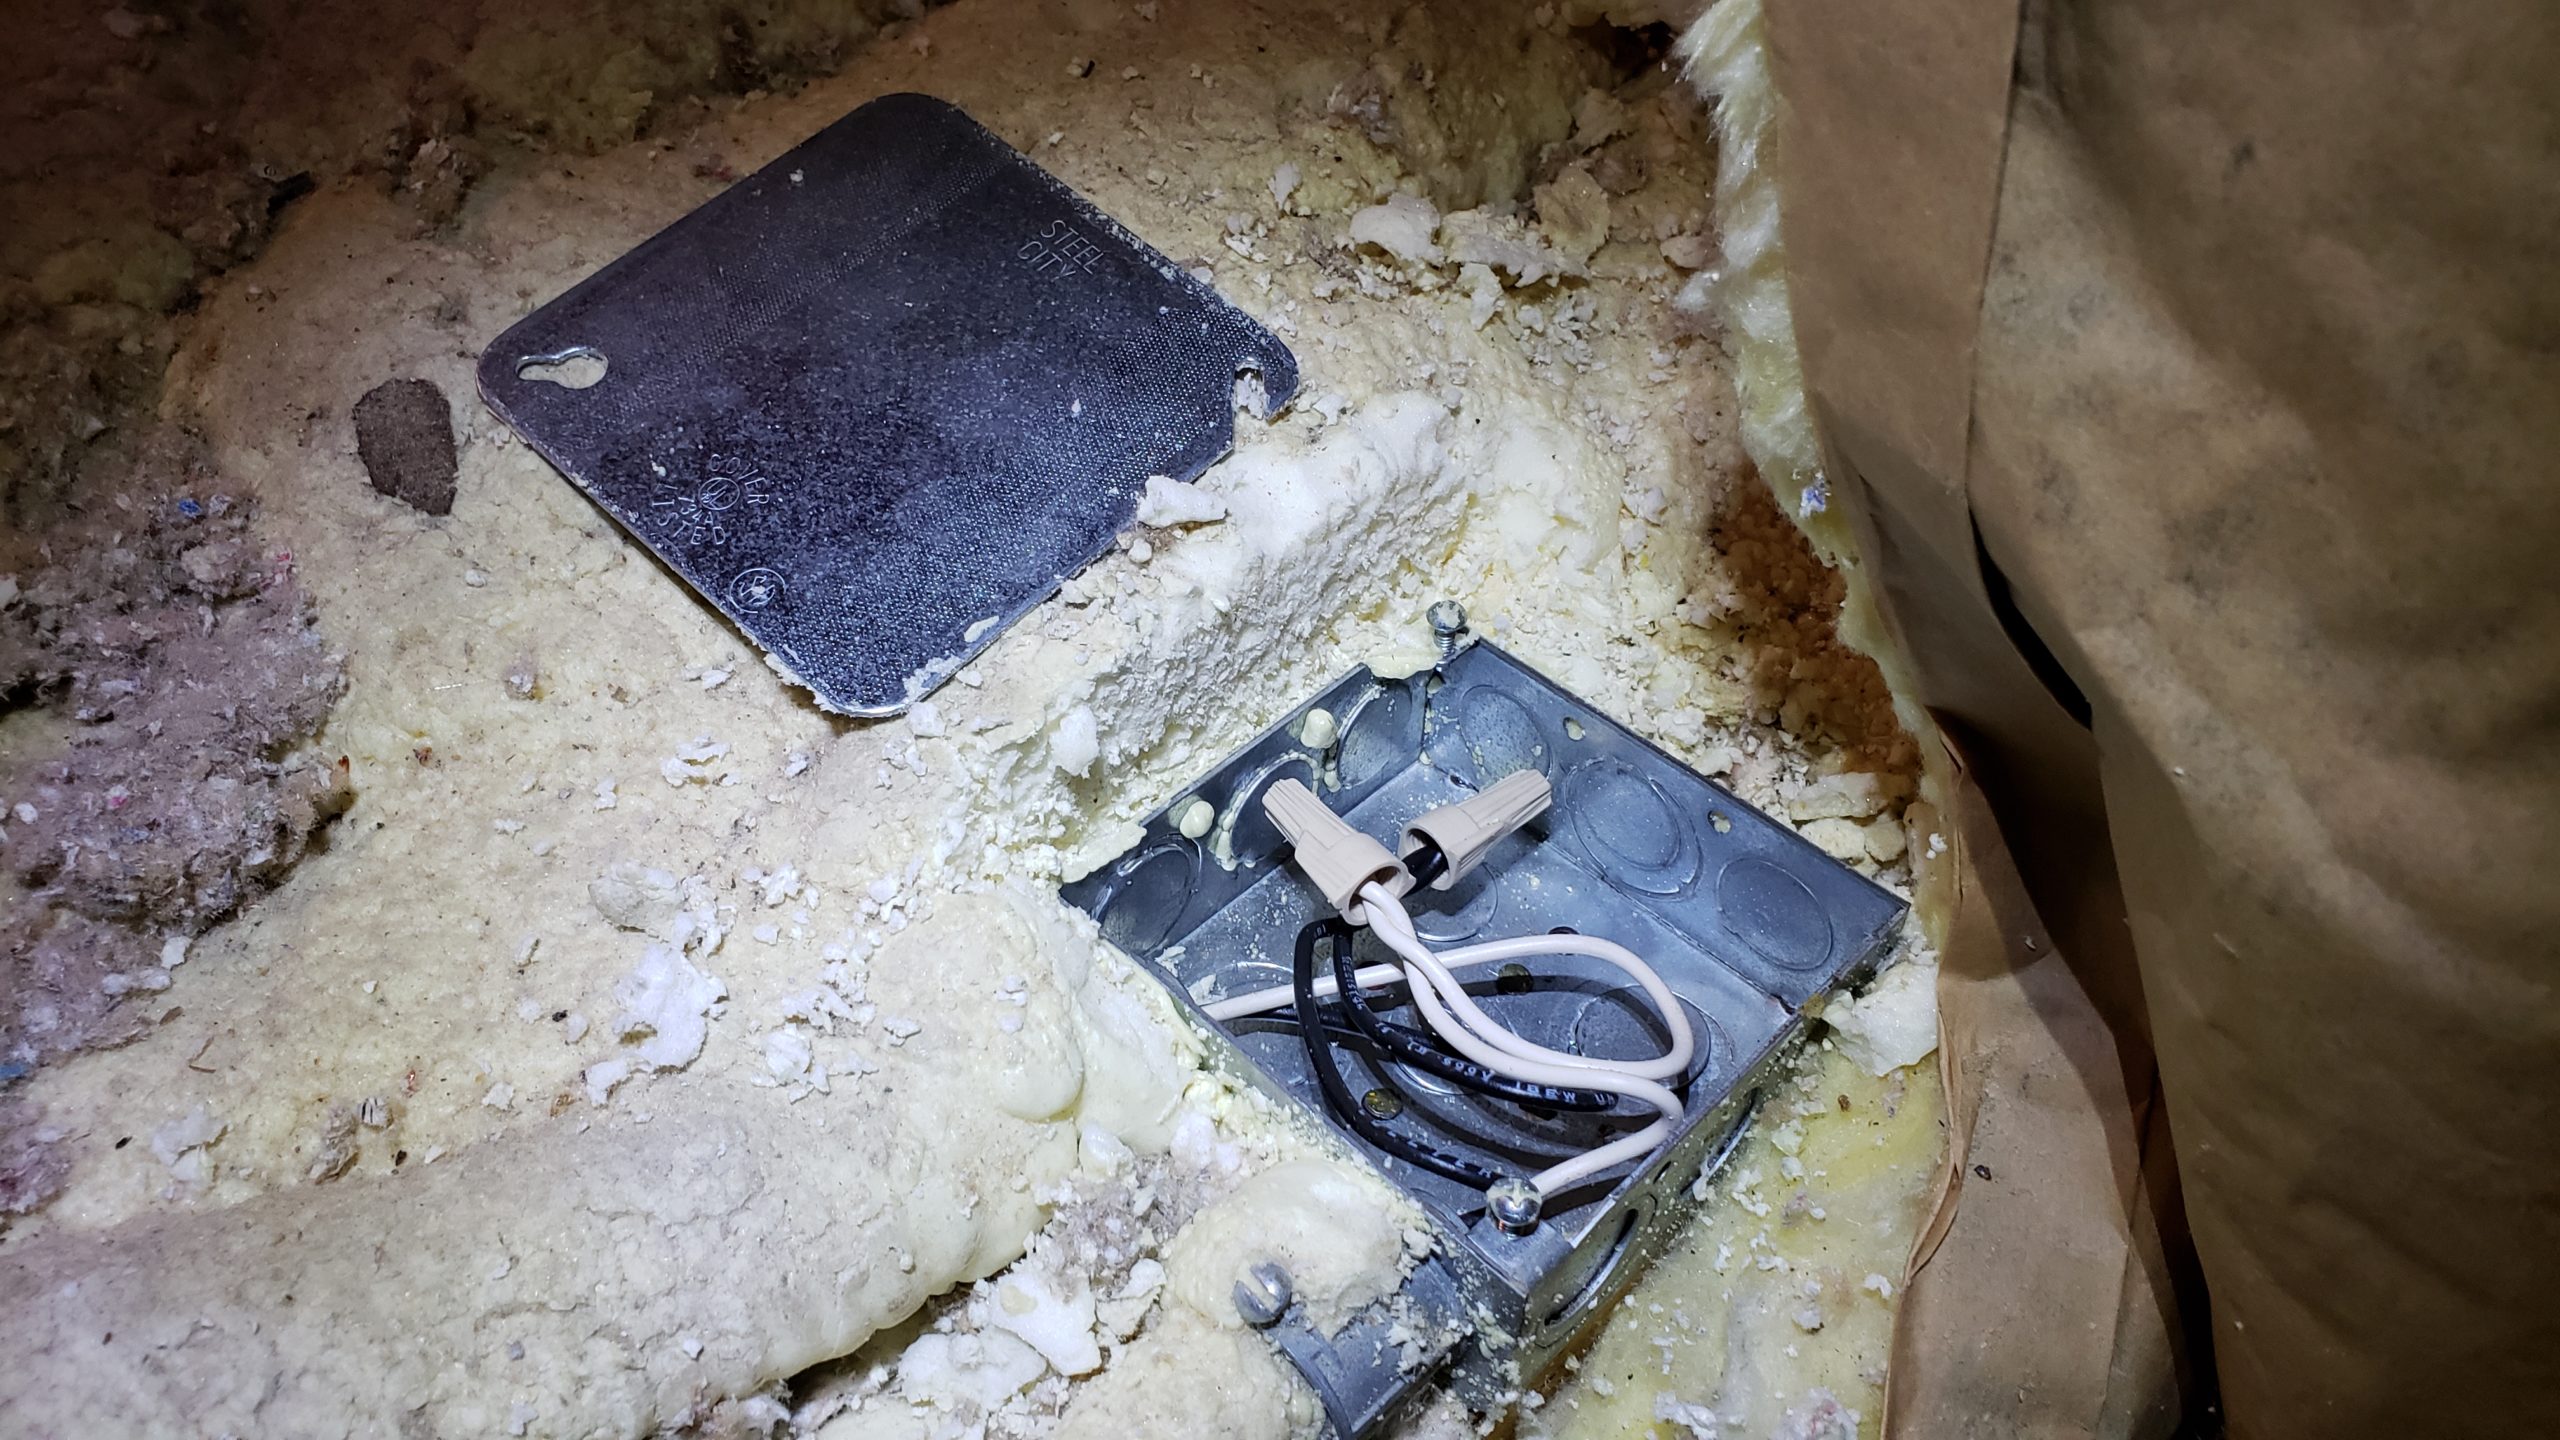
I cut out the foam and open the box to inspect it.
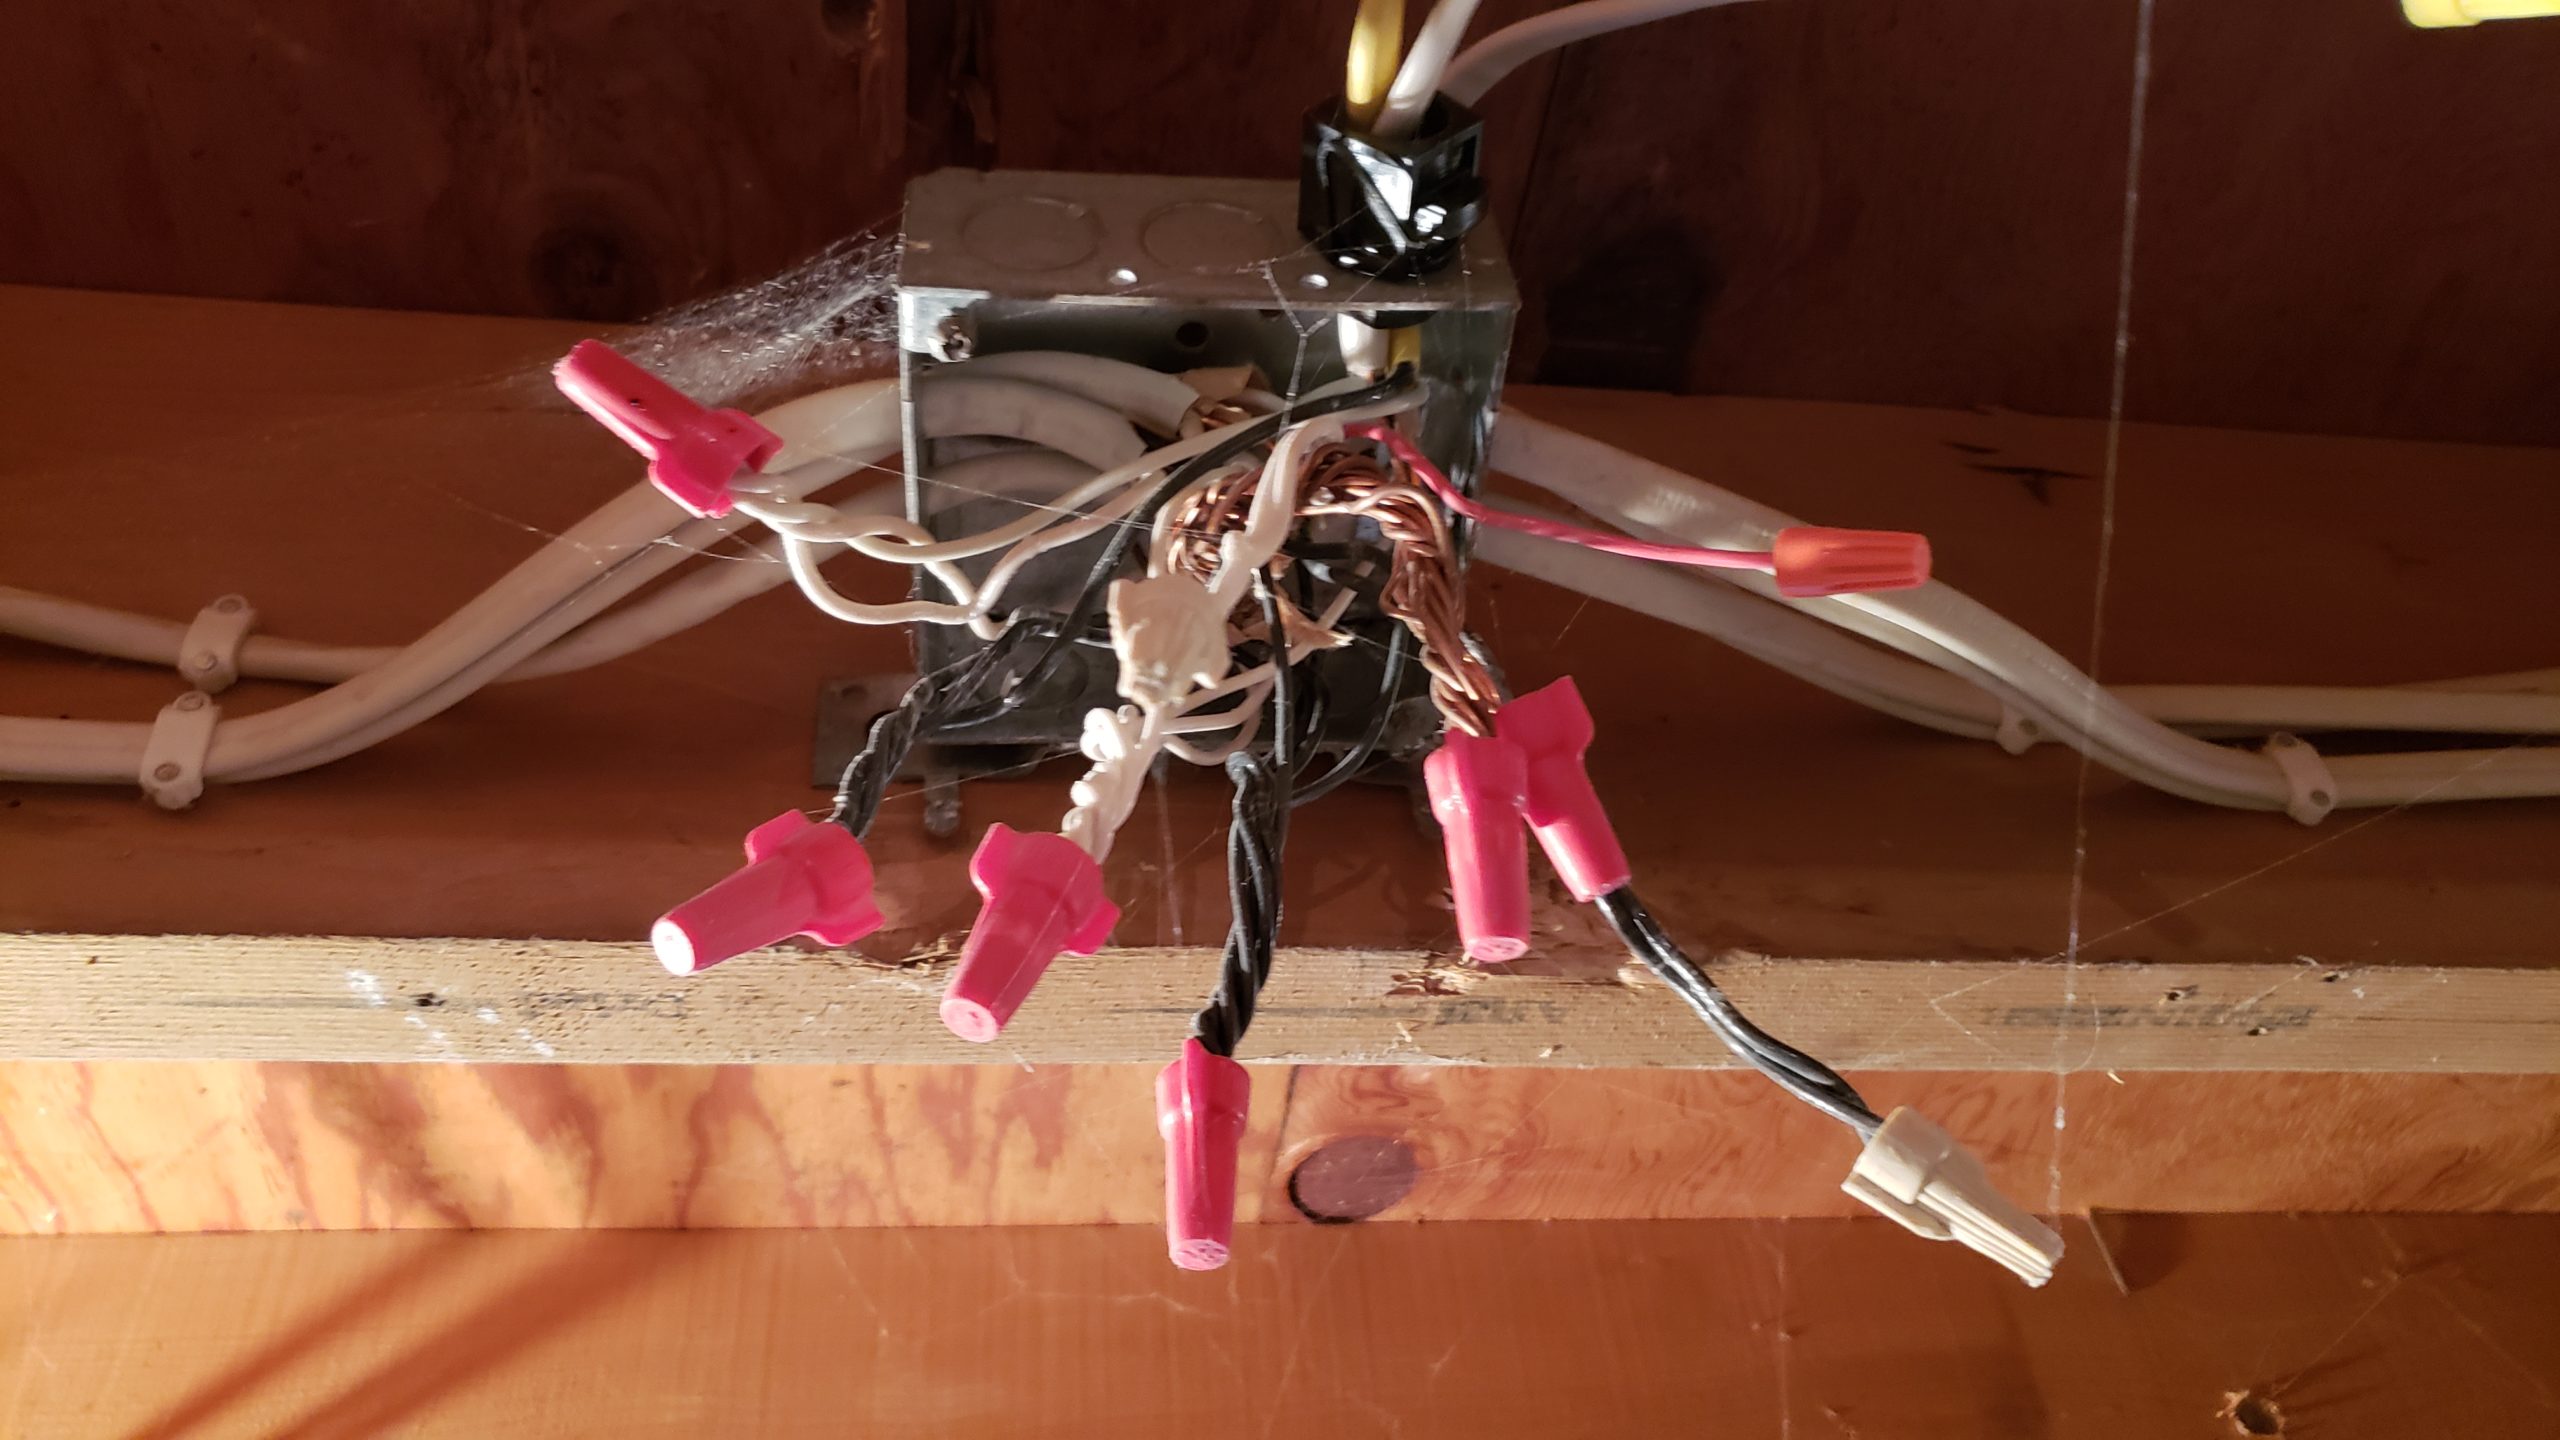
Look at this tangled mess
My electrician decided not to fix the problems in the house. It’s clear that many junction boxes are over crowded and a tangled mess, like this one.
I have already mapped the circuits of every outlet and light in the house. See how most of the outlets and lights are on Circuit A? But I haven’t traced every wire yet. I am sure there are more hidden junction boxes and poor wiring.
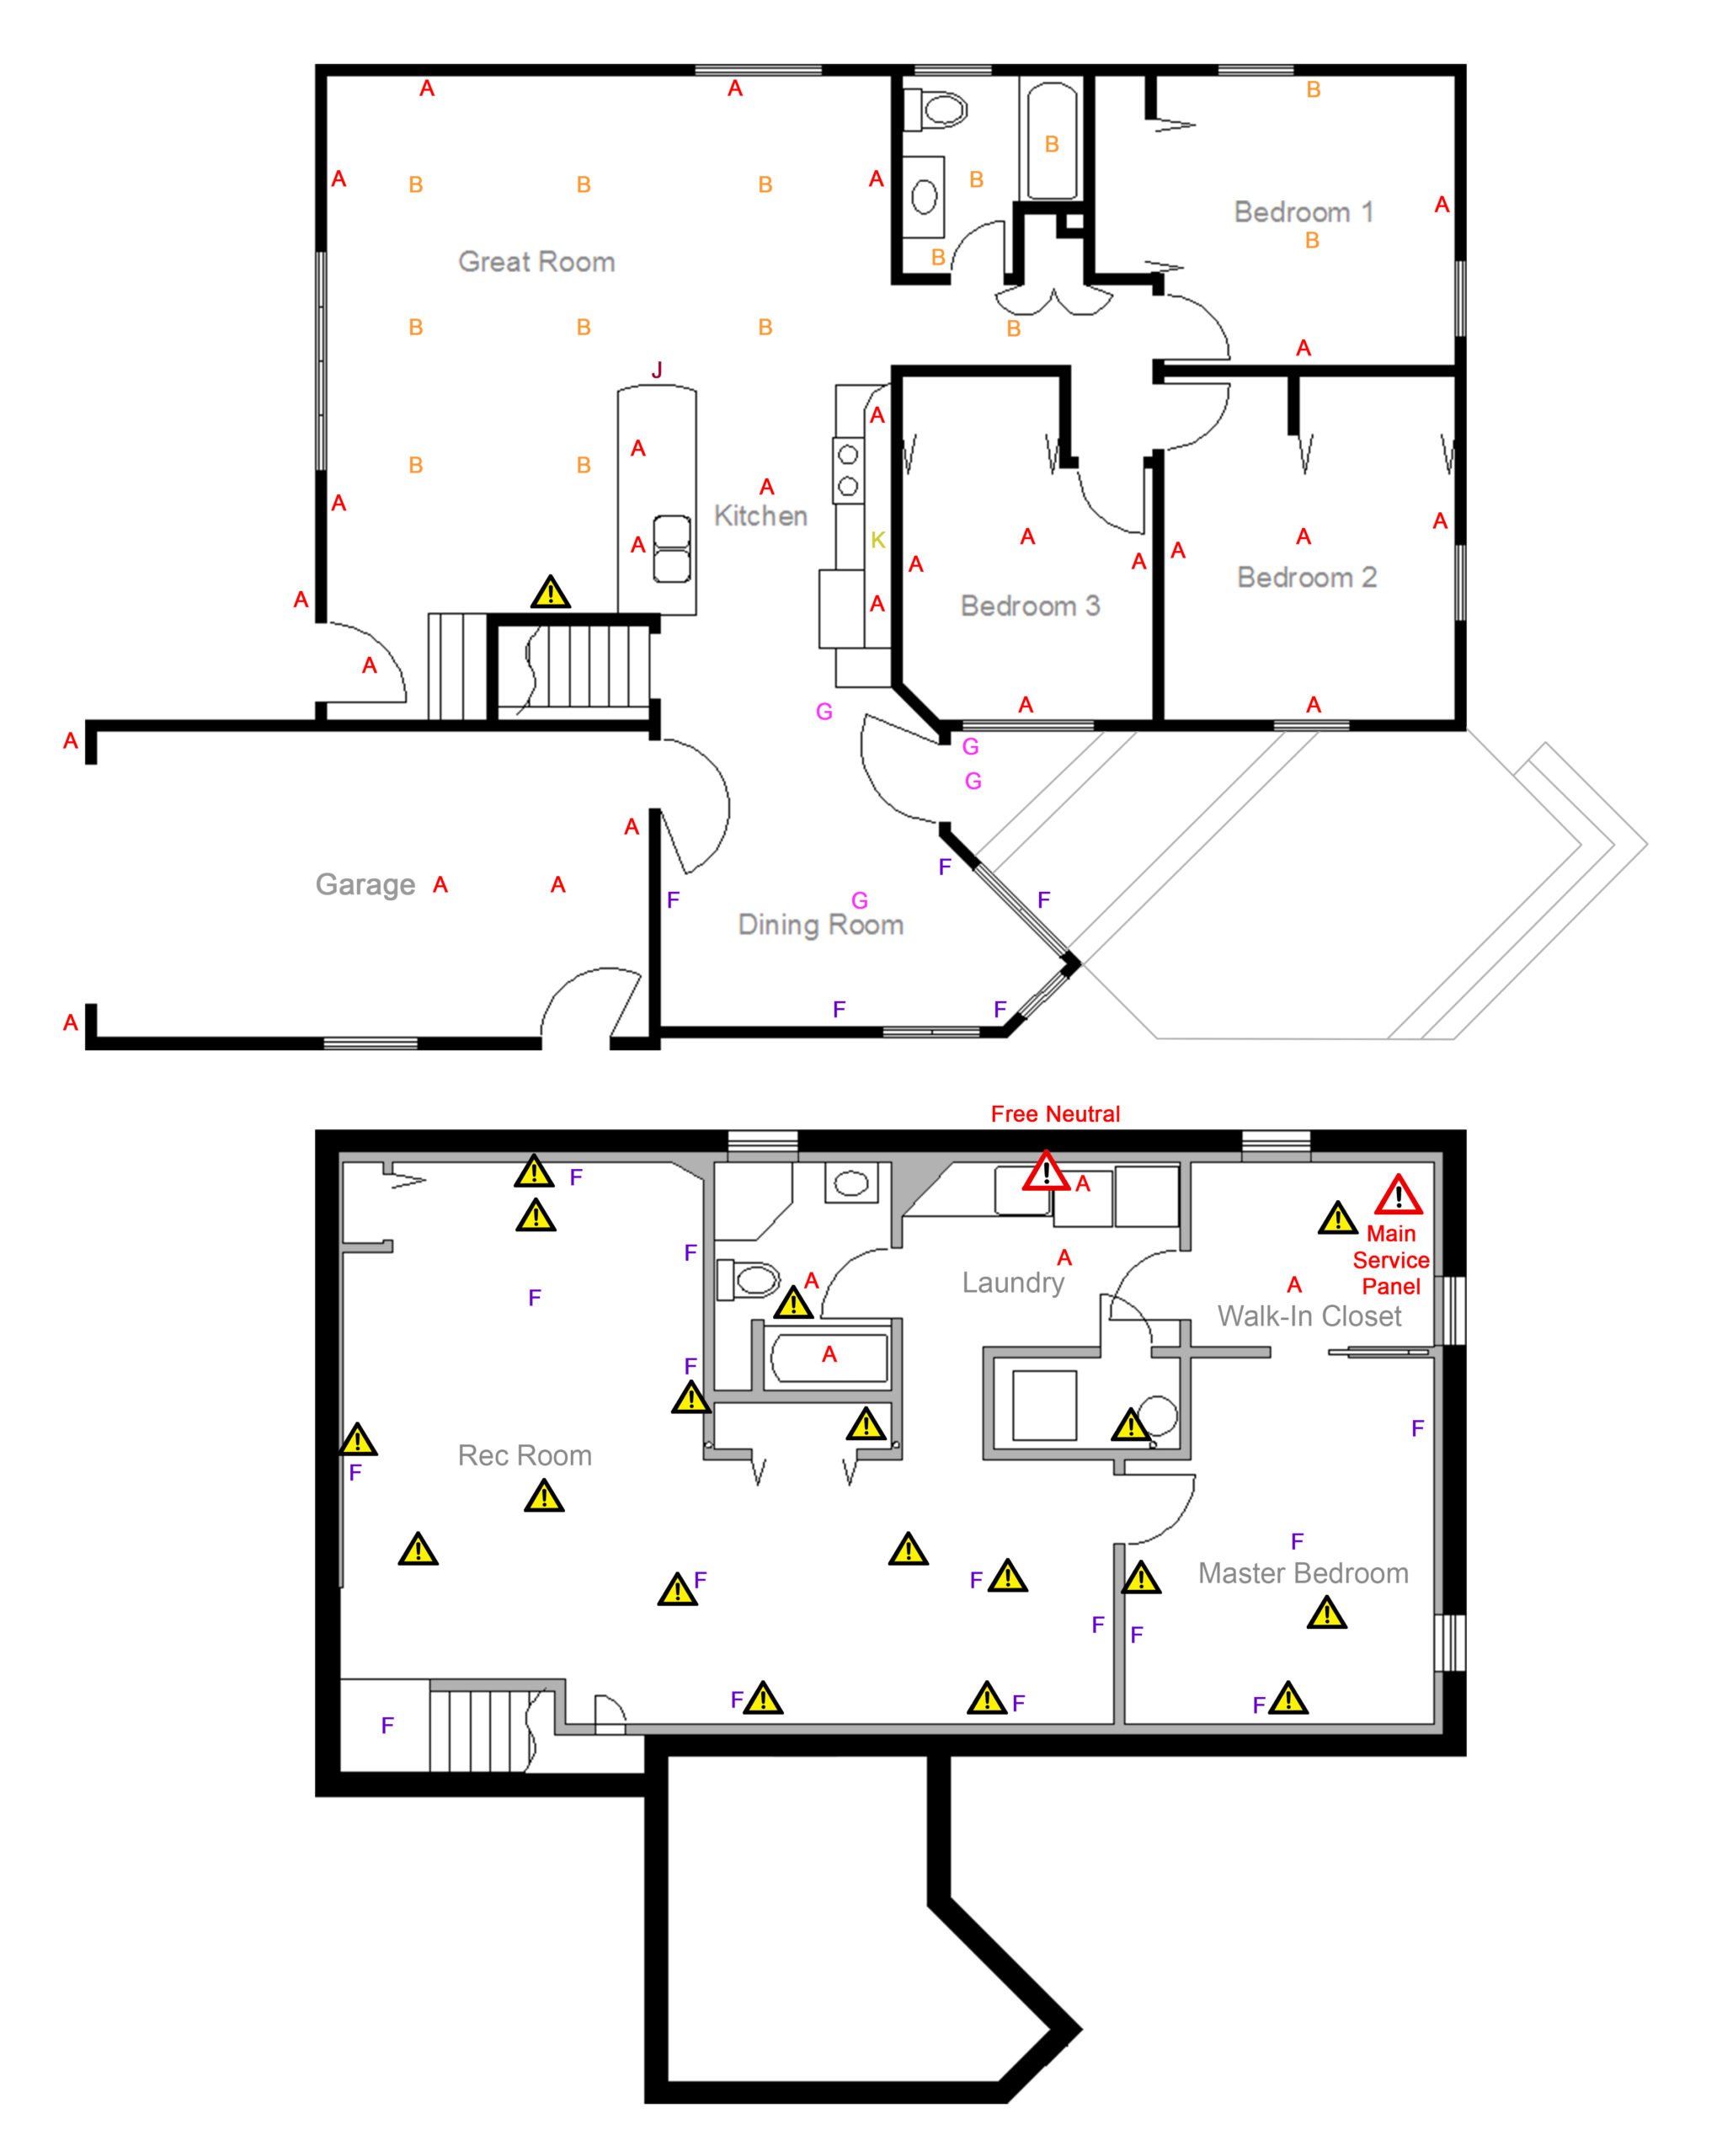
Will another electrician truly make things right, or simply bypass the problem? Can I trust someone else to unravel each circuit and rewire them properly?
I have decided to track down the free neutral problem myself. I will do this by checking each room one at a time. I will make sure every outlet in the room is on the same breaker. The lights will be on a separate breaker. Every time I finish a room, I will remove them from the free neutral circuits and put them on their own breakers. It is a process of elimination.